A large tree fell on our tiny house!
A blog chronicling our tiny house.
Viewing entries in
Tiny House Exterior
A large tree fell on our tiny house!
Moving to Waimate was a huge adventure, challenging but rewarding. We were interviewed and featured on the front page of the paper!
This post was written when we had our tiny house open house! We had over 100 people in our house.
Hi there,
This is our first post since hearing the disappointing news about the election. The best way we found to keep from crying was to get started on a small project!
Pat used some free pallets, primer, paint and his nail gun to whip up some shutters for the house. I will let the photos speak for themselves.
Thanks for reading!
-Pat and Cori
This post details the day that we finally moved into our tiny house.

Hello hello! We have great news! Our tiny house video by Bryce of Living Big in a Tiny House was completed!
[youtube https://www.youtube.com/watch?v=xd7ZNuzvYRs&w=560&h=315]
We had a great time filming and chatting! Sadly the filming happened before we had a chance to finish the porch but it is finally complete.
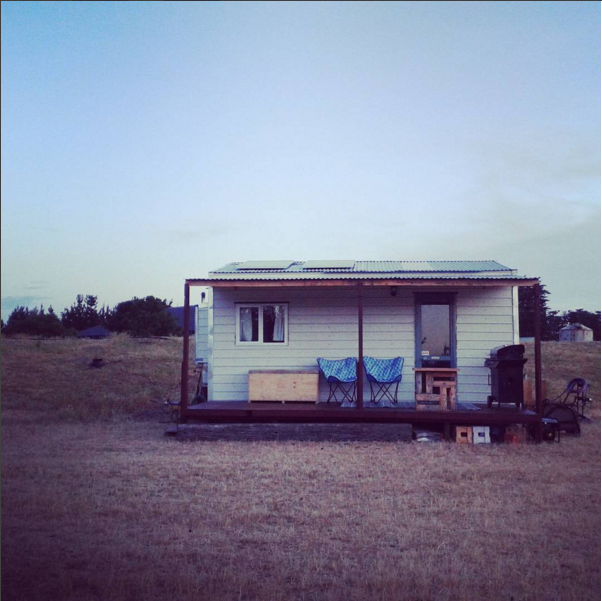
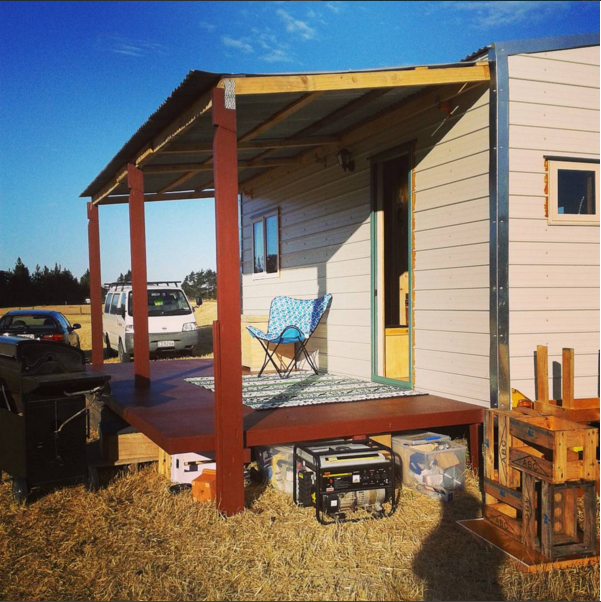
For more you can visit his website: http://www.livingbiginatinyhouse.com/tiny-home-built-recycled-materials/
Cheers!
Pat+Cori
Hello Again! Friday night was the very first night we slept over at the tiny house. We arrived at about 9:30pm and found the house to be warm and when we turned on all the lights, very well lit. The pillows and kitchenware were quickly put away and we had a nice quiet evening with a glass of wine and a good book. We were very comfortable, warm and everything we needed to relax for the evening was easy to access and use. We slept very well and the hot shower in the morning was amazing. We were both able to cook and be in the kitchen area at the same time without running into each other and the eggs and hashbrowns were delish! It was a great night and we were sad to go the next day. We did make a short list of item to improve but over all we did a great job of planning and anticipating our needs.
Hello!
This morning, bright and early we began to install our deck. As you may know we already attached a porch roof to the tiny house and used three posts to support it. We attached the deck to the posts and used wooden legs for the rest of the support. The deck was made of recycled materials sourced from a jobsite. It was pretty much already pre-built so it was put together very quickly. It still needs a coat paint but otherwise I think it looks great. We have doubled our living space, after only a couple hours of hard work. We will use the porch to store our shoes, barbecue, and other items that we wish to keep dry. 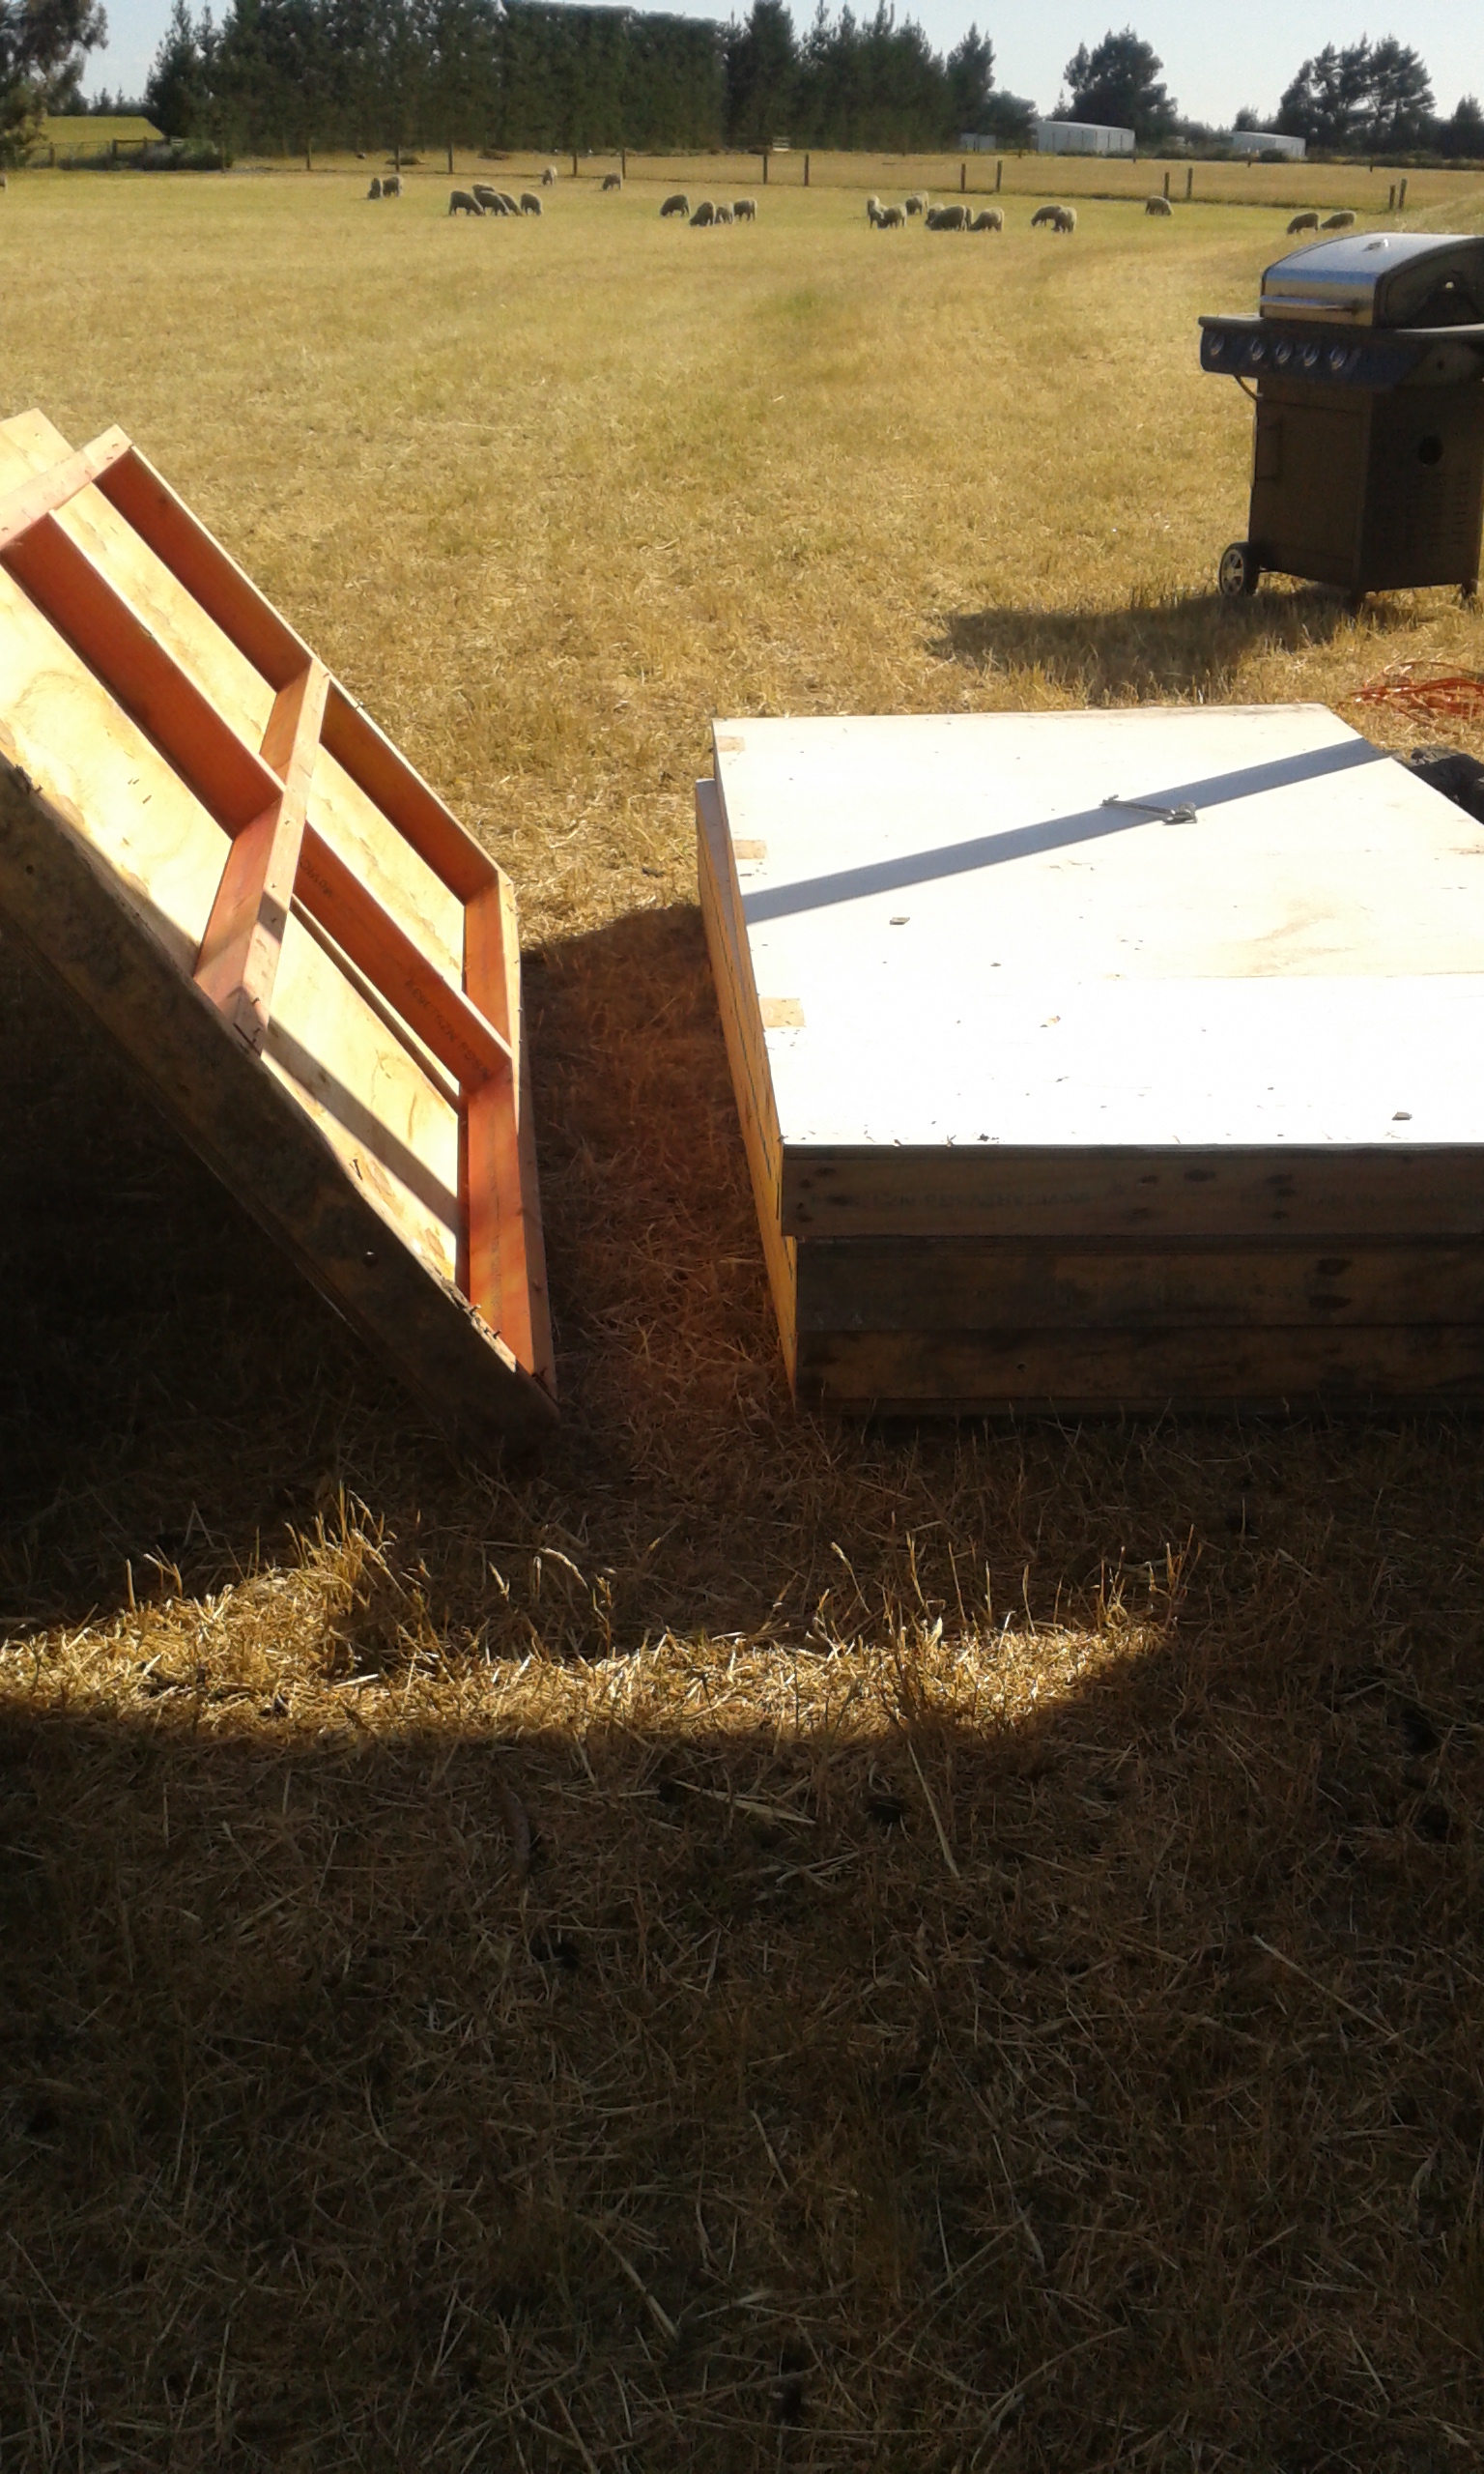
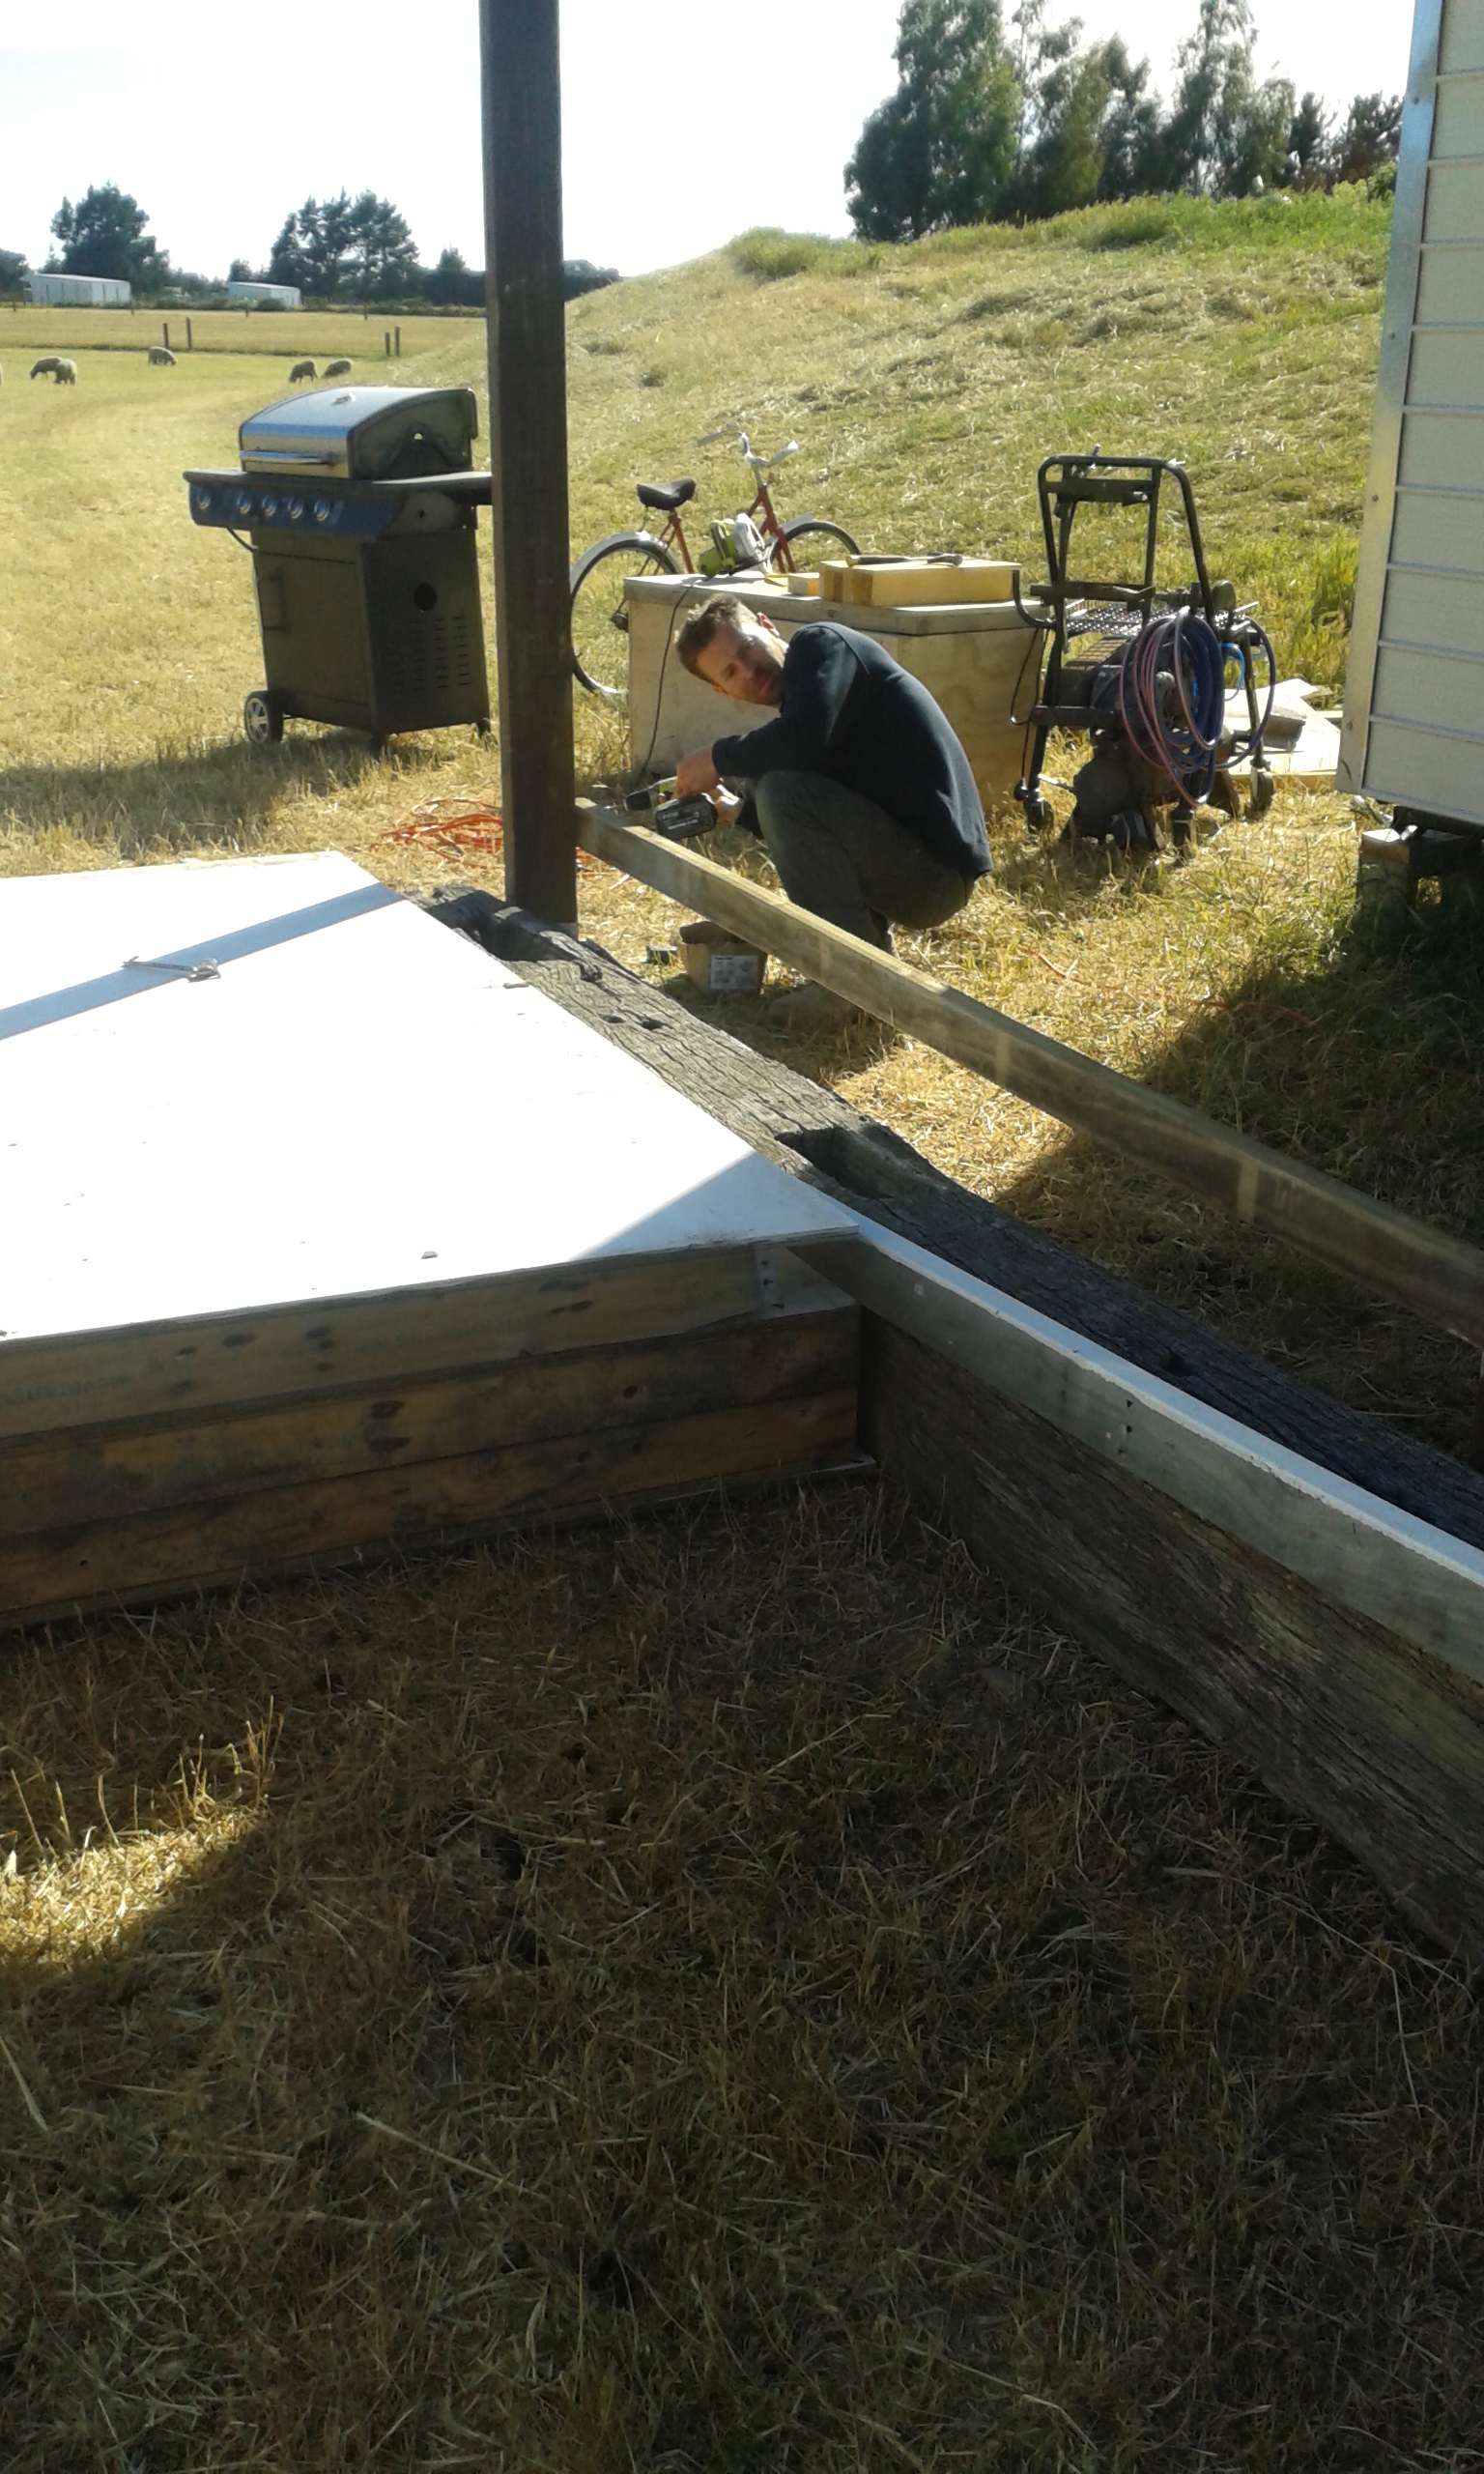
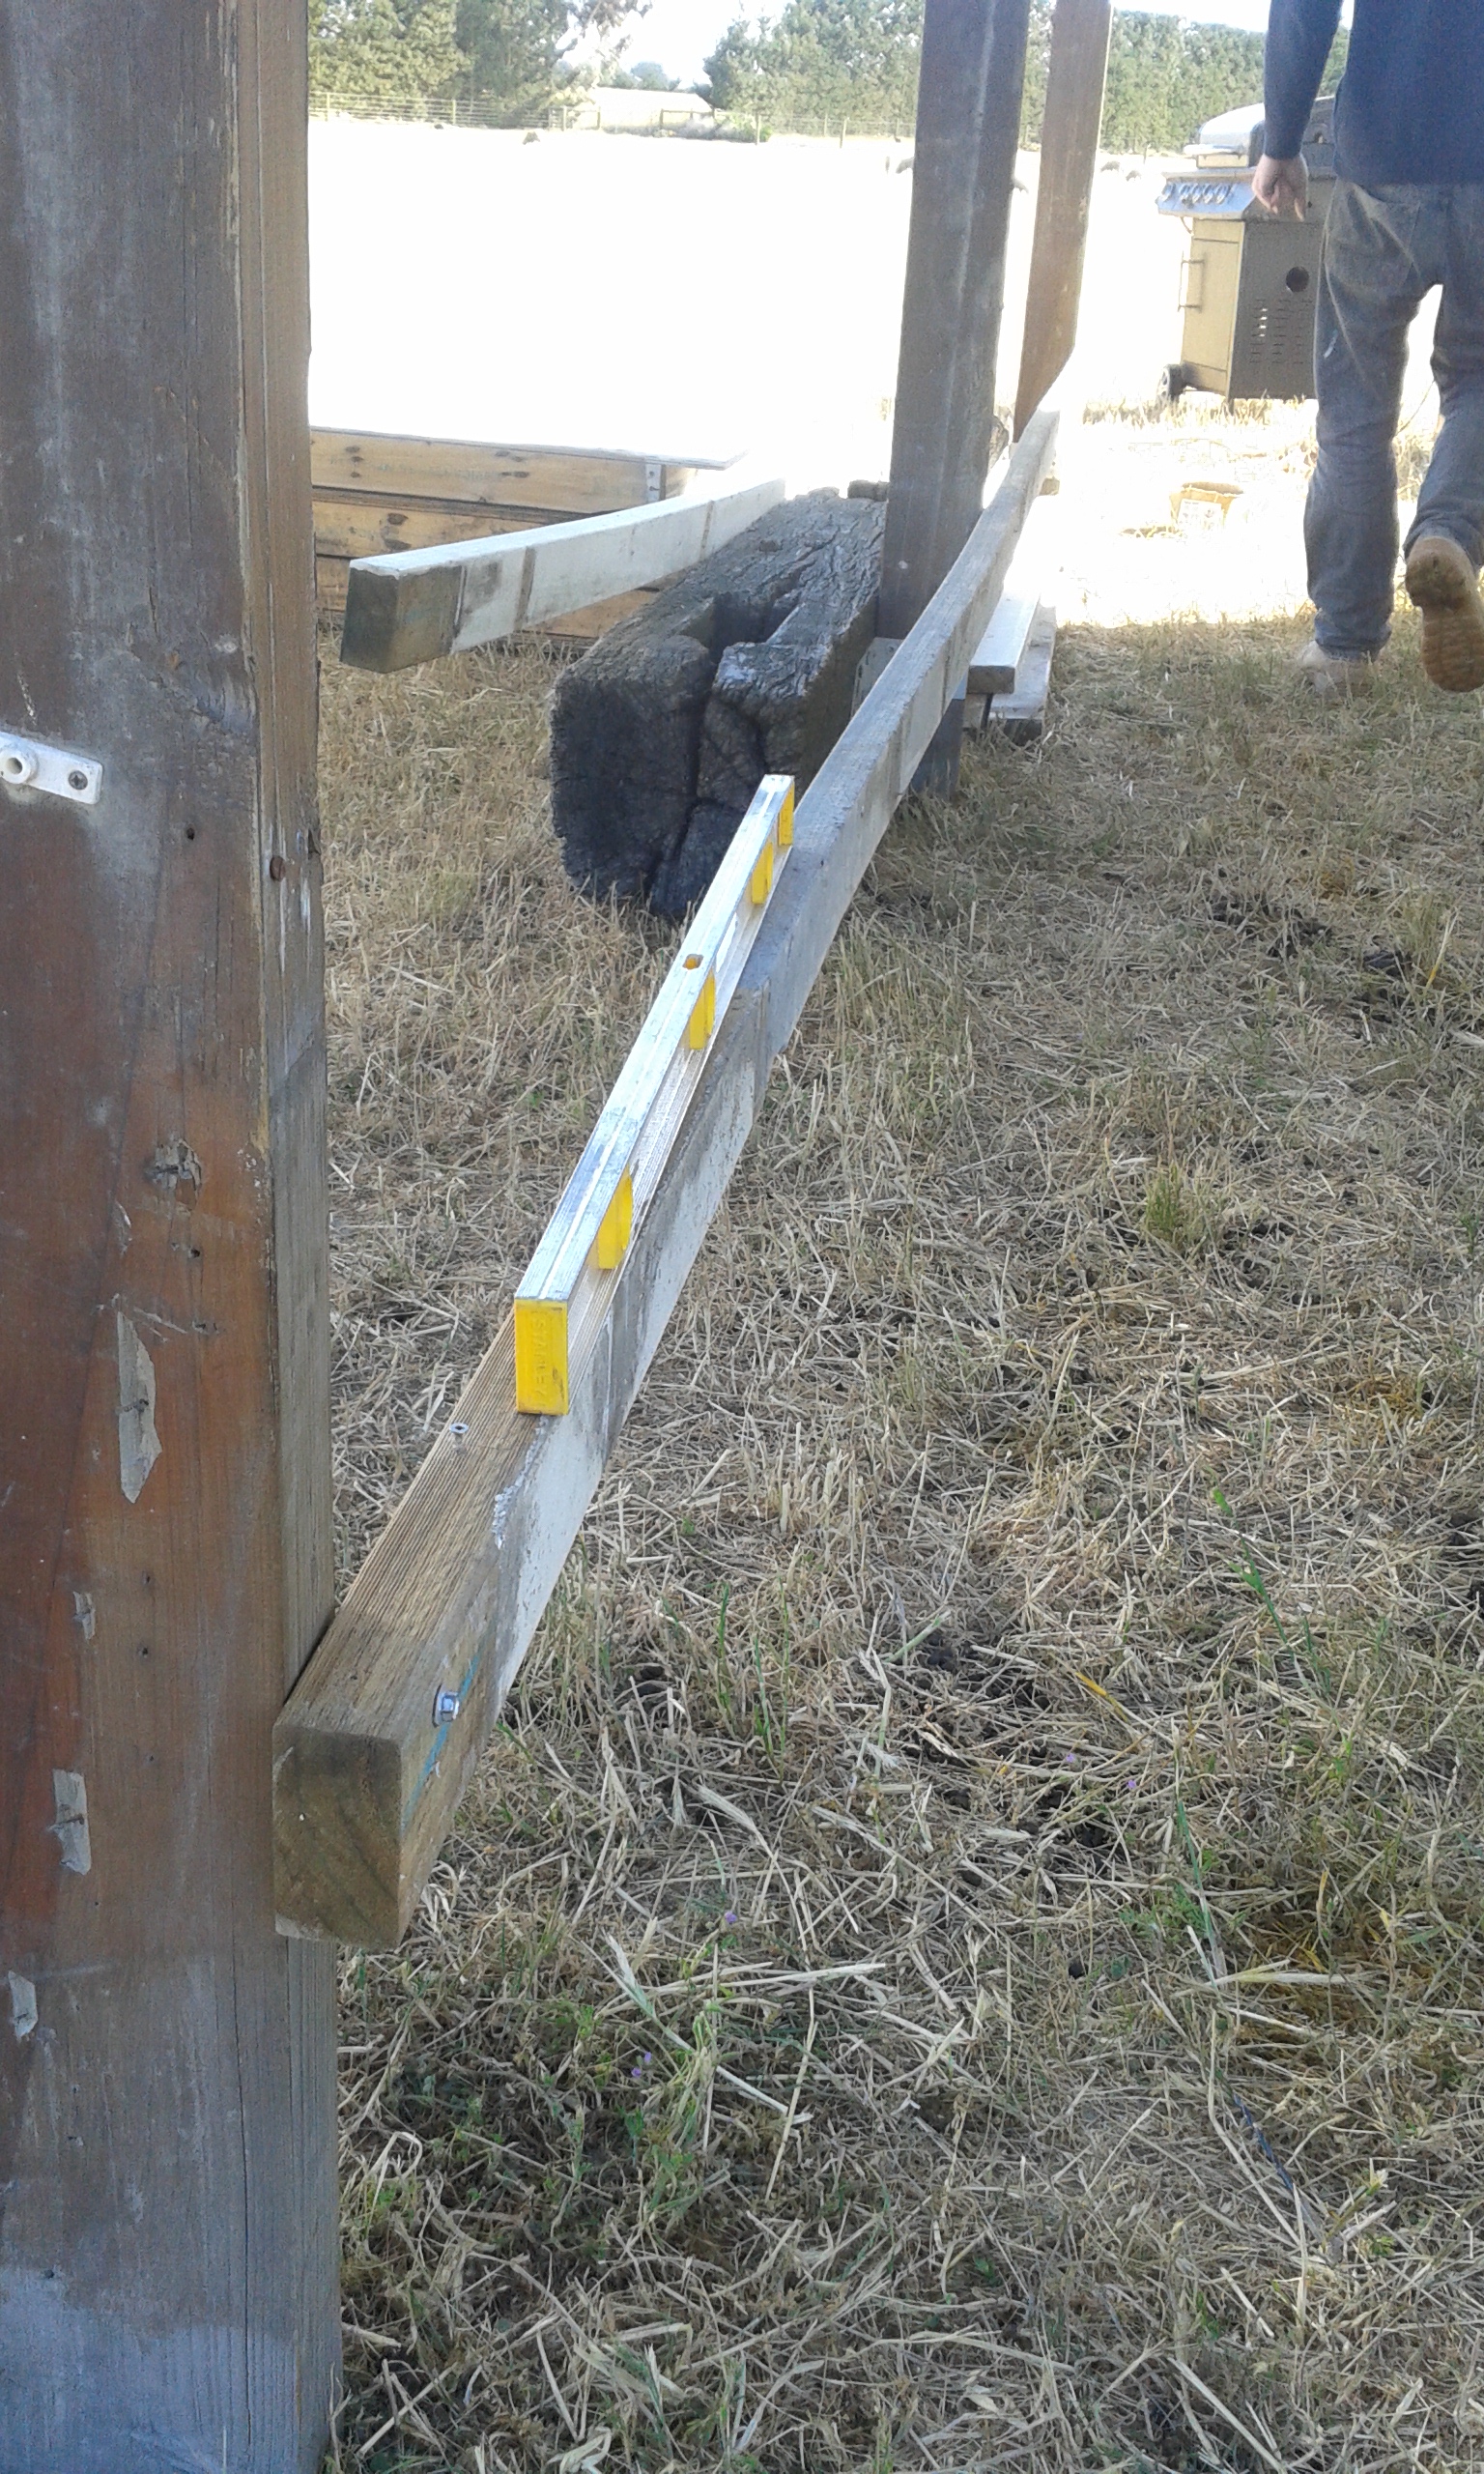
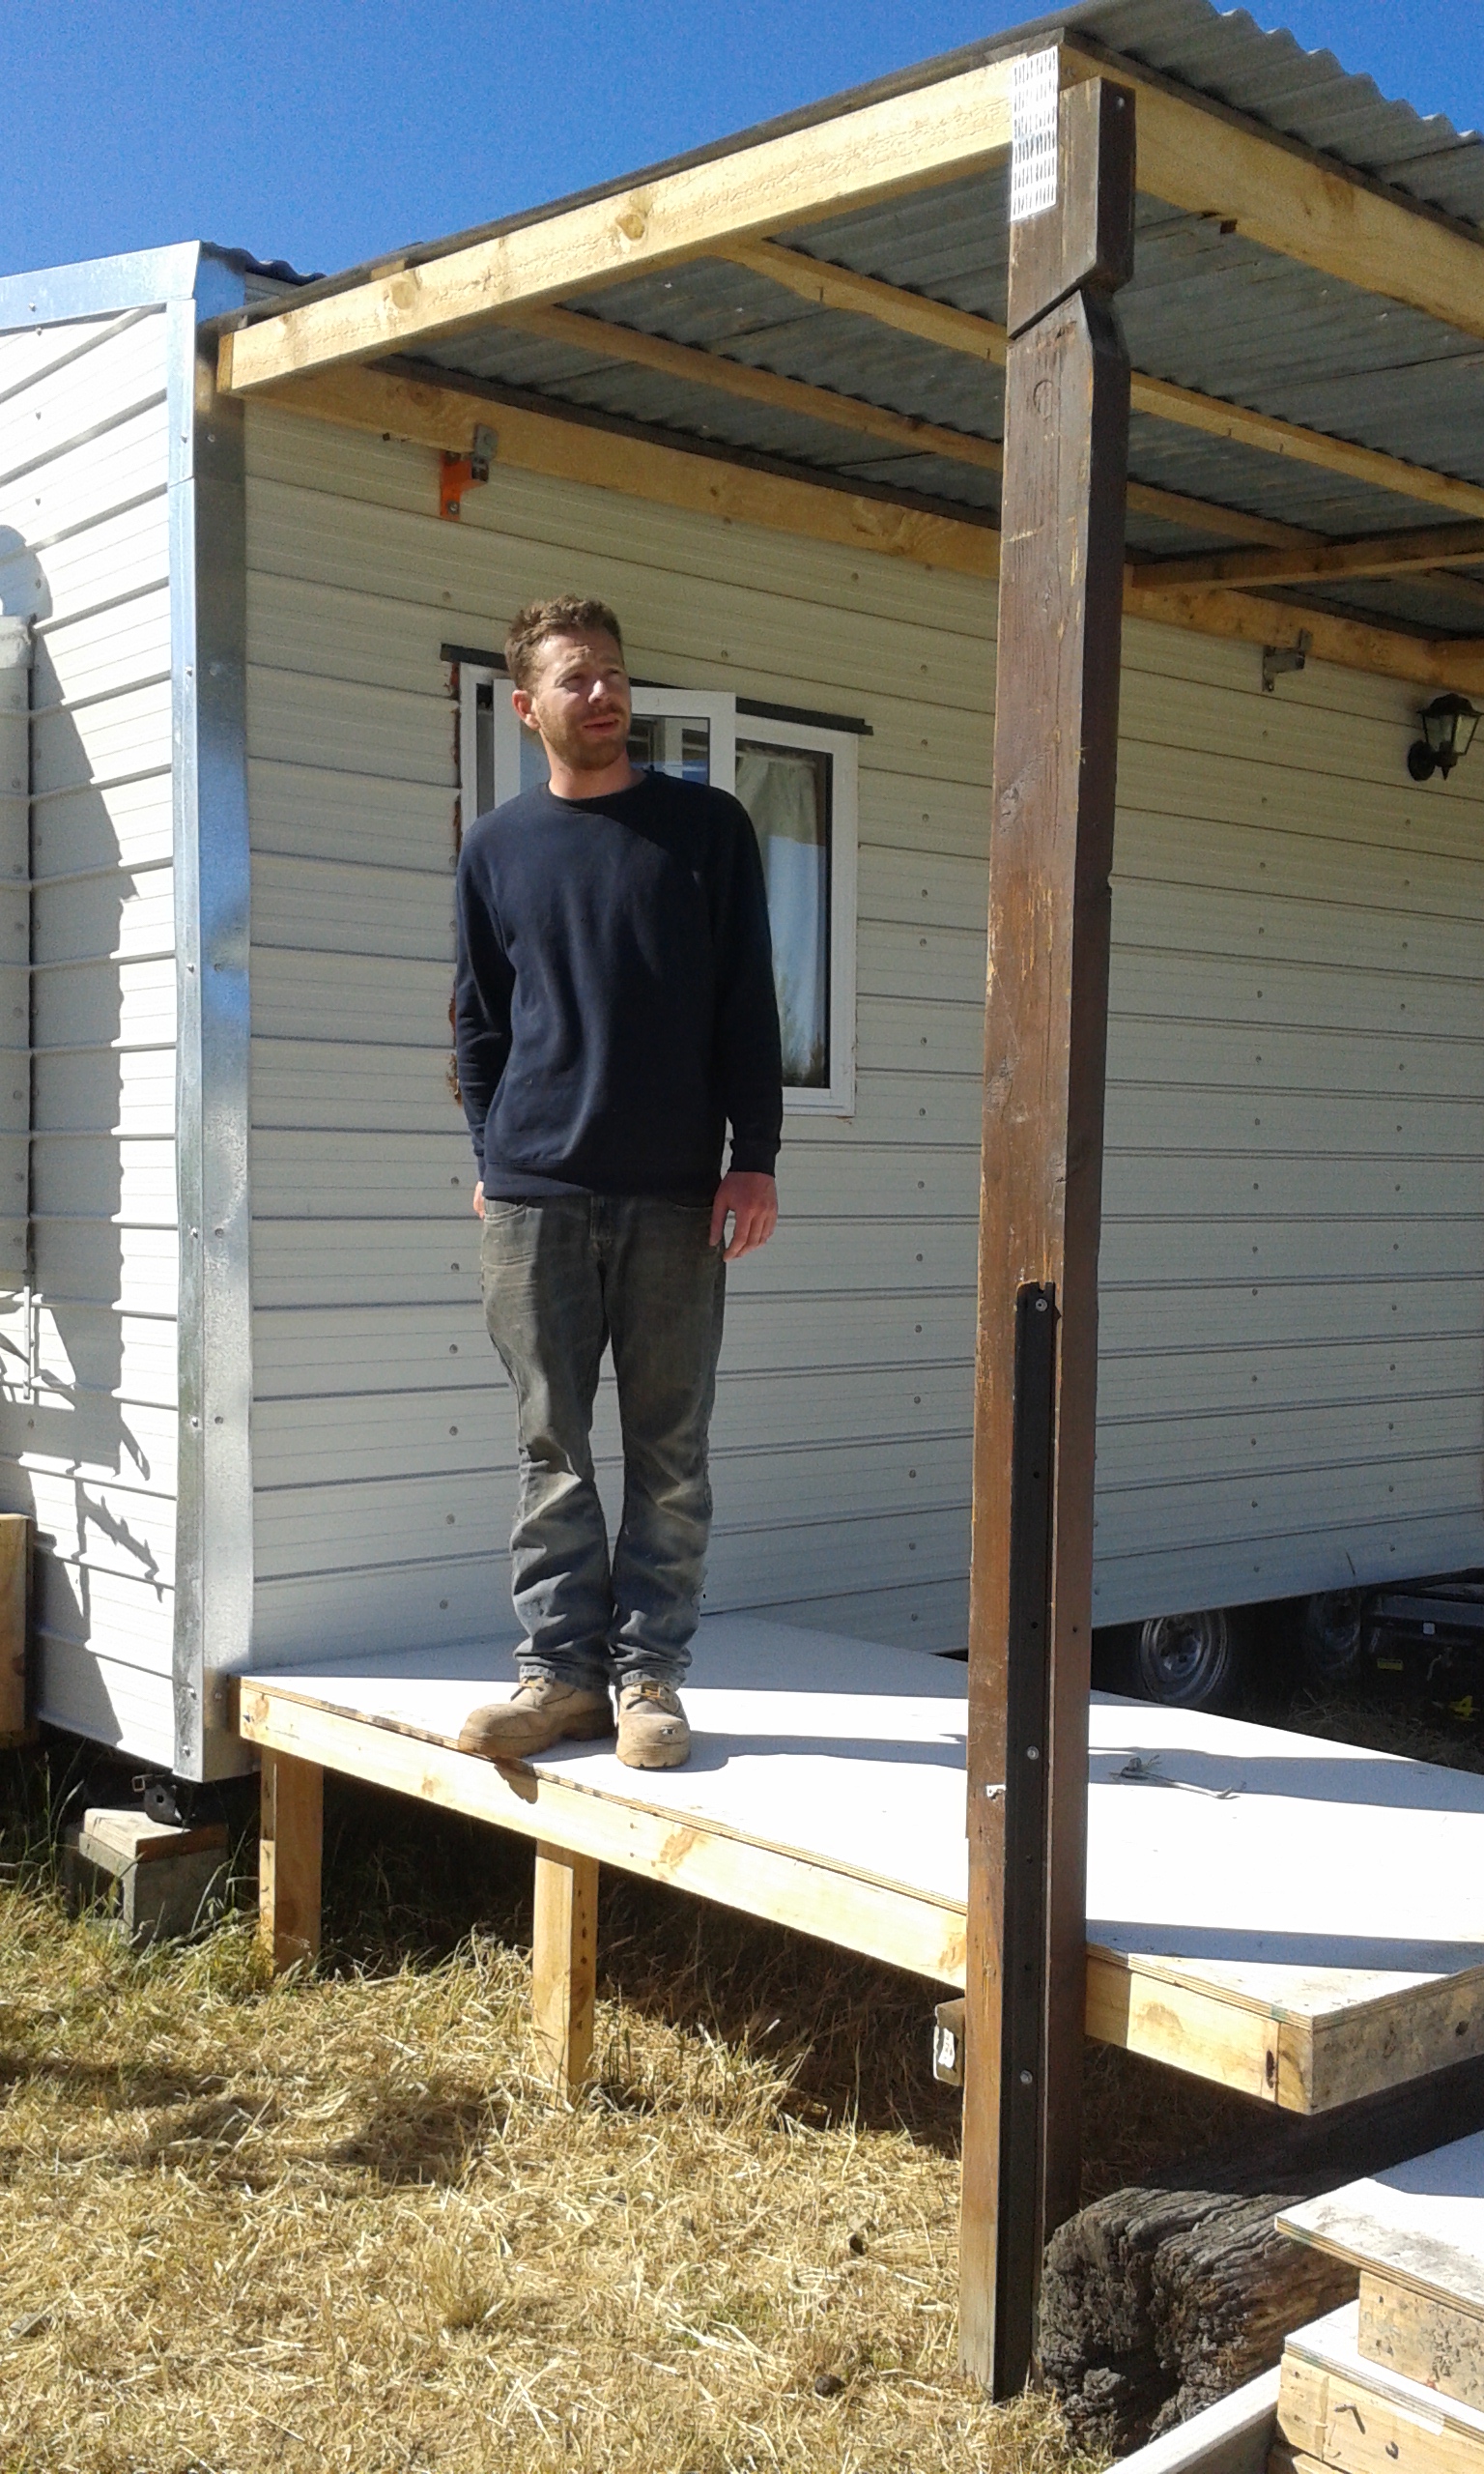
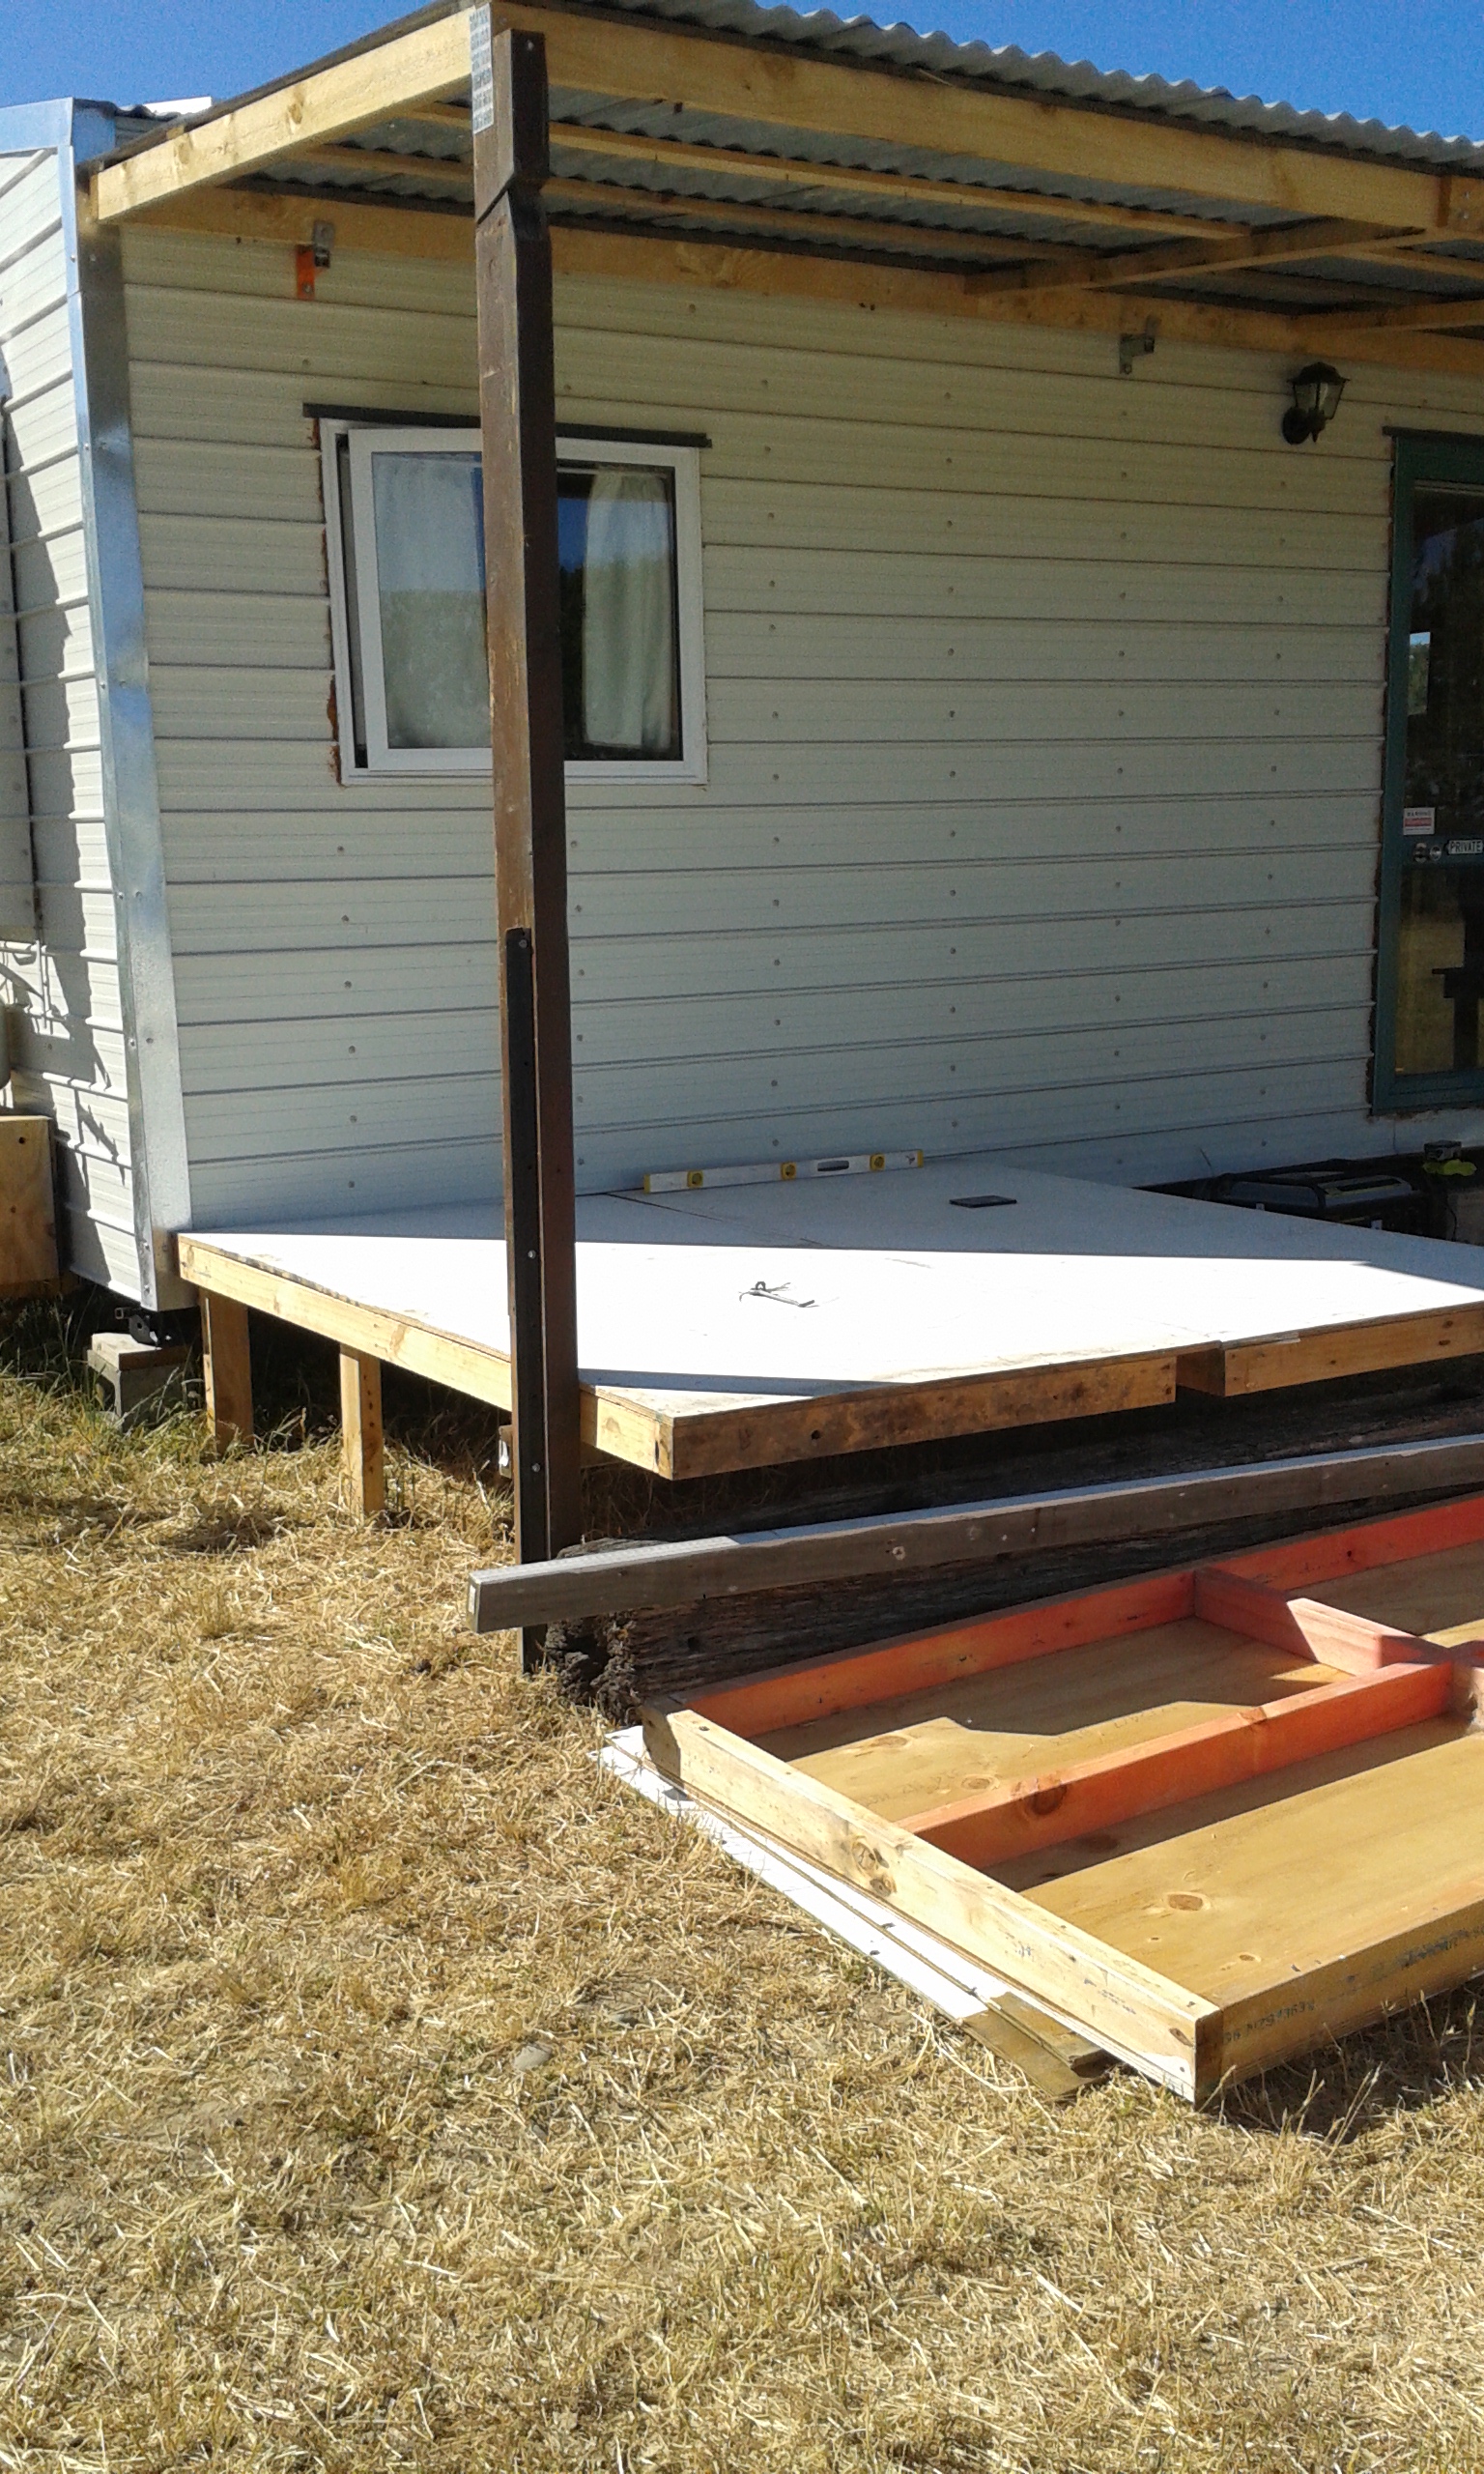
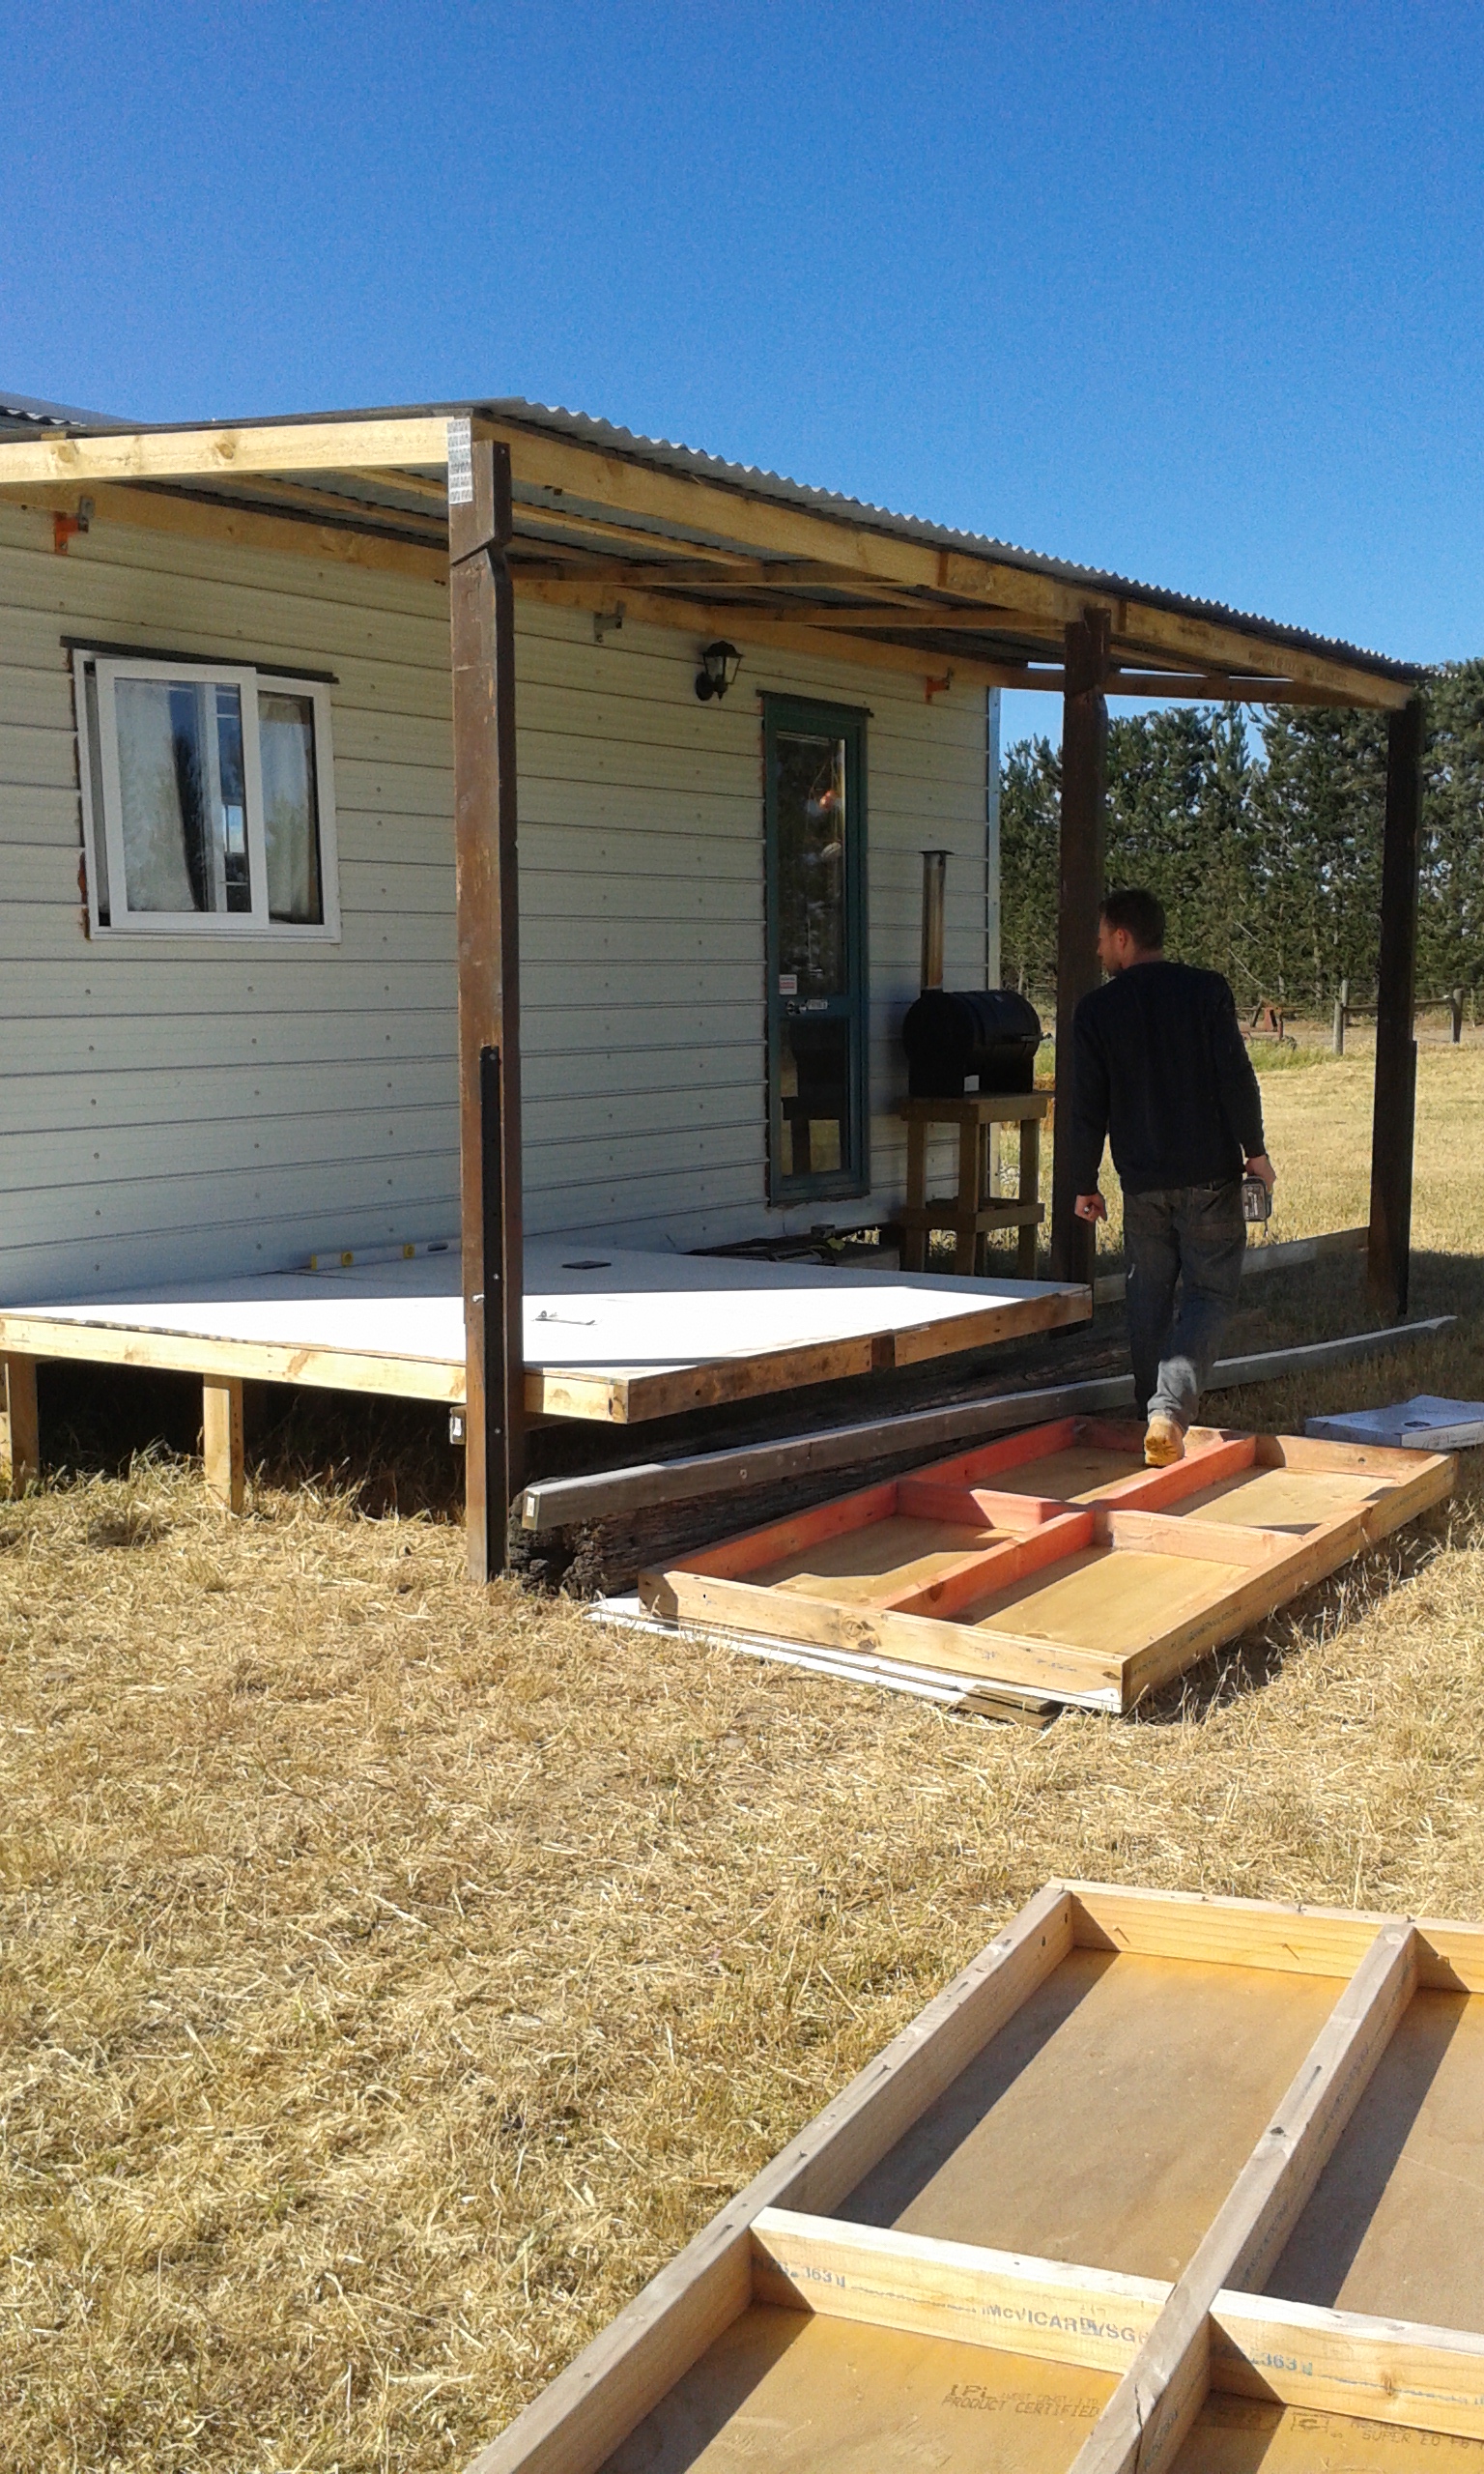
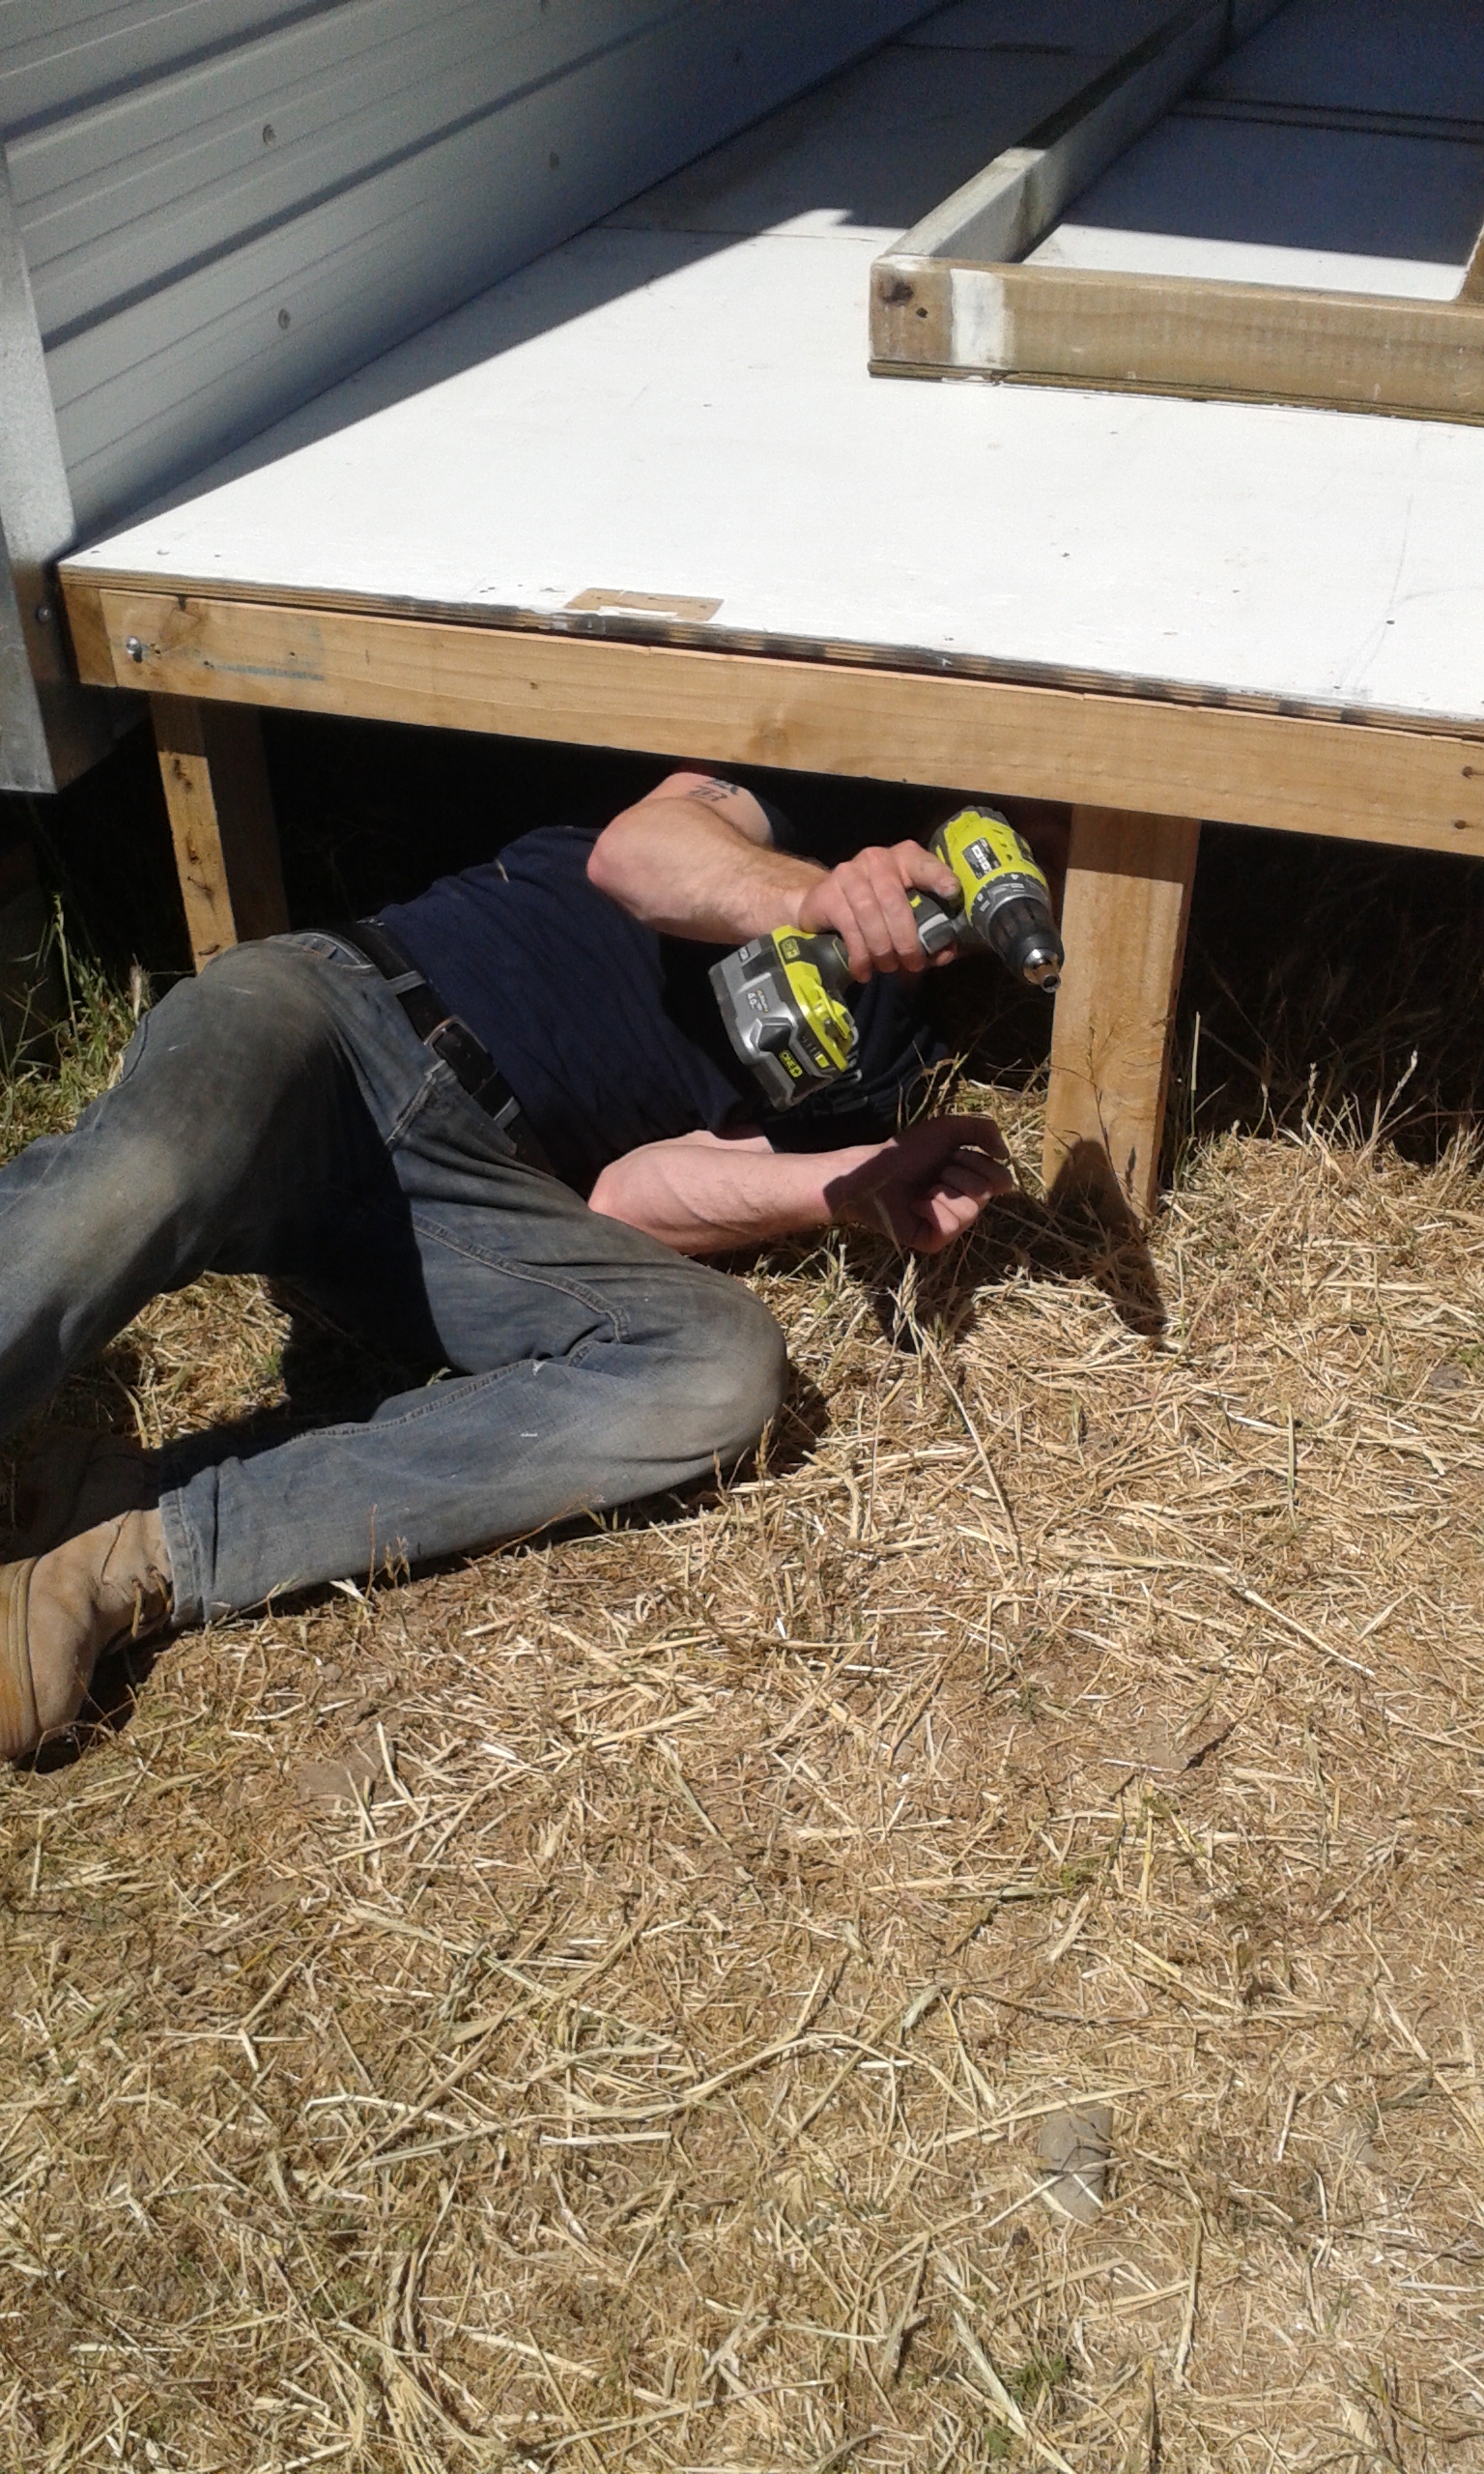
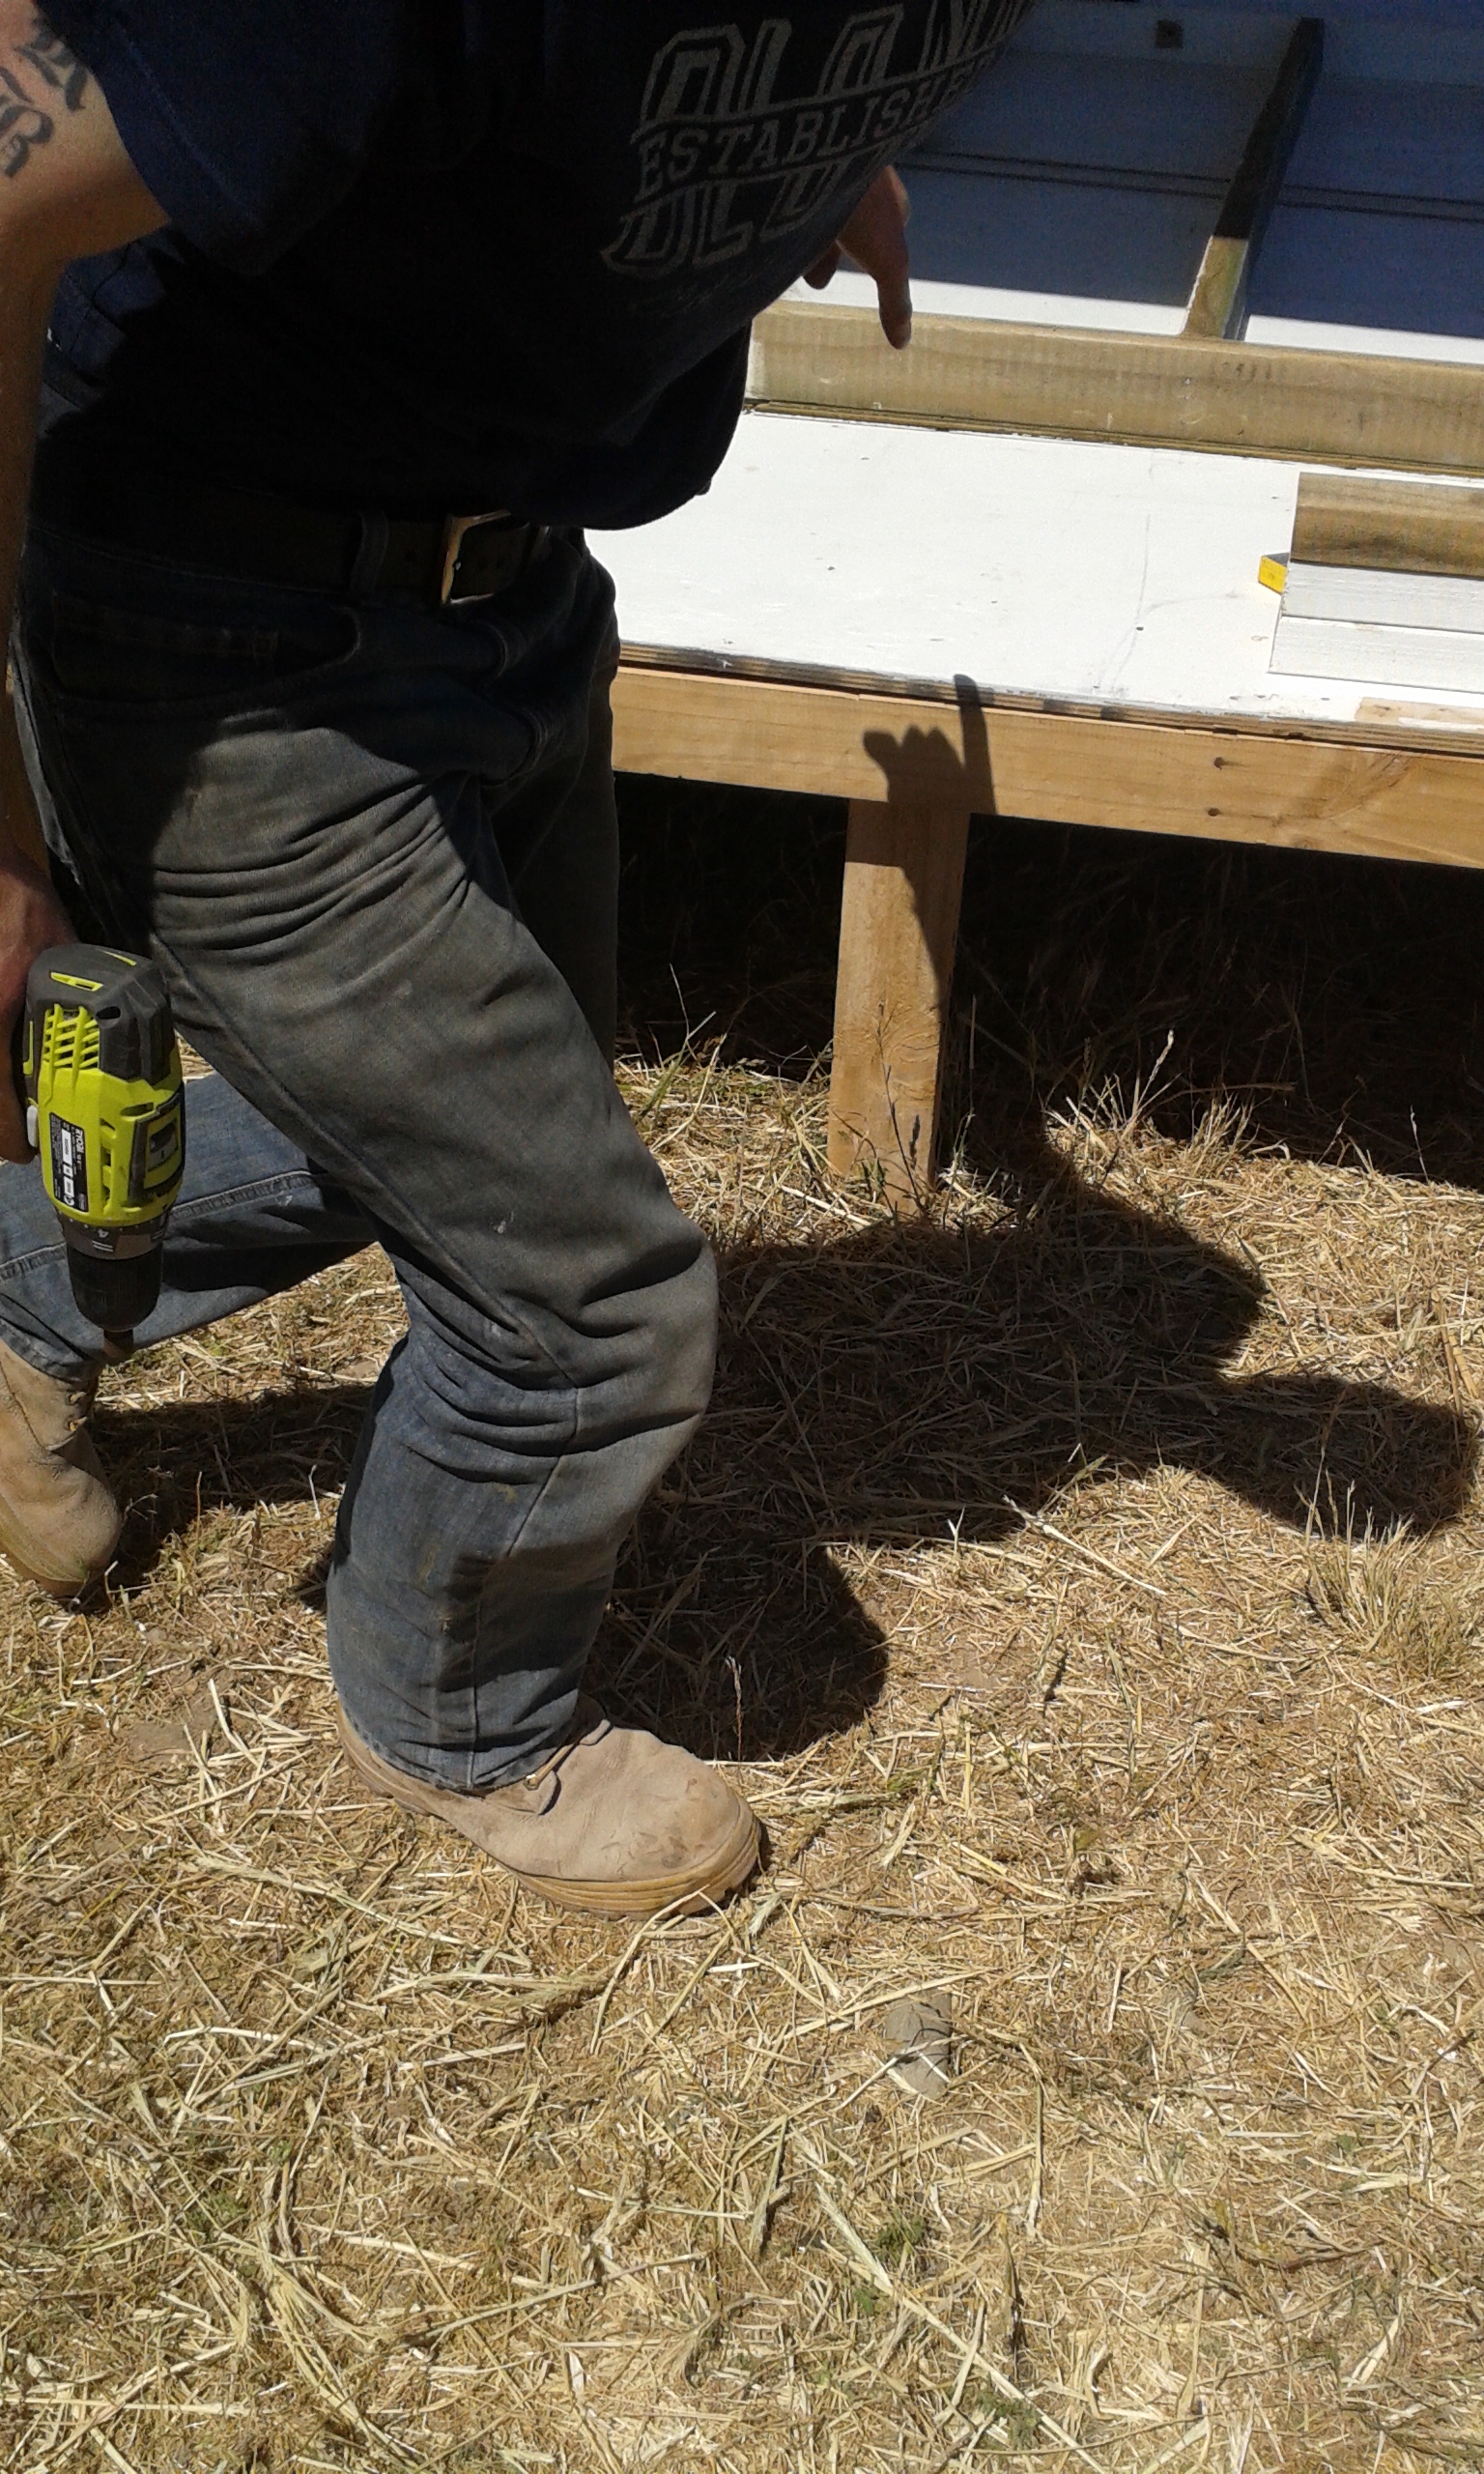
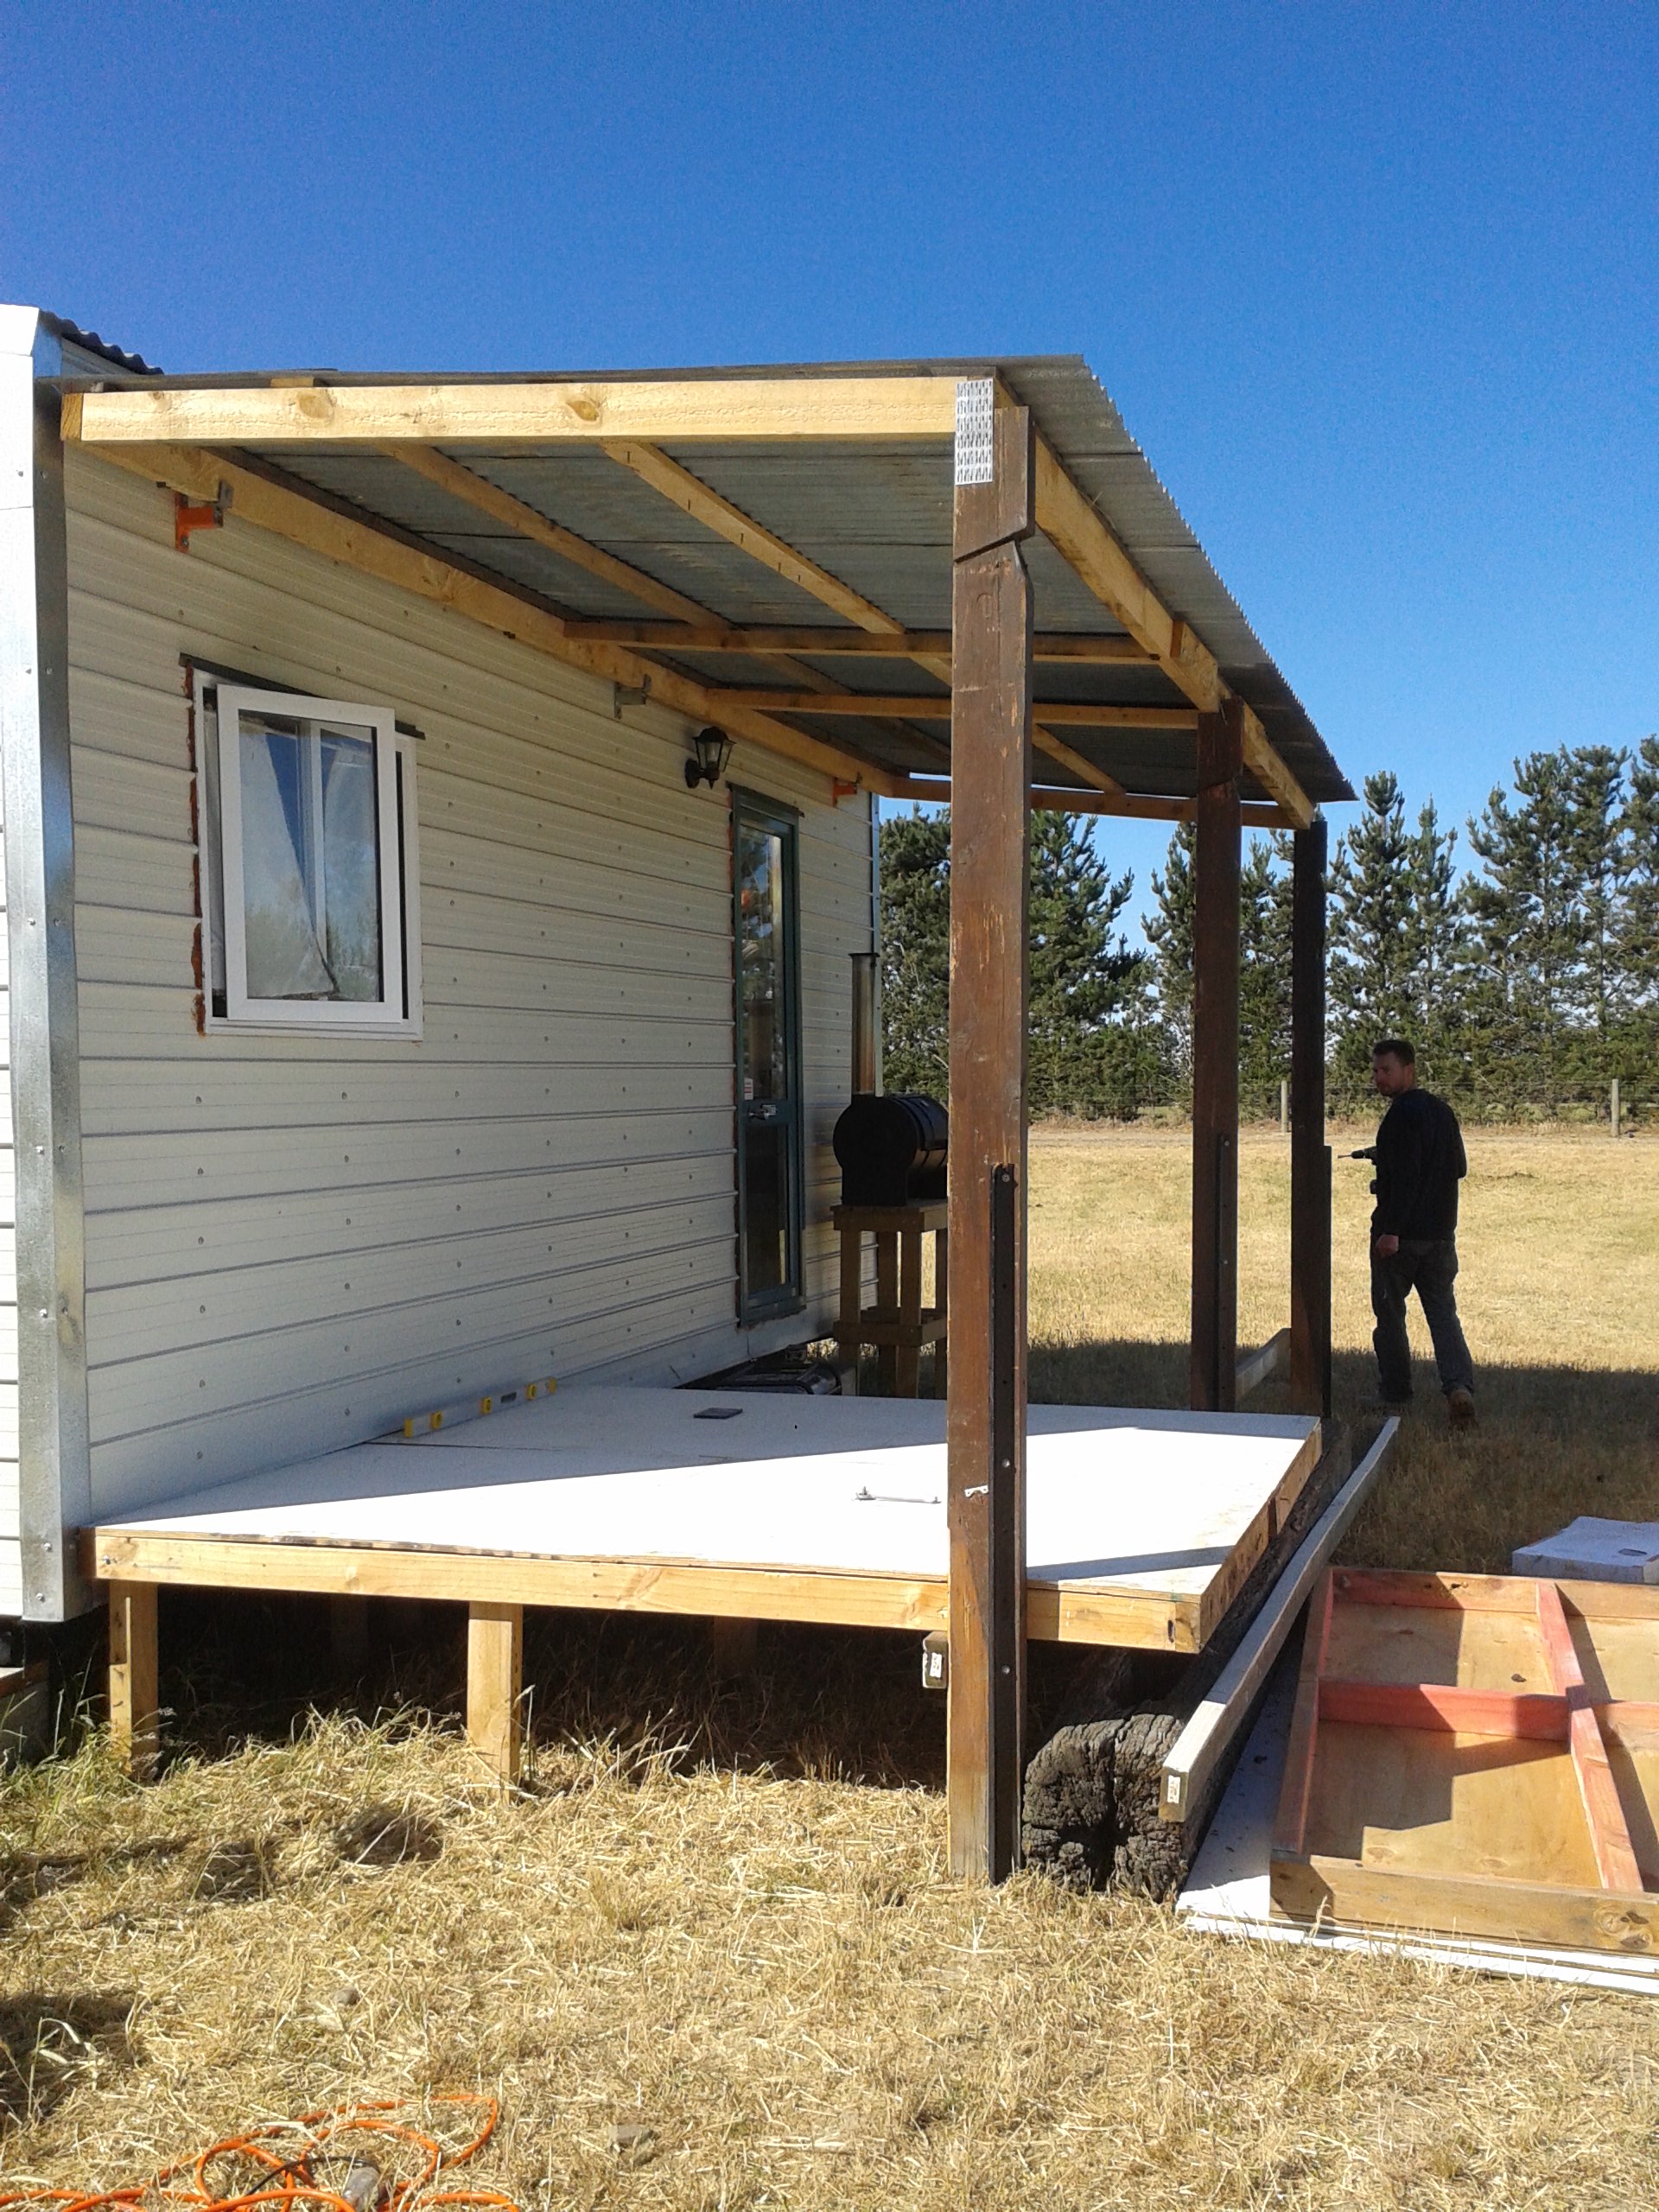
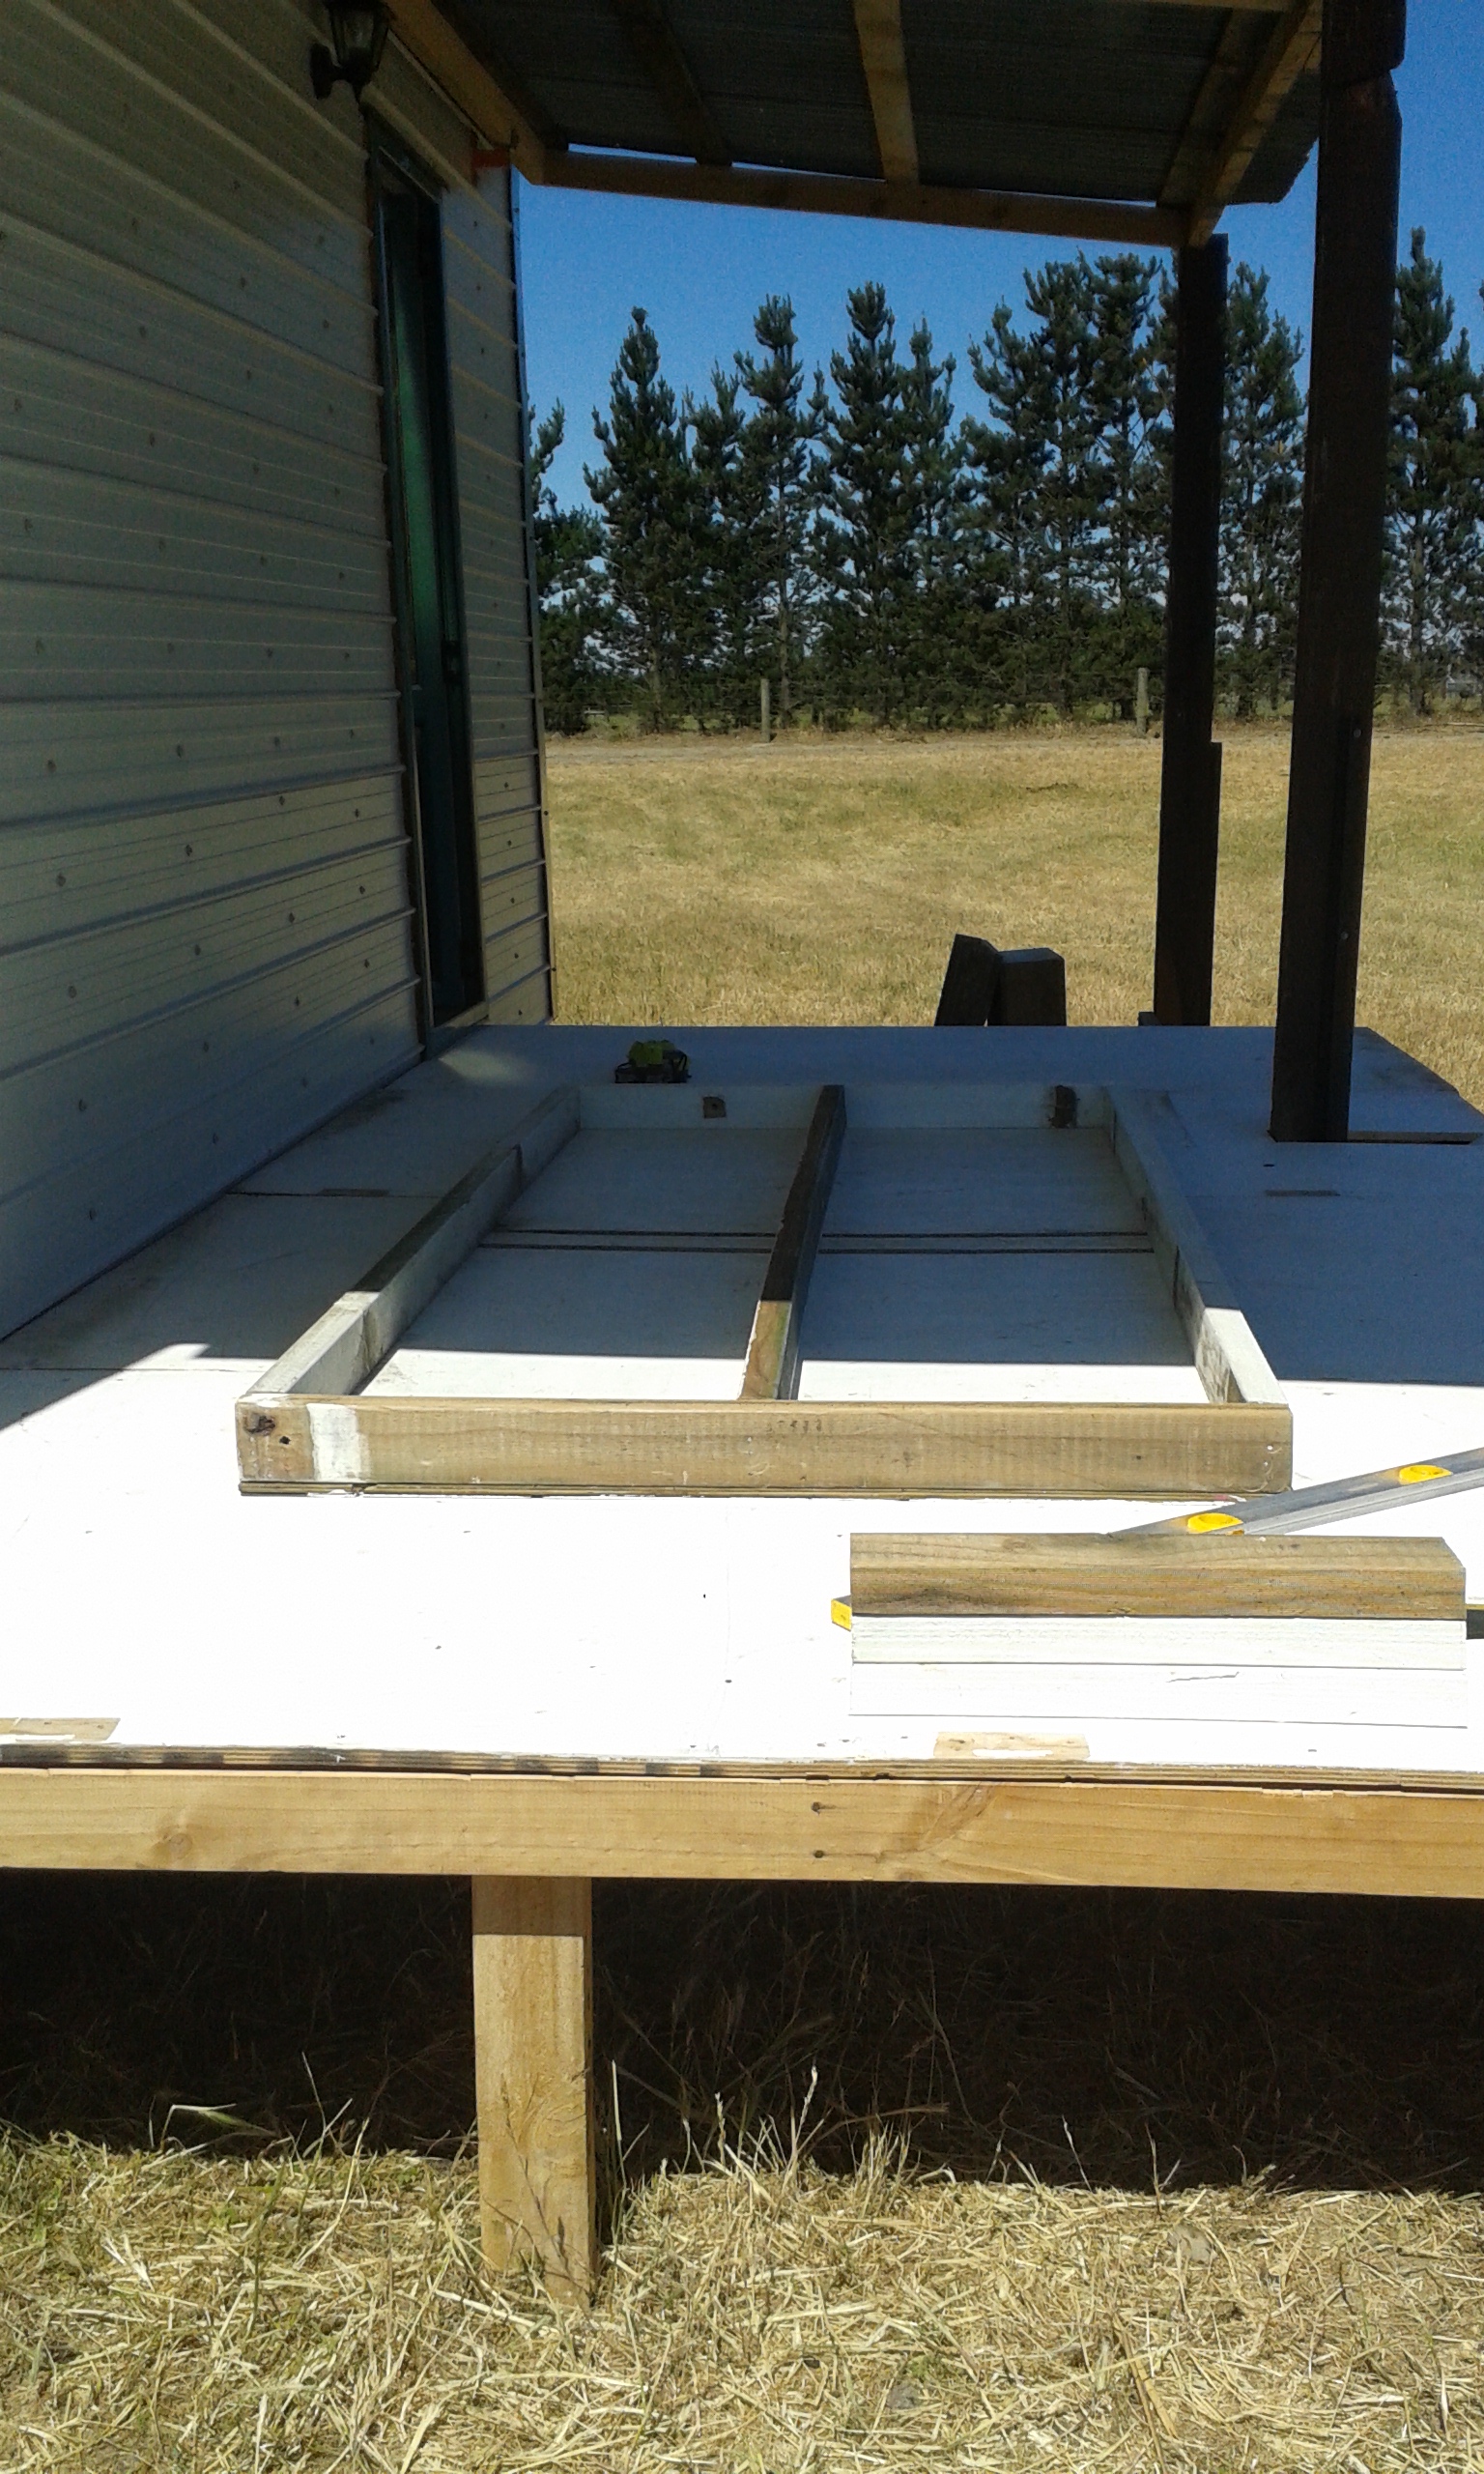
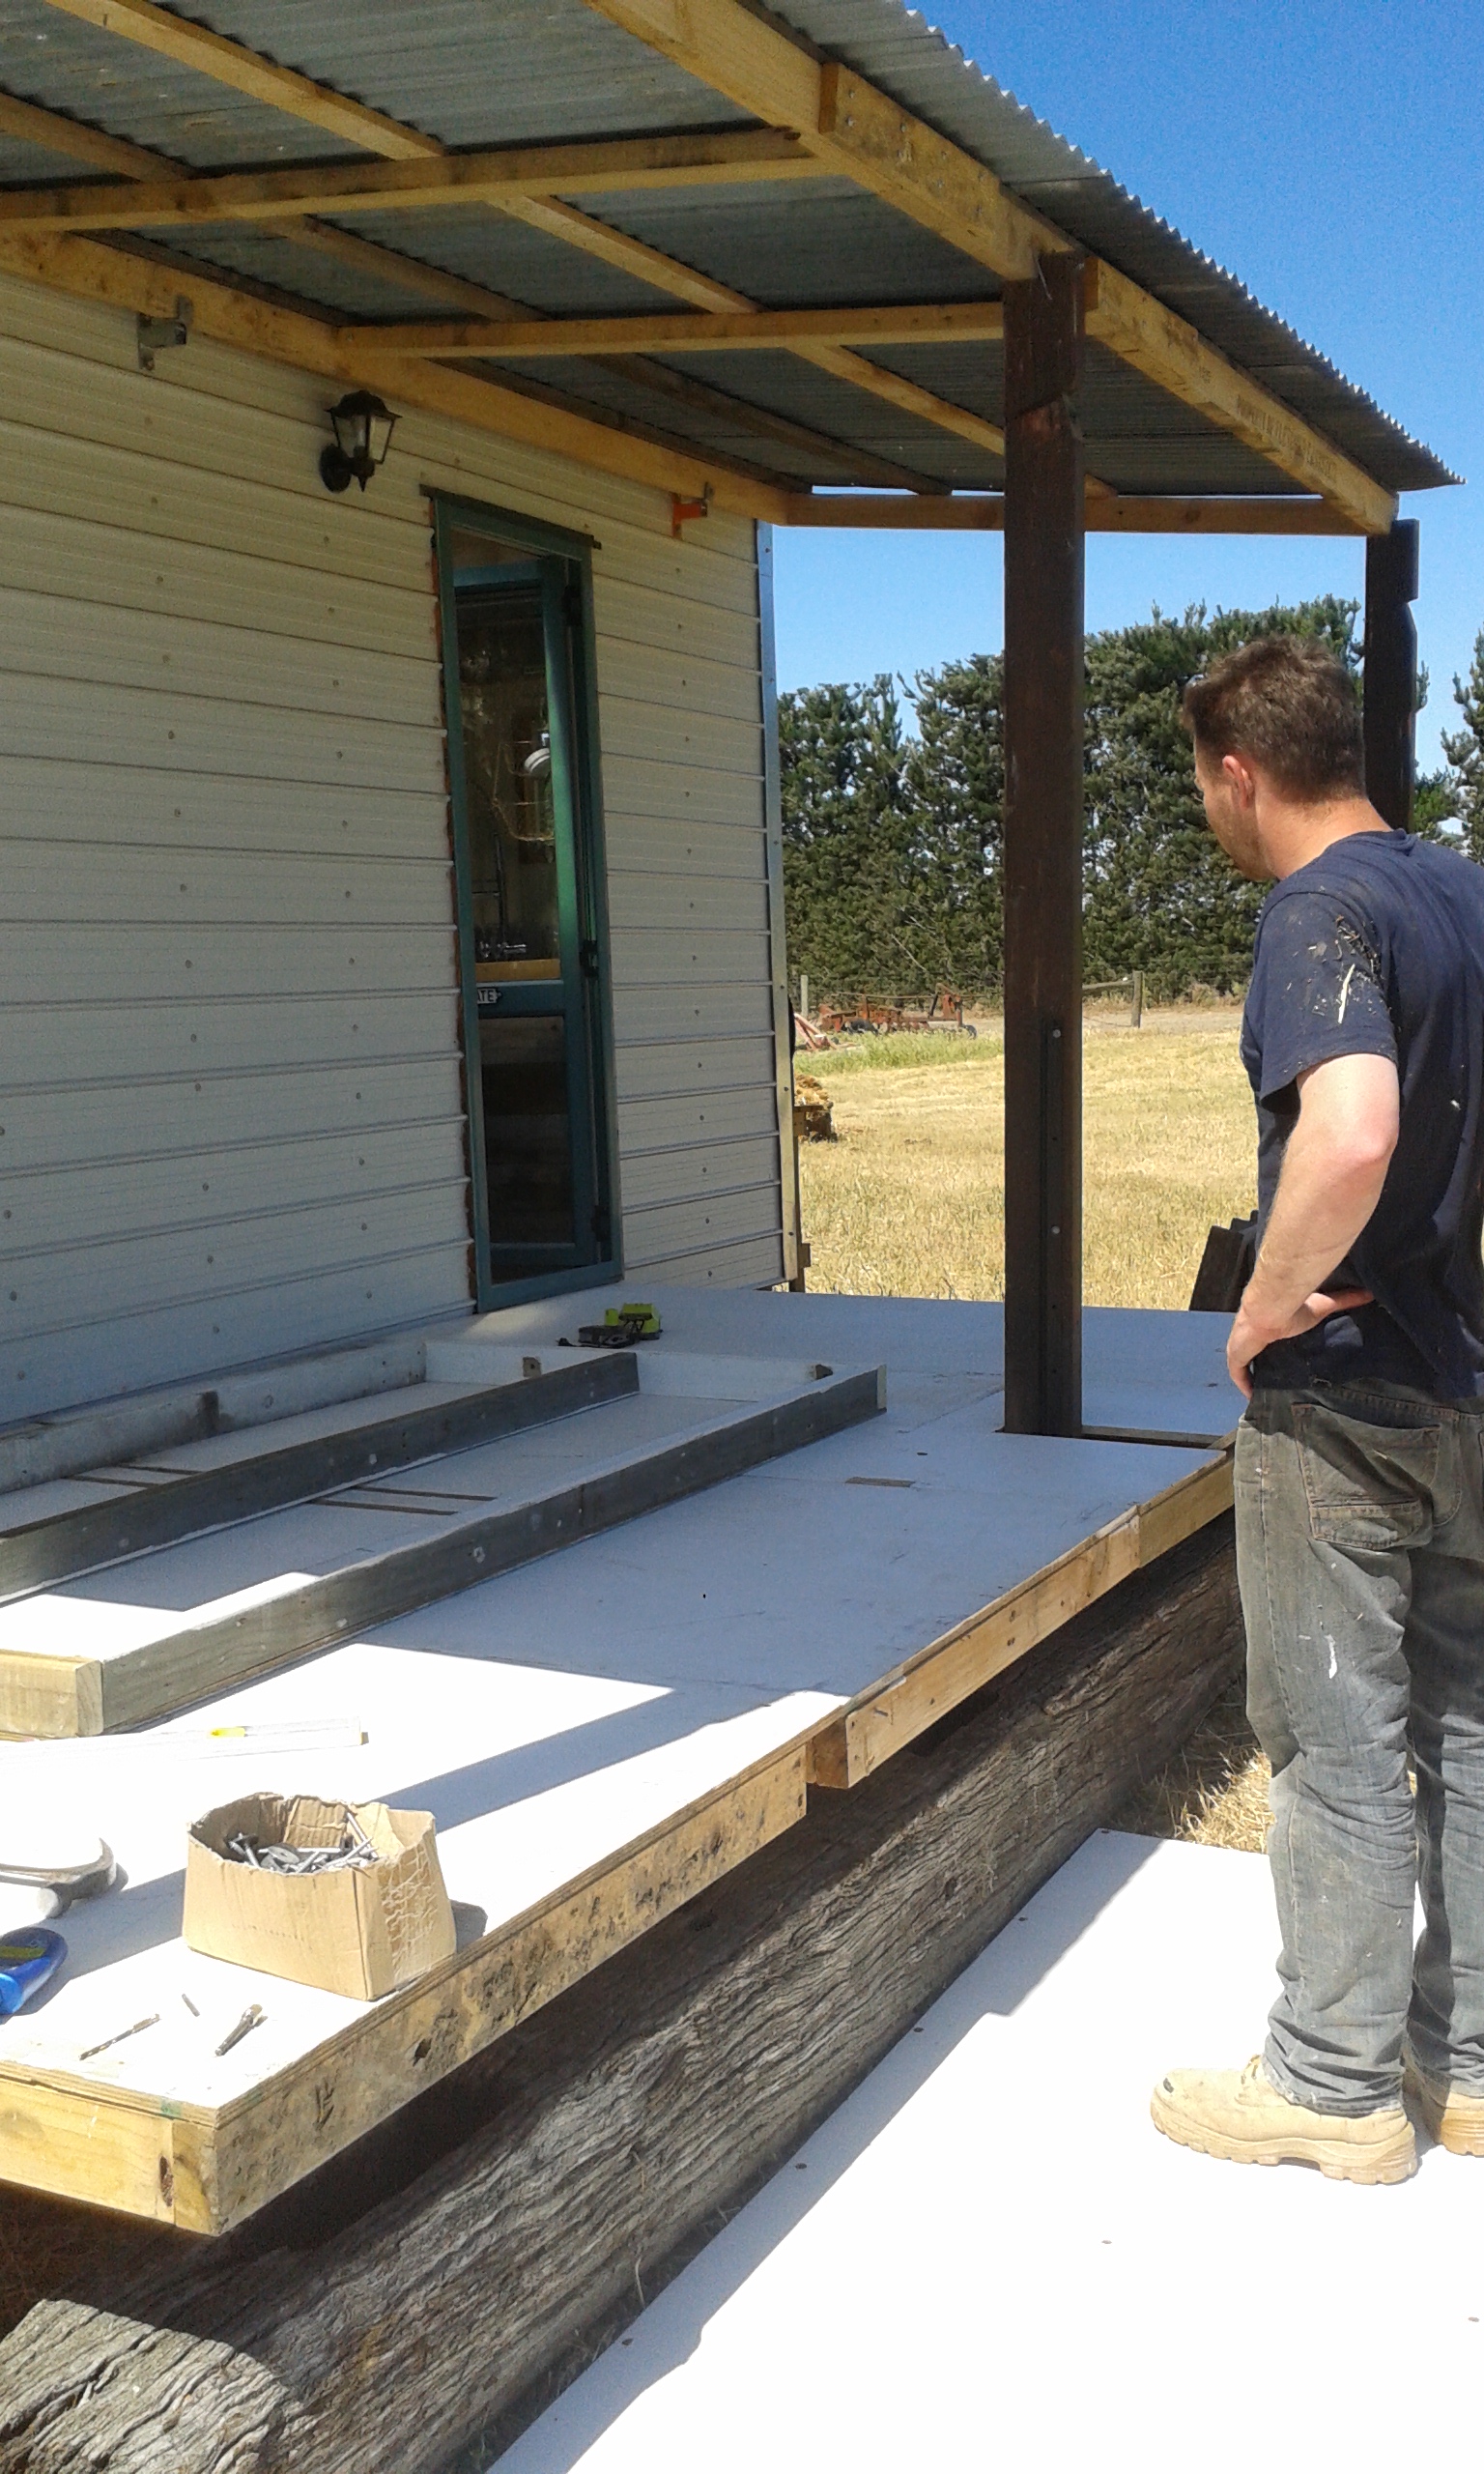
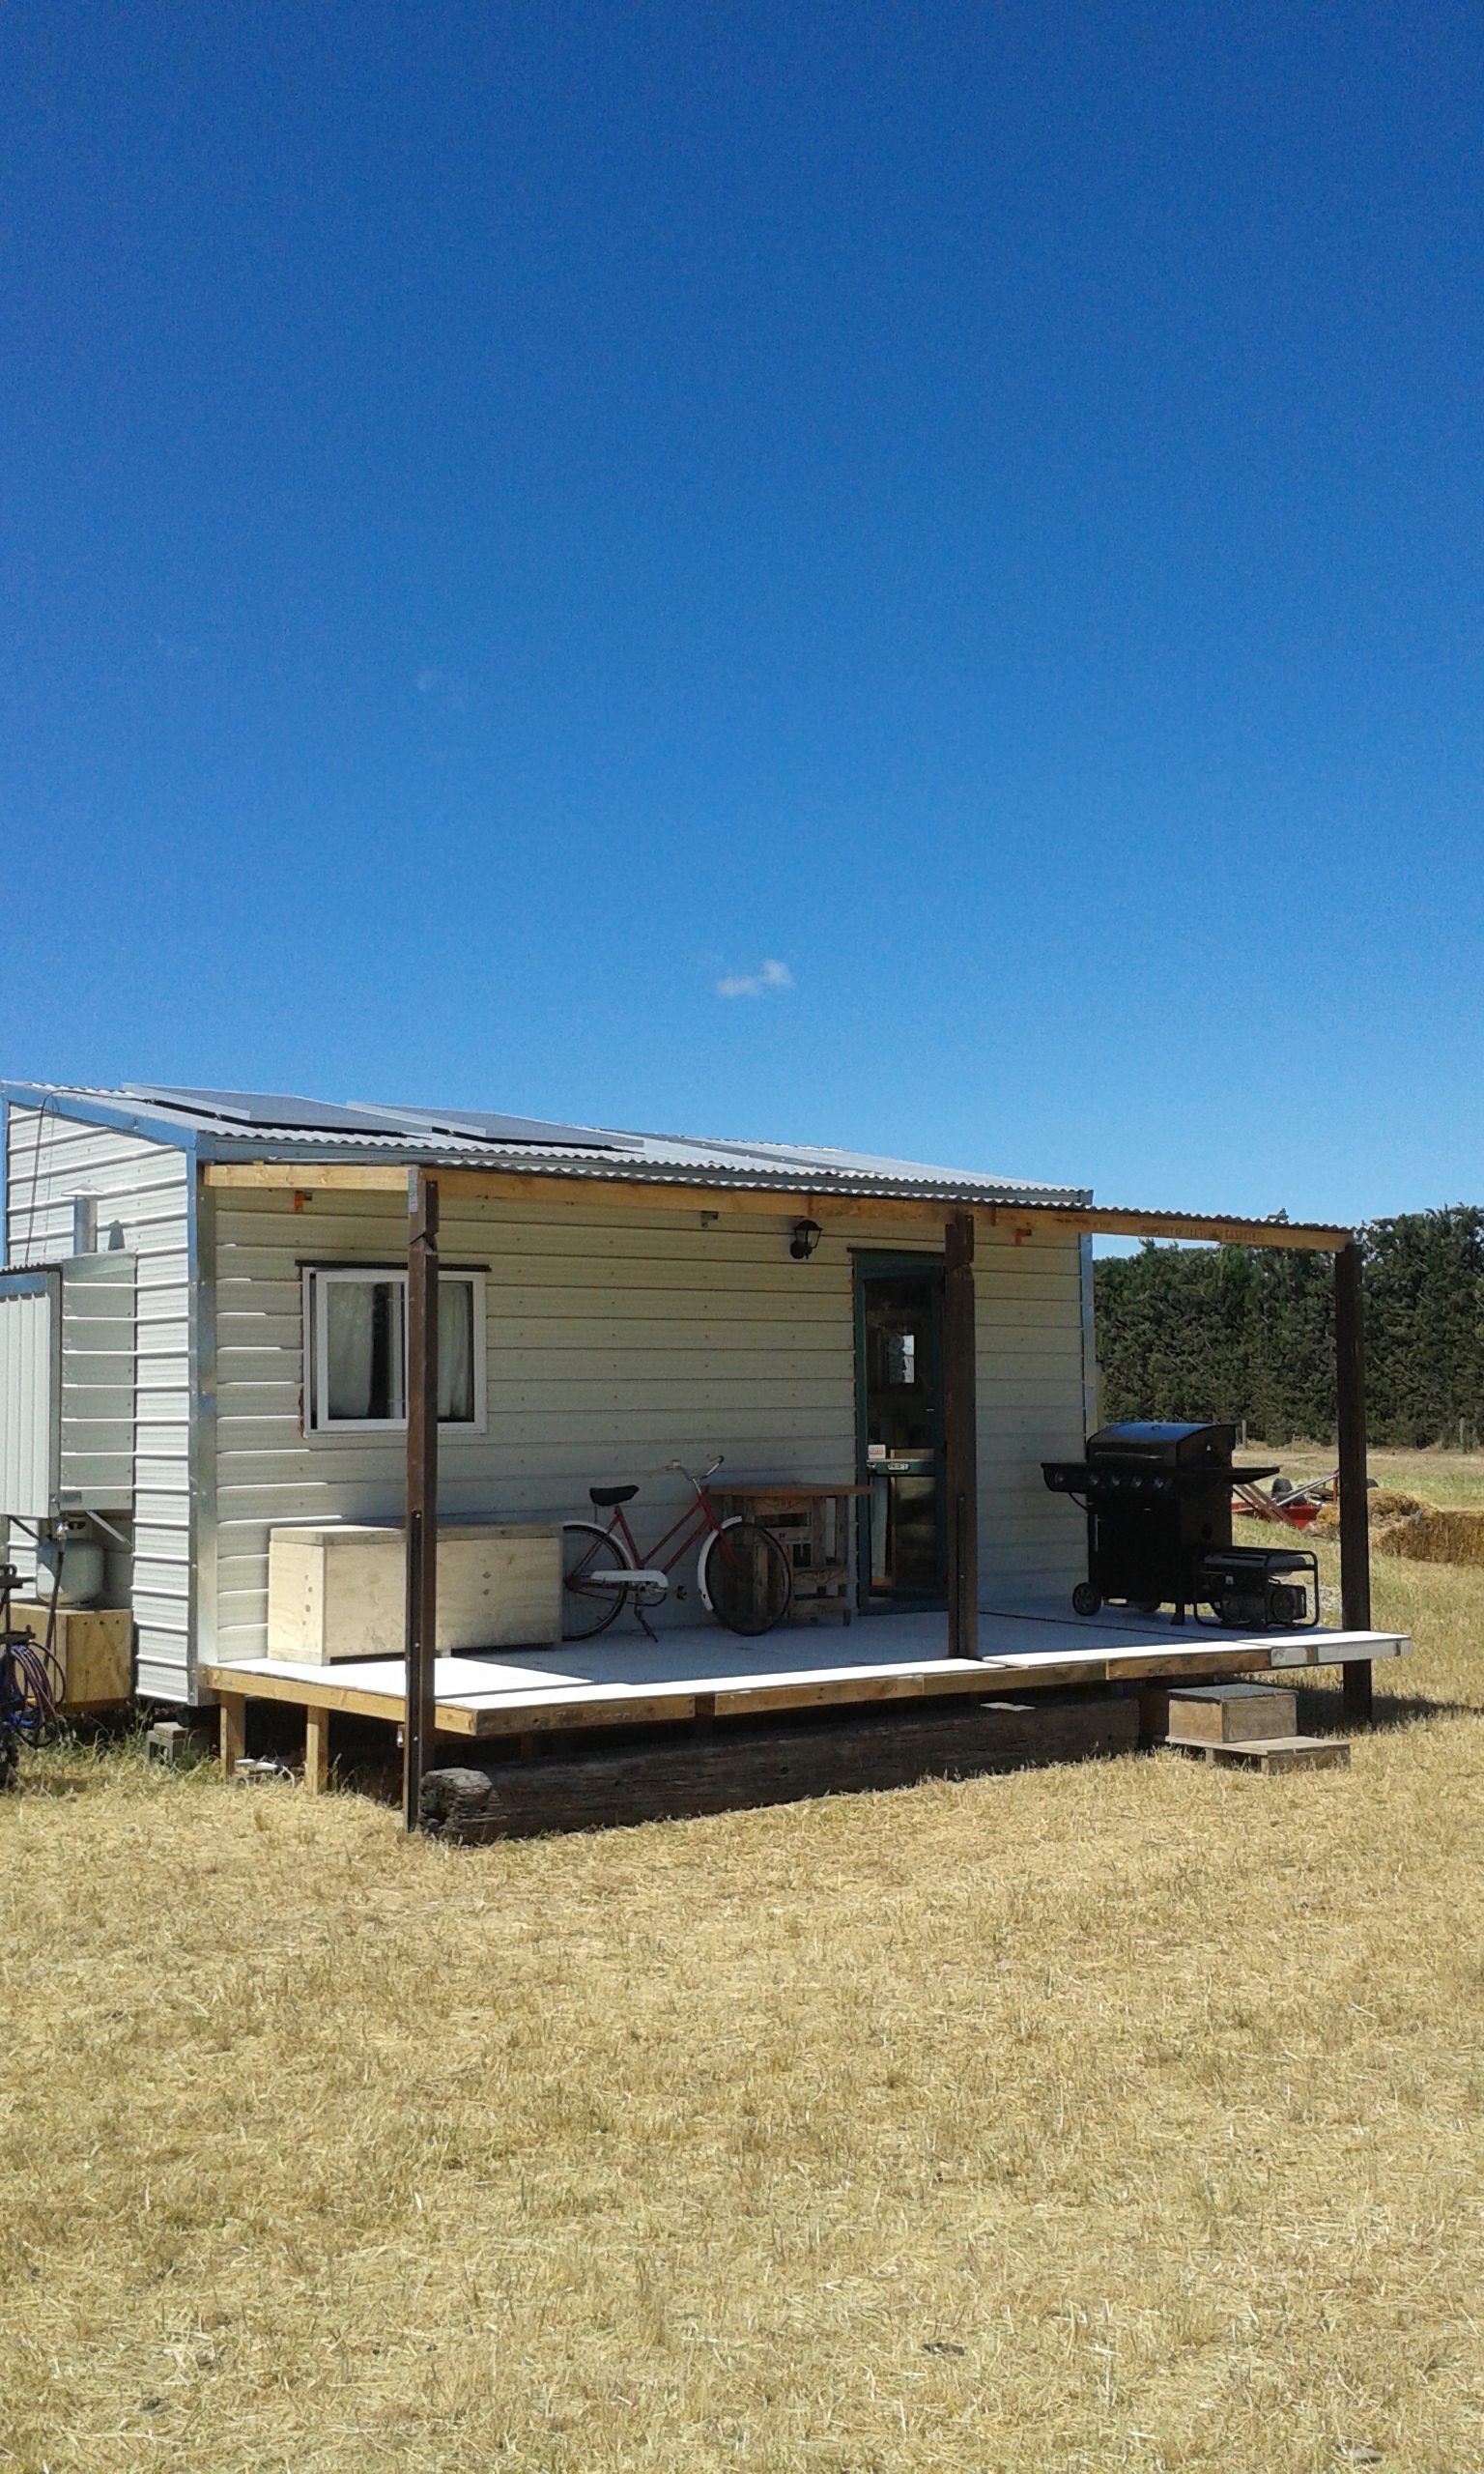
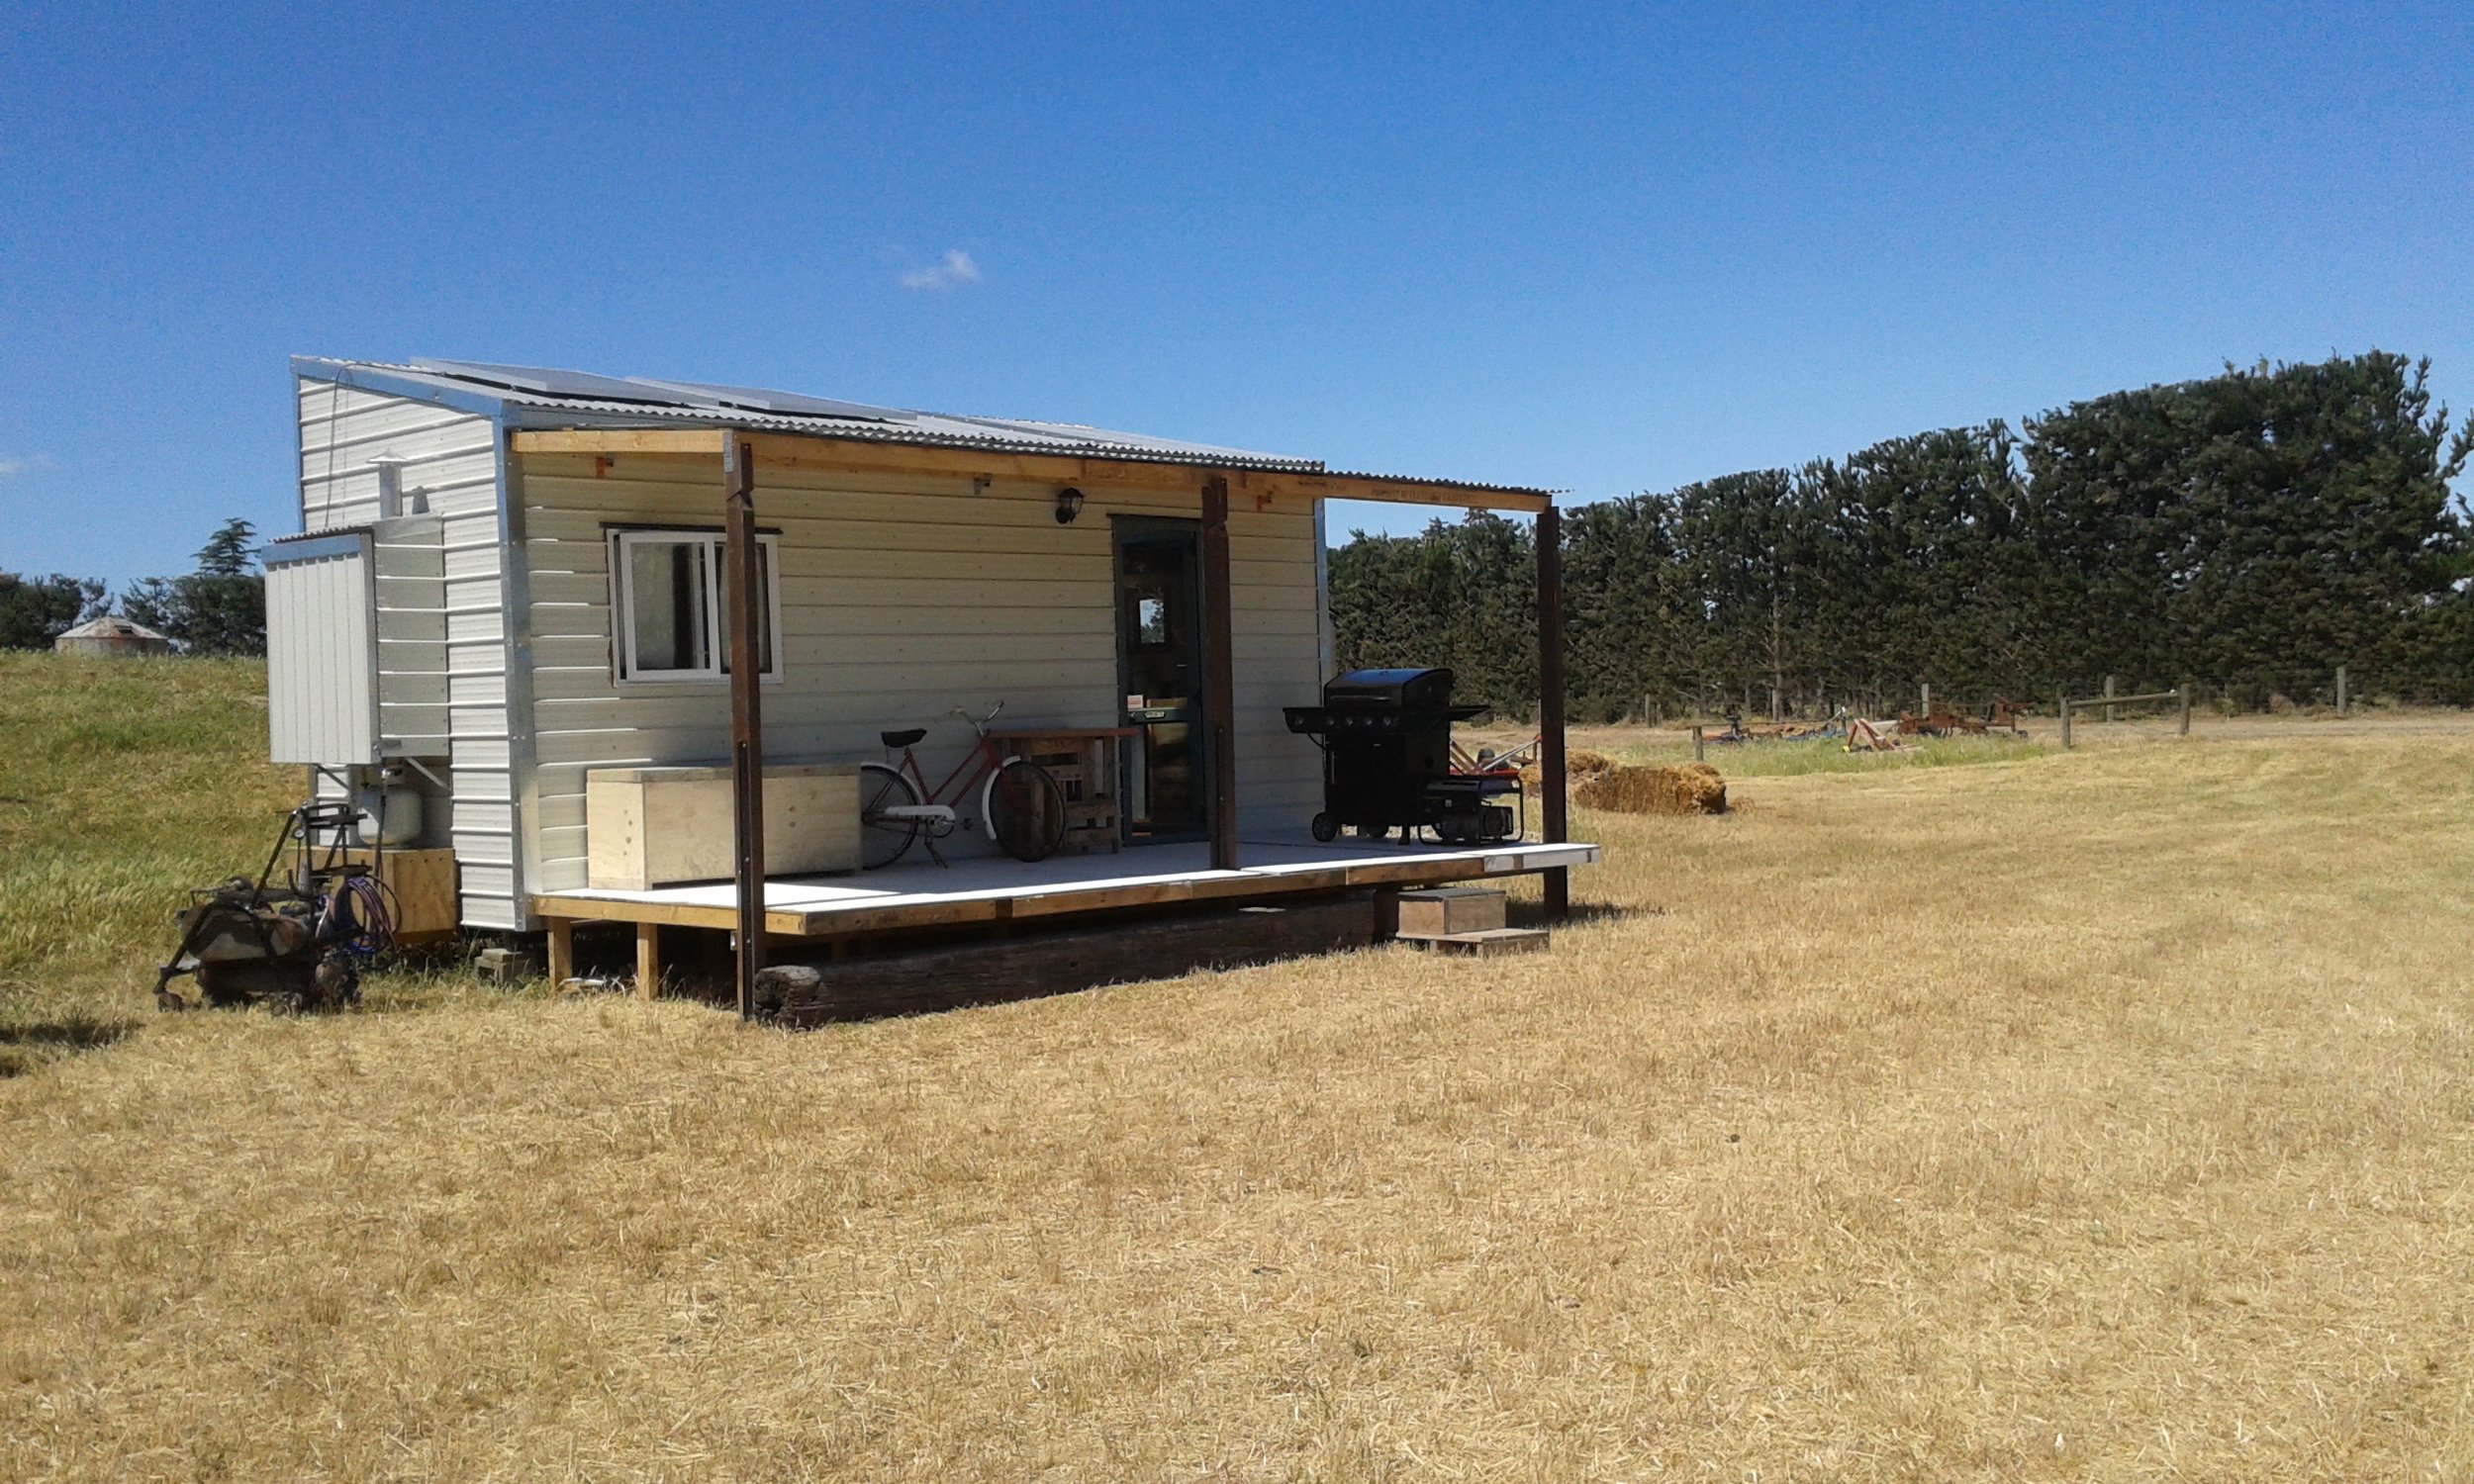
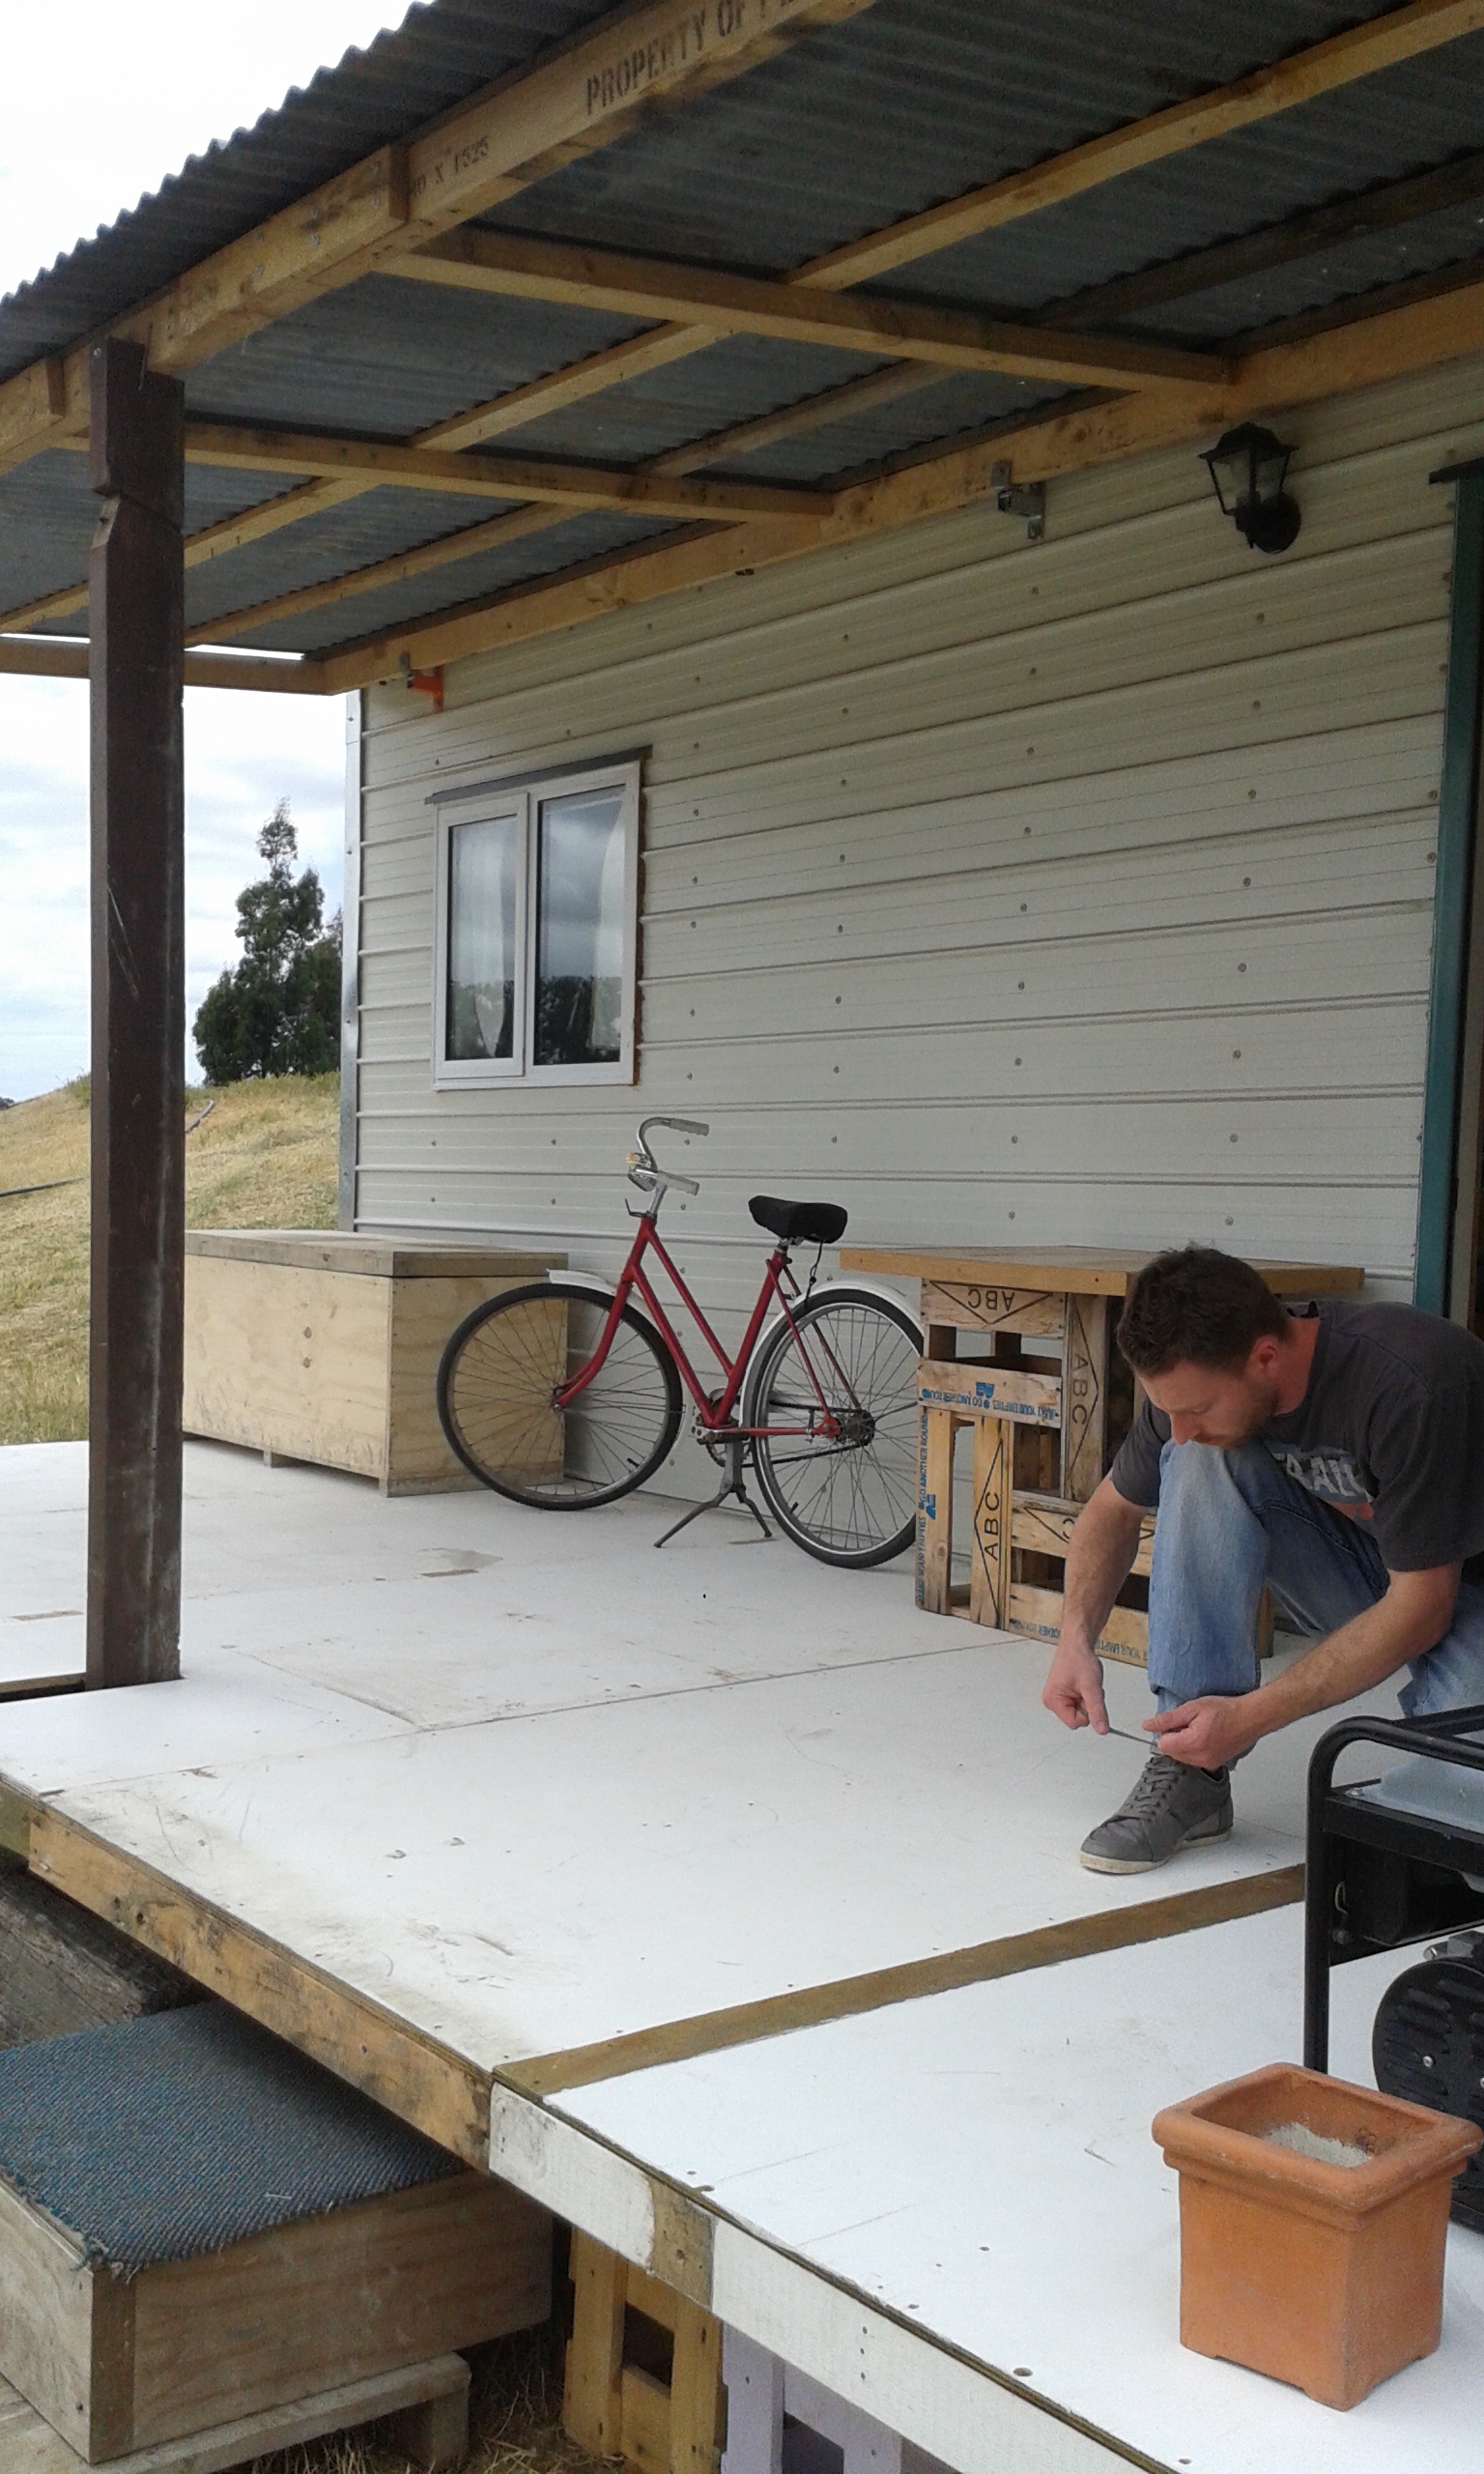
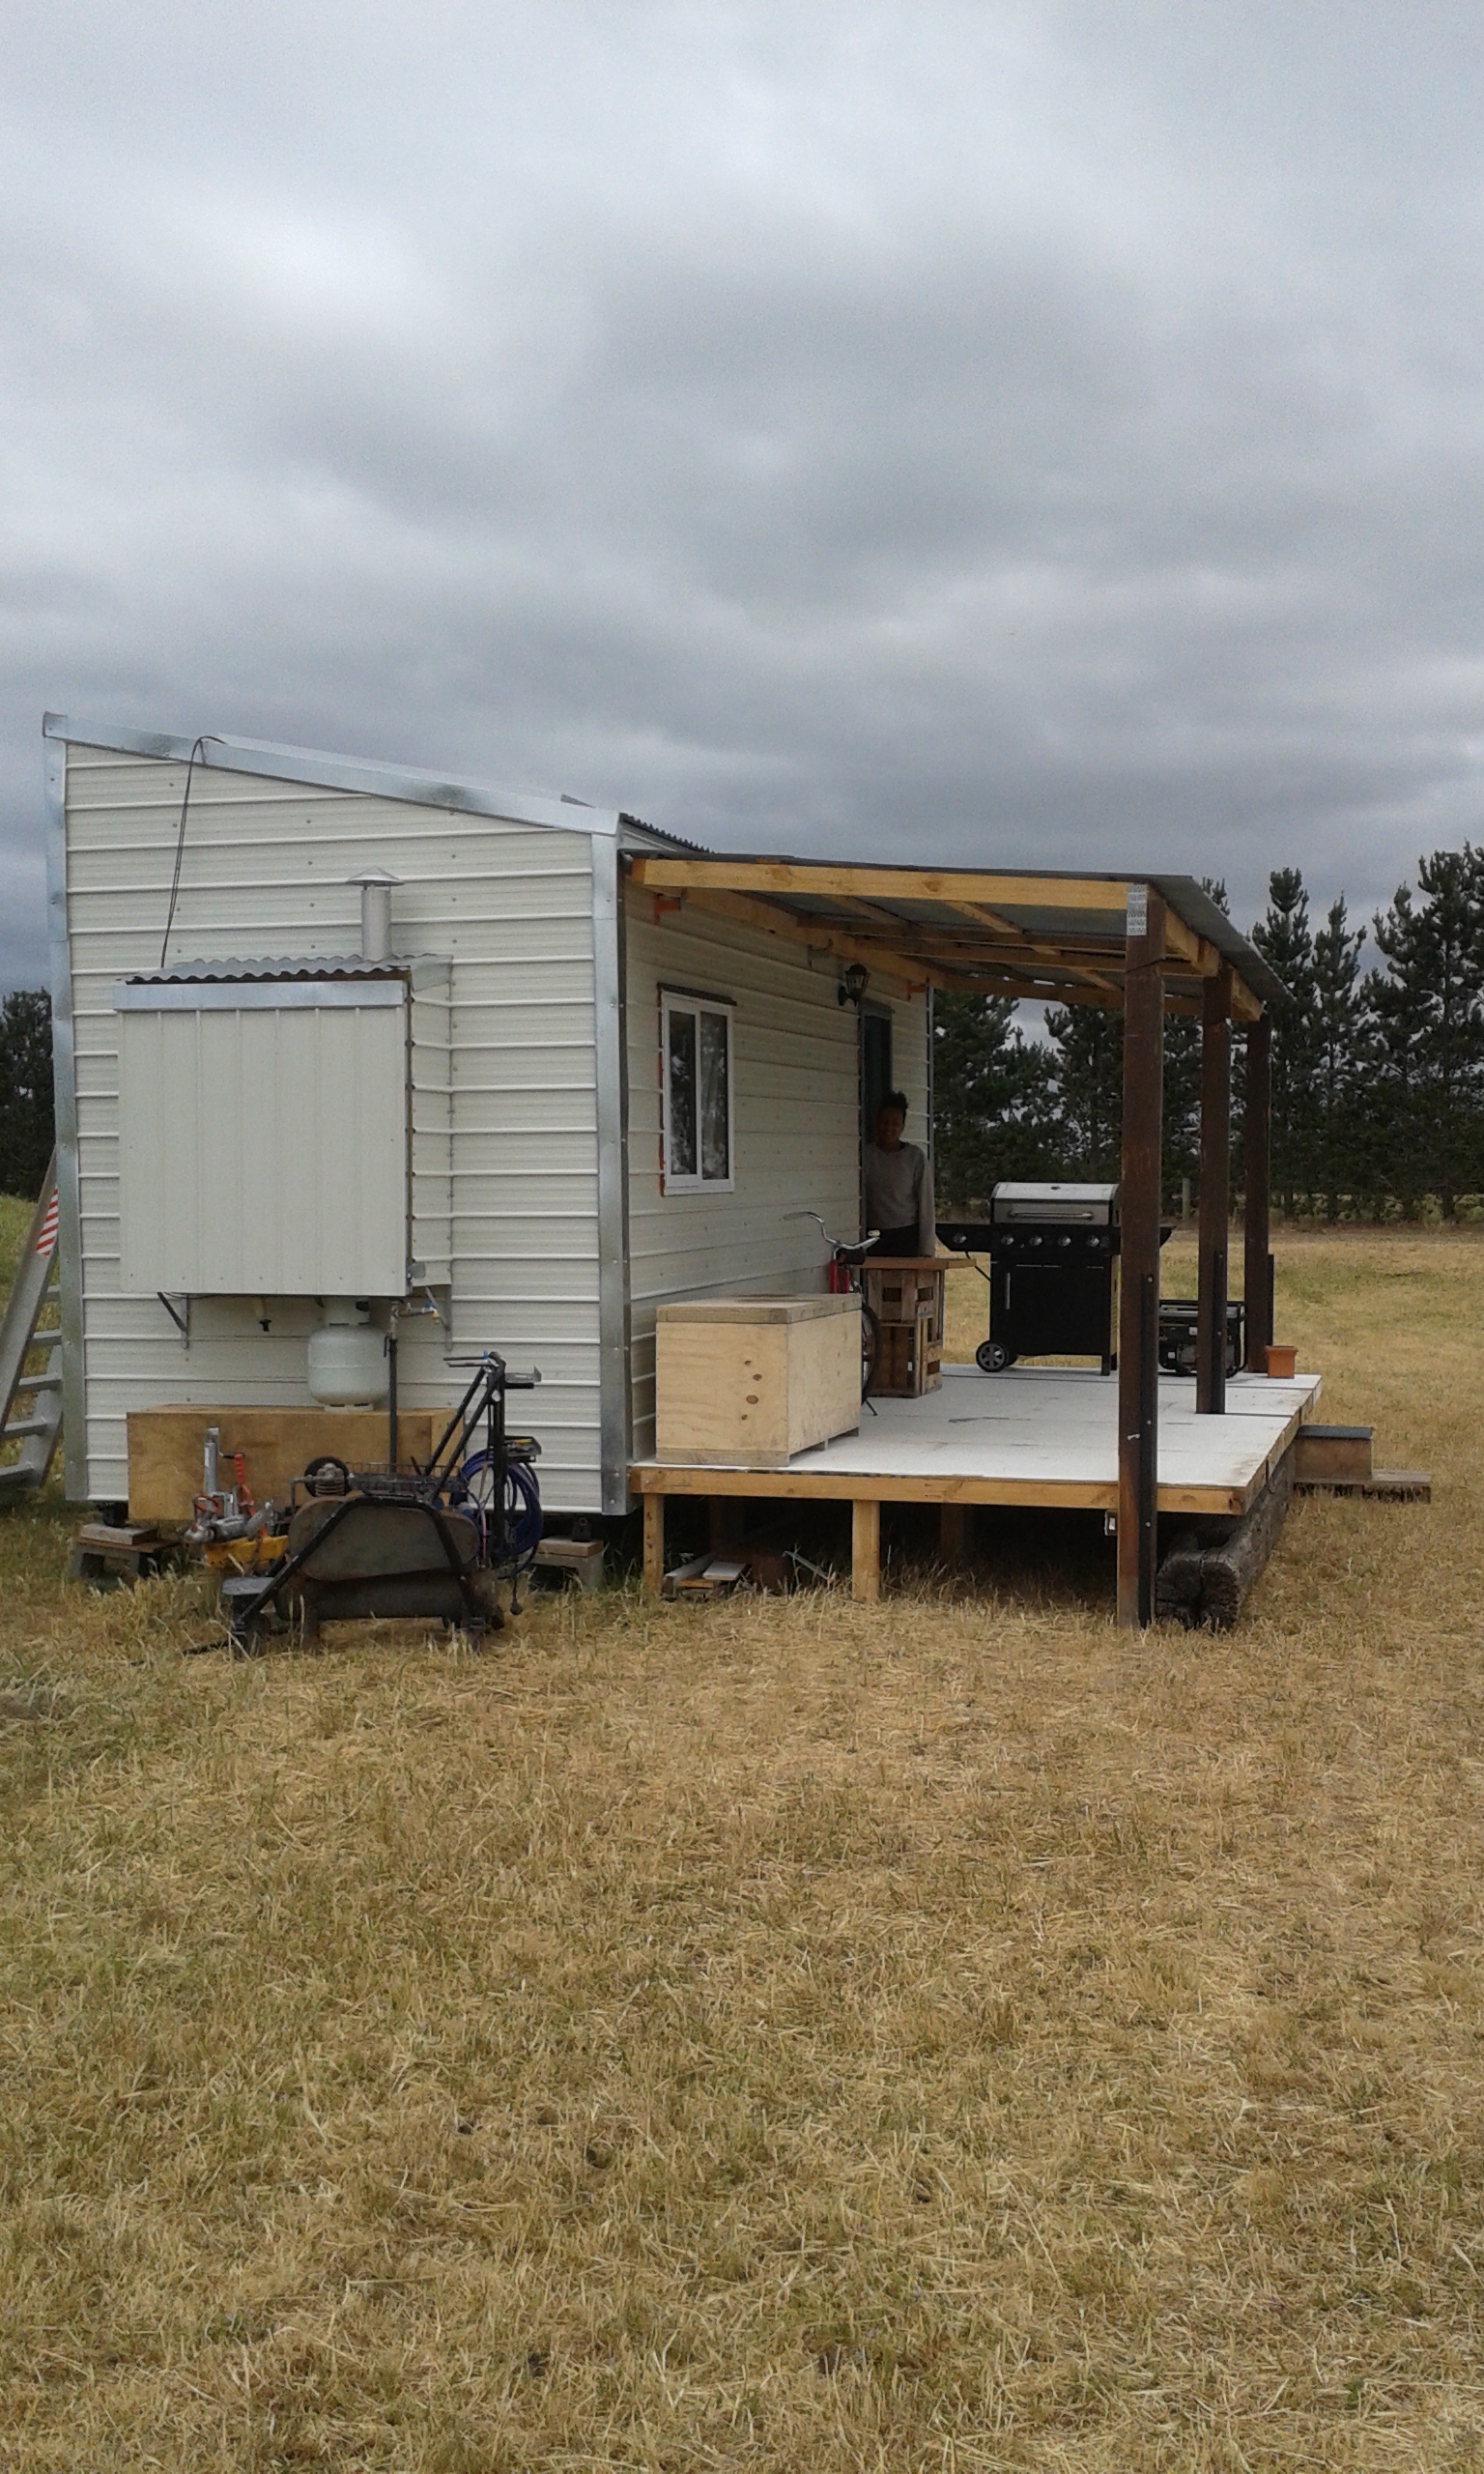
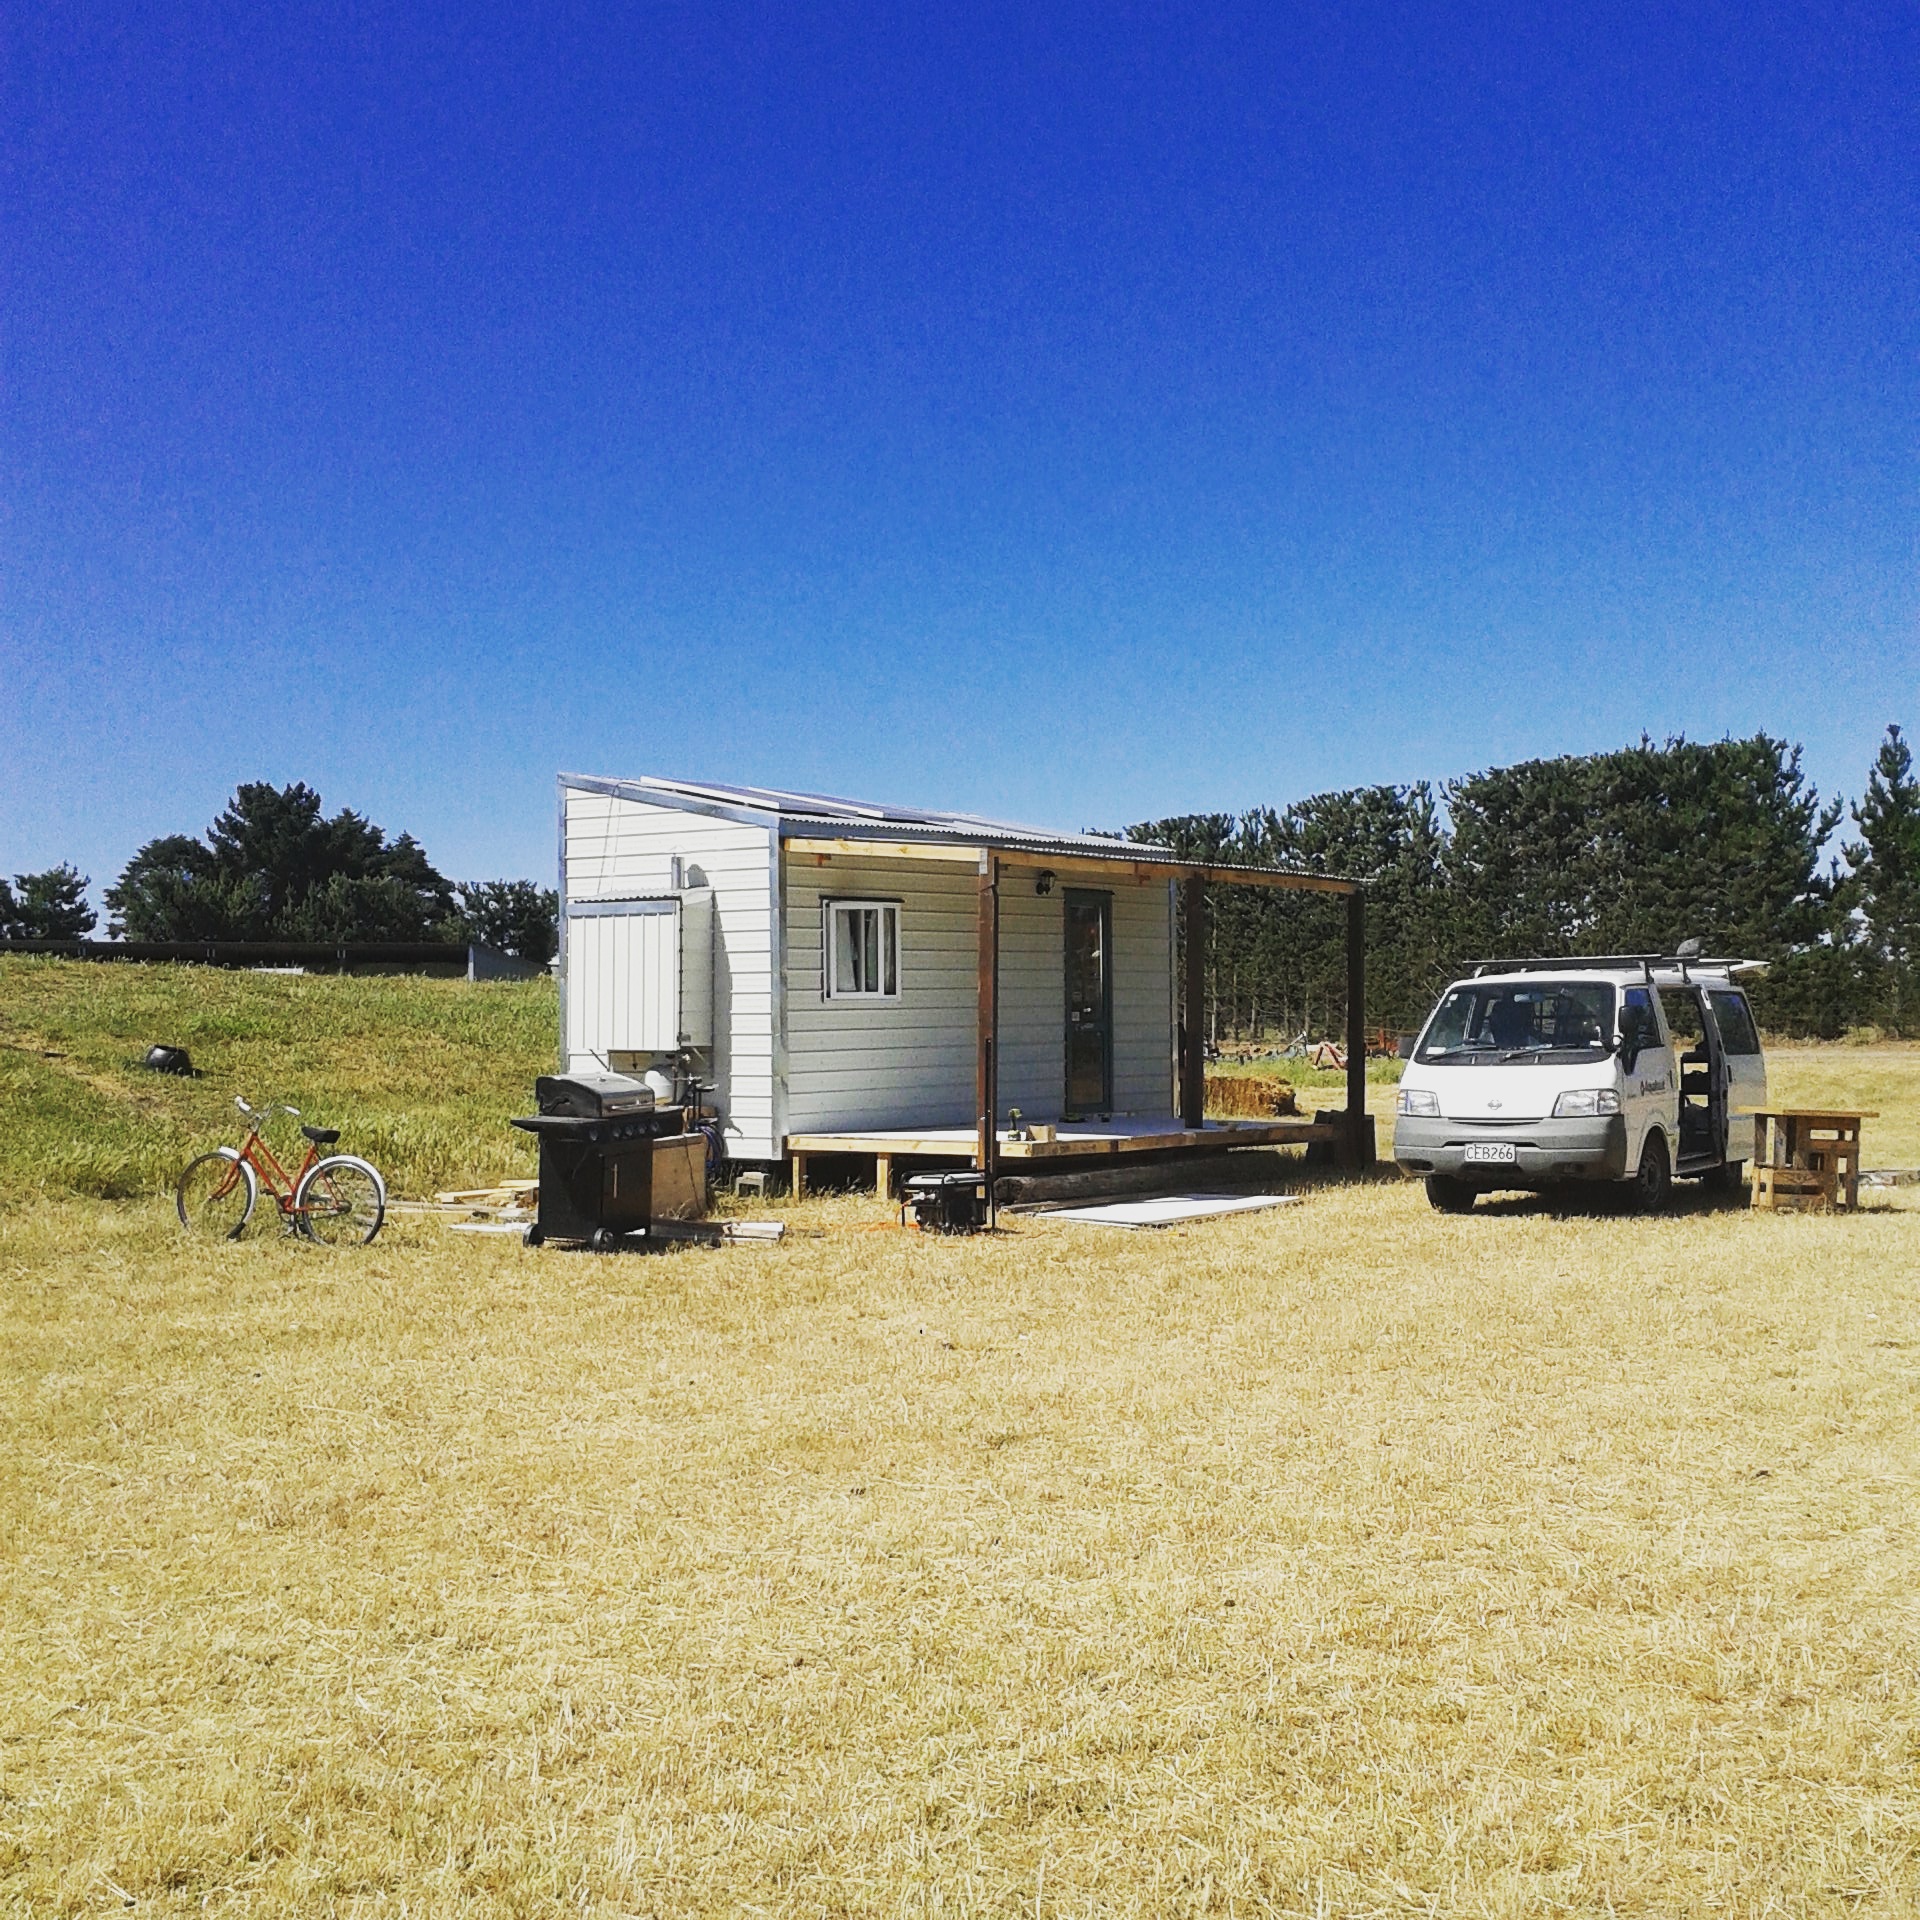
A nice coat of deck paint will bring these former walls back to life with a new purpose. Thanks for reading.
Pat and Cori
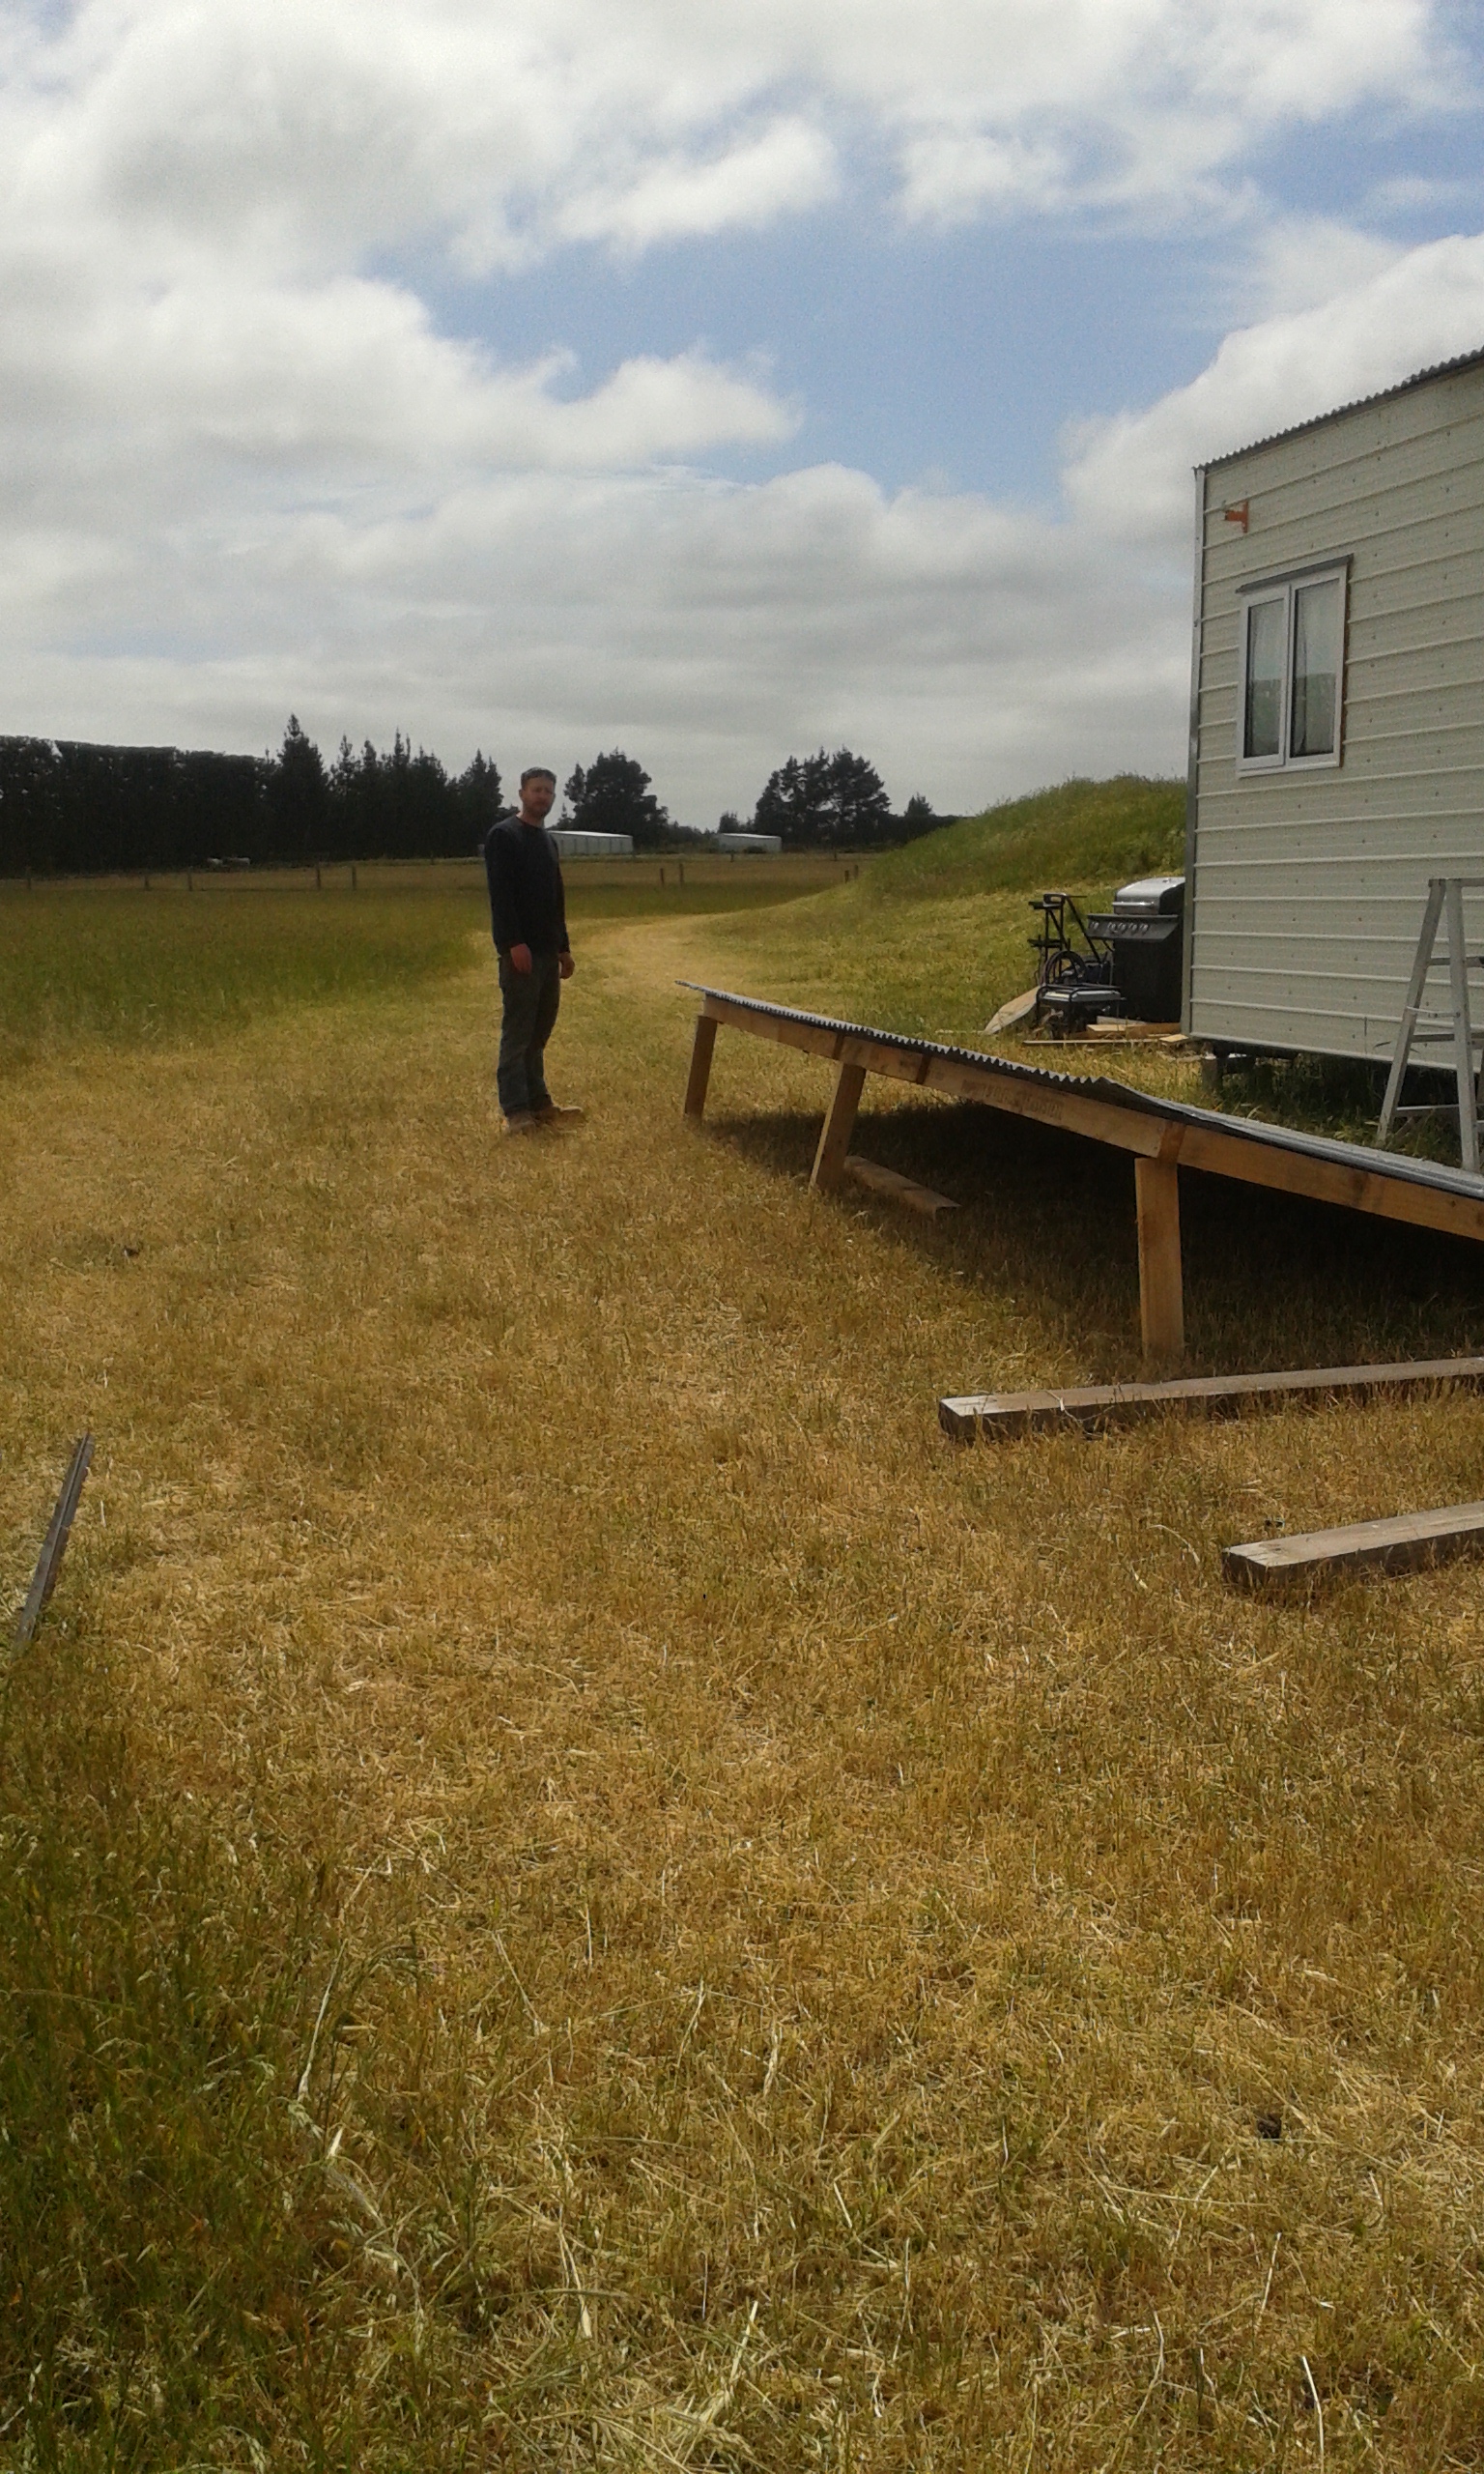
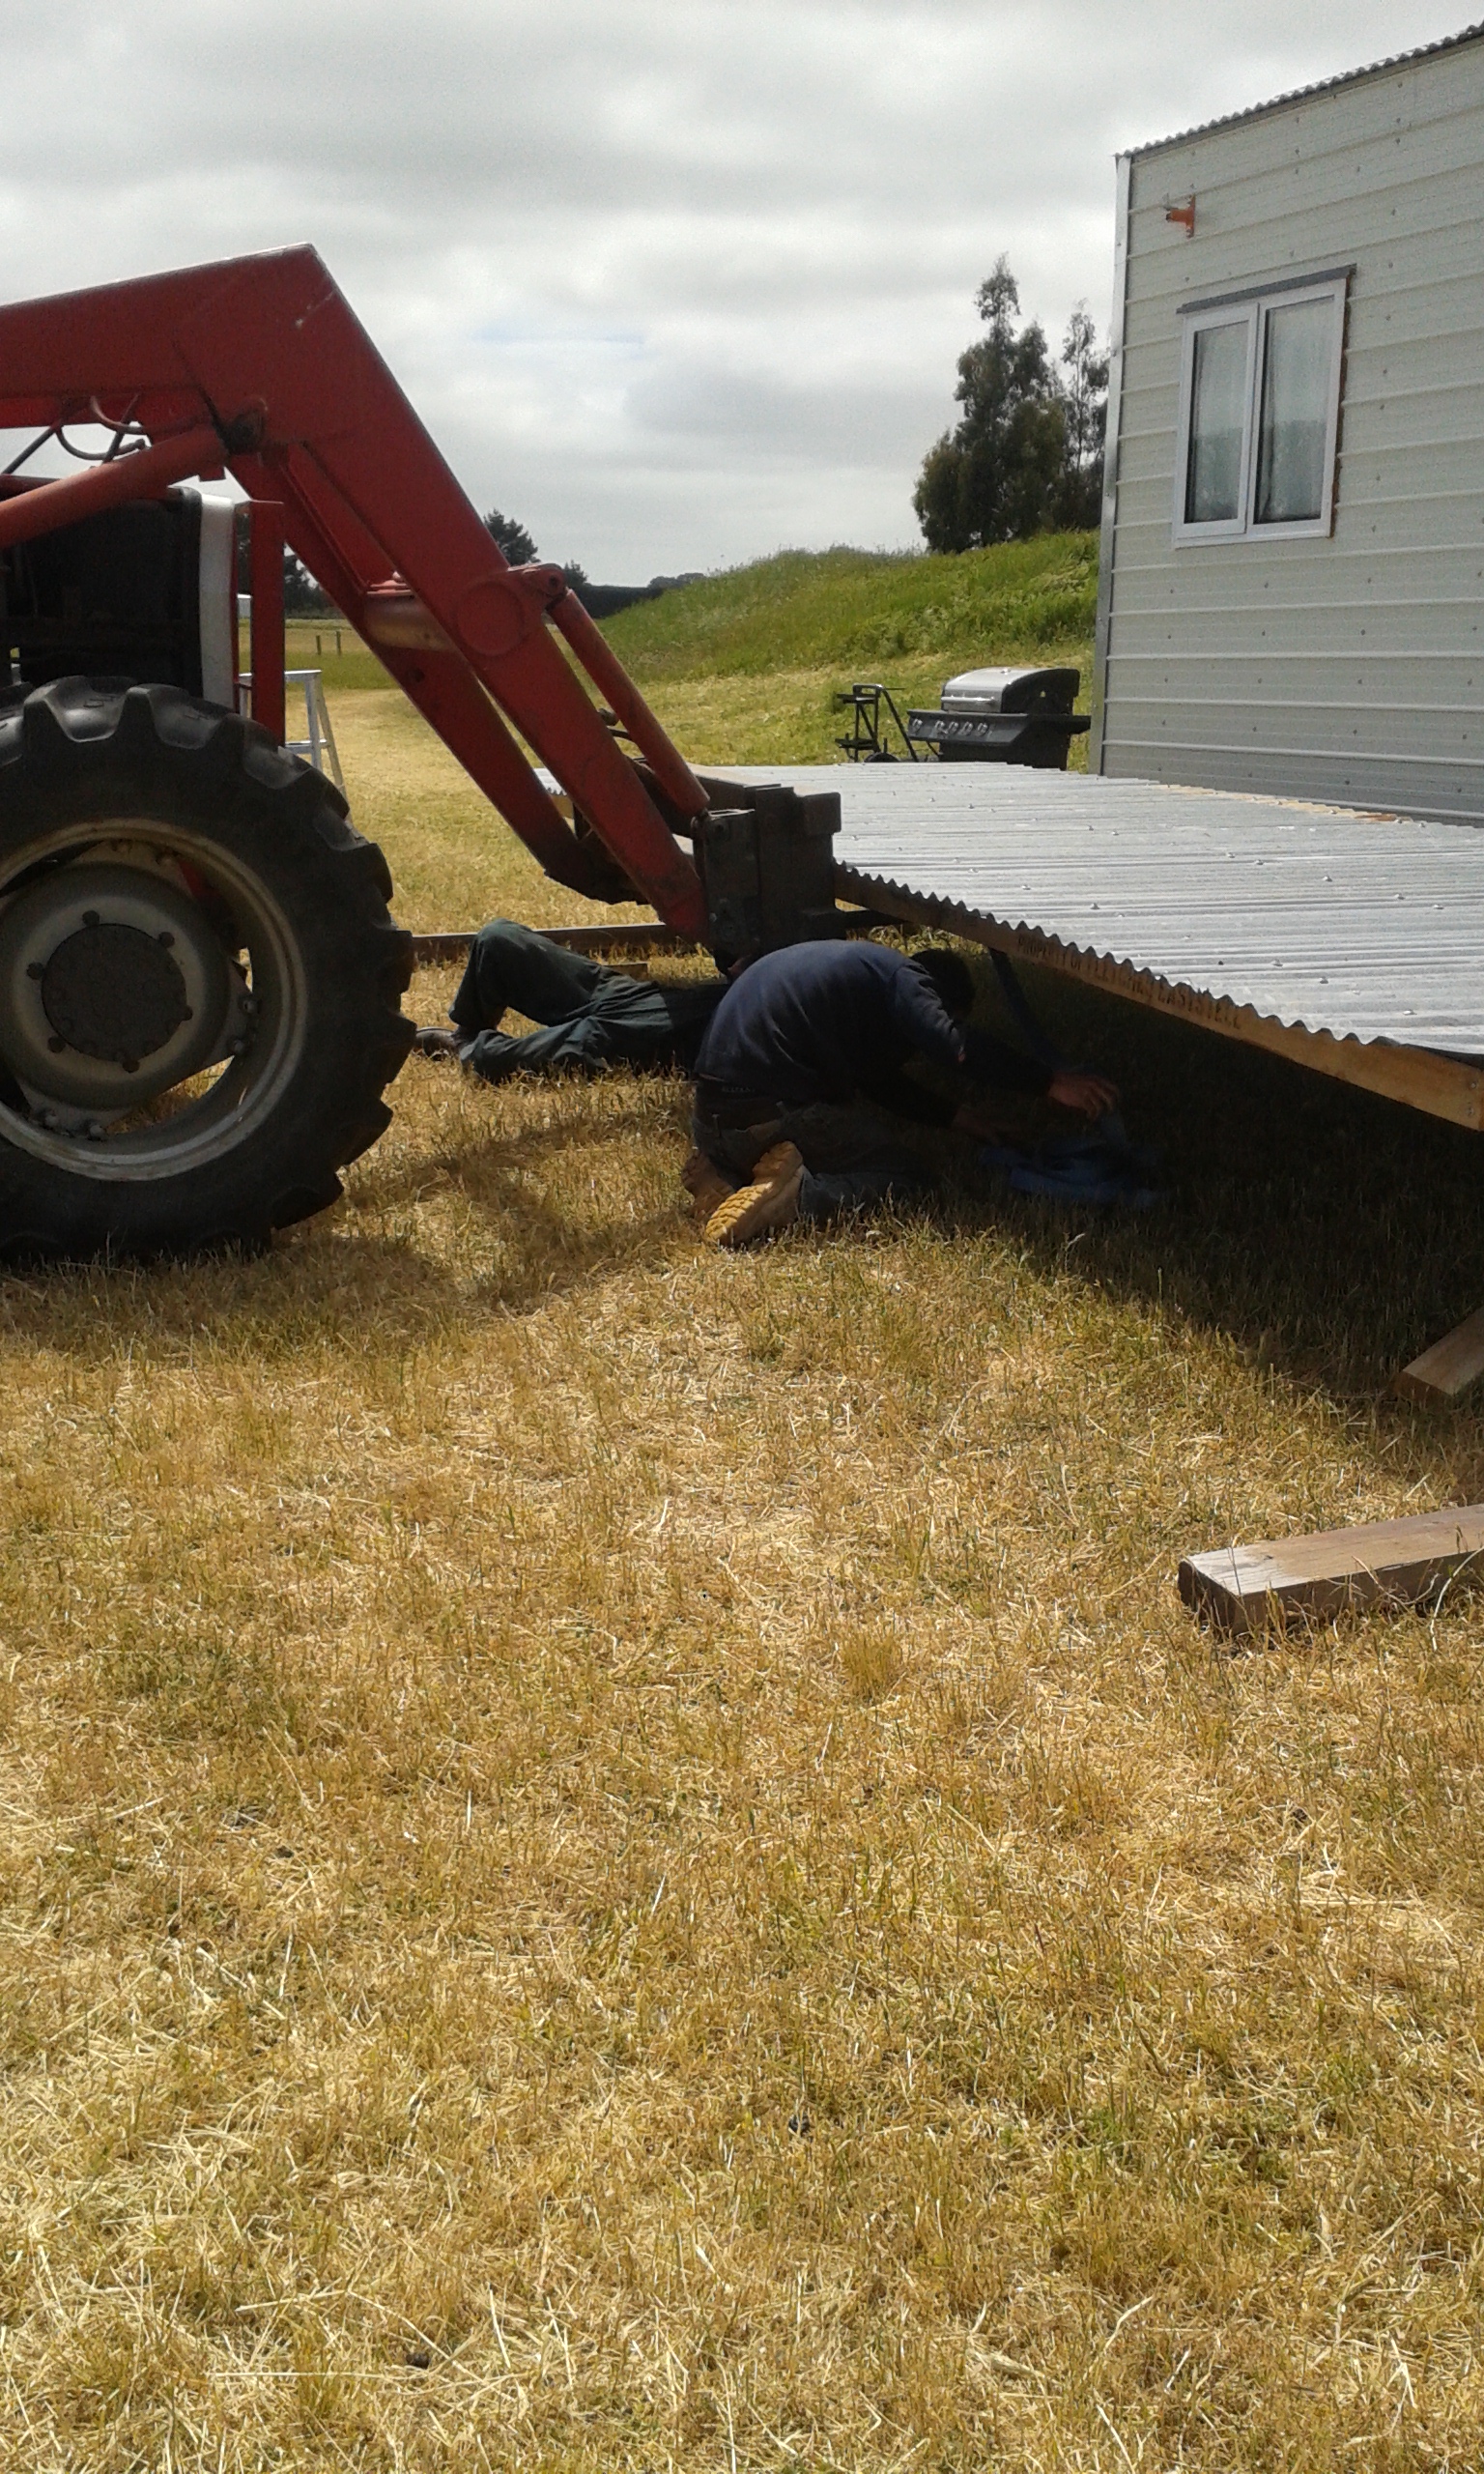
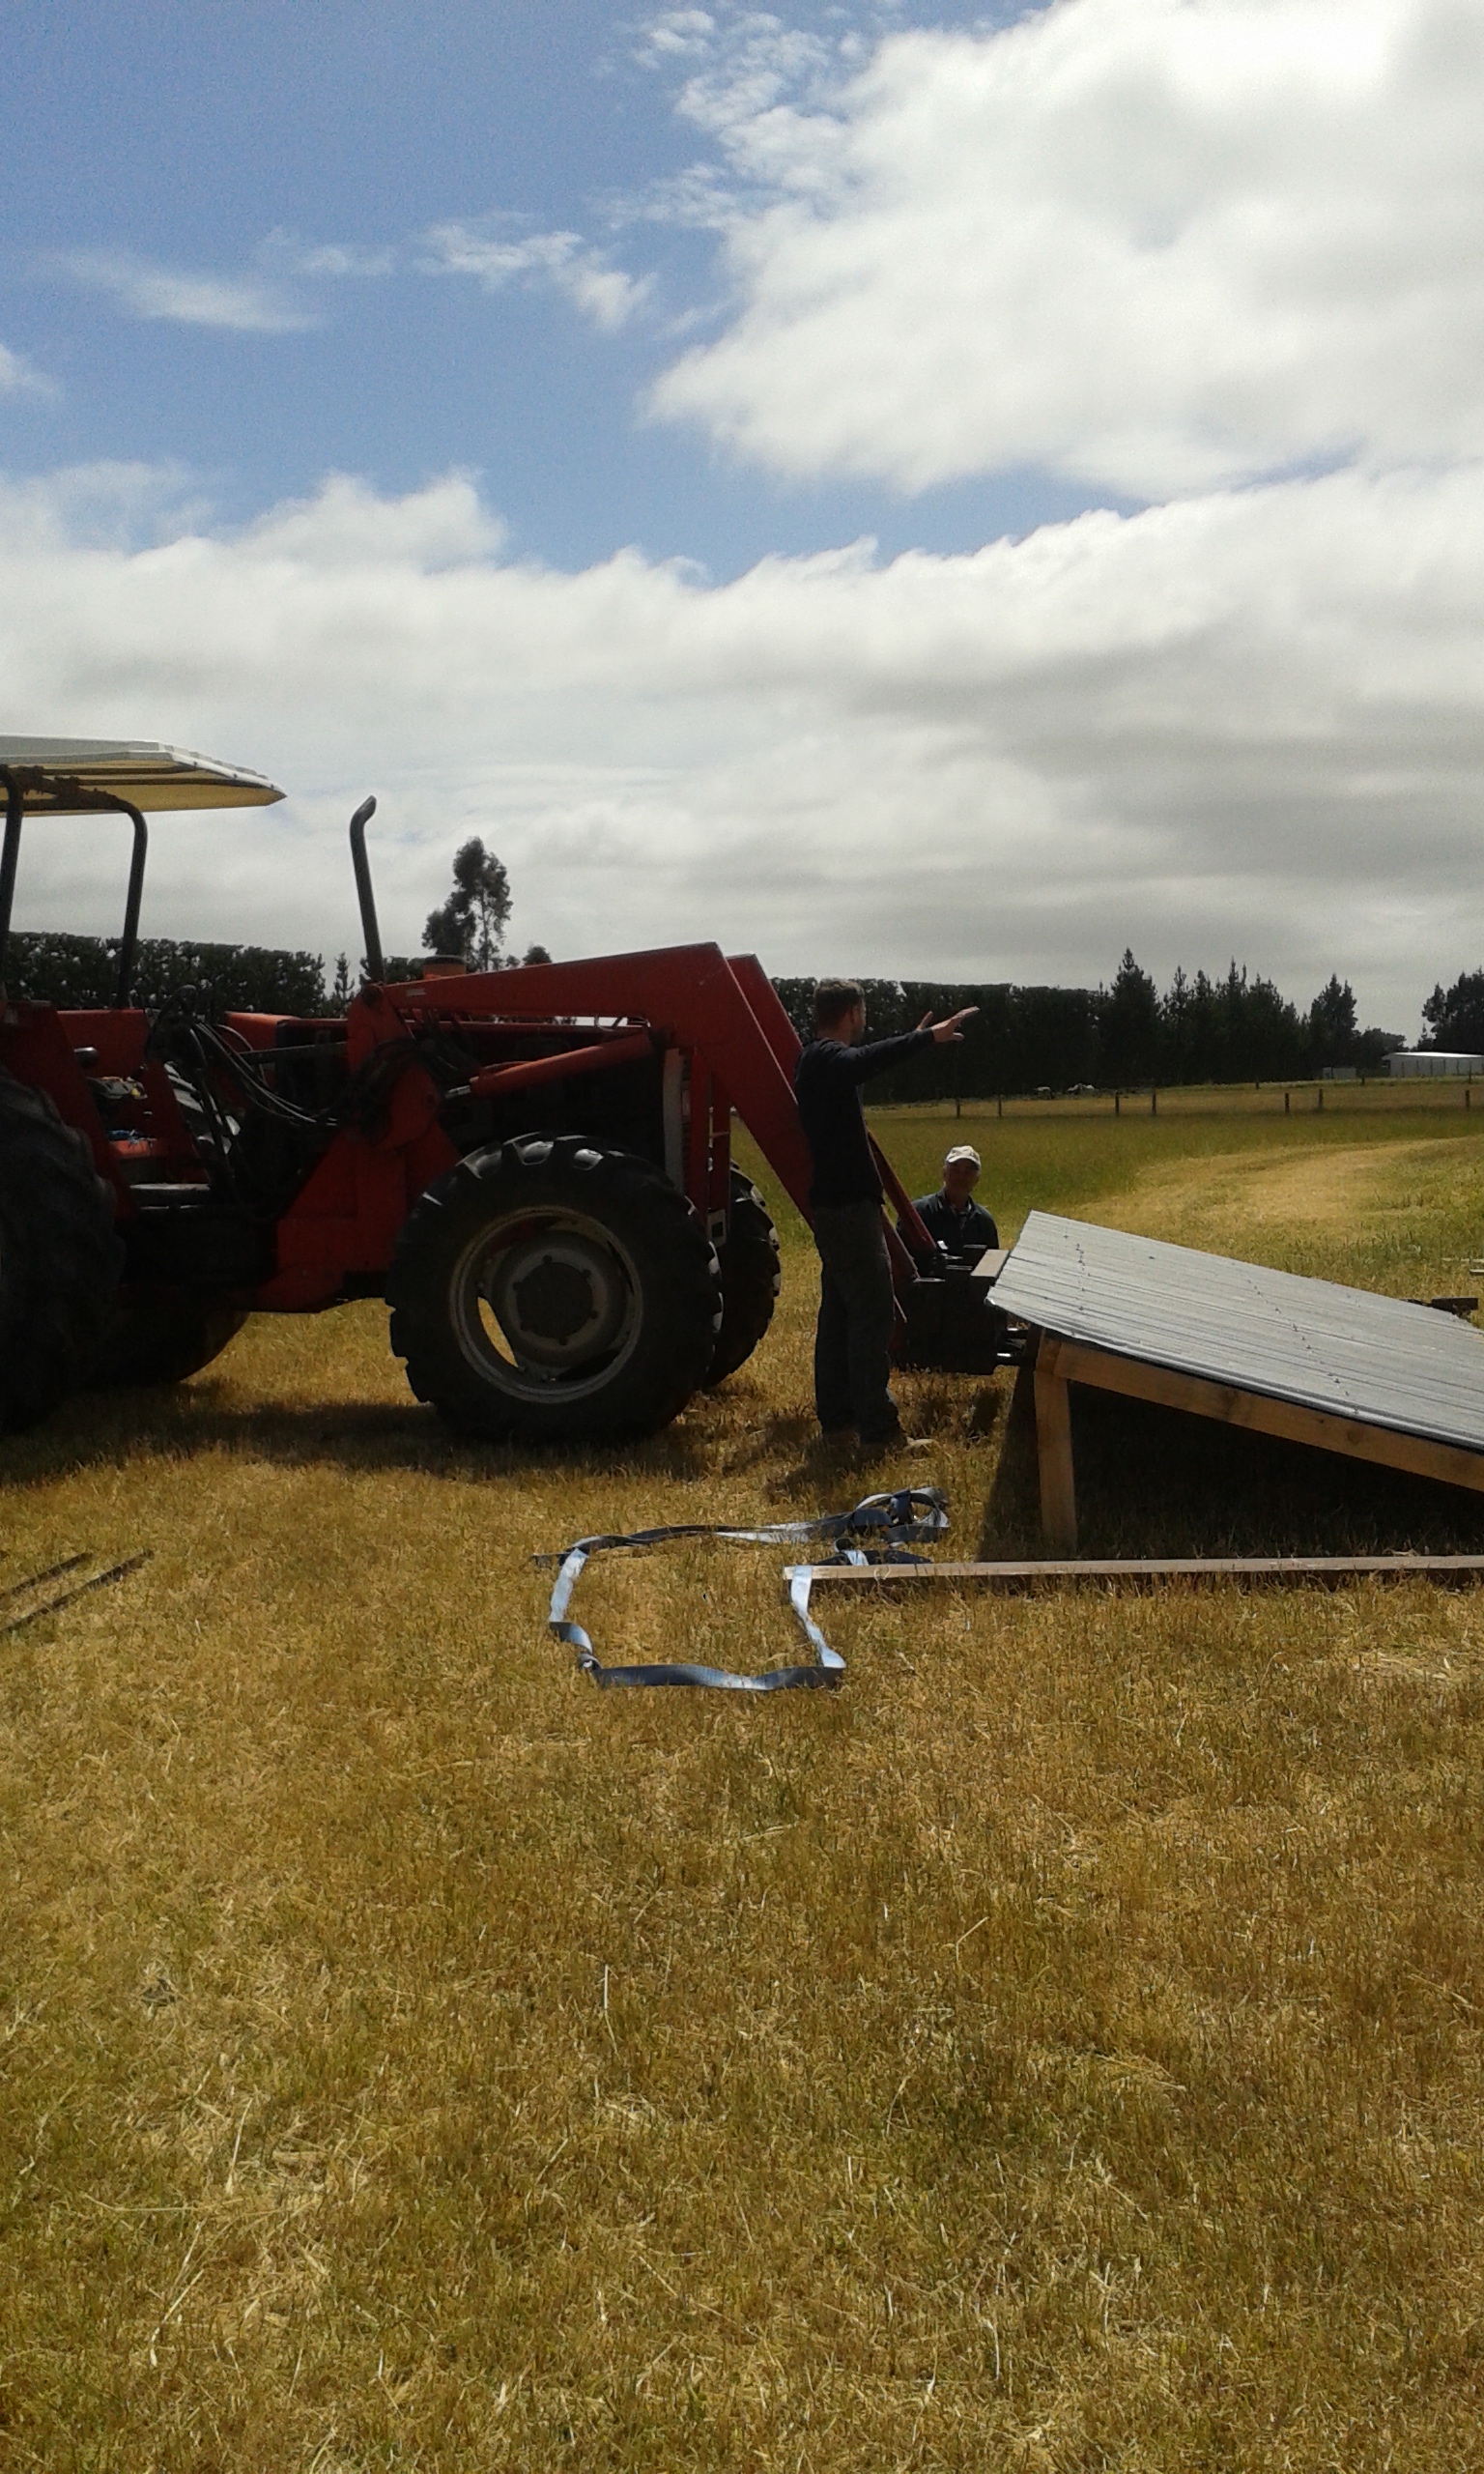
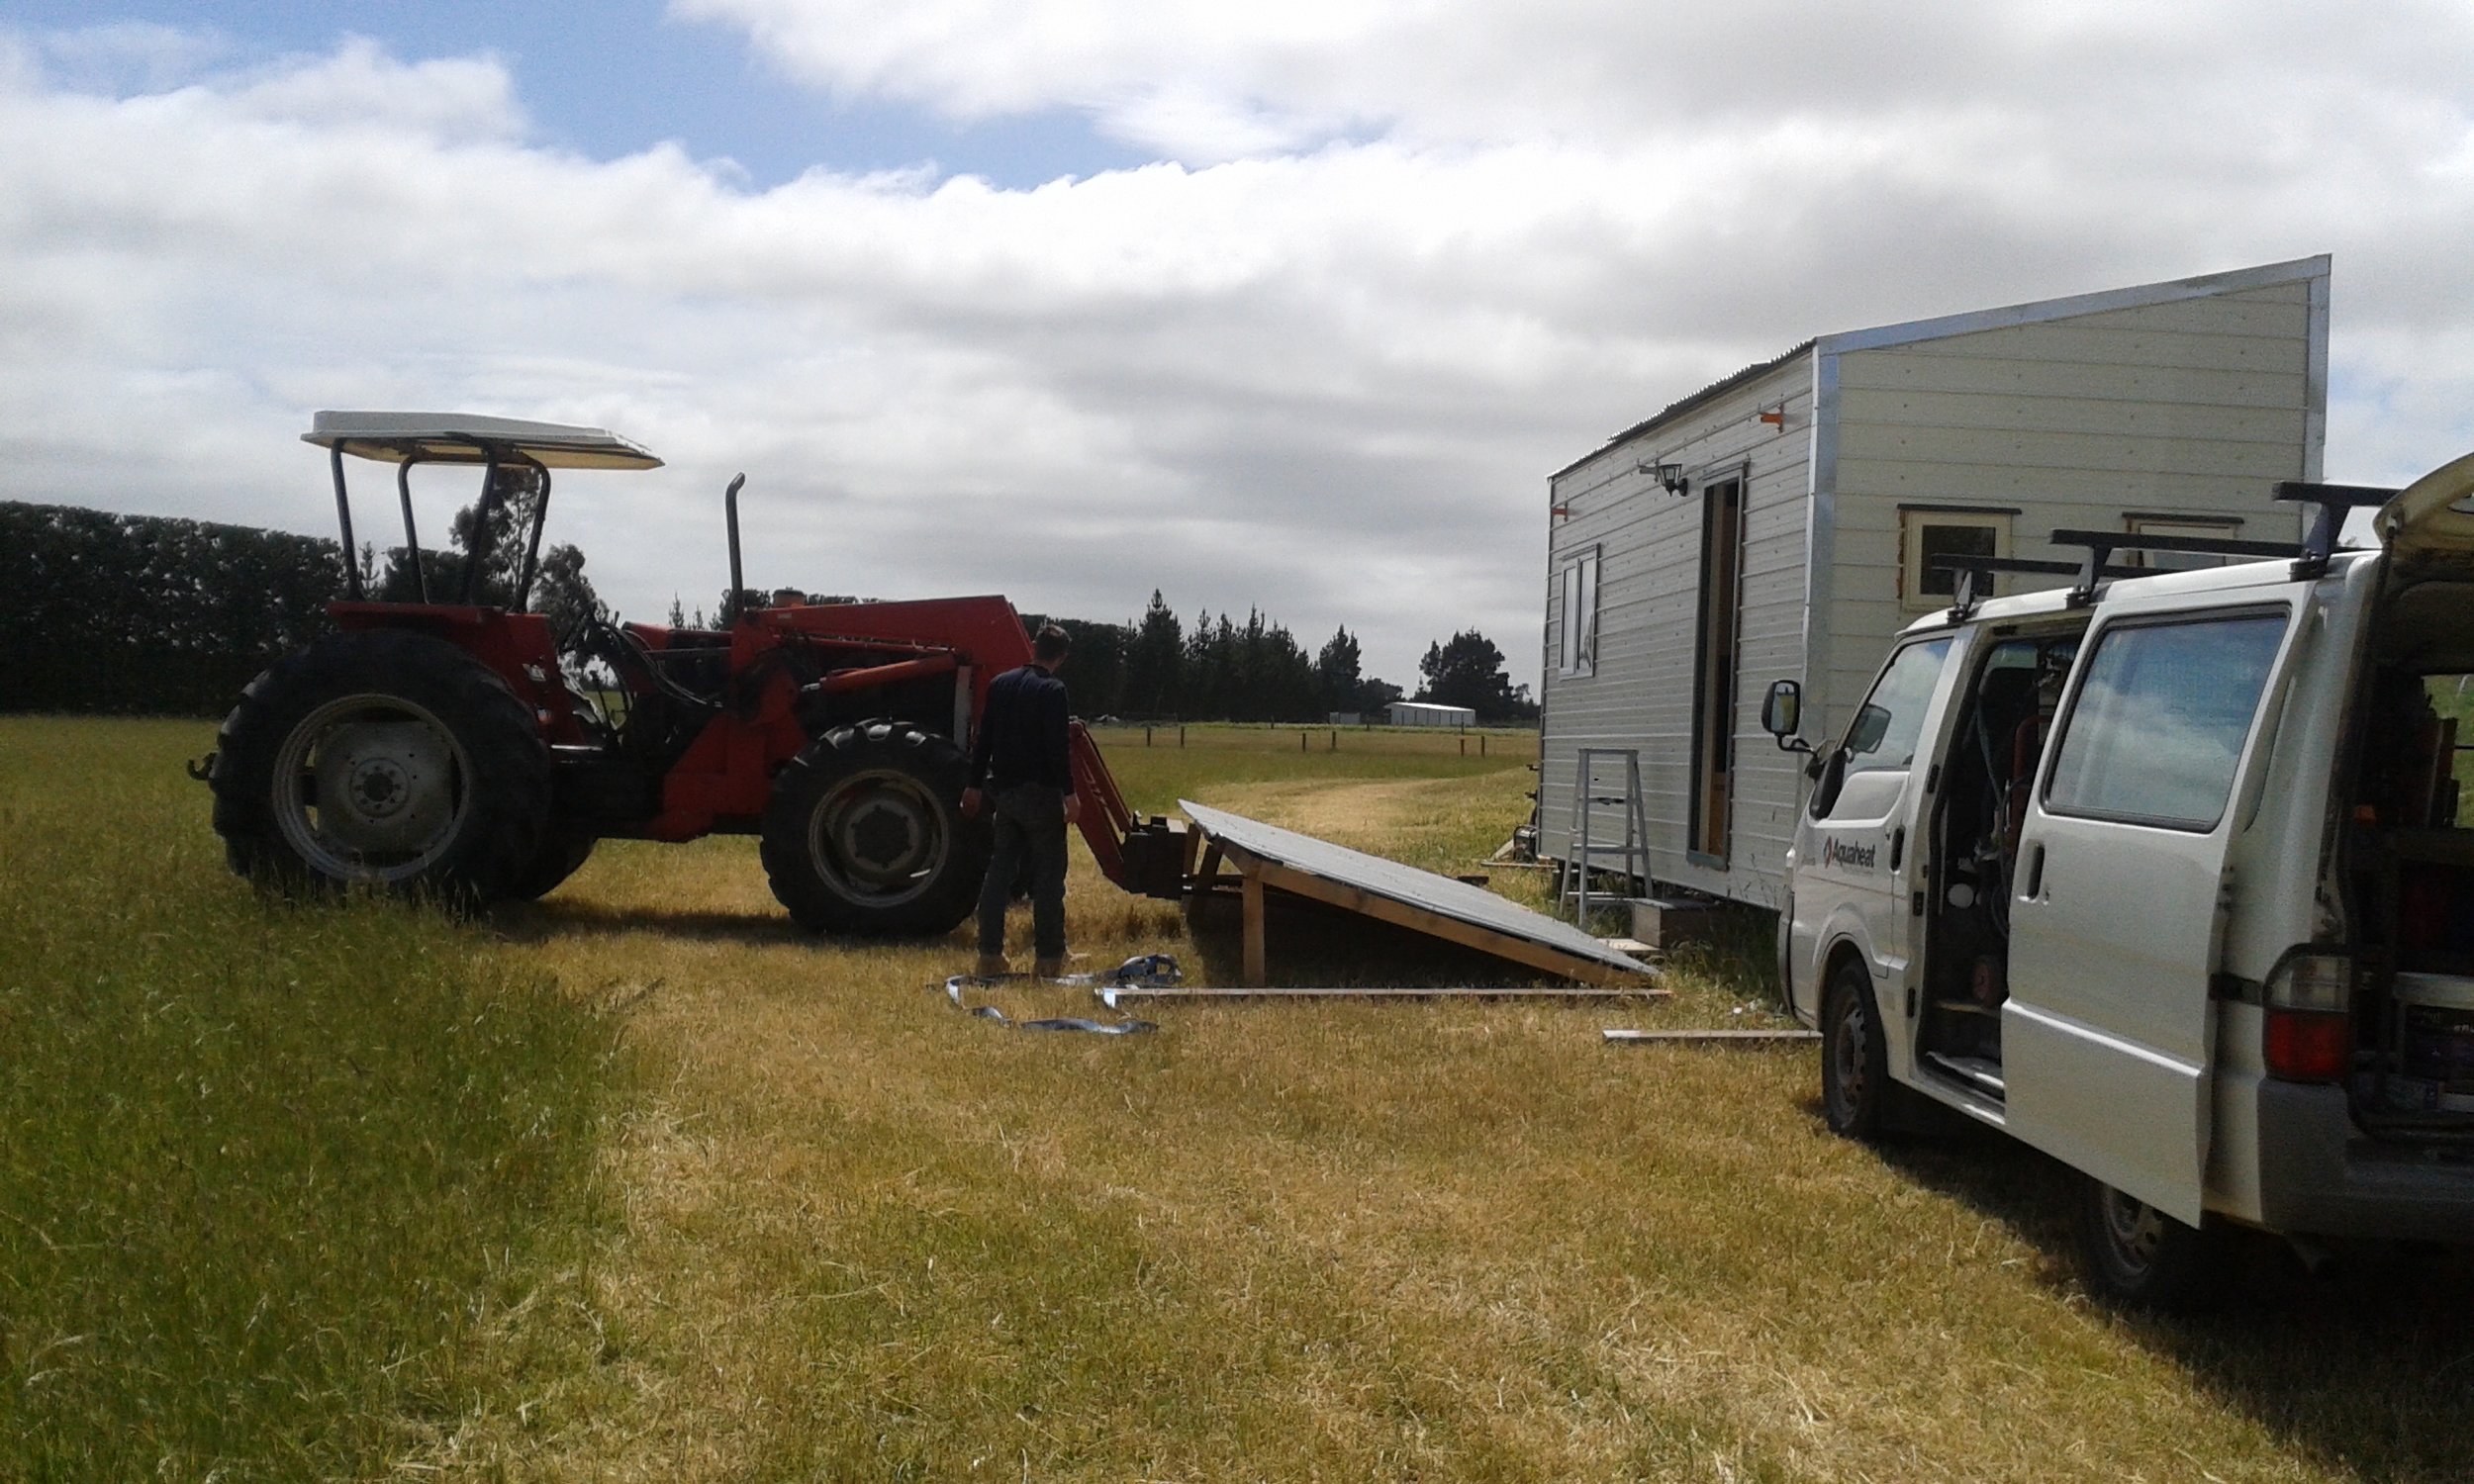
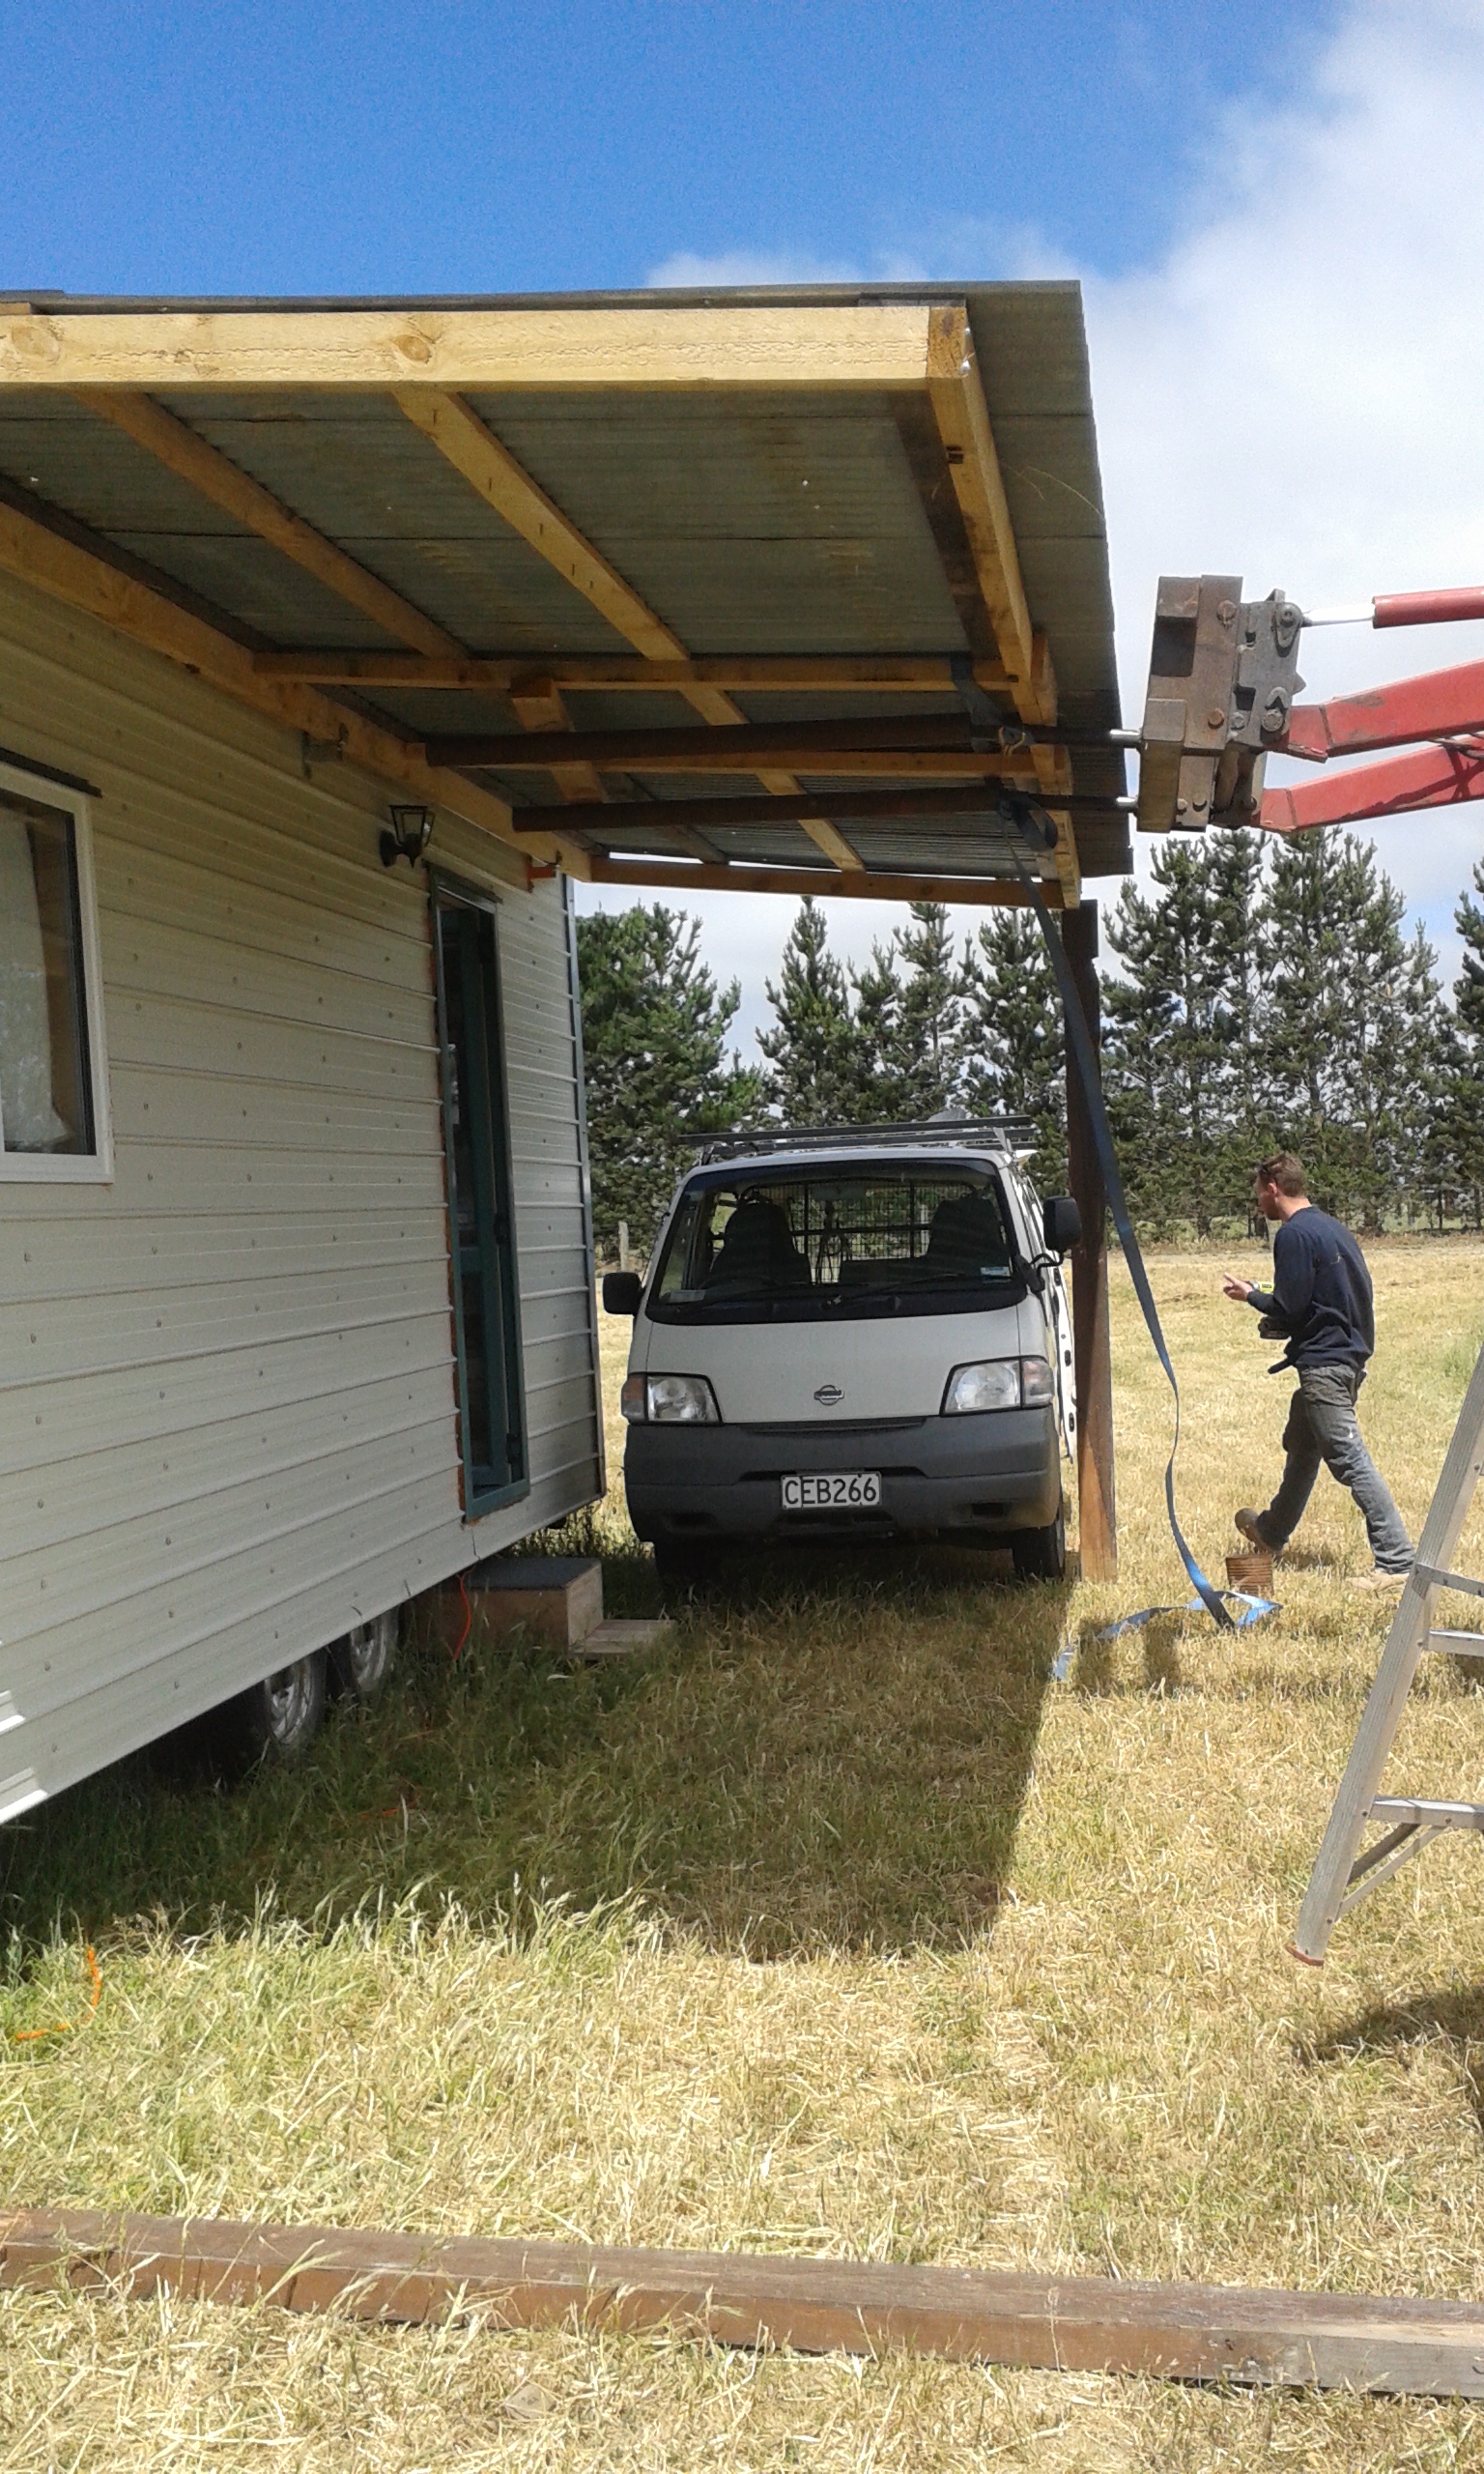
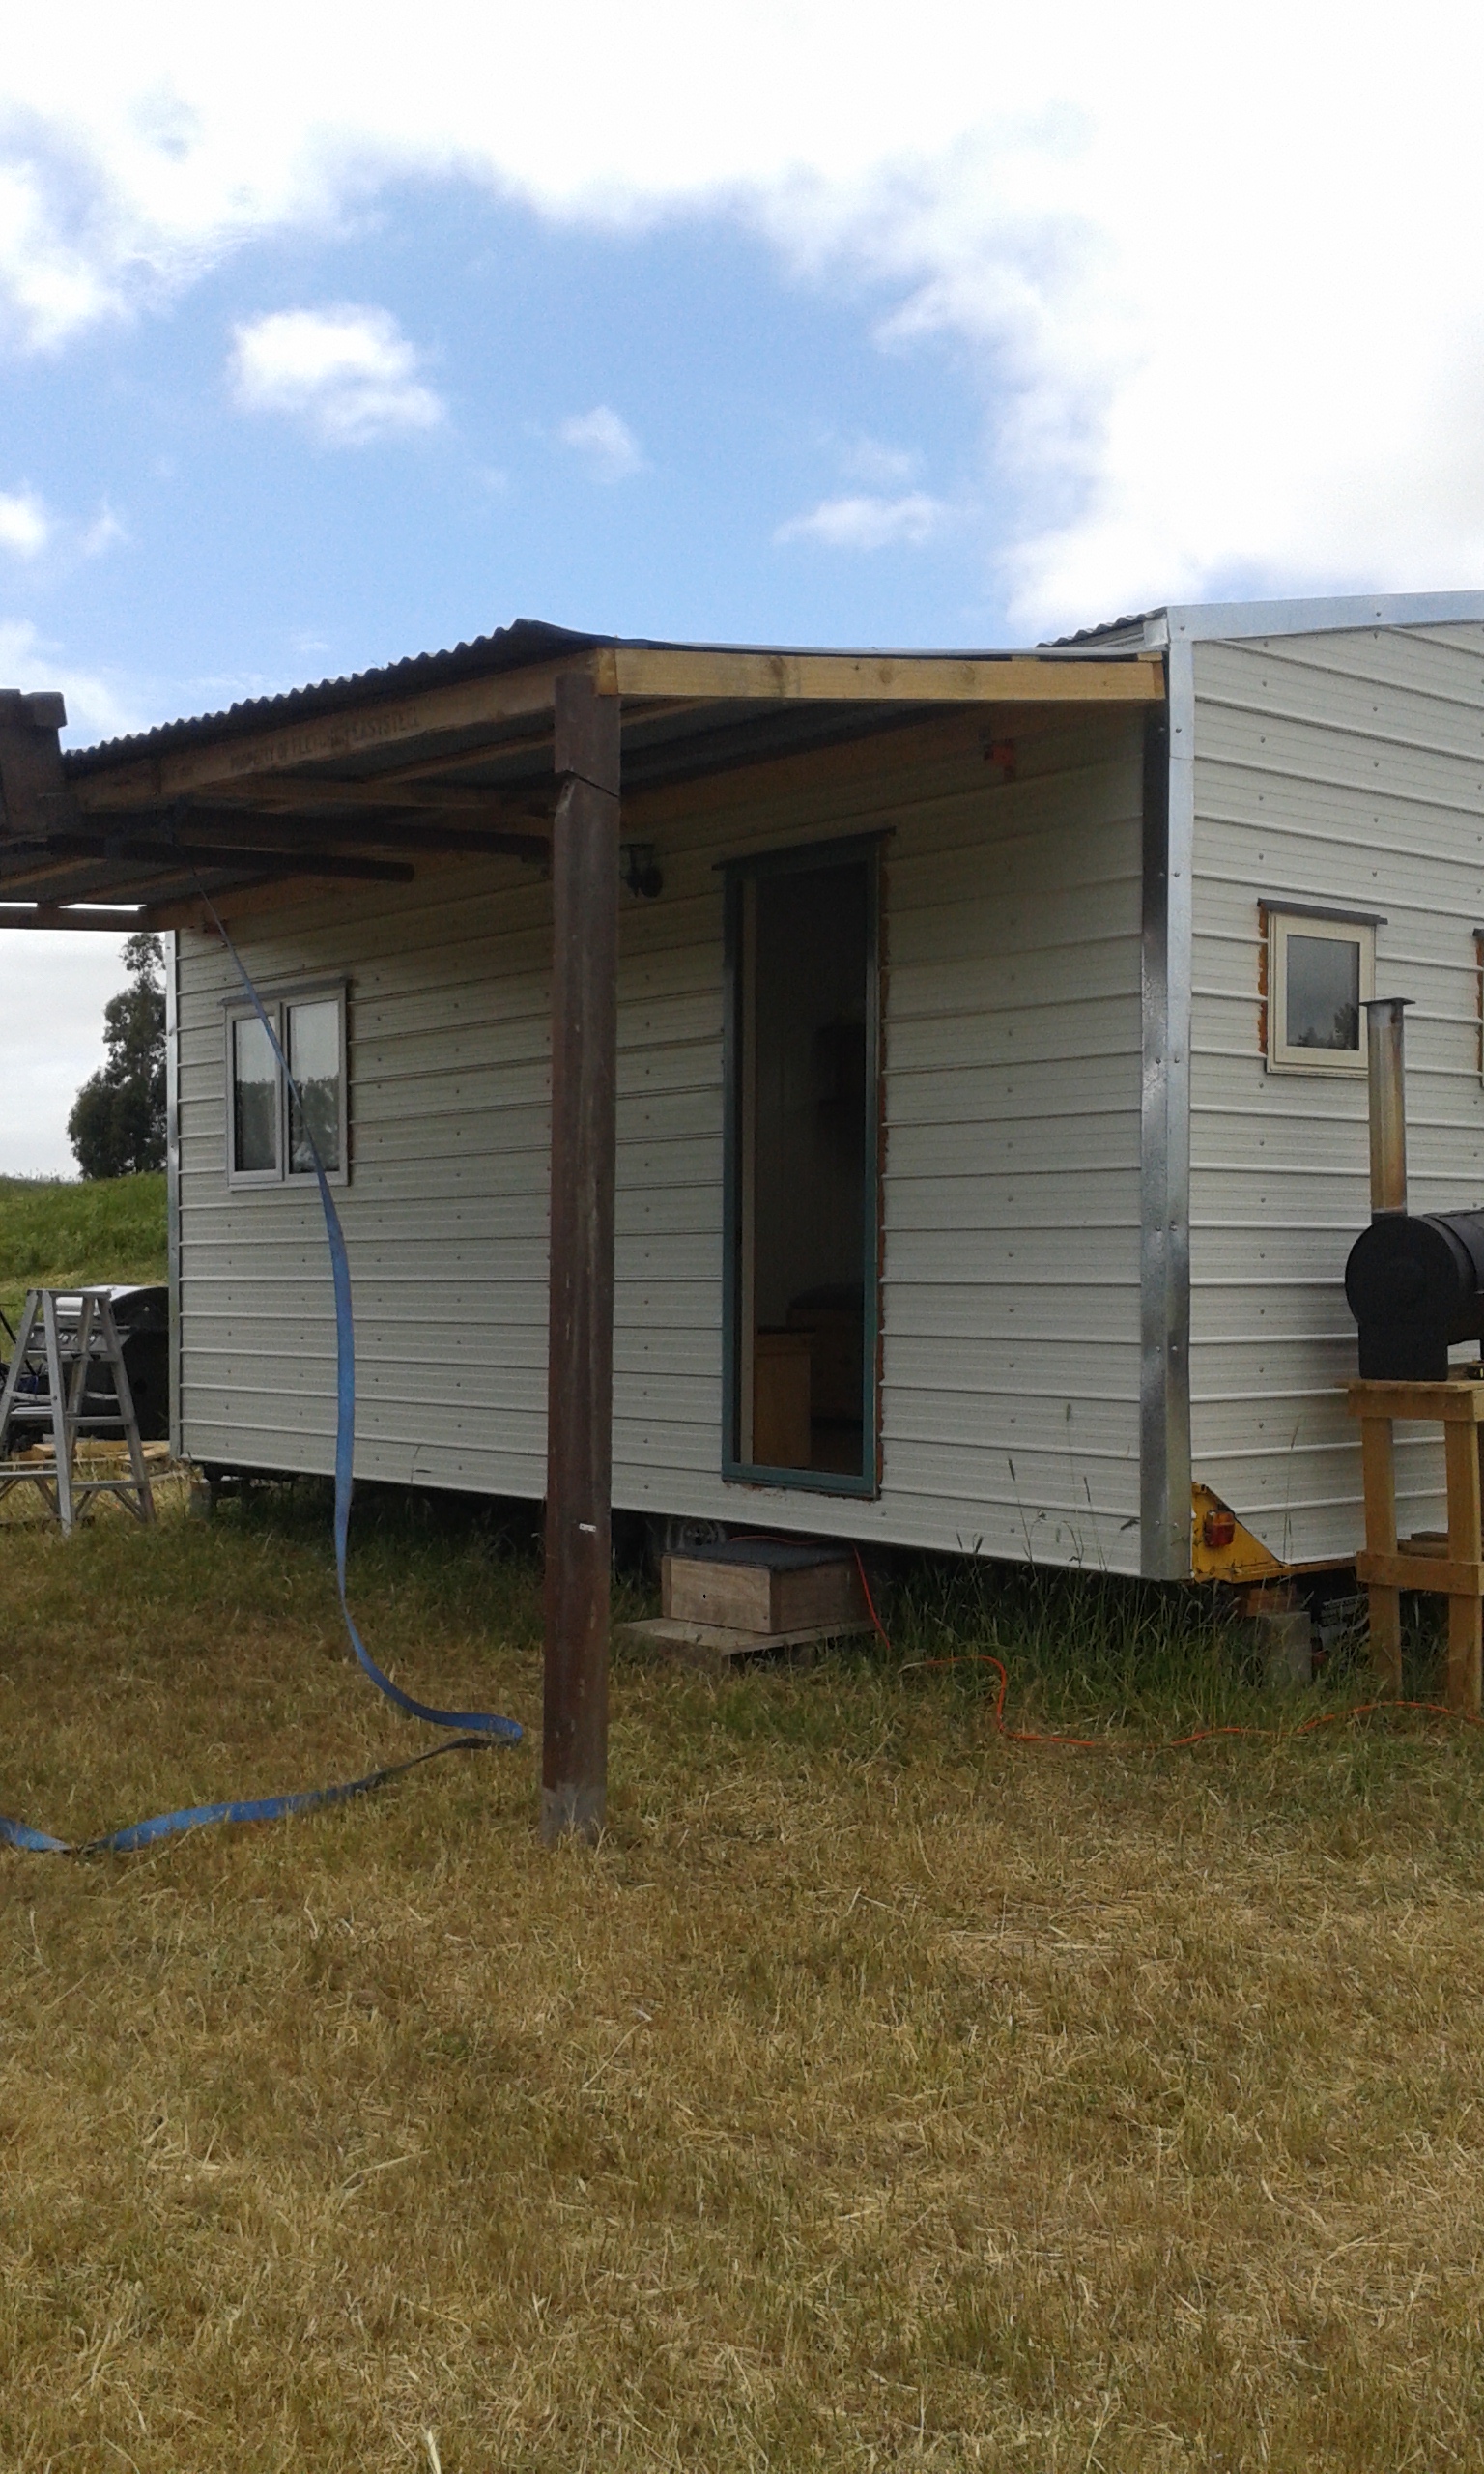
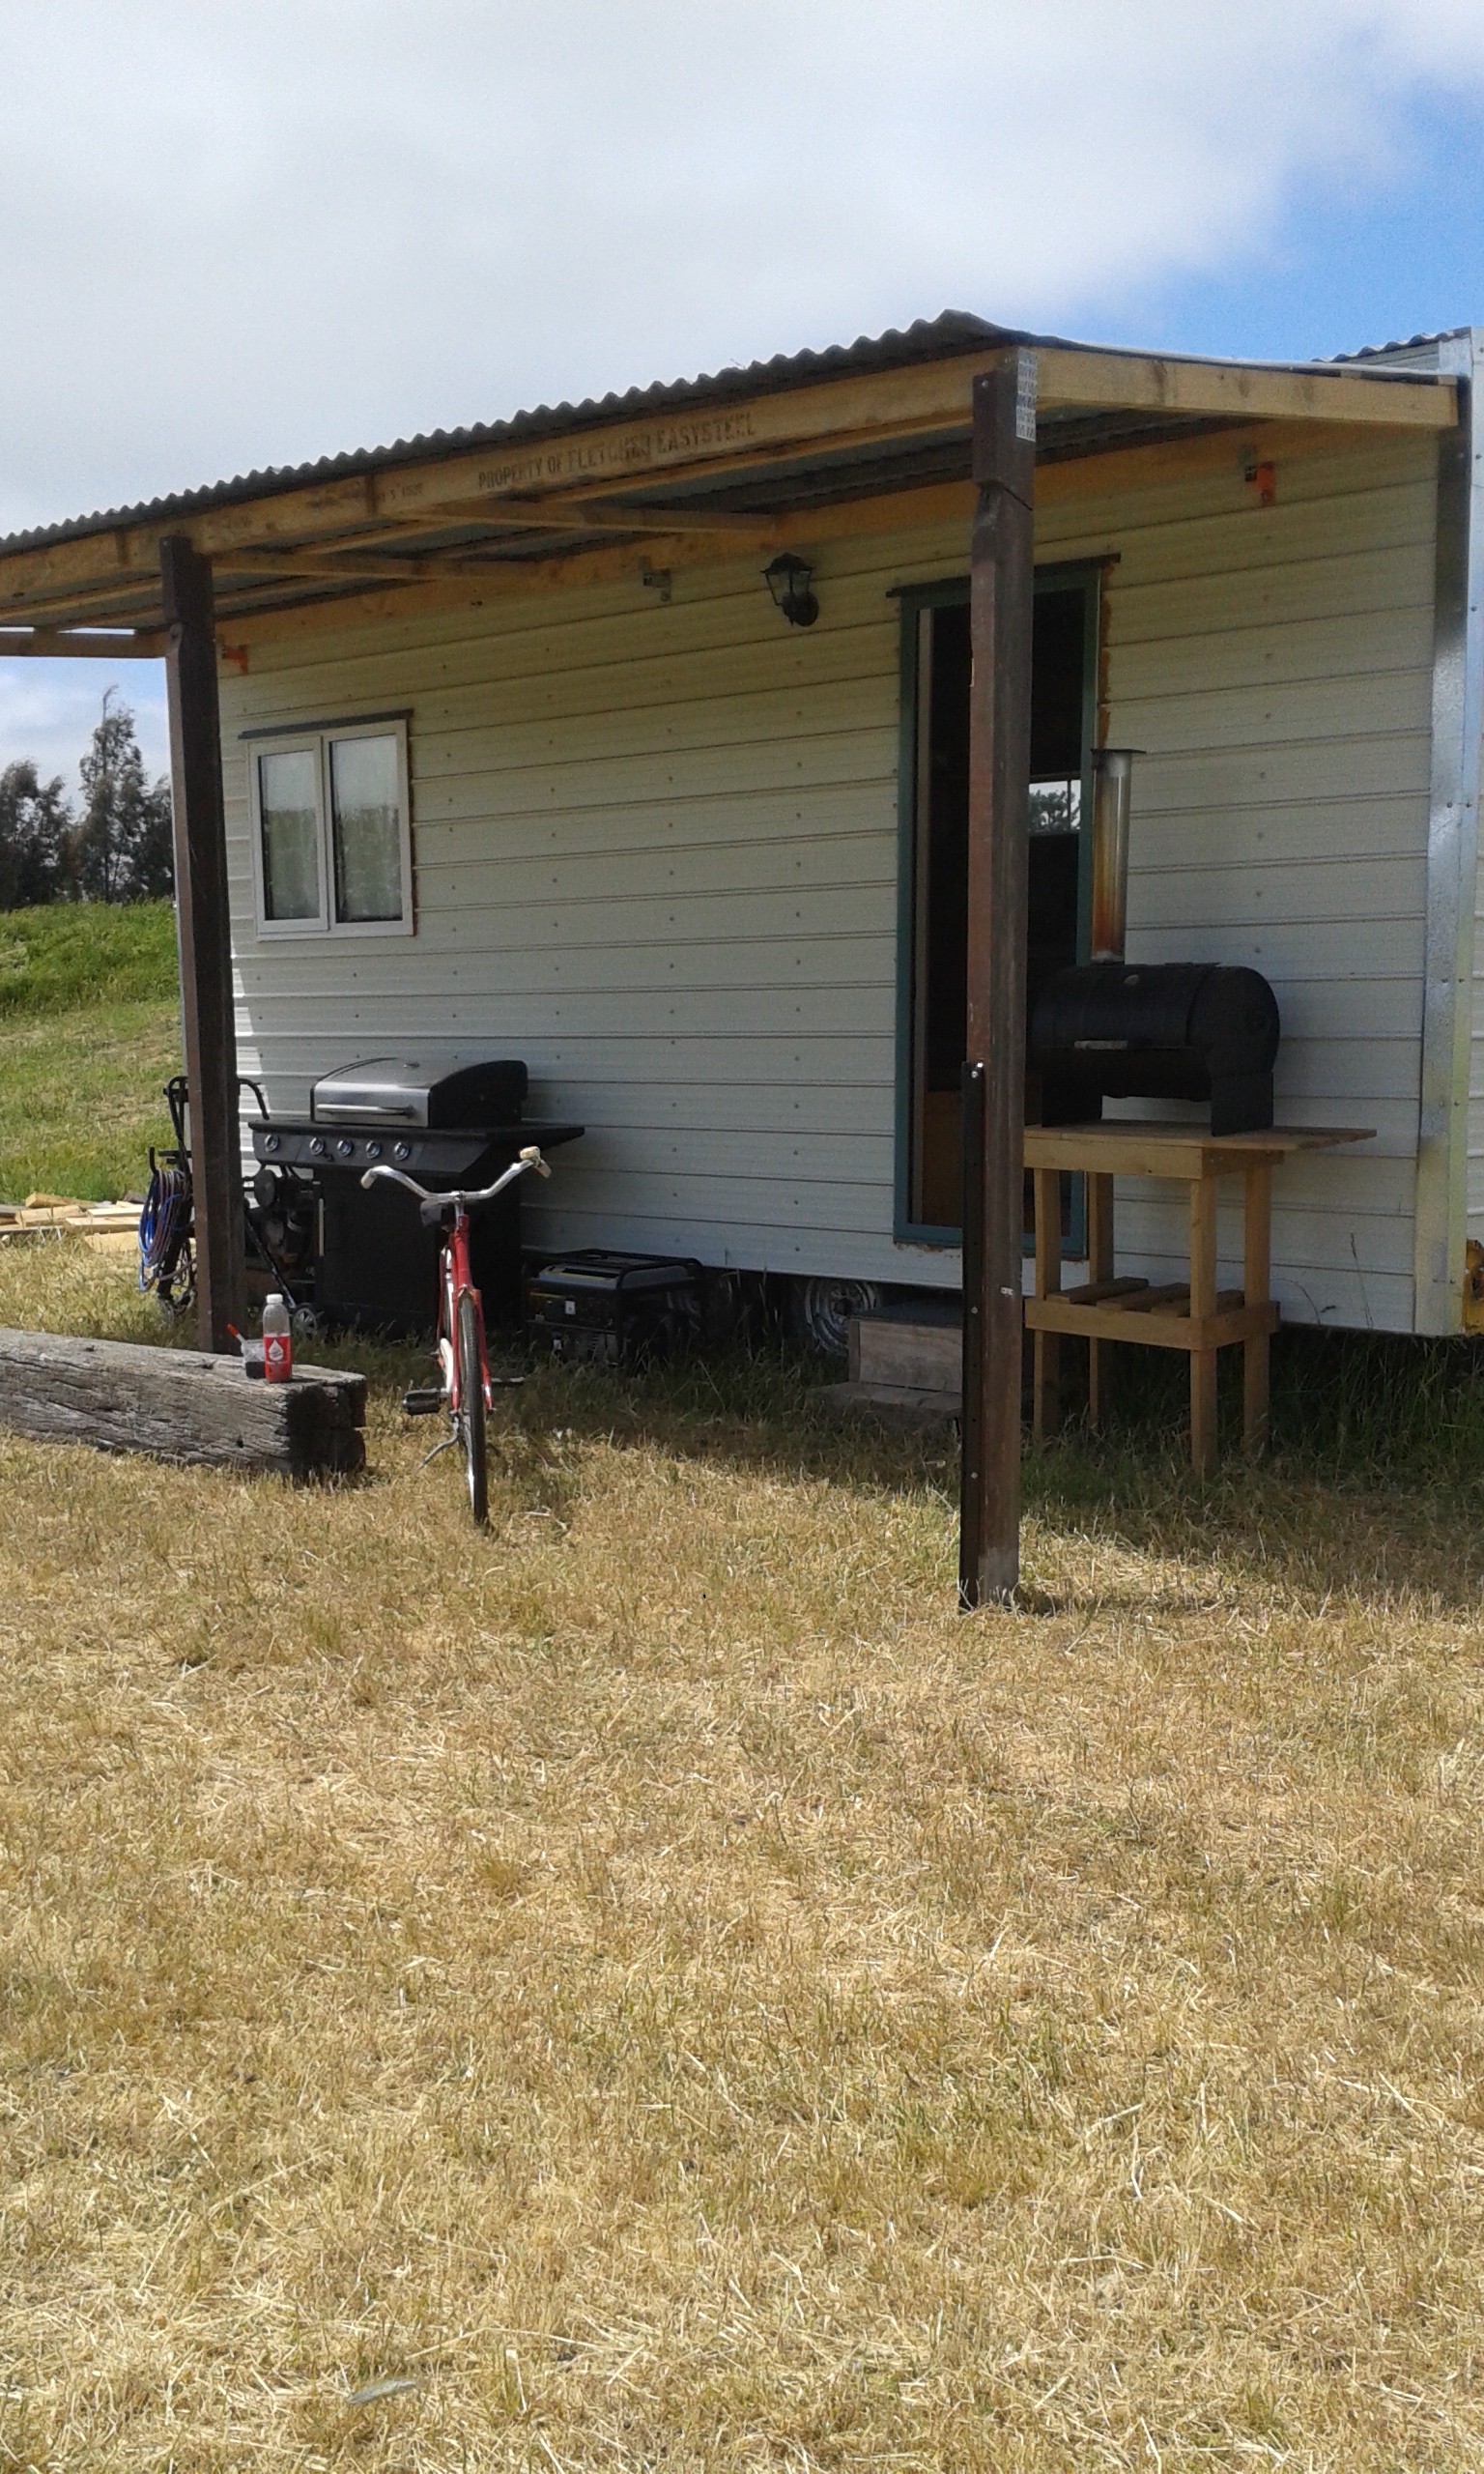
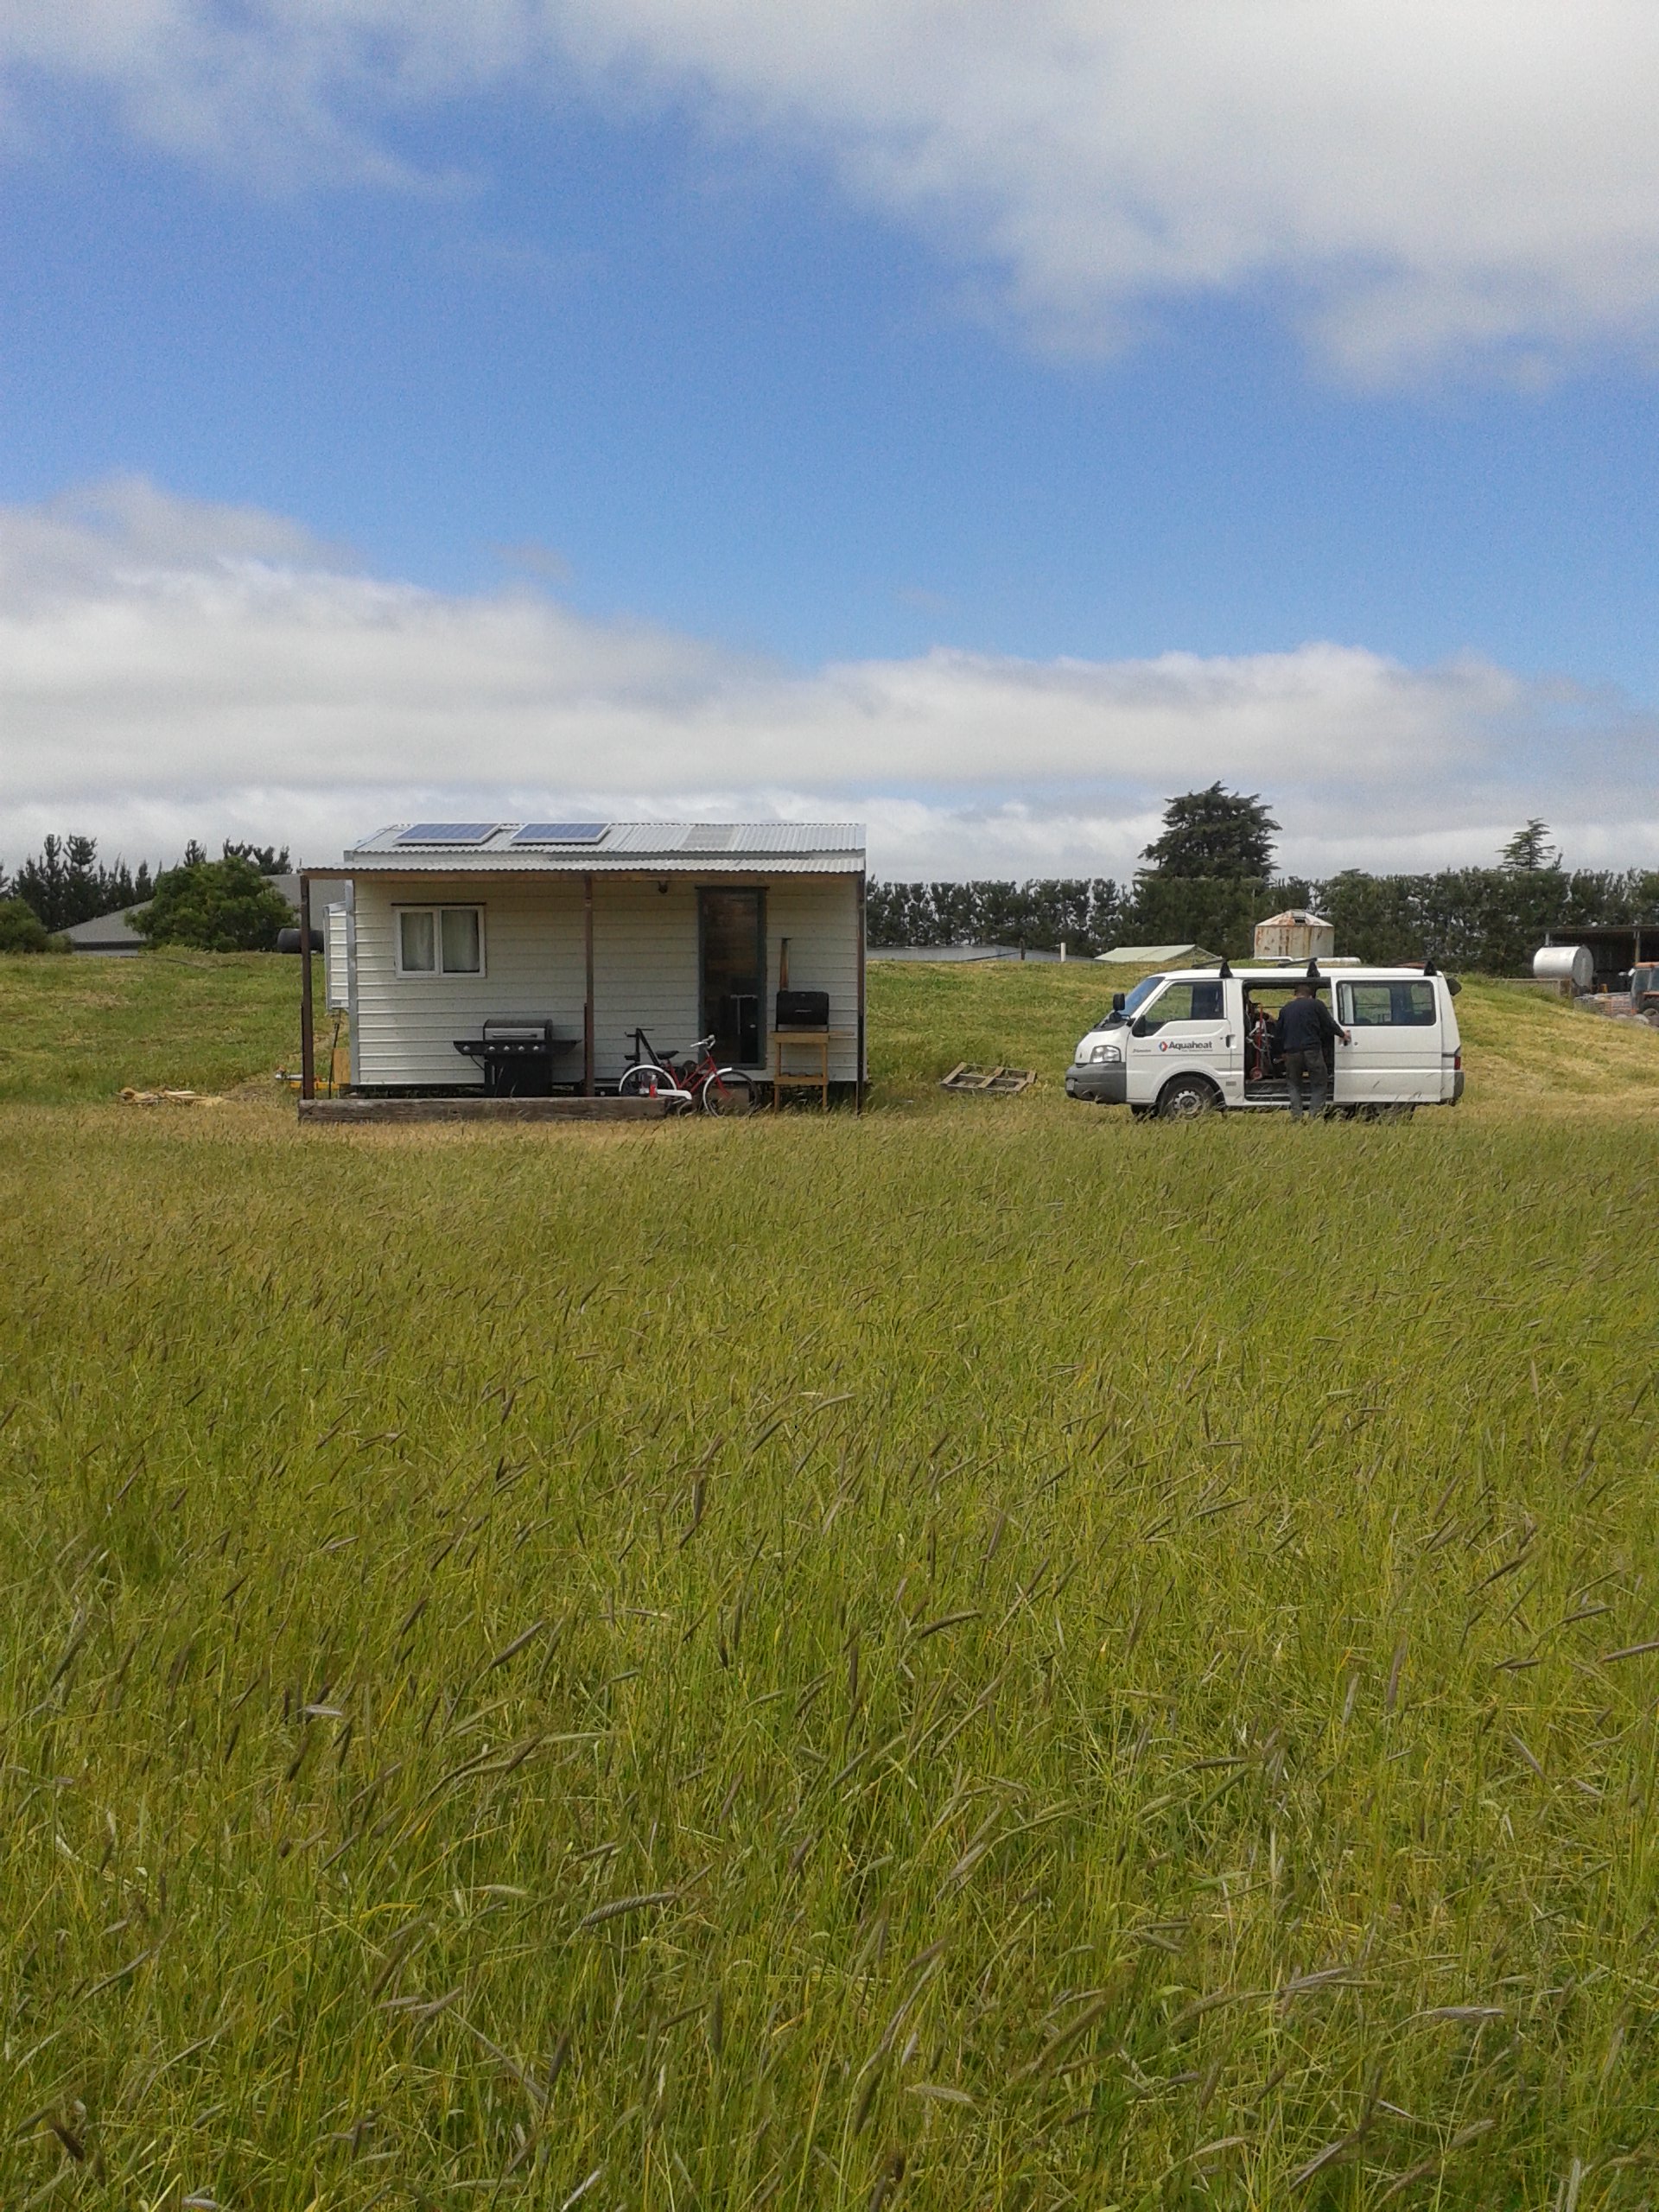
Hello Blog Readers, Today at the tiny house we took down our crappy awning and have replaced it with a more permanent roof structure. Our goal is to add more living space to our tiny house and will be complete once we finish building the attached deck.
I have built the roof out of pallets I got for free and the corrugated iron was left over from building the tiny house. I purchased three used rimu timber posts to support the roof from the ground, and some roofing screws. The total cost of the roof was about 40 dollars. We had help from our awesome land owners to lift the roof into place with his loader. Thank you so much!!
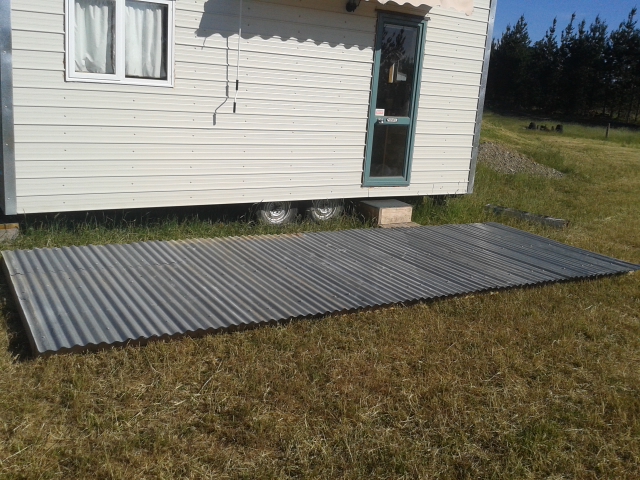
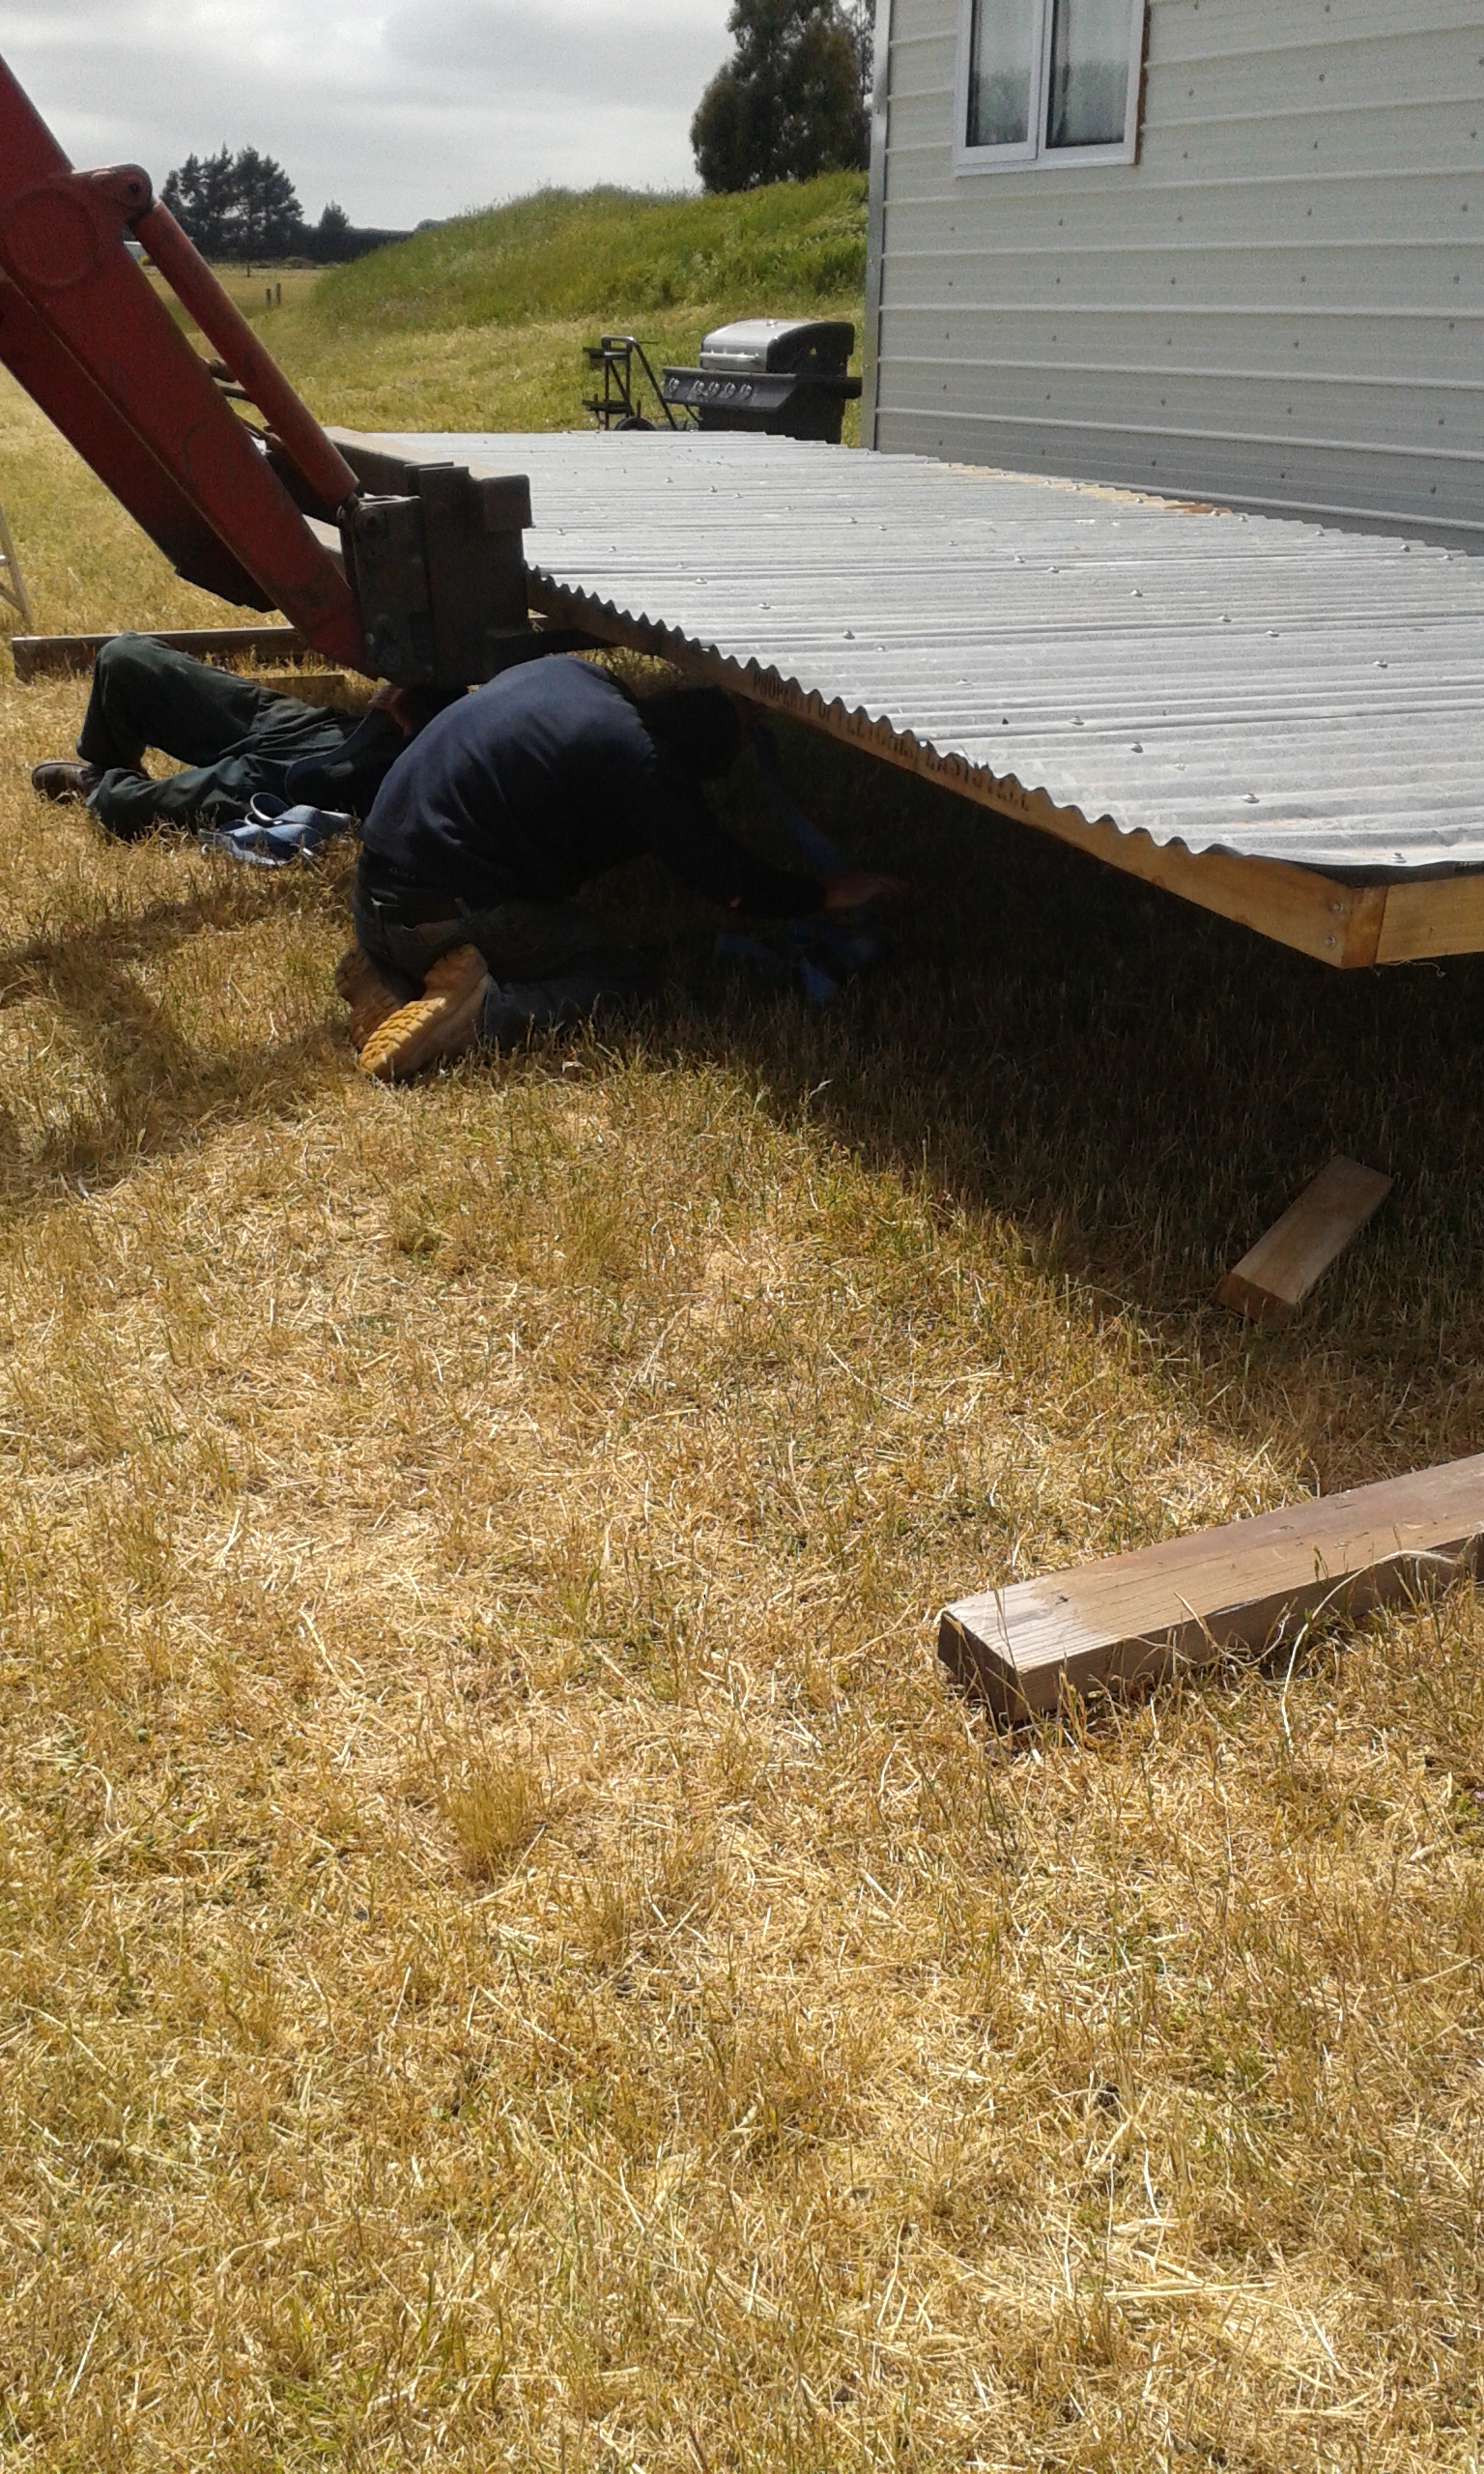
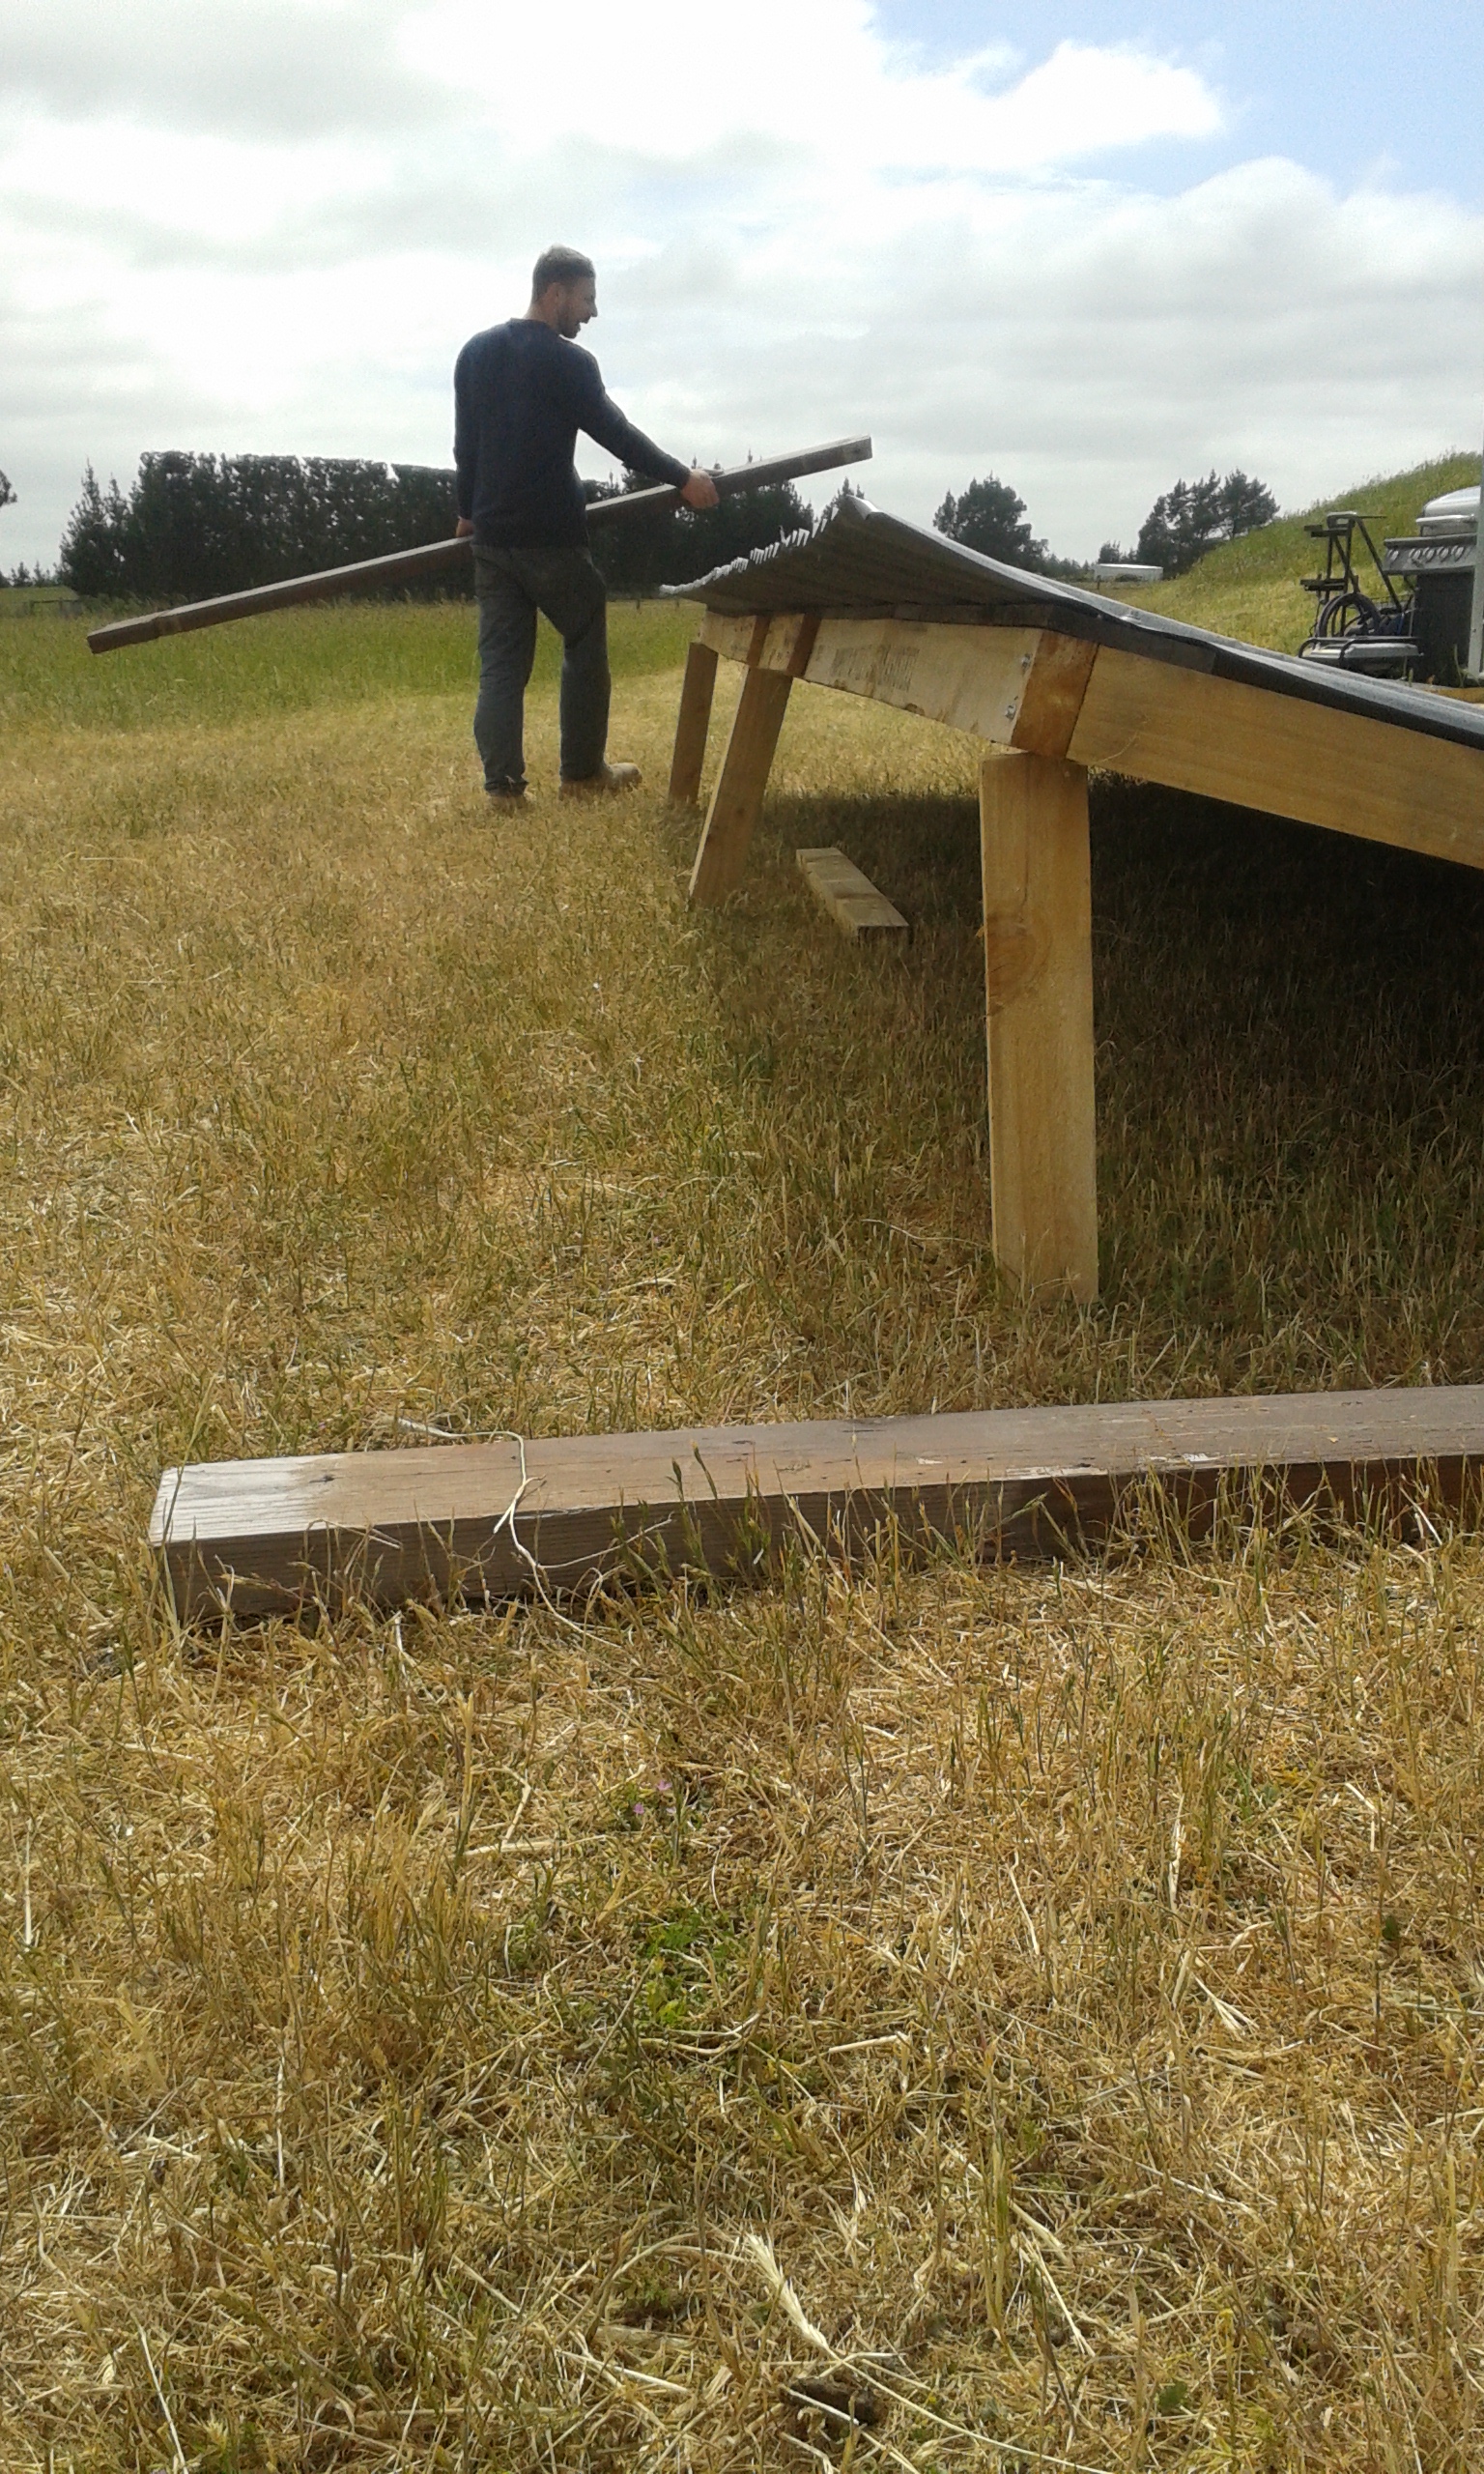
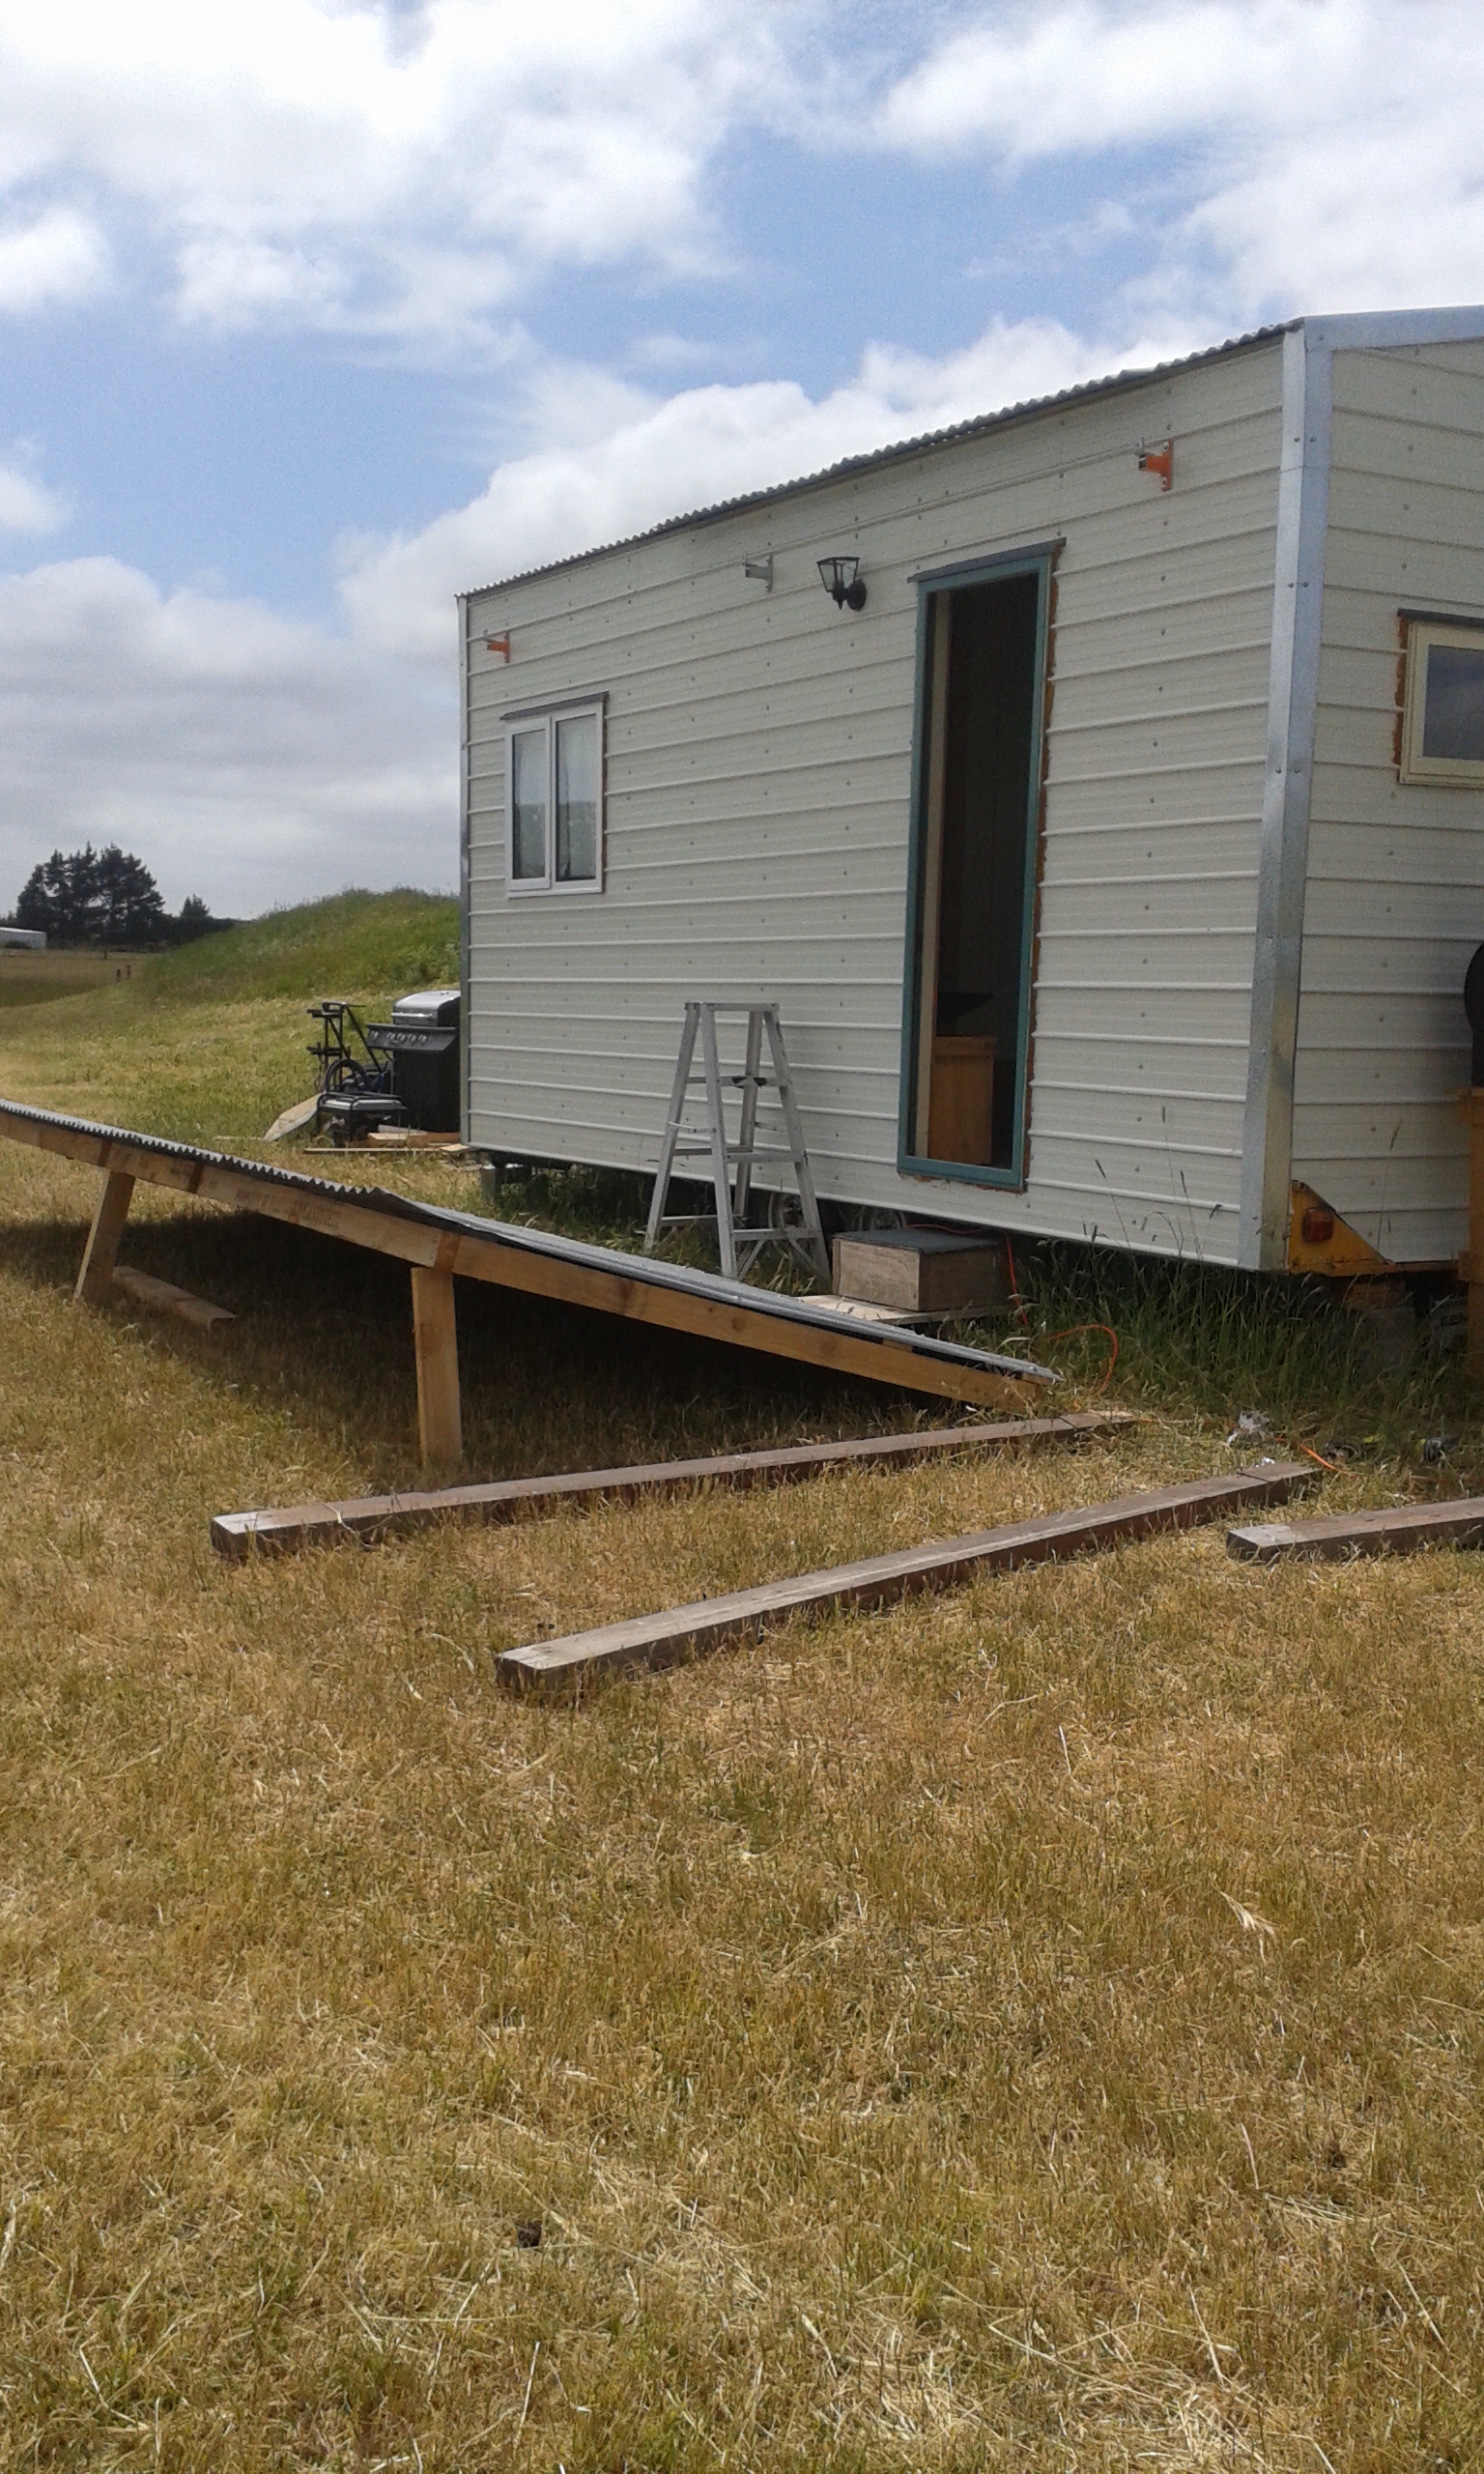
Thanks for reading and stay tuned for the composting toilet and the deck!
-Pat and Cori

Hi Everyone, This weekend at the Tiny House we mounted our solar panels to the roof. I had help from a good friend from work and it went really smoothly. We installed two 265 watt solar panels and two 12 volt 325 amp hour batteries to create a 24 volt system. Our goal from the beginning of our build was to be free of electric bills. We are now generating our own electricity and it is amazing to see the whole thing finally come together.
Thanks for reading! Next up- water, deck and a toilet.
-Pat and Cori
Hello everyone, Today we shifted our tiny house to its final location. The new location was only about 1 minute up the road in a great big paddock with some sheep. The move went really well and the Terrano towed it surprisingly well. The next step is to build a nice big deck on the front so we have a nice place for our grill and additional living space.
As soon as we got the tiny house lined up at the gate all the llamas just had to come over. Nosey pricks.
The llamas were very excited to finally see the Tiny House move! They all came over for a visit.
Pat just took off as soon as the coast was clear.
Into the paddock it goes.
It looks so tiny! We feel so much better now that we safely moved it with no issue. Now we can actually start putting things on shelves and organizing our lives. Thanks for reading! Stay tuned for more tiny house action. And also we should address the common question, "So is it done yet?" the answer is no, It will probably always be a work in progress. But for the time being our goal is to get it livable. We need a toilet, water, electrical and gas. Everything is tested, all we need to hook everything up!
Also shout out to all my wellesley girls/badonderz/CFYM and our family and friends, thank you for your interest and excitement, I (cori) had a great time at home and miss everyone already.
LOVE LOVE LOVE to everyone!
-Cori and Pat

Hello blog followers, Today at the tiny house we finished off the door for the utilities box, secured the last bolt fixing the house to the trailer, removed our kitchen cabinets to sand and repaint, and built a small shelf for the kitchen out of some free items we had laying around. The weather turned out to be really nice!
Hello everyone, We decided we wanted a bed that pulled out of the floor. A bed is only used for one purpose and that is for sleeping. We figured that since that the bed is only used for this one purpose that why not keep it away during the day when not in use and conserve loads of space. Today we built a raised floor for the bed to be pulled out like a big drawer. We also built the slat frame with wheels for the mattress to rest on.

Hello Everyone, Lots and lots of work has been done on the tiny house in the past few weekends. It seems like I have no life anymore besides build the tiny house haha!! I have run the copper LPG pipe, electrical and hot and cold water pipes. The kitchen cabinets have been installed and the laminate flooring underneath. The kitchen area has been completely insulated and ready for interior wall boards. I also started to build the utilities cabinet on the outside of the house, which will hold the water heater, solar controller/inverter, battery bank, etc.. A retractable awning has been installed above the door for when we install the fold up deck.
We bought this old cabinet unit on auction for 80 dollars. It will look nice all repainted.
Hello everyone, Today was a beautiful Autumn day in New Zealand! I finished the roof and corner flashing but still have to flash around the windows at a later date. I attached the Flashing with some rubber washer screws and sealed the corners and seams with some waterproof sealer. Looks pretty flash haha!!
Hello everyone, We started to clad the outside of our tiny house and installed the front window and door. I first nailed strips of thin timber over the outside of the building paper to attach the exterior wall to. We used some metal wall cladding we bought from a recycled building materials company. This material is actually brand new. Its really exciting to actually see it look like a house. I still have to finish the back and the side of the house.
This is the friendliest most talkative cat I have ever met. She is curious of what we are doing and checks up on us every time we are there. She is scared of the llams, they come after her when she enters the gated area.
Hi everyone, Cori and I worked on framing and cladding the roof today. We framed it with the same building timbers as the walls: lightweight and cheap! The walls and roof were first wrapped in building paper, then we used the second hand corrugated iron we bought for the roof. It worked awesome!!
Silly old Llamas!!
We thought it would be nice if we could get some extra light in through the roof, so we added a skylight.
We framed all of our walls with 35x75mm timber. They are all screwed together with 75mm wood screws. The timbers are actually really light weight and only cost 1.75 per meter.

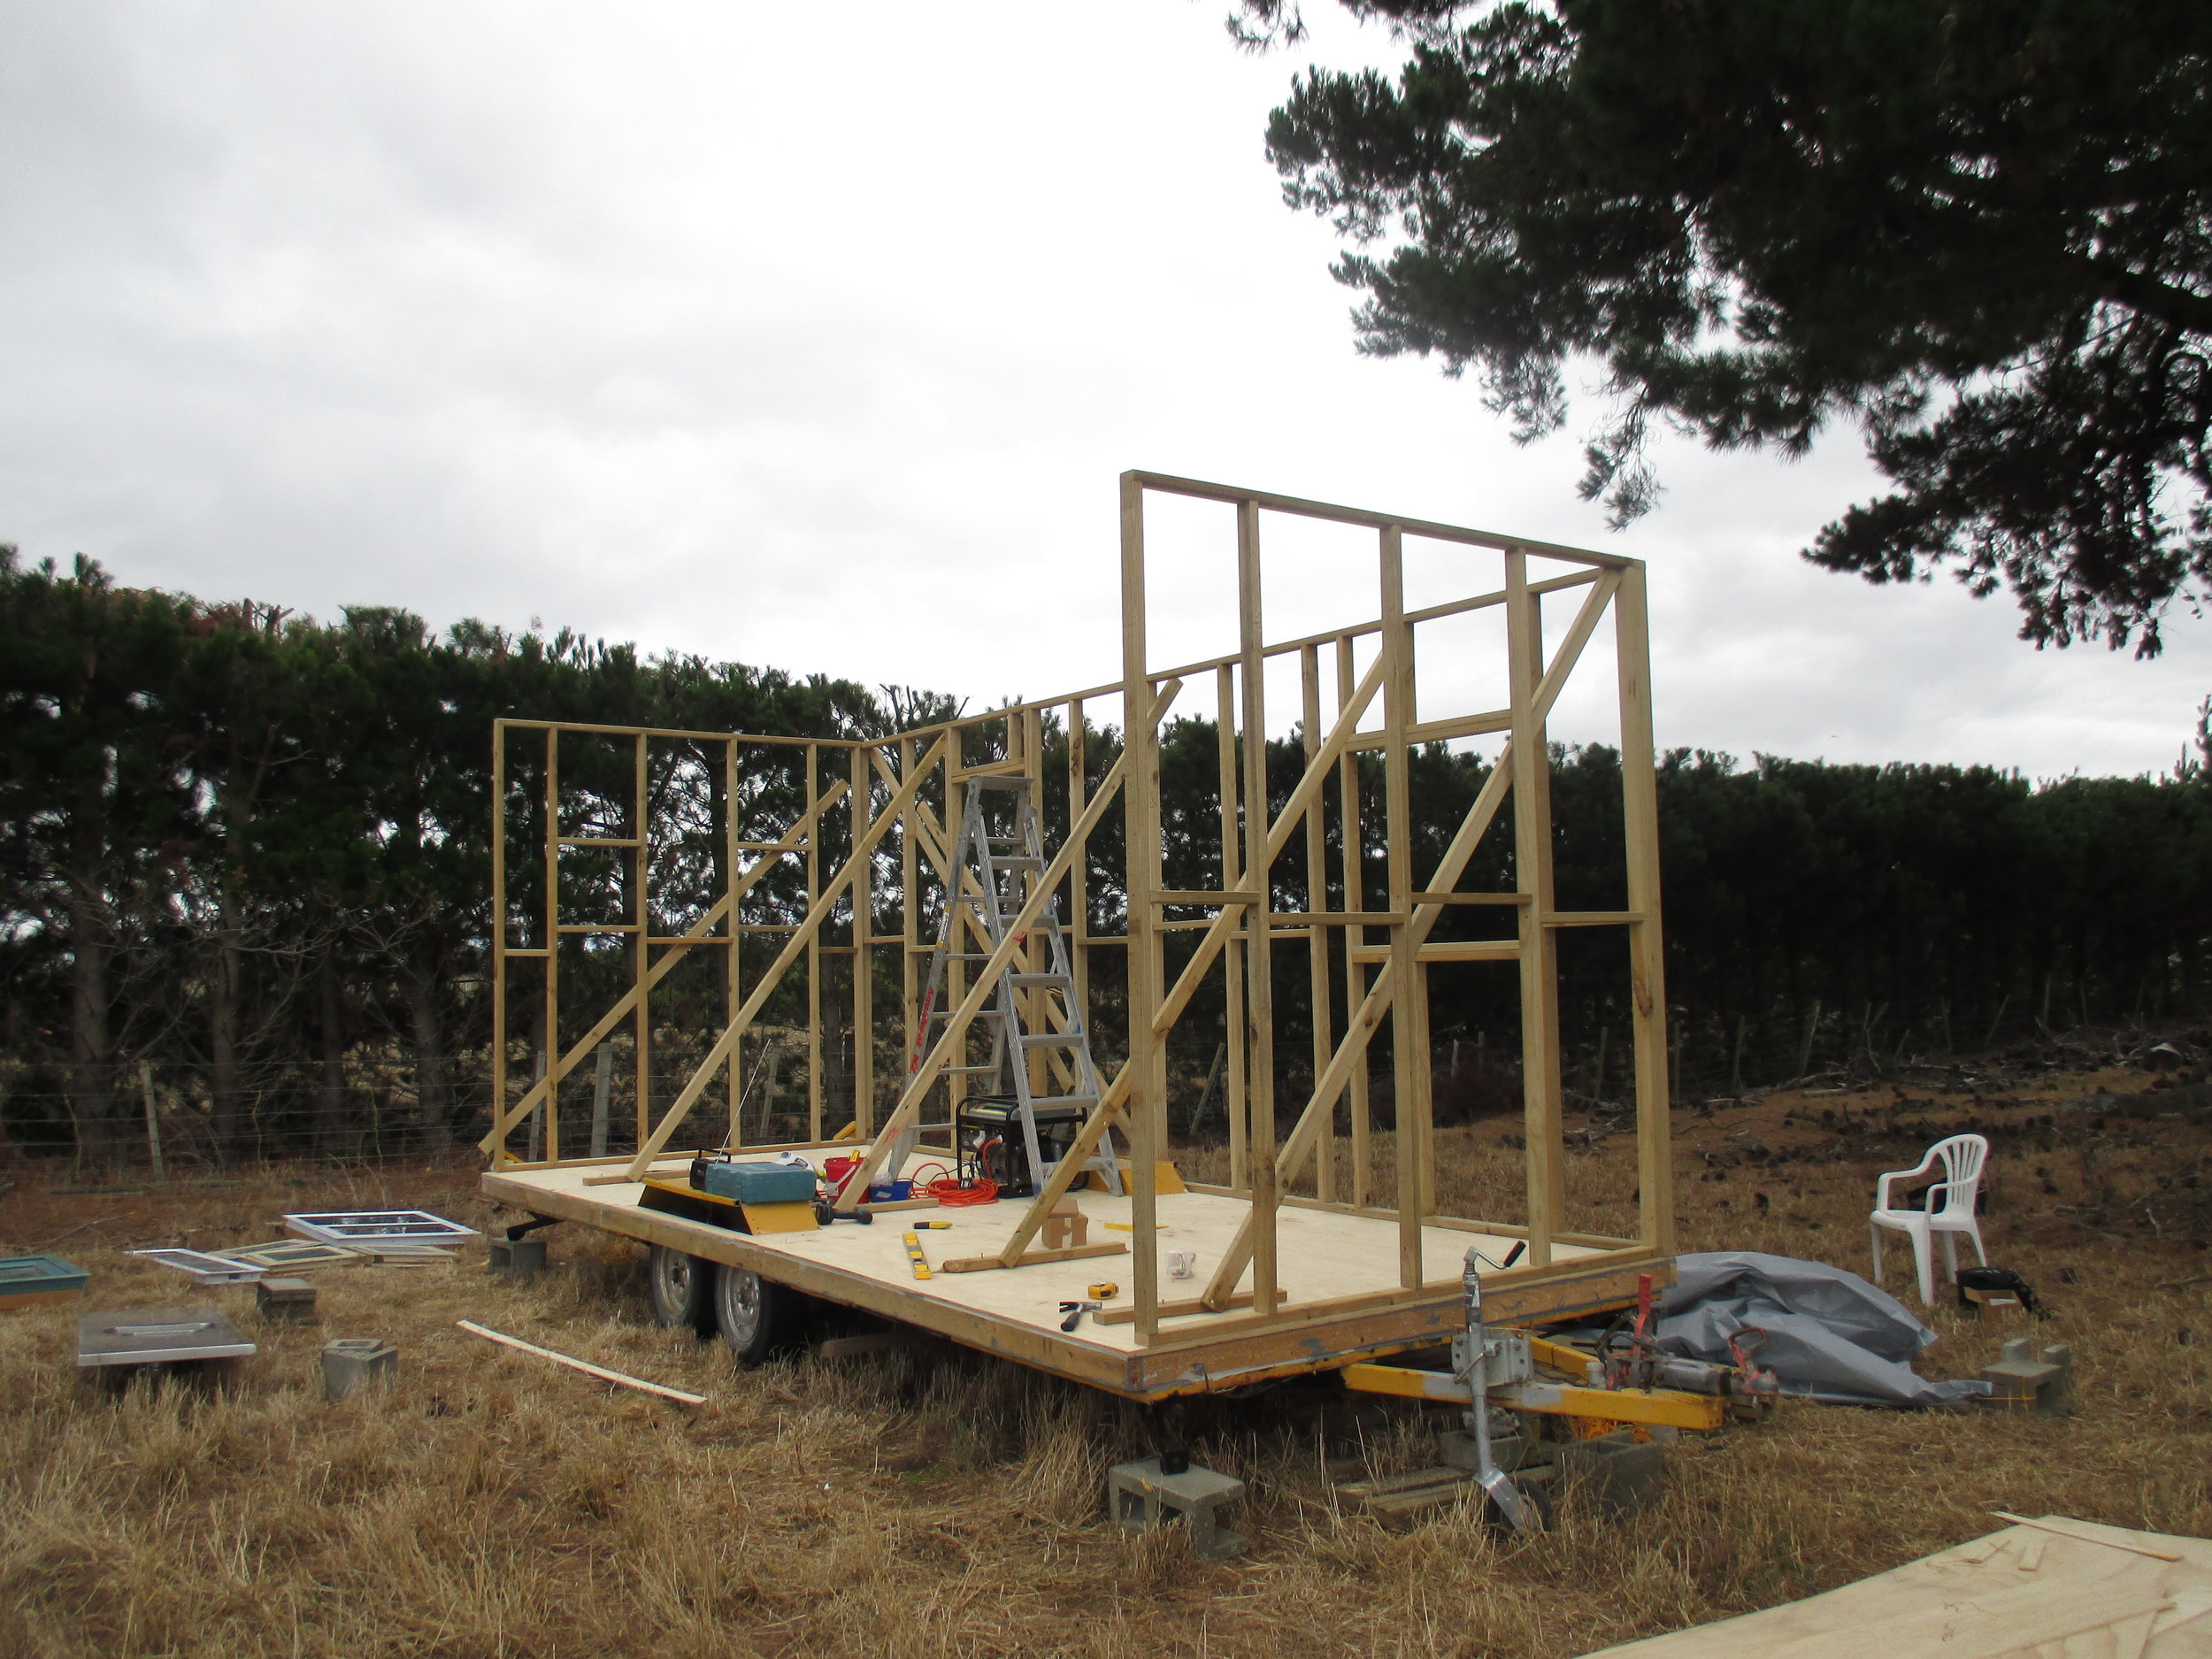

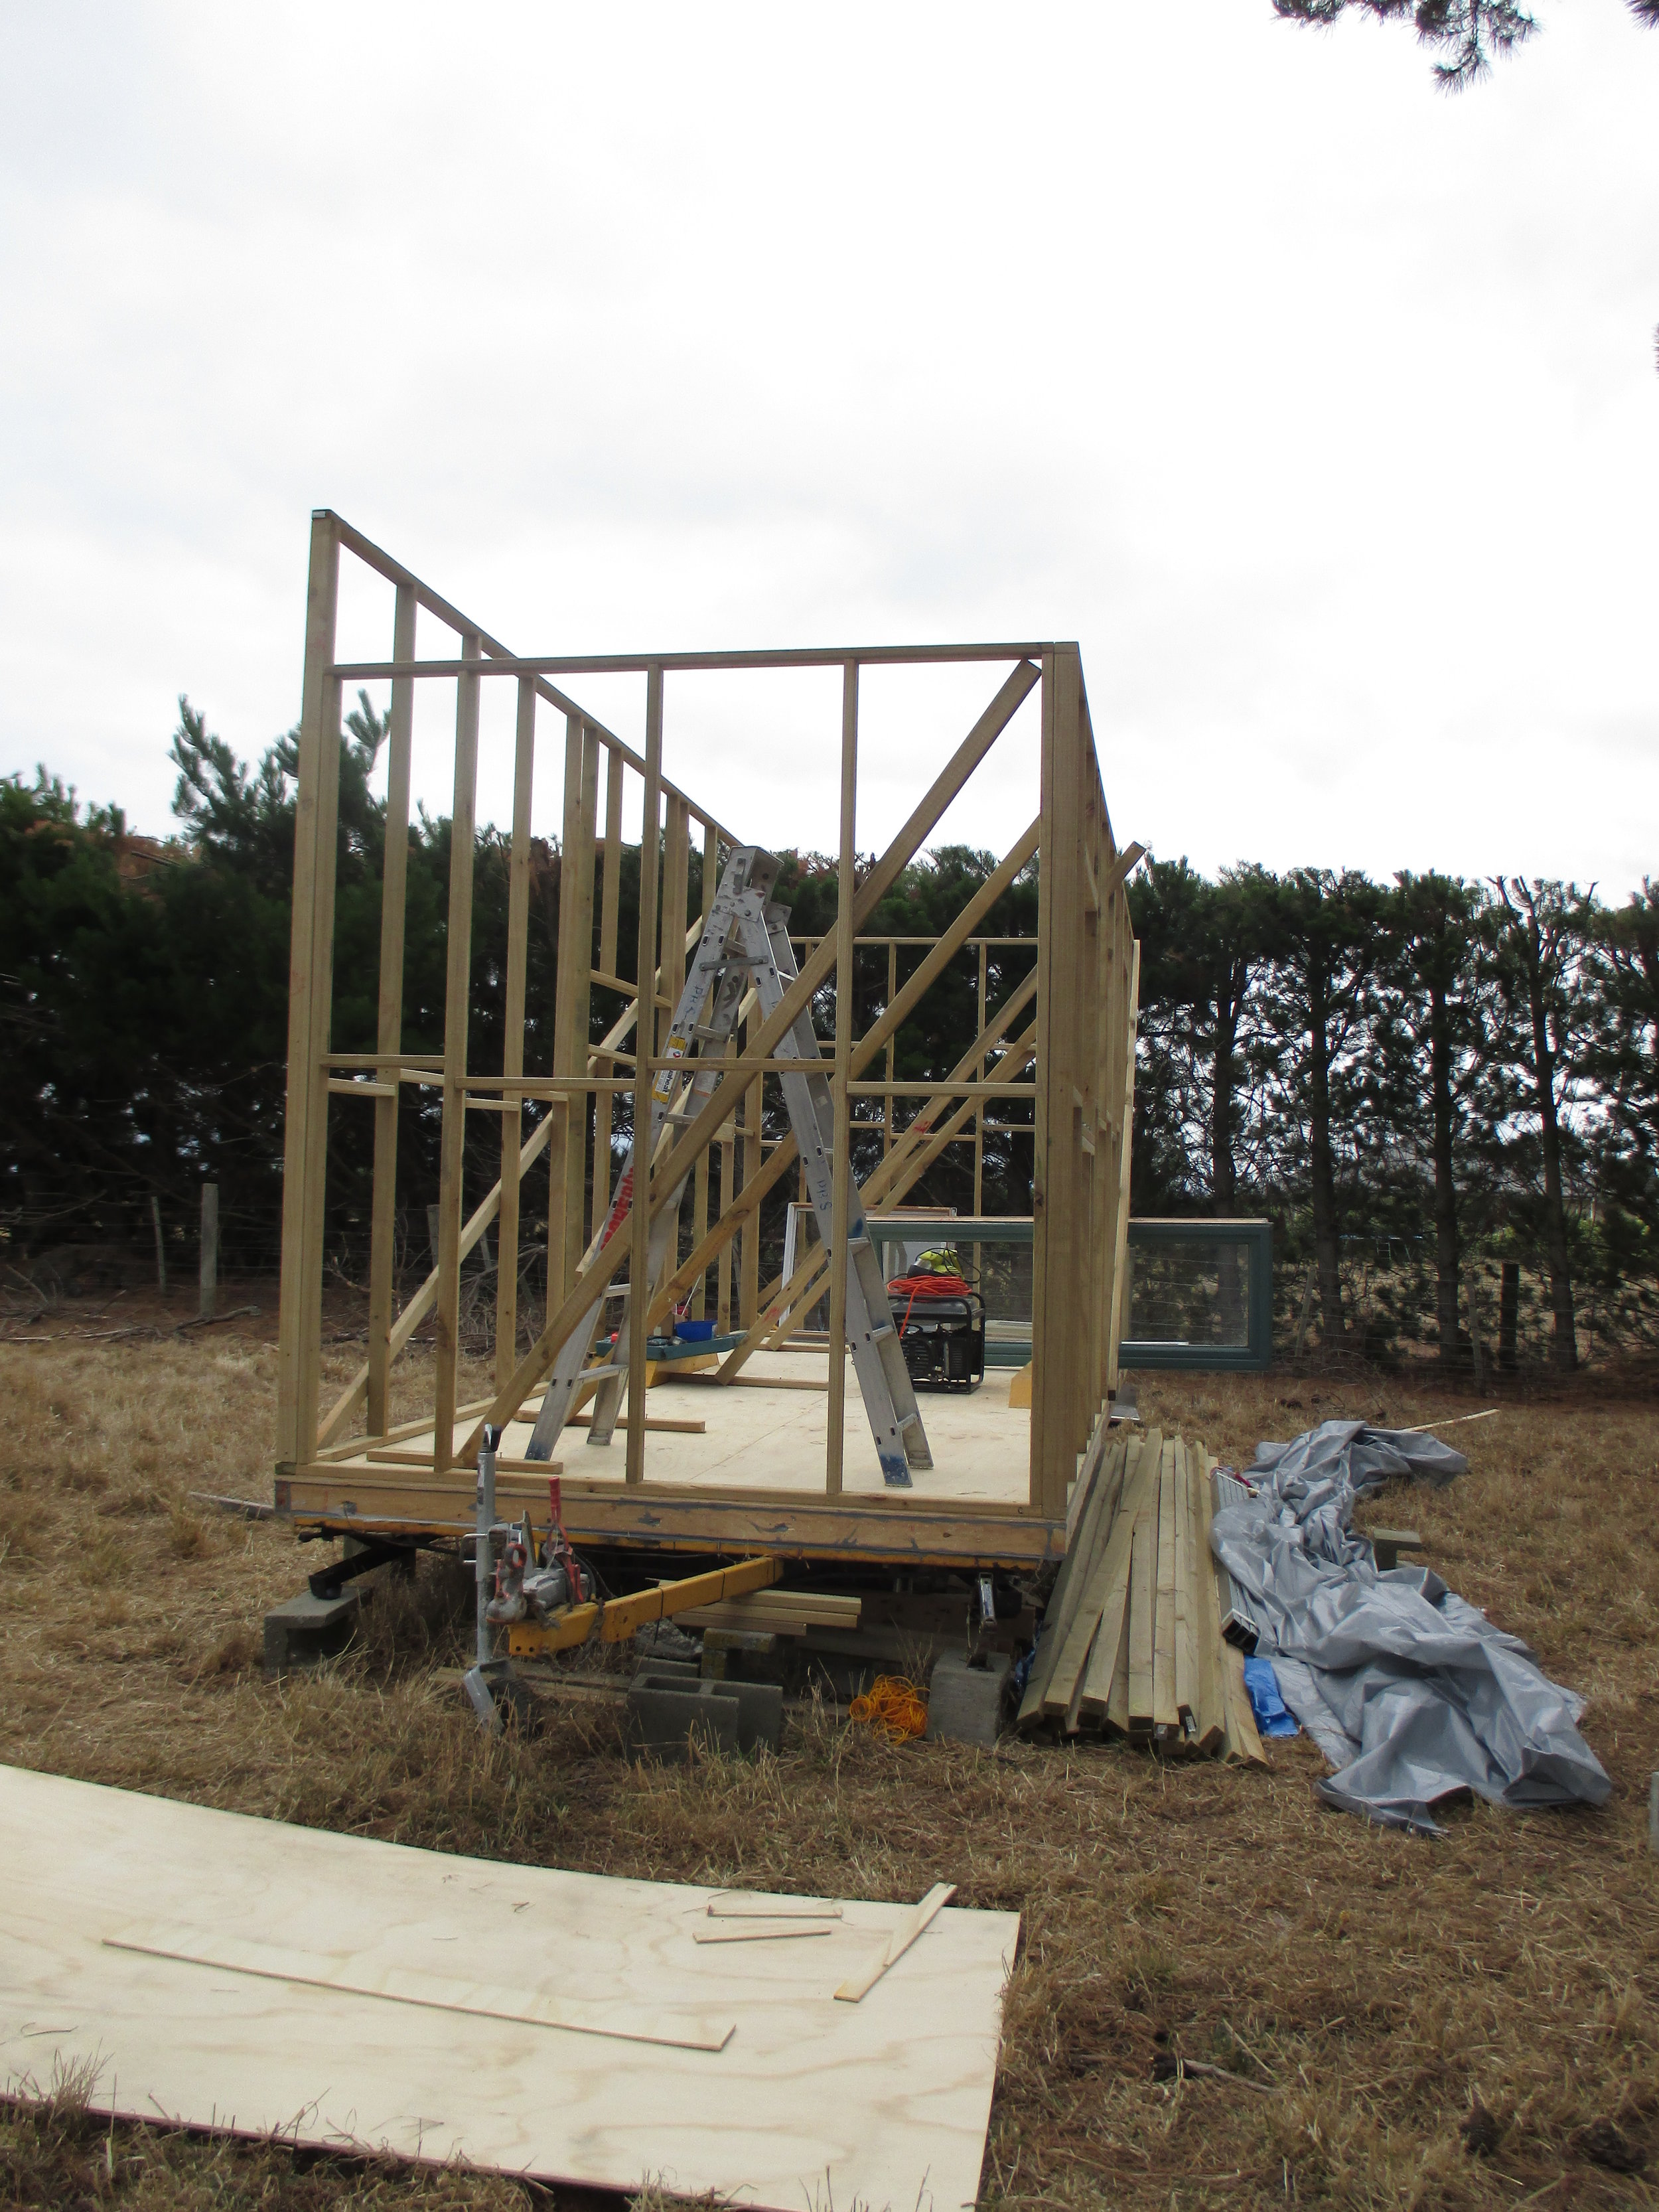
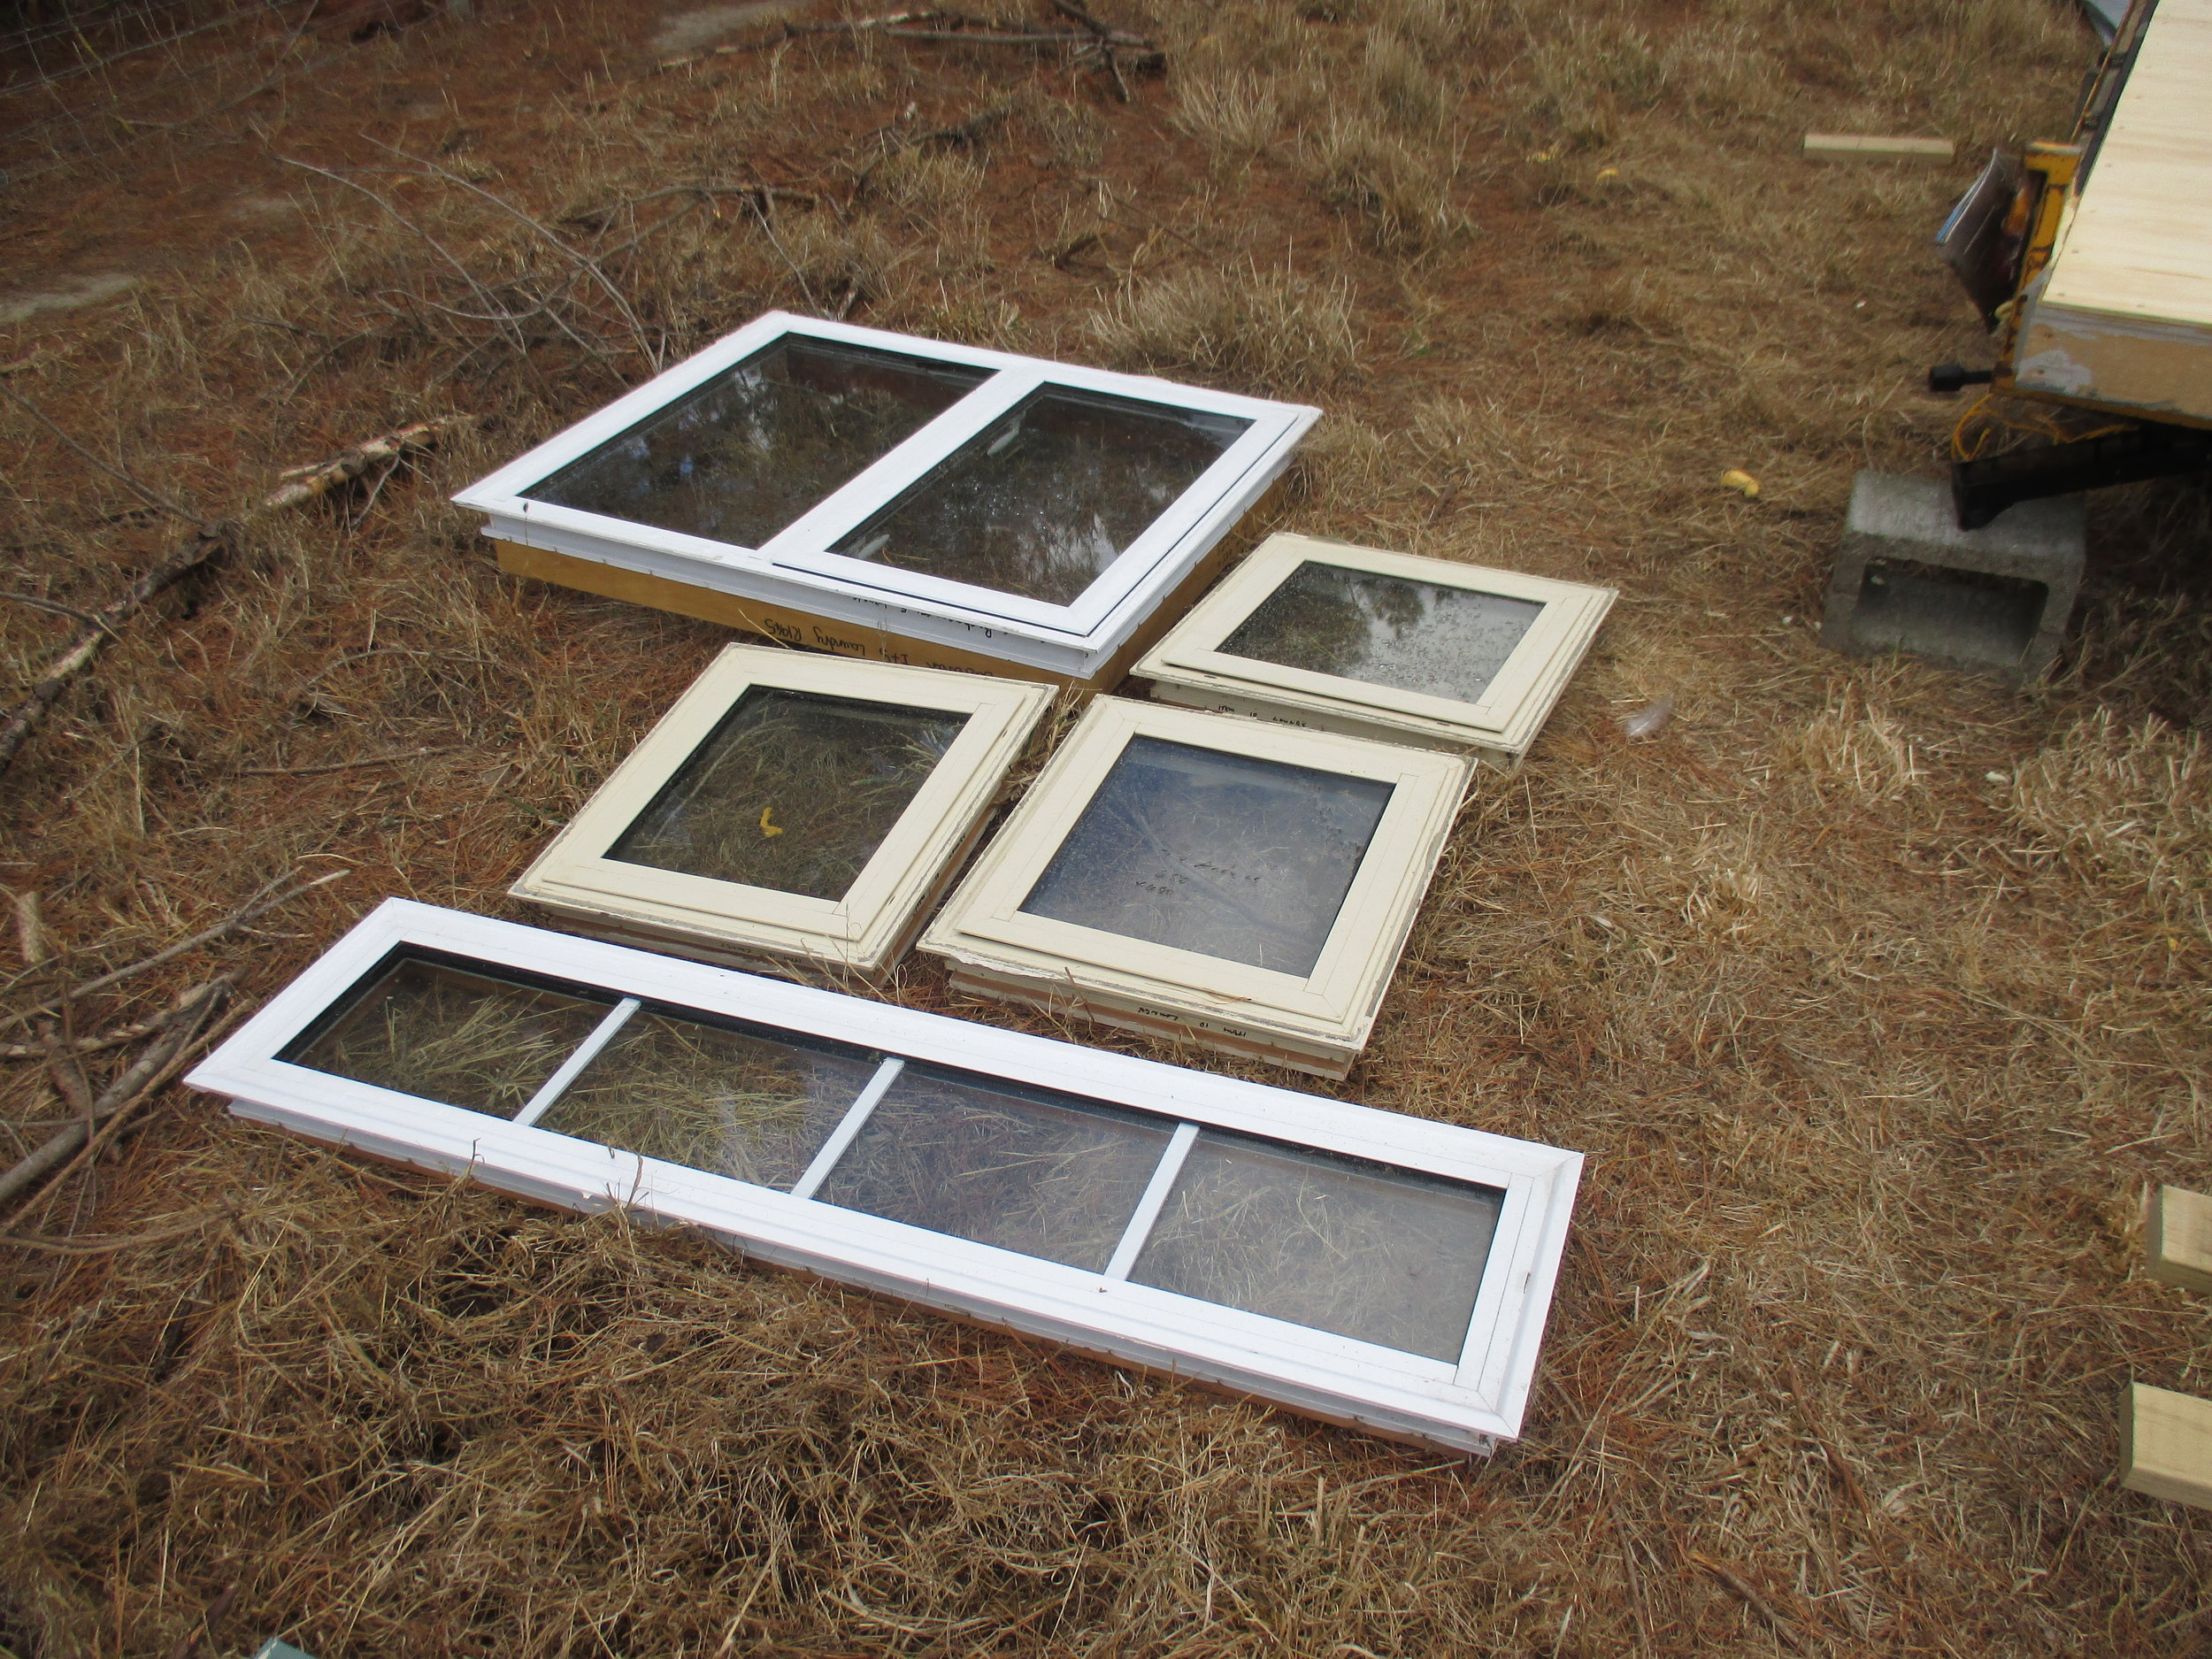
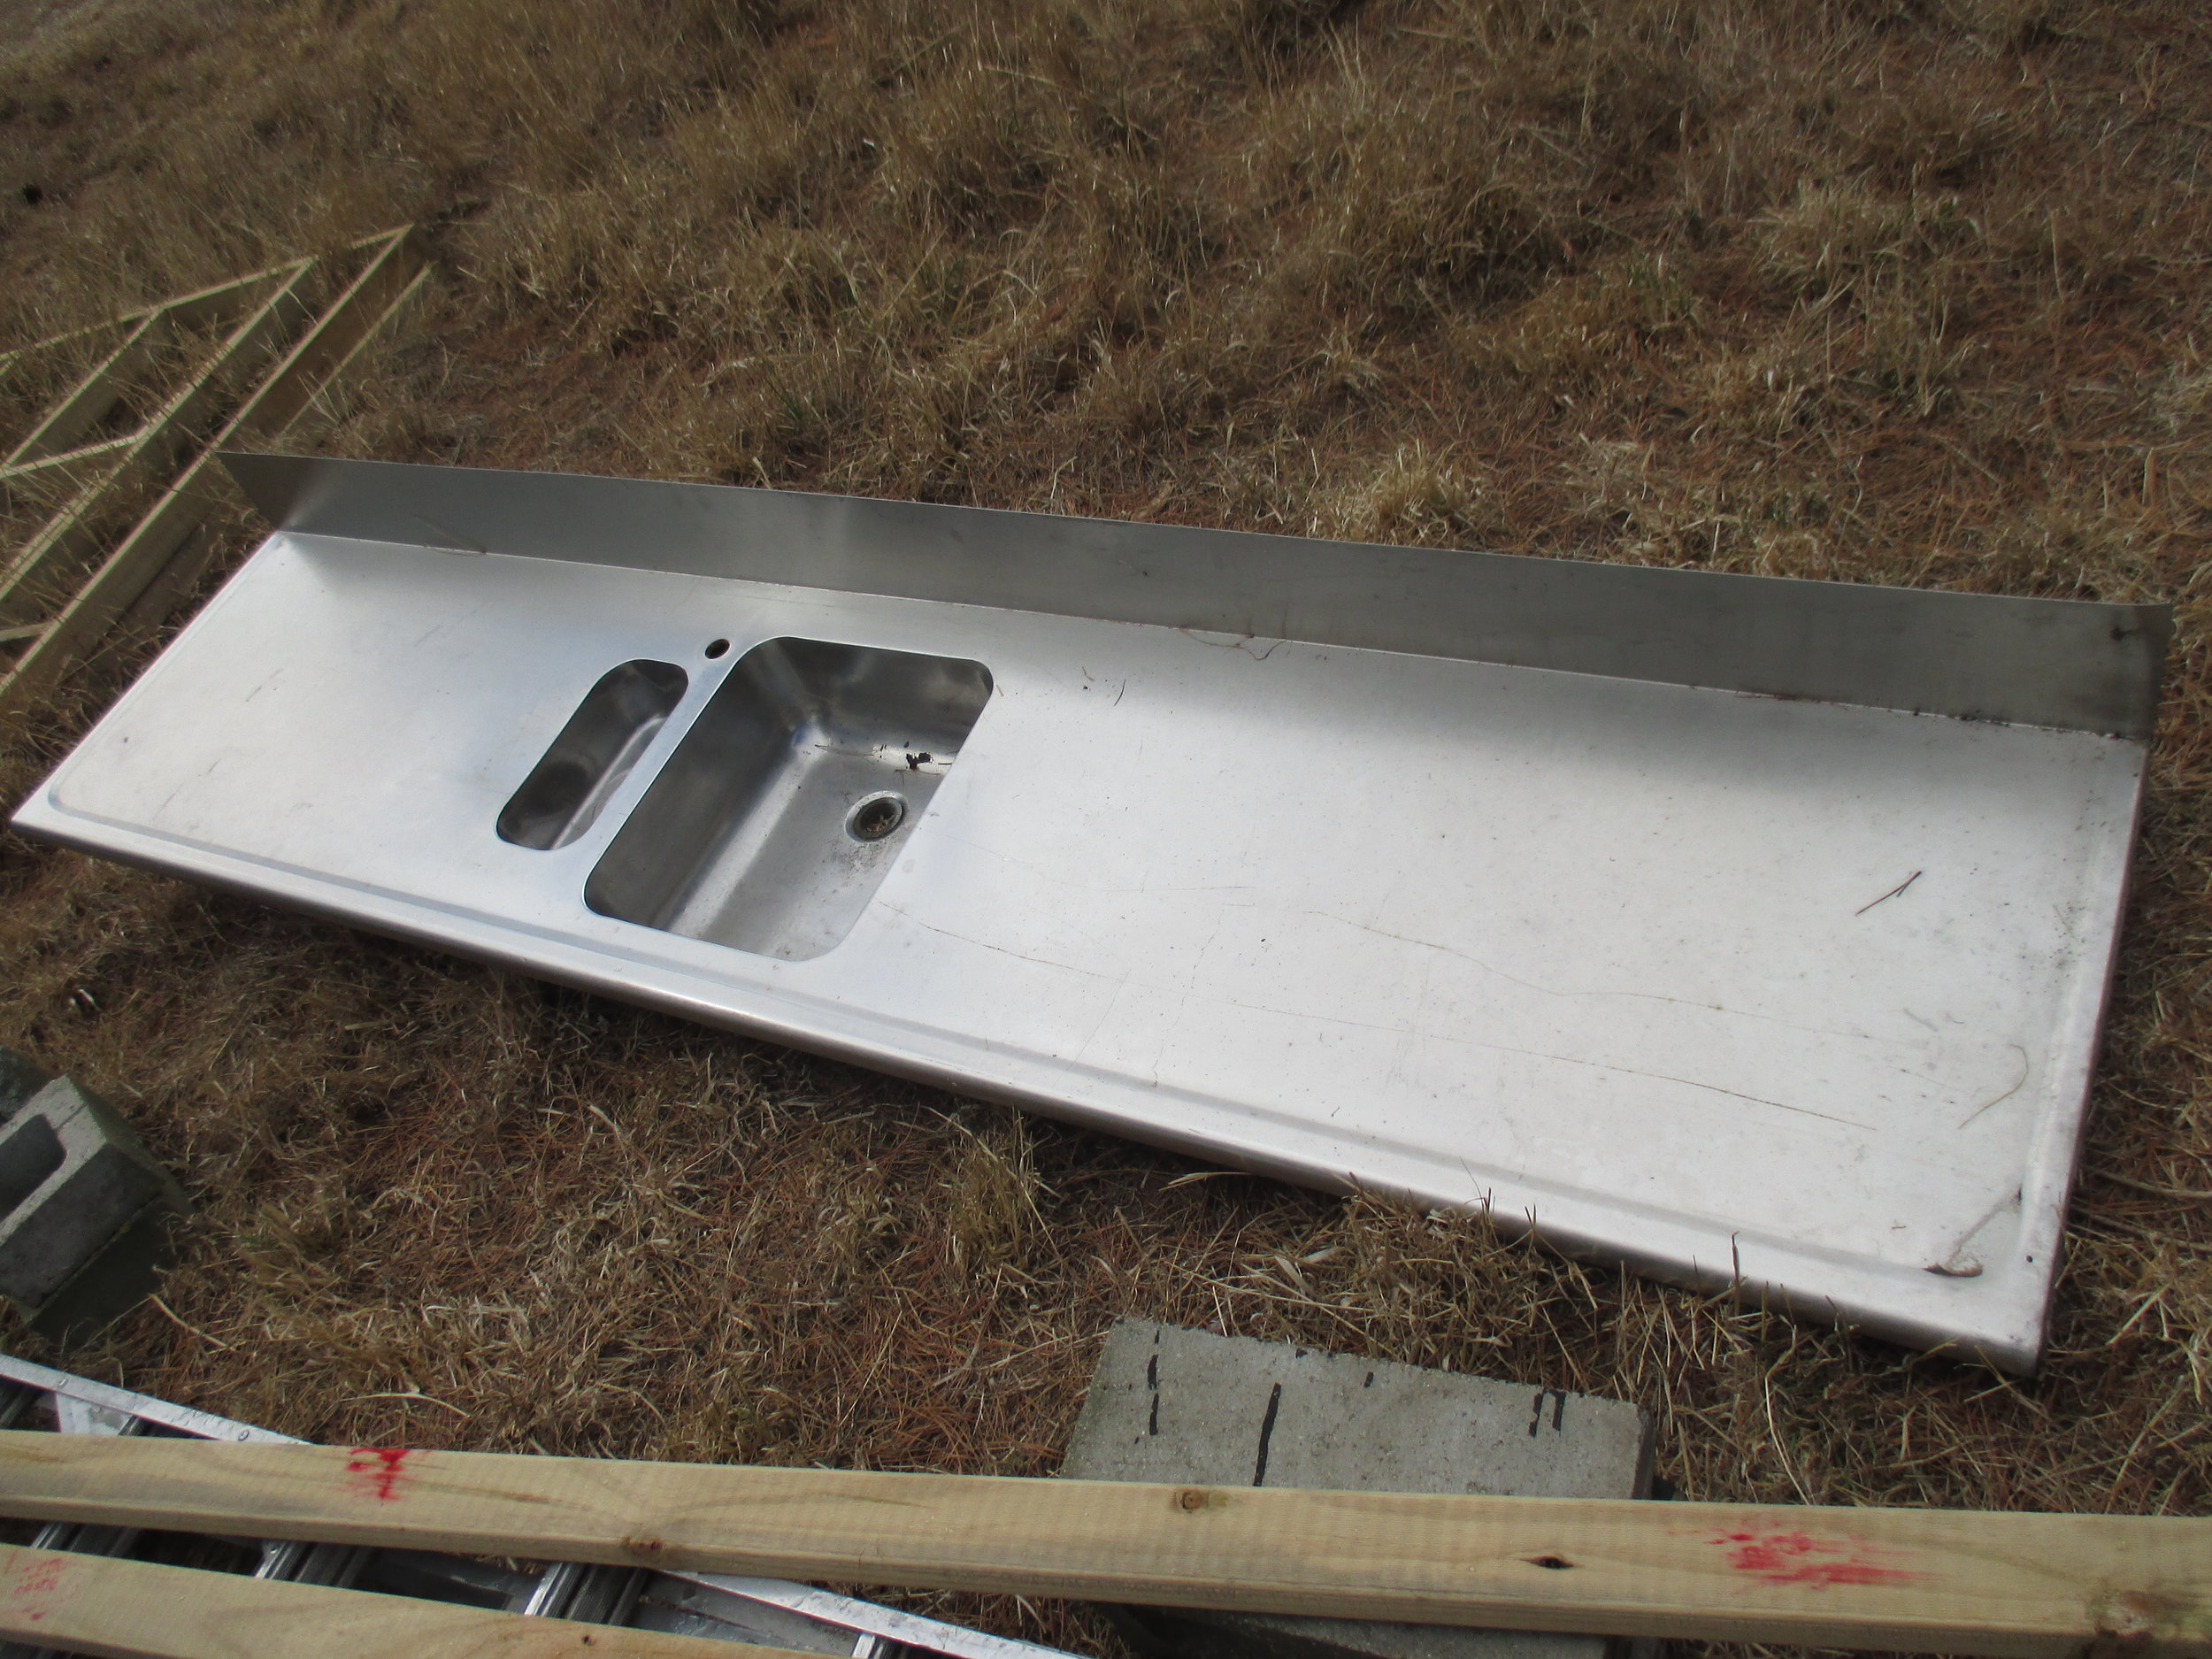
All of our windows and front door was a total of 640.00 dollars. They are all doubled glazed and were purchased from Brown Sparrow recycled building materials here in Christchurch. The Stainless steel counter top was 100.00 from the same place. 
