A large tree fell on our tiny house!
A blog chronicling our tiny house.
Viewing entries tagged
tiny house
A large tree fell on our tiny house!

Yes I did just dump the change from my change bowl on the table for this photo!
Before we built our tiny house we knew we needed to cut back in order to save more. We didn't use all of these tricks to save money but if you read this list then hopefully you will think of your own inventive ways to save!
Cut your electric bill by embracing the darkness on a regular basis. True story- I had my electricity cut when I moved into my first place. It took two weeks to get it back on and in the mean time I loved lighting candles, walking to the grocery store every day and spending more time out and about! If you make it fun and track your dark days with your electric bill you are bound to be surprised at how much money you can save. I should also mention this helps with mindfulness. No internet, phone recharging or Netflix binge watching can occur with no electricity.
Either you have done this or thought about doing this, but seriously if you take free napkins, ketchup packs or mini soaps and lotions make sure that you actually use the items!
Clothes dryers use a huge amount of energy, if you plan well enough it shouldn't affect your wardrobe at all. Not to mention your clothes will last longer.
If you only use hot water for the greasiest pots and pans it will save you hundreds over the span of a year.
Collect all your change and check your car, purse, pockets and couch for lost money on a regular basis. We like to use our collected change for food shopping once we have enough.
When you go out to dinner just order water to save on the bill.
Carpooling and running all your errands on the same trip can help to conserve gas. Get to know your car and buy gas on the same day every week, that way you can see how much you can save by the time your gas day comes around.
We shop at two grocery stores, one that give away plastic bags and the other charges 10 cents a bag. We save the bags from the free grocery store to use as our trash bags and use our cloth bags for the other place. It's a win-win!
Name brand doesn't usually mean that it is better. Try the generic version of something you buy on a regular basis, and if you like it you can save a lot over the course of a year.
Keep an eye on your bank statements and look out for subscriptions that you don't use anymore. Also be on the look out for free trials that have run out and that are charging you for something you don't want.
'Nuff said.
Challenge yourself to have a no spend day- if you are really competitive see if you can do it for the whole week!
Plastic zip bags, paper bags and tin foil are all reusable if you take the time to even rinse them once before throwing them out you will have do buy them less frequently.
If you get a small fridge and sell your big one you will not only waste less food, but also save on the electric bill. Many families in Europe are able to use a small bar fridge with a freezer for a four person family. You may need to hit up the grocery store a bit more often but in the long run this can mean better fresher food!
If you are trying to pay down credit cards, leaving them at home or in a place that is not accessible can help you avoid the urge to buy something you don't have the money for right at that moment in time.
Meat usually is the biggest ticket item in your grocery cart. By choosing one day a week to go meatless you will help the planet and your savings account! Before I started dating Patrick I was a lazy vegetarian- which meant I didn't want to be involved with defrosting, marinating or cooking meat which meant I spent all of $50 a week on groceries!
This one is really obvious, don't buy bottled water! A reusable water bottle can save you so much. Use the tap or get a water filter if you need it where you are.
We use a wood burner for heat in the winter and by purchasing what we need for the winter in the summer, we can save hundreds of dollars. You can buy clothes, beds, outdoor equipment and decorations off season to save tons.
It's easy to get lazy when feeding your pet, a handful here and bowl full there. Instead get a automatic pet feeder or just use an old measuring cup at regular set times in order to make sure no food is going to waste. This will also keep your pet at a healthy weight because an obese pet also costs money!
Baking your own bread, making your own pasta, slicing your own meats, and whipping up your own granola will not only be healthier for you but also so much cheaper! Once you find a go-to recipe that you like it will be really simple to make on a regular basis.
If you are serious about saving- look closely at everything you do, there are lots of ways to save. But don't stop there. Step it up a notch by putting the money you would have otherwise spent in an account that you want to build up. For example, every time we make pizza at home we deposit $10 from our personal account into our fun account, instead of paying Domino's or allocating that money to something else we don't necessarily need to buy. This is the fastest way to see serious money accumulate or to see your debts decrease.
What do you do to save money?
Dr. Brene Brown's book, Daring Greatly mentions ten guideposts that she discovered some of the happiest, well adjusted and resilient people all had in common. In the post I discuss how building and living in a tiny house has helped us to become wholehearted!
Hello Again! Friday night was the very first night we slept over at the tiny house. We arrived at about 9:30pm and found the house to be warm and when we turned on all the lights, very well lit. The pillows and kitchenware were quickly put away and we had a nice quiet evening with a glass of wine and a good book. We were very comfortable, warm and everything we needed to relax for the evening was easy to access and use. We slept very well and the hot shower in the morning was amazing. We were both able to cook and be in the kitchen area at the same time without running into each other and the eggs and hashbrowns were delish! It was a great night and we were sad to go the next day. We did make a short list of item to improve but over all we did a great job of planning and anticipating our needs.
Hello!
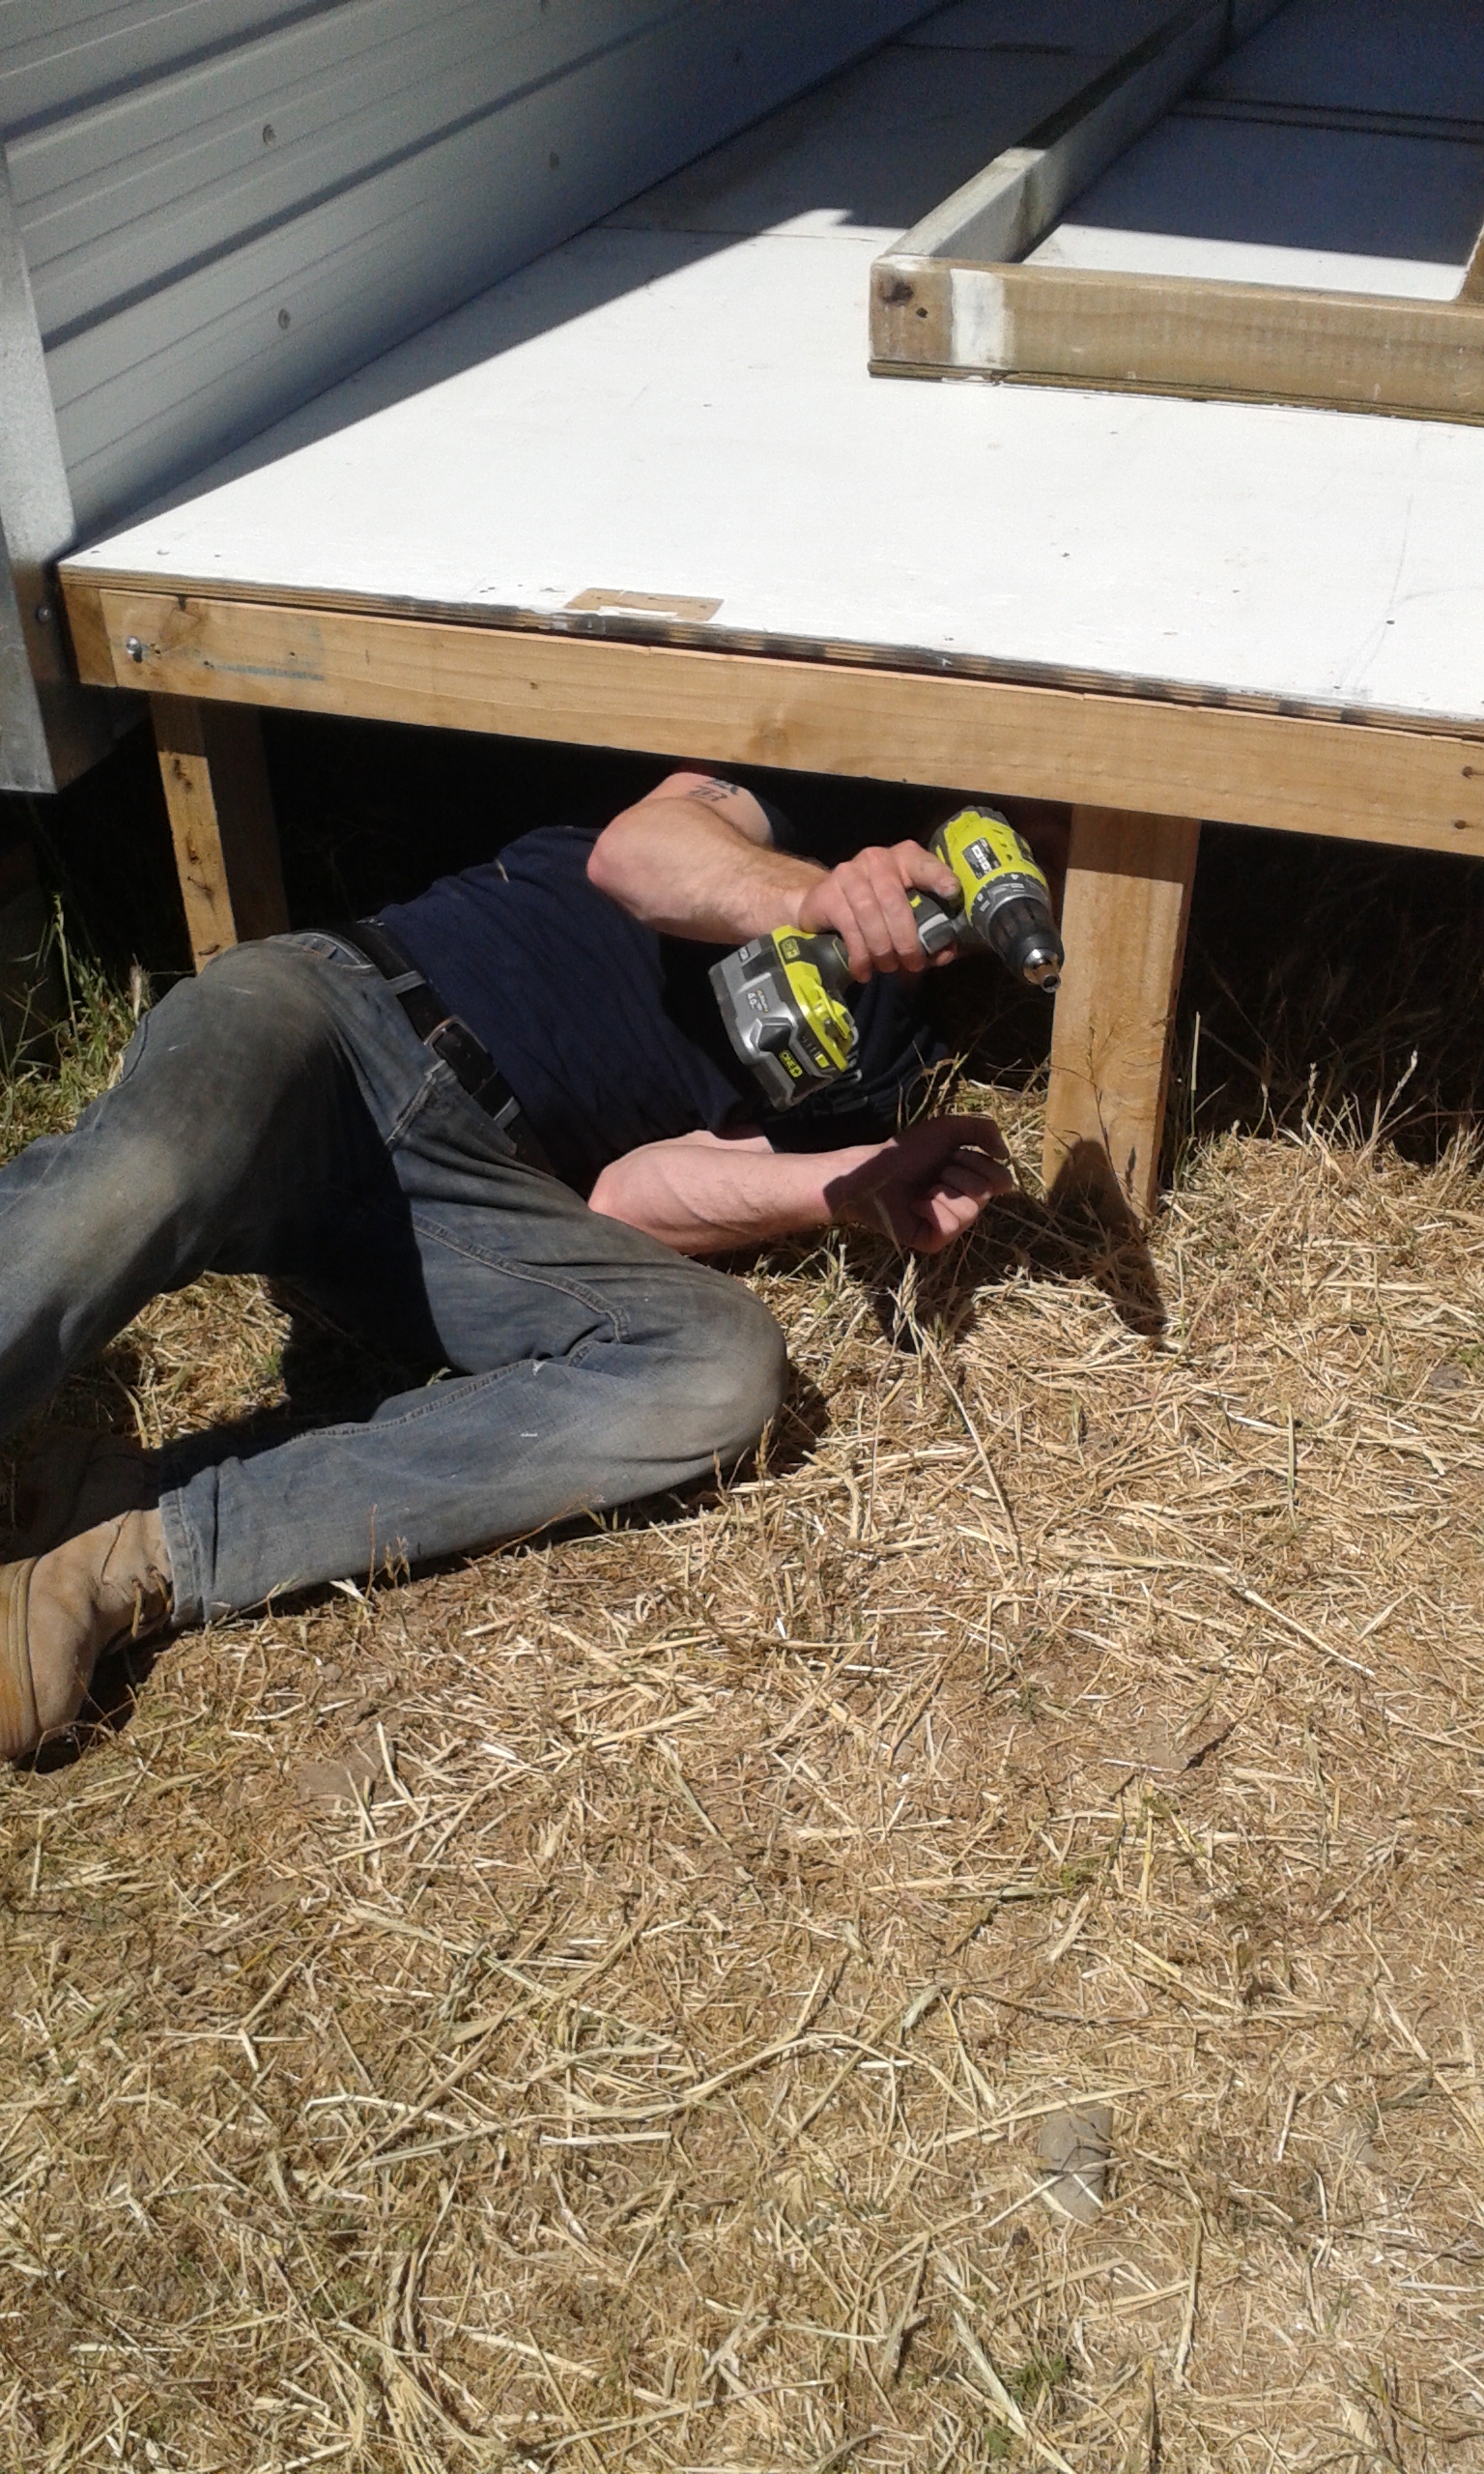
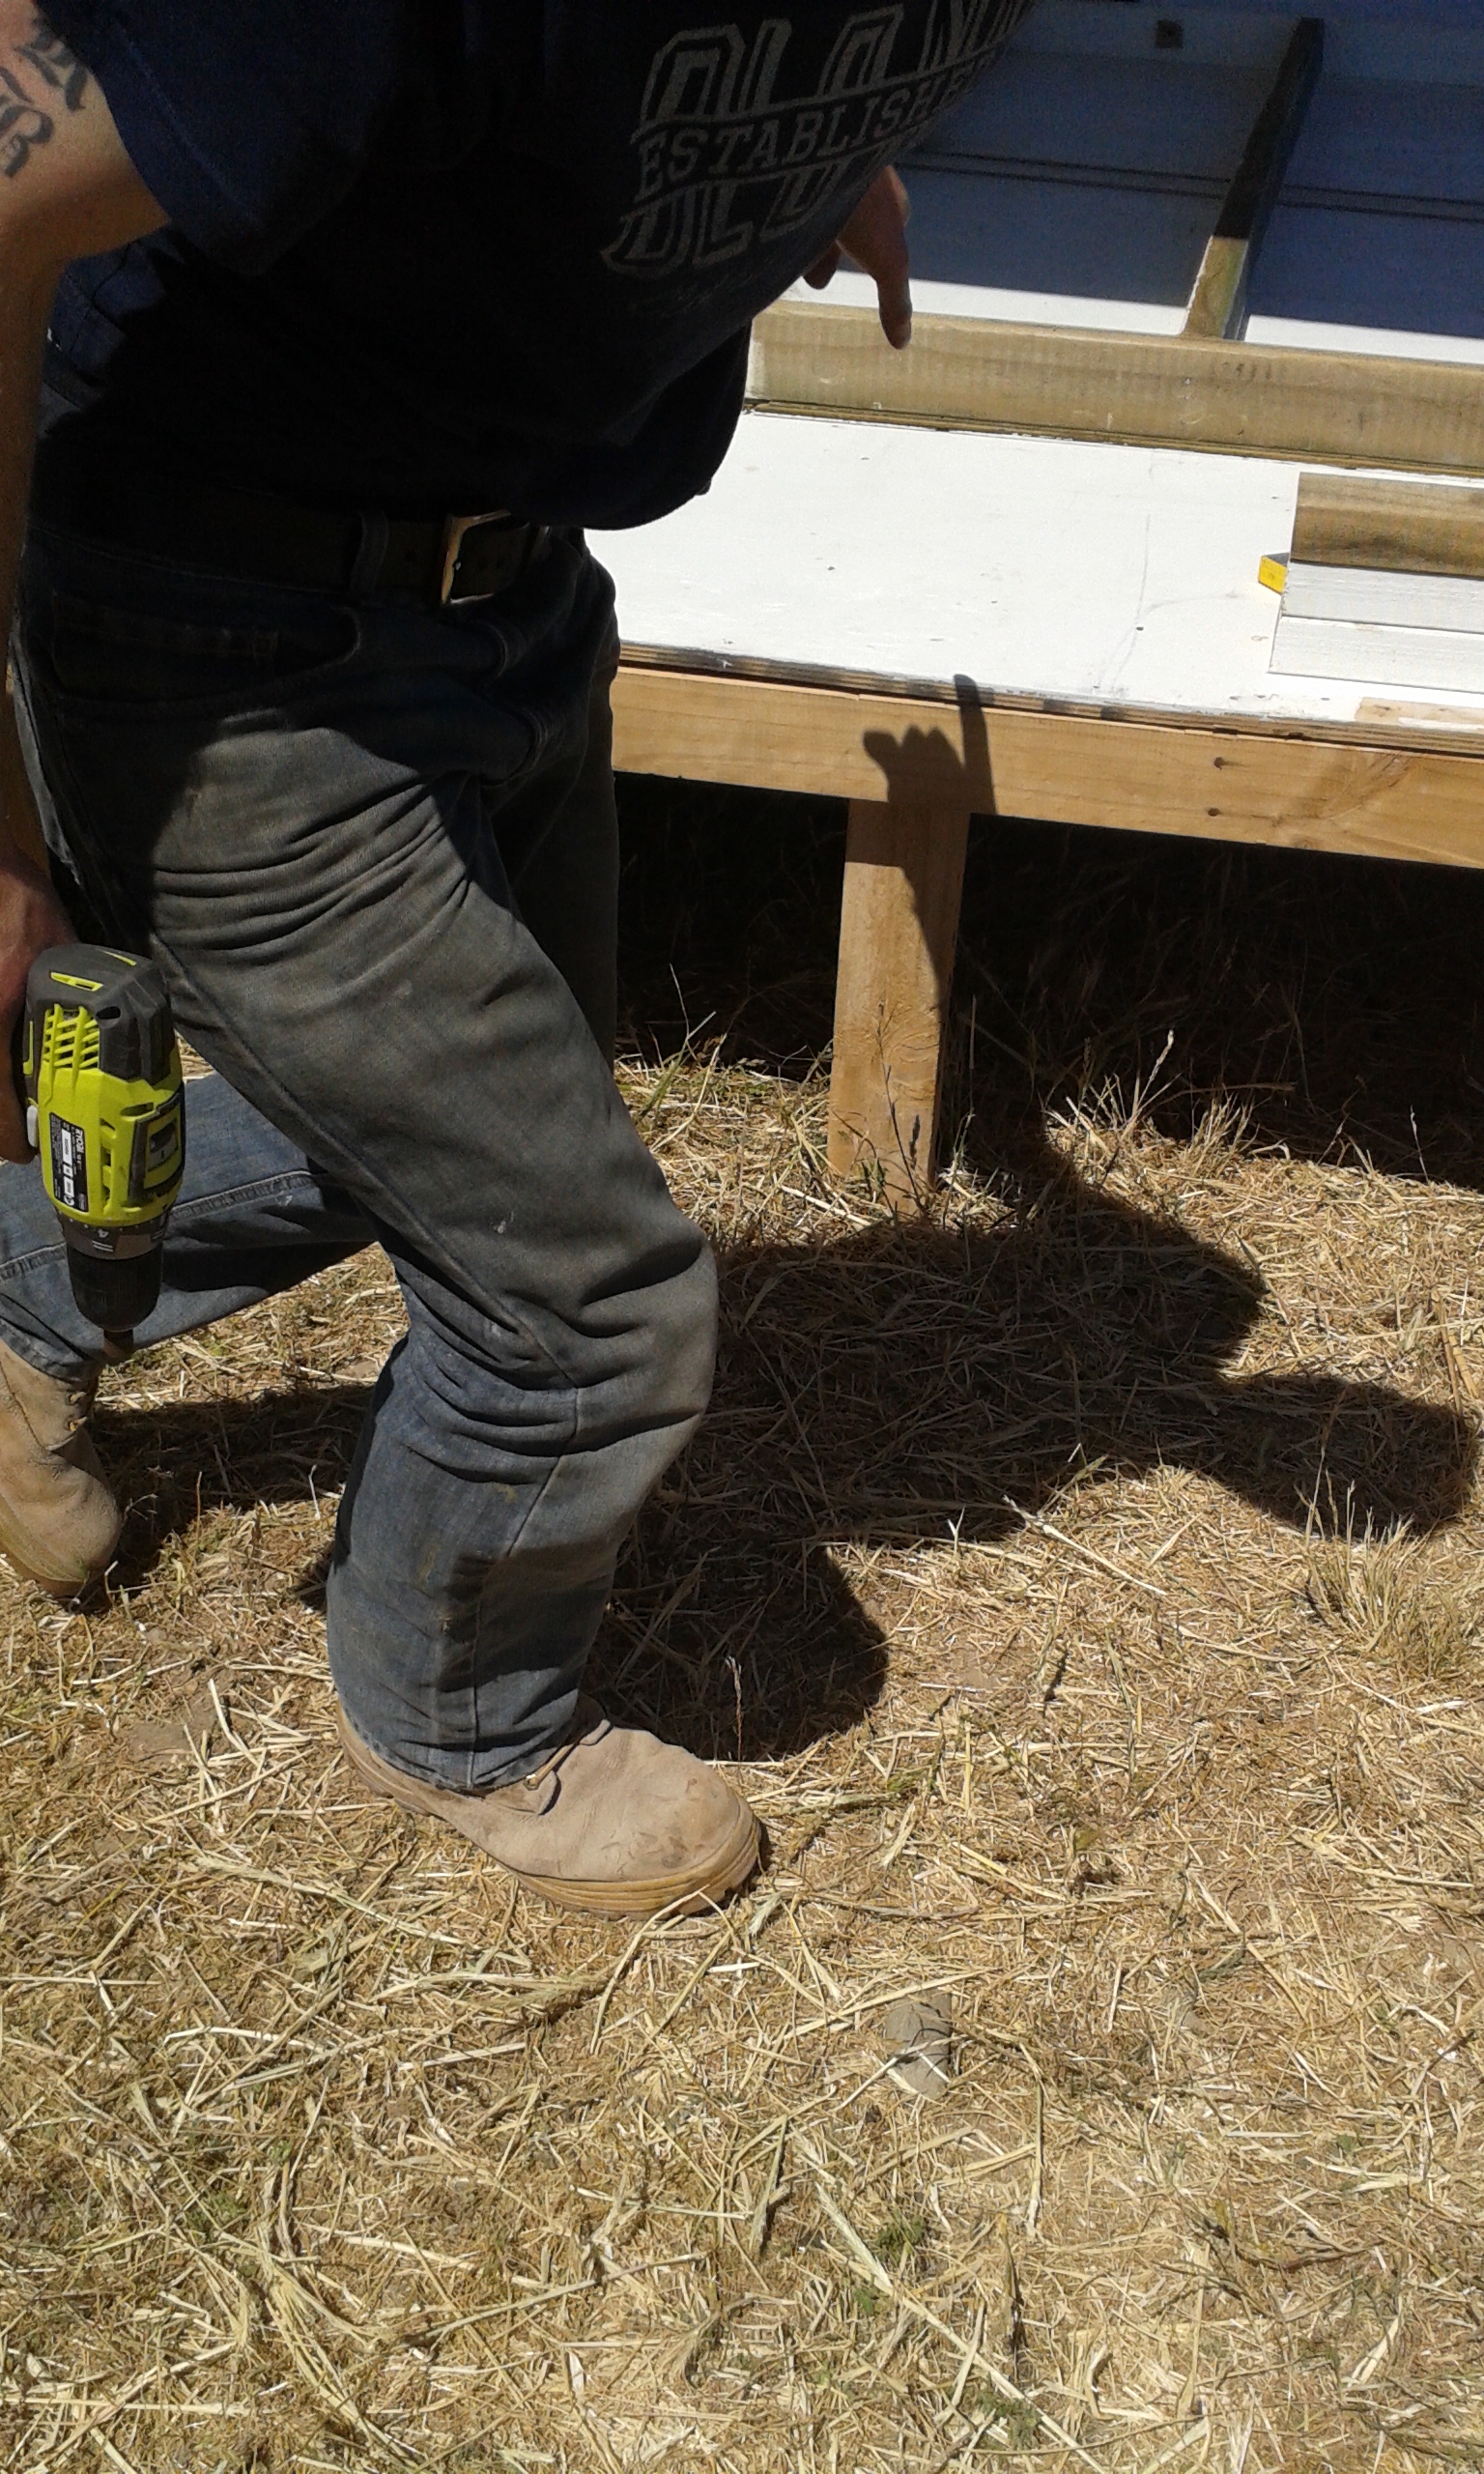
This morning, bright and early we began to install our deck. As you may know we already attached a porch roof to the tiny house and used three posts to support it. We attached the deck to the posts and used wooden legs for the rest of the support. The deck was made of recycled materials sourced from a jobsite. It was pretty much already pre-built so it was put together very quickly. It still needs a coat paint but otherwise I think it looks great. We have doubled our living space, after only a couple hours of hard work. We will use the porch to store our shoes, barbecue, and other items that we wish to keep dry. 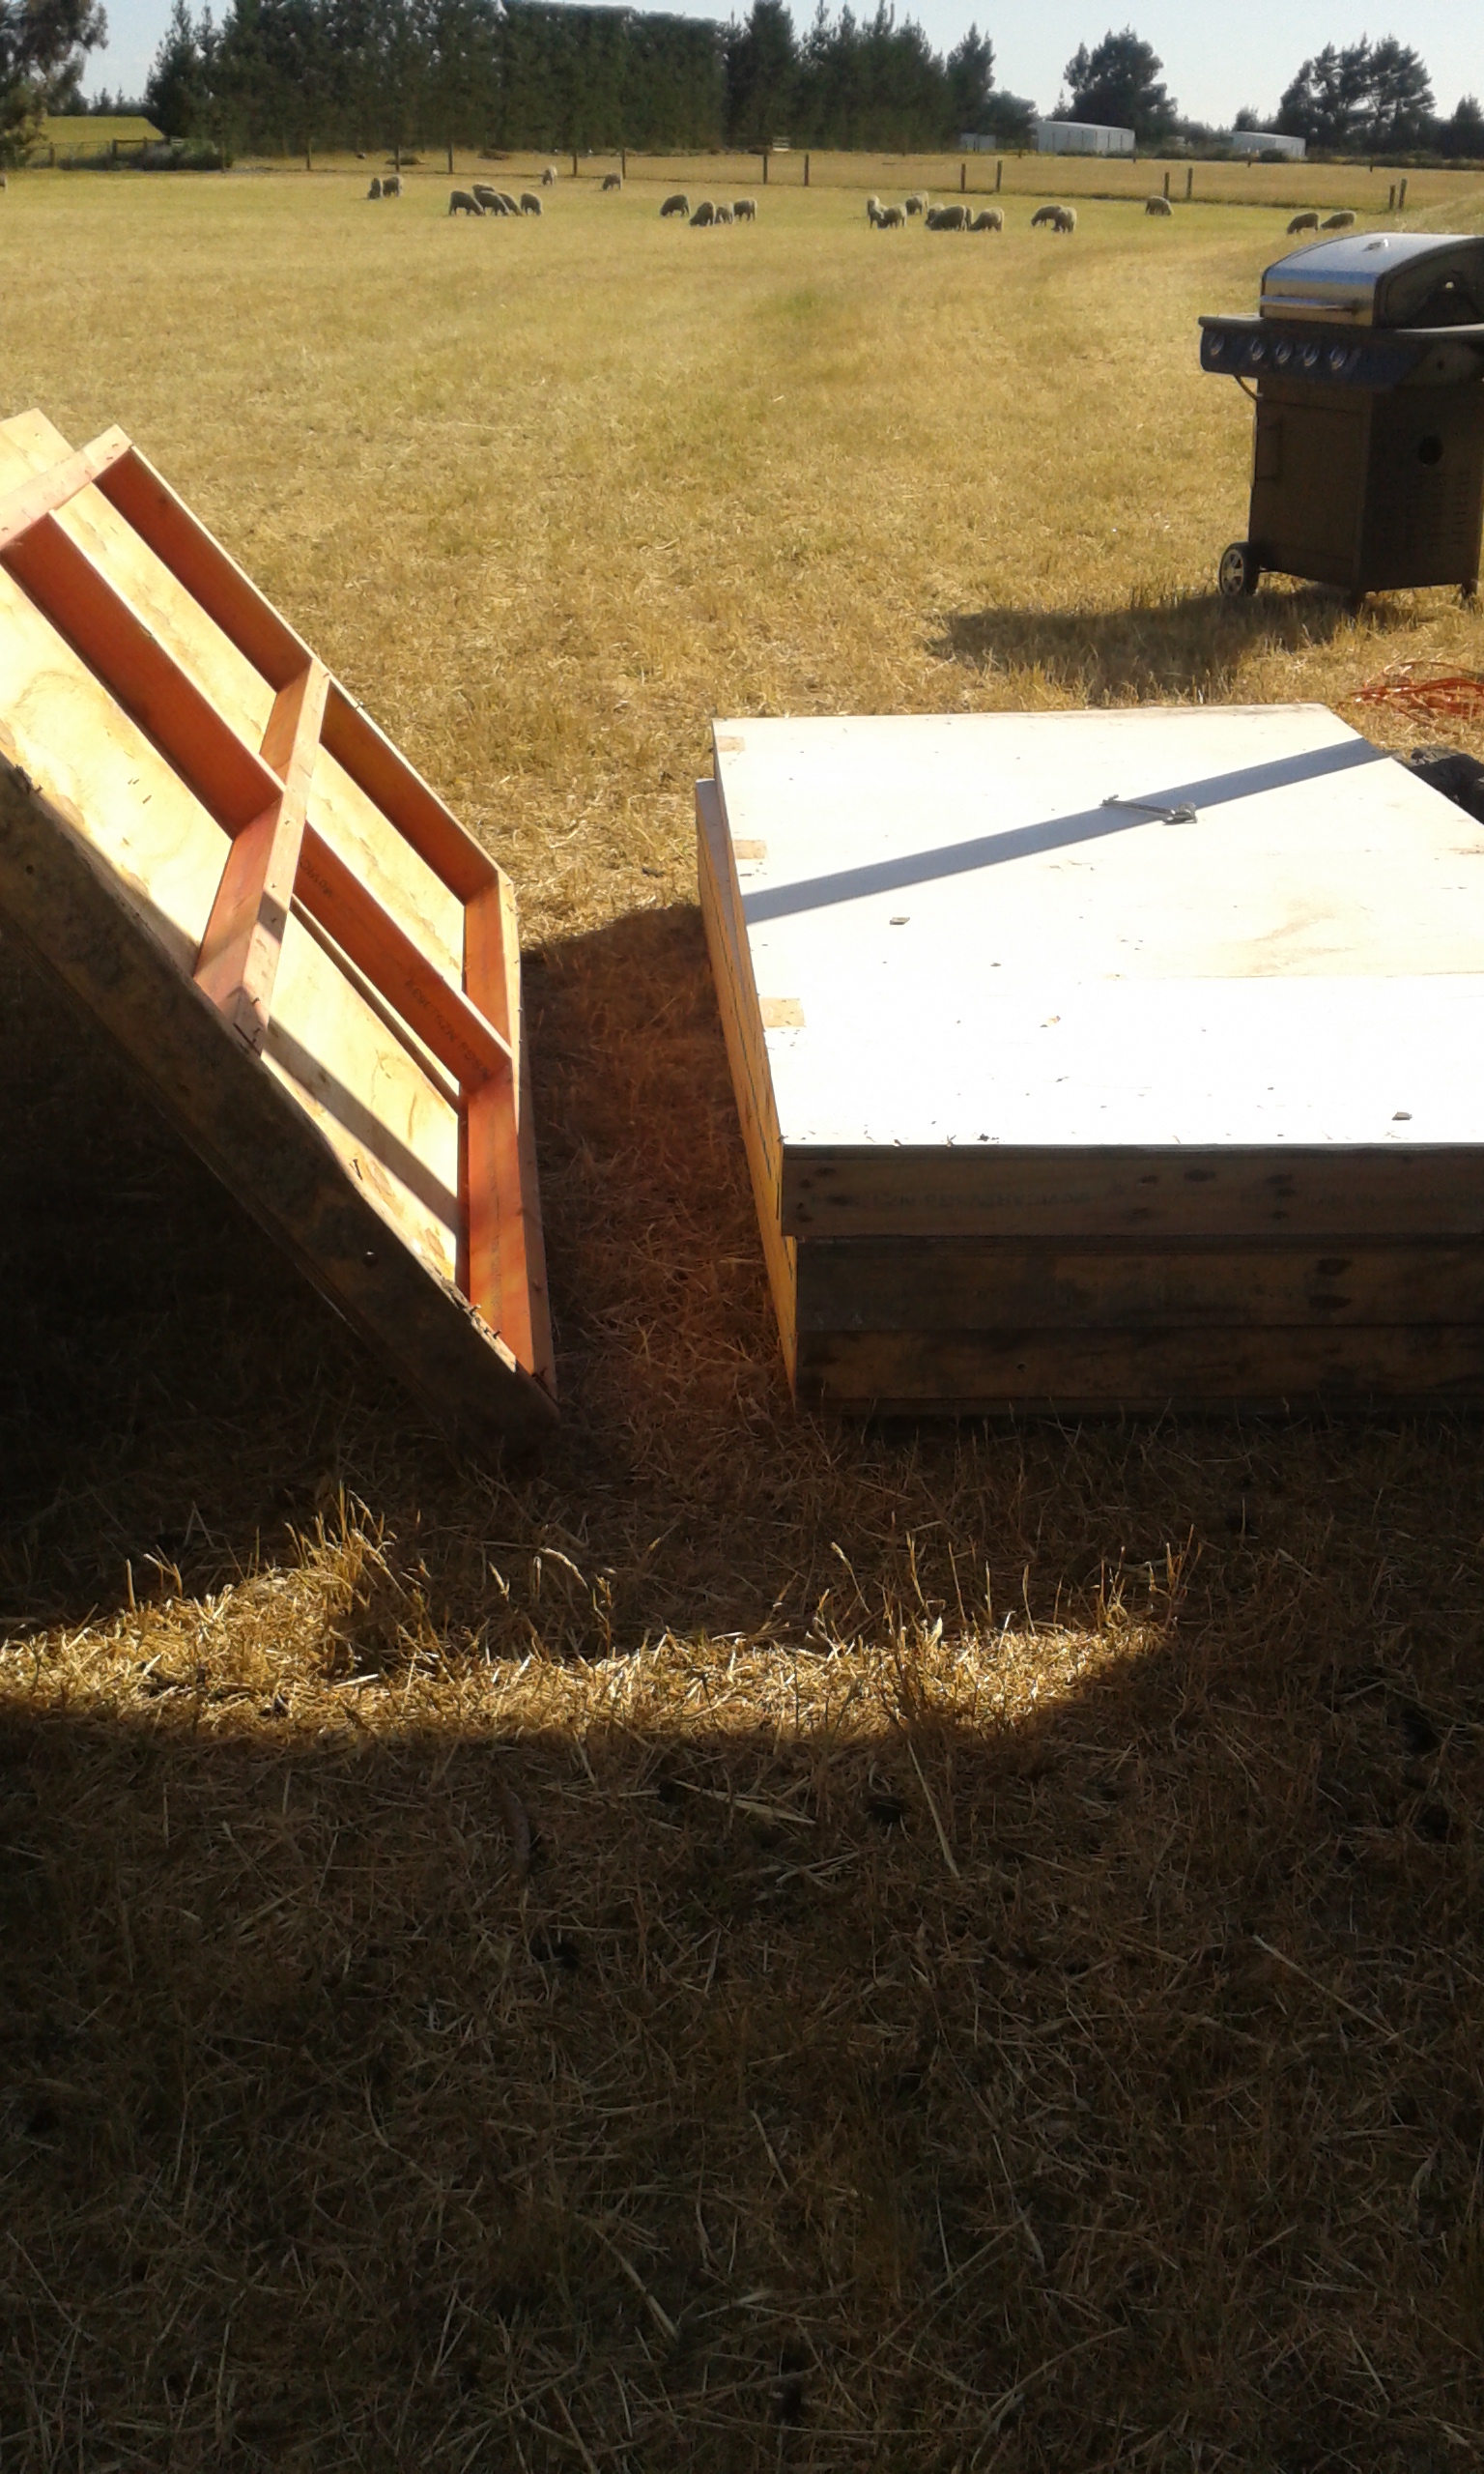
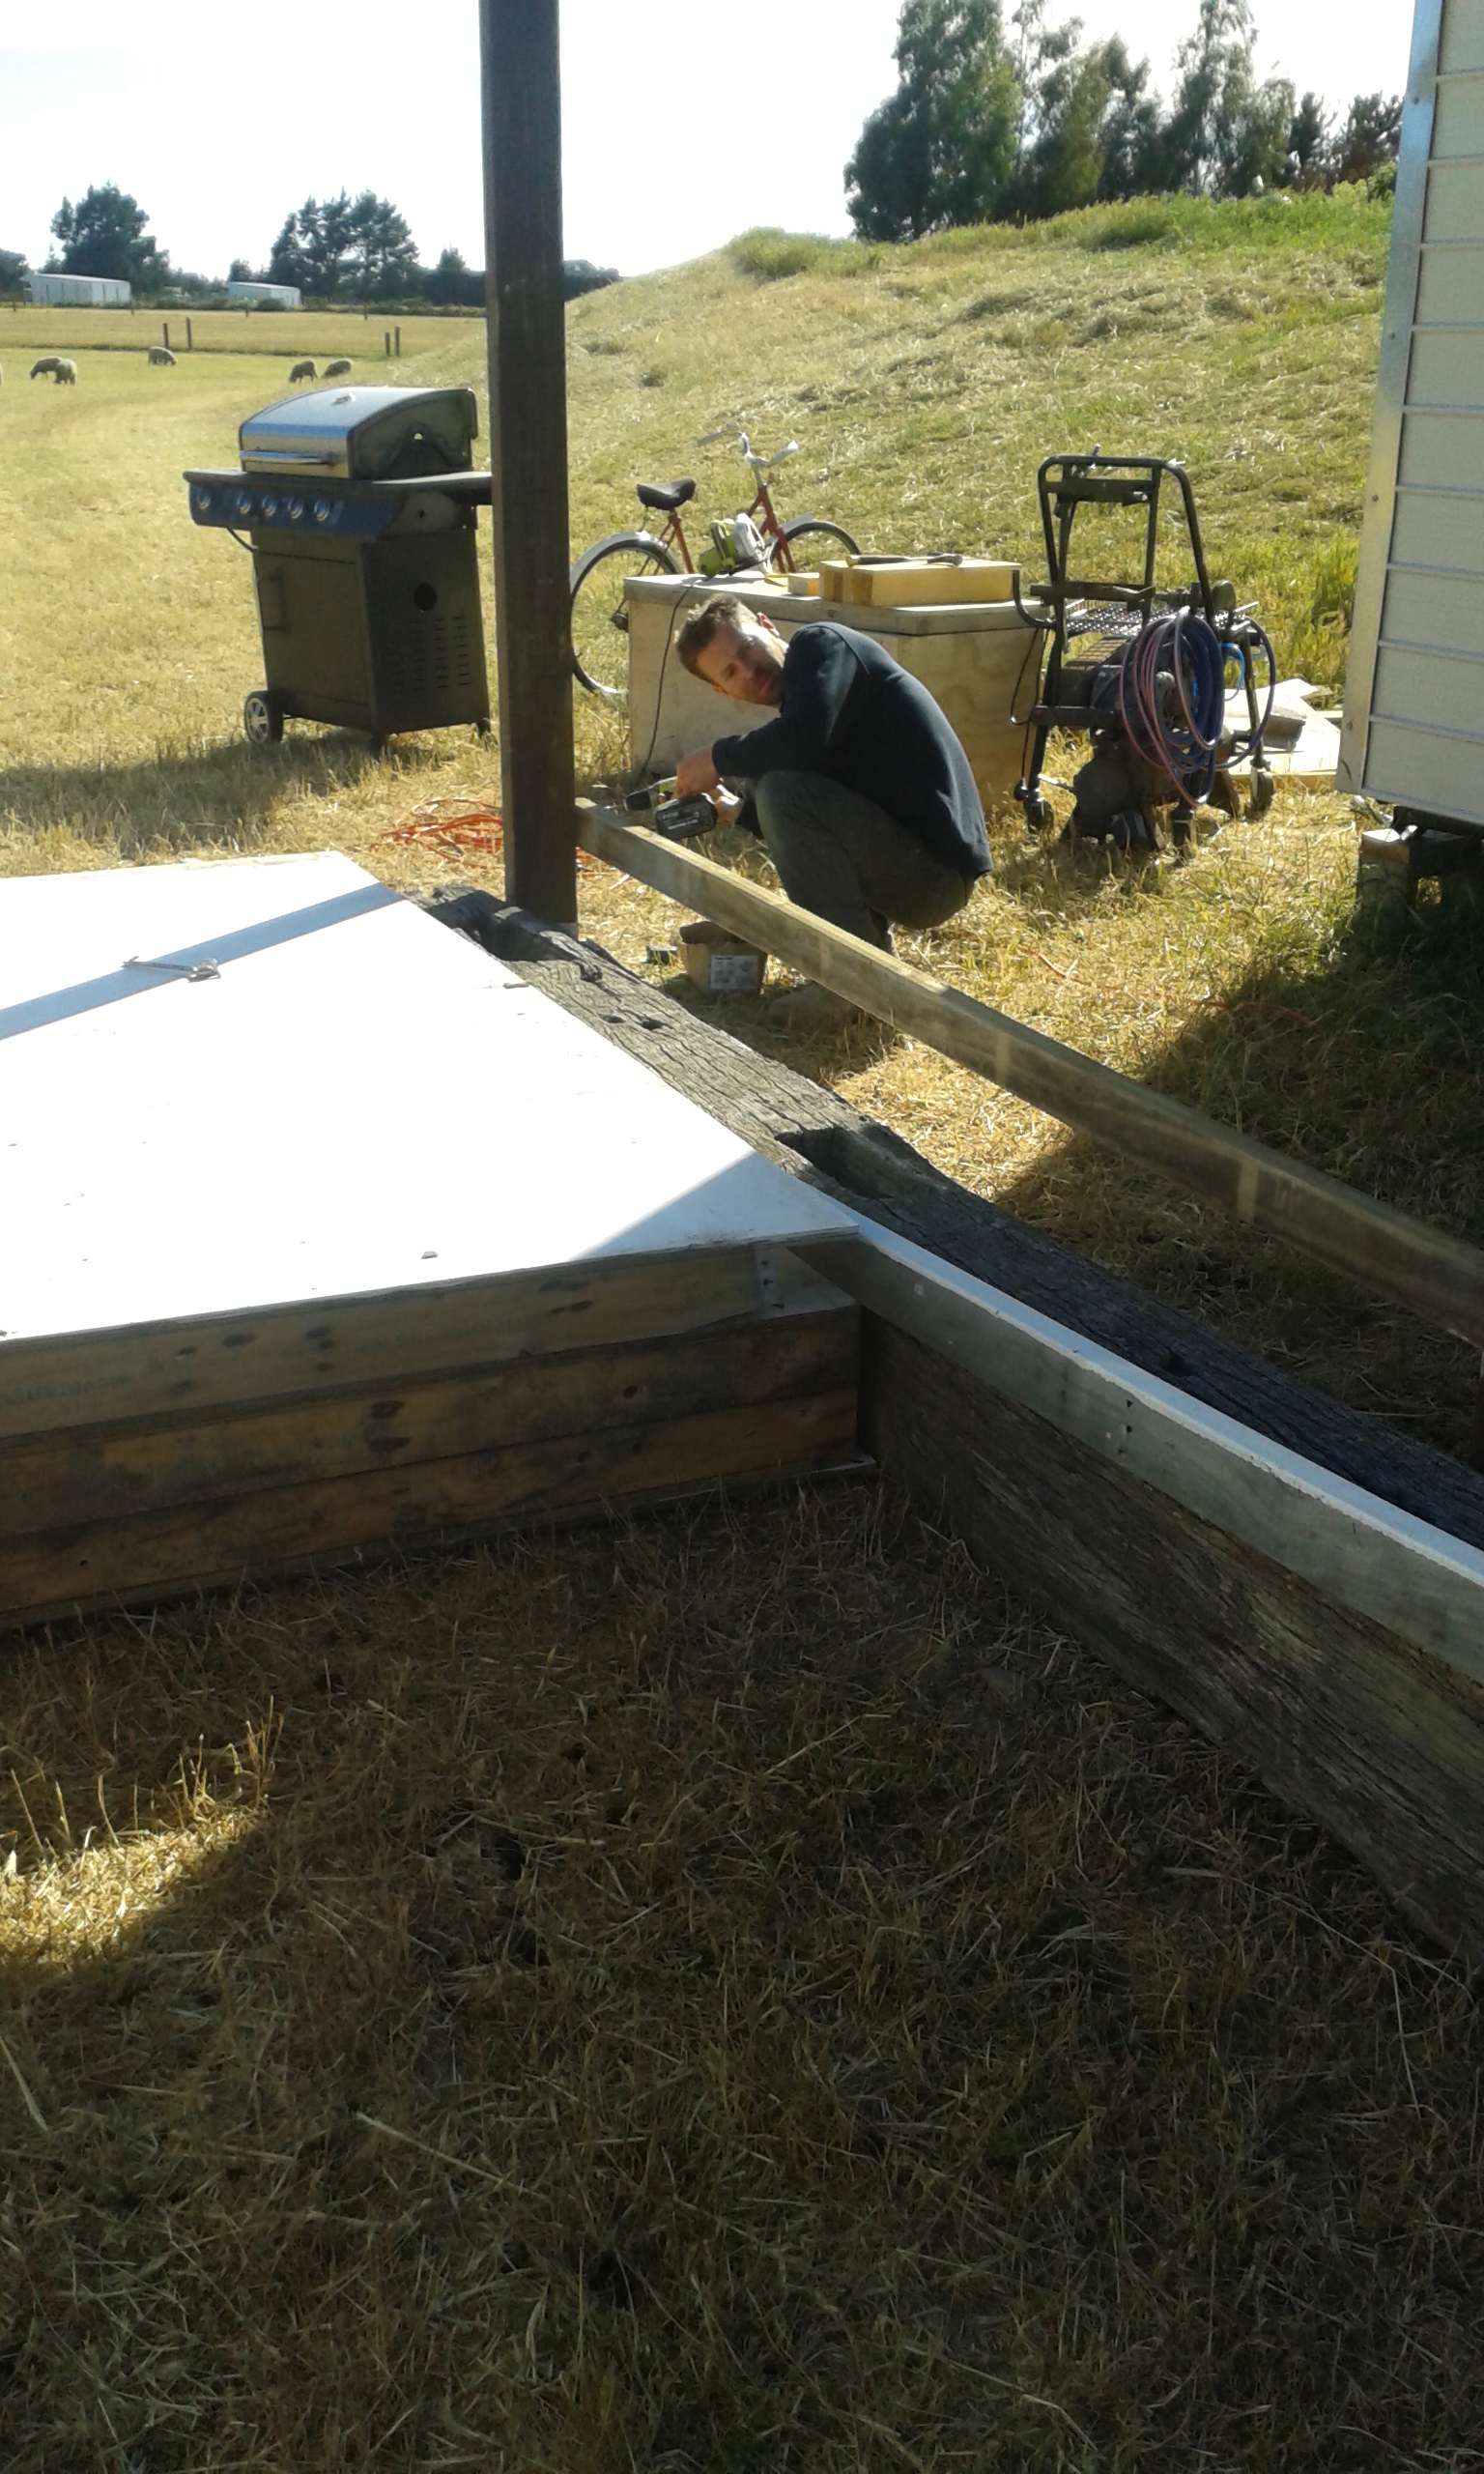
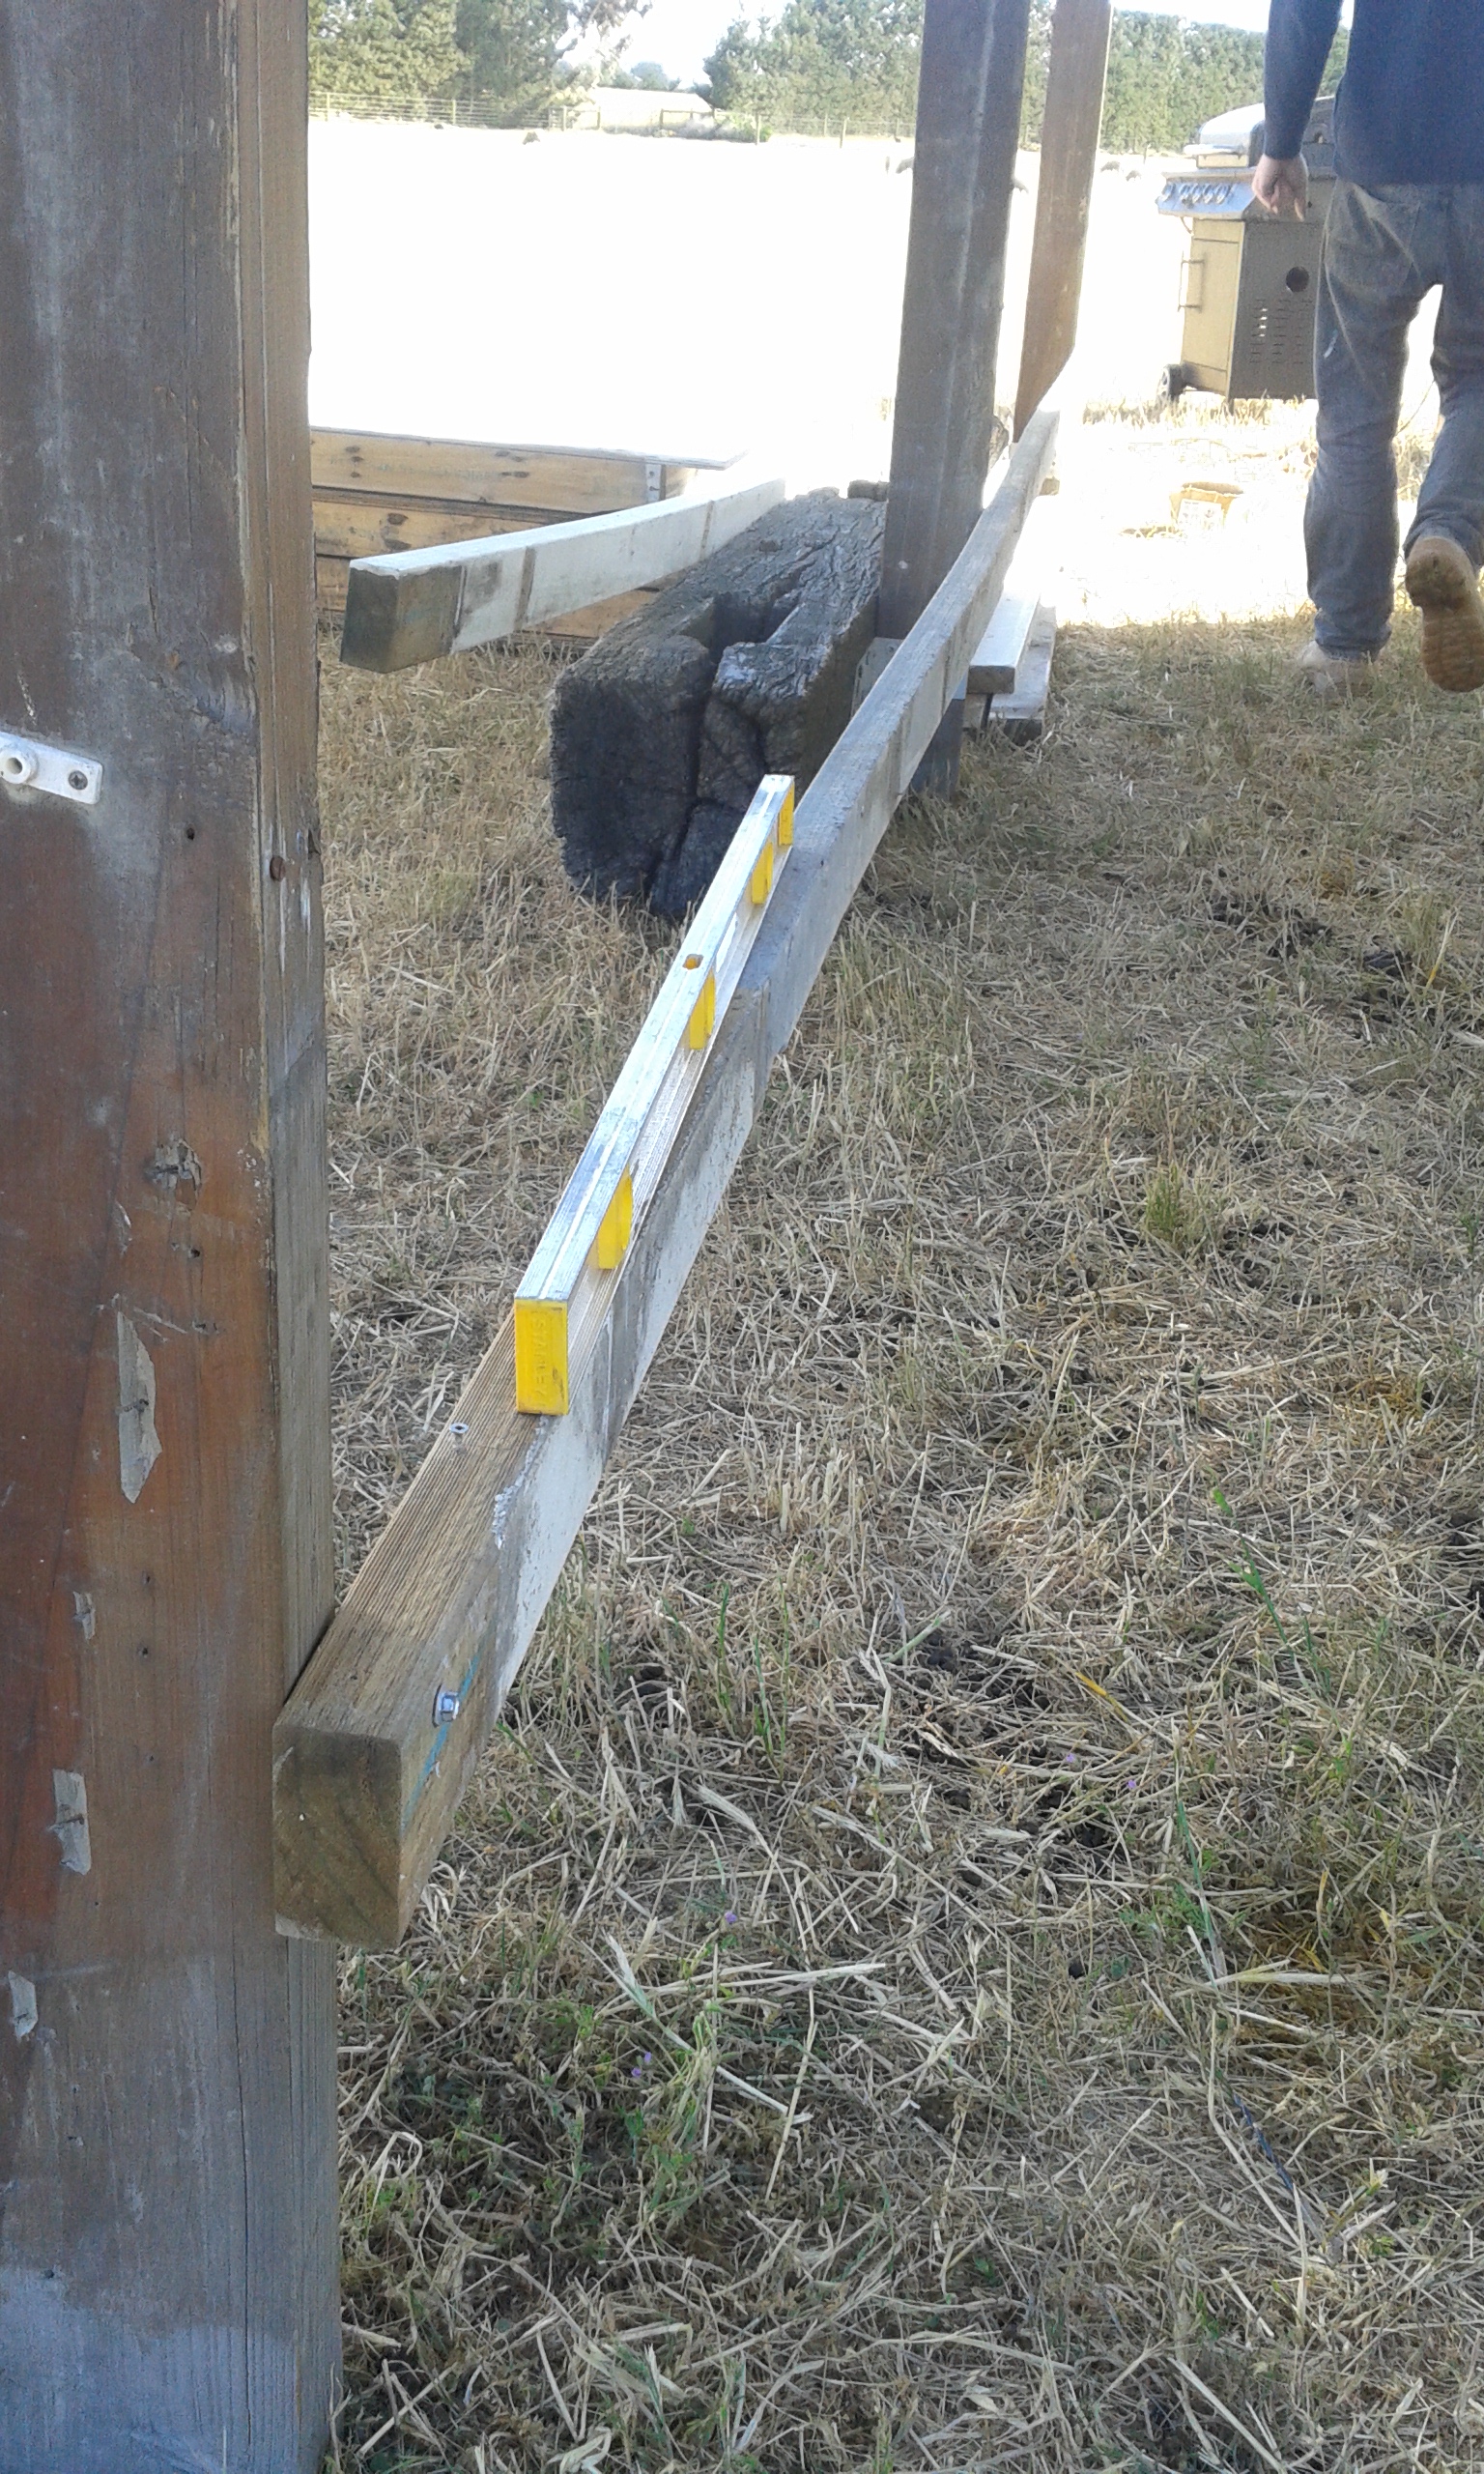
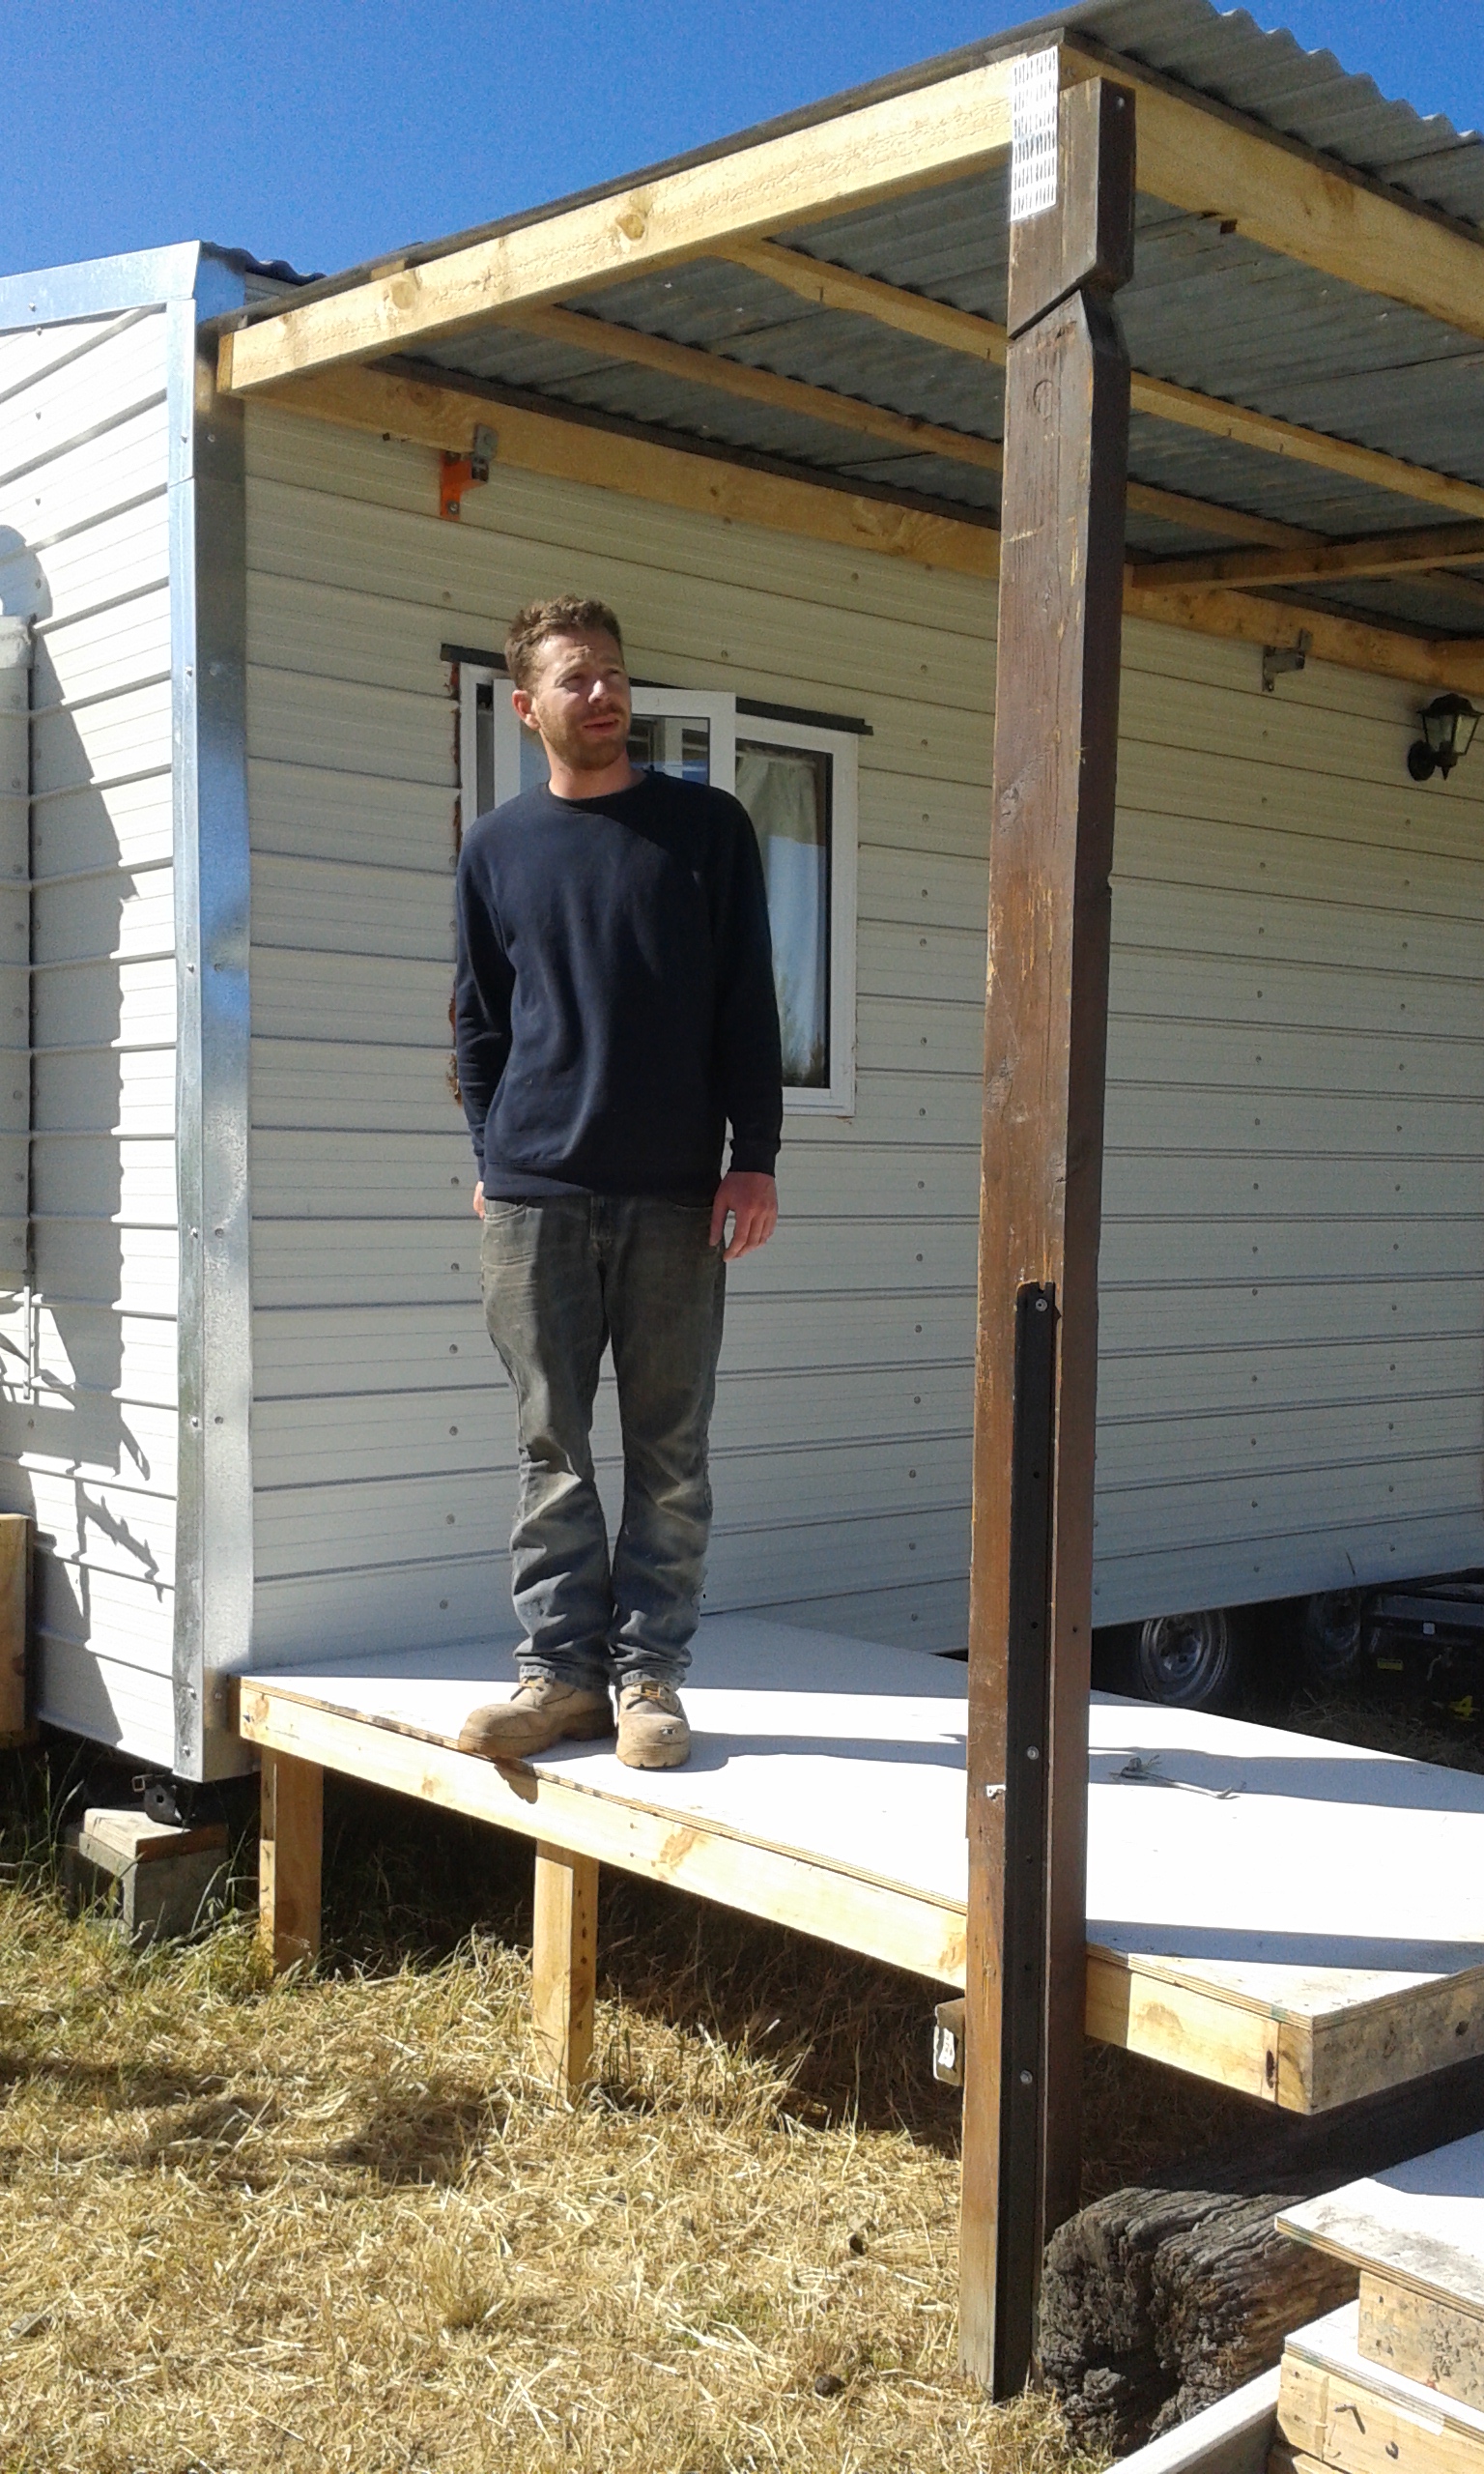
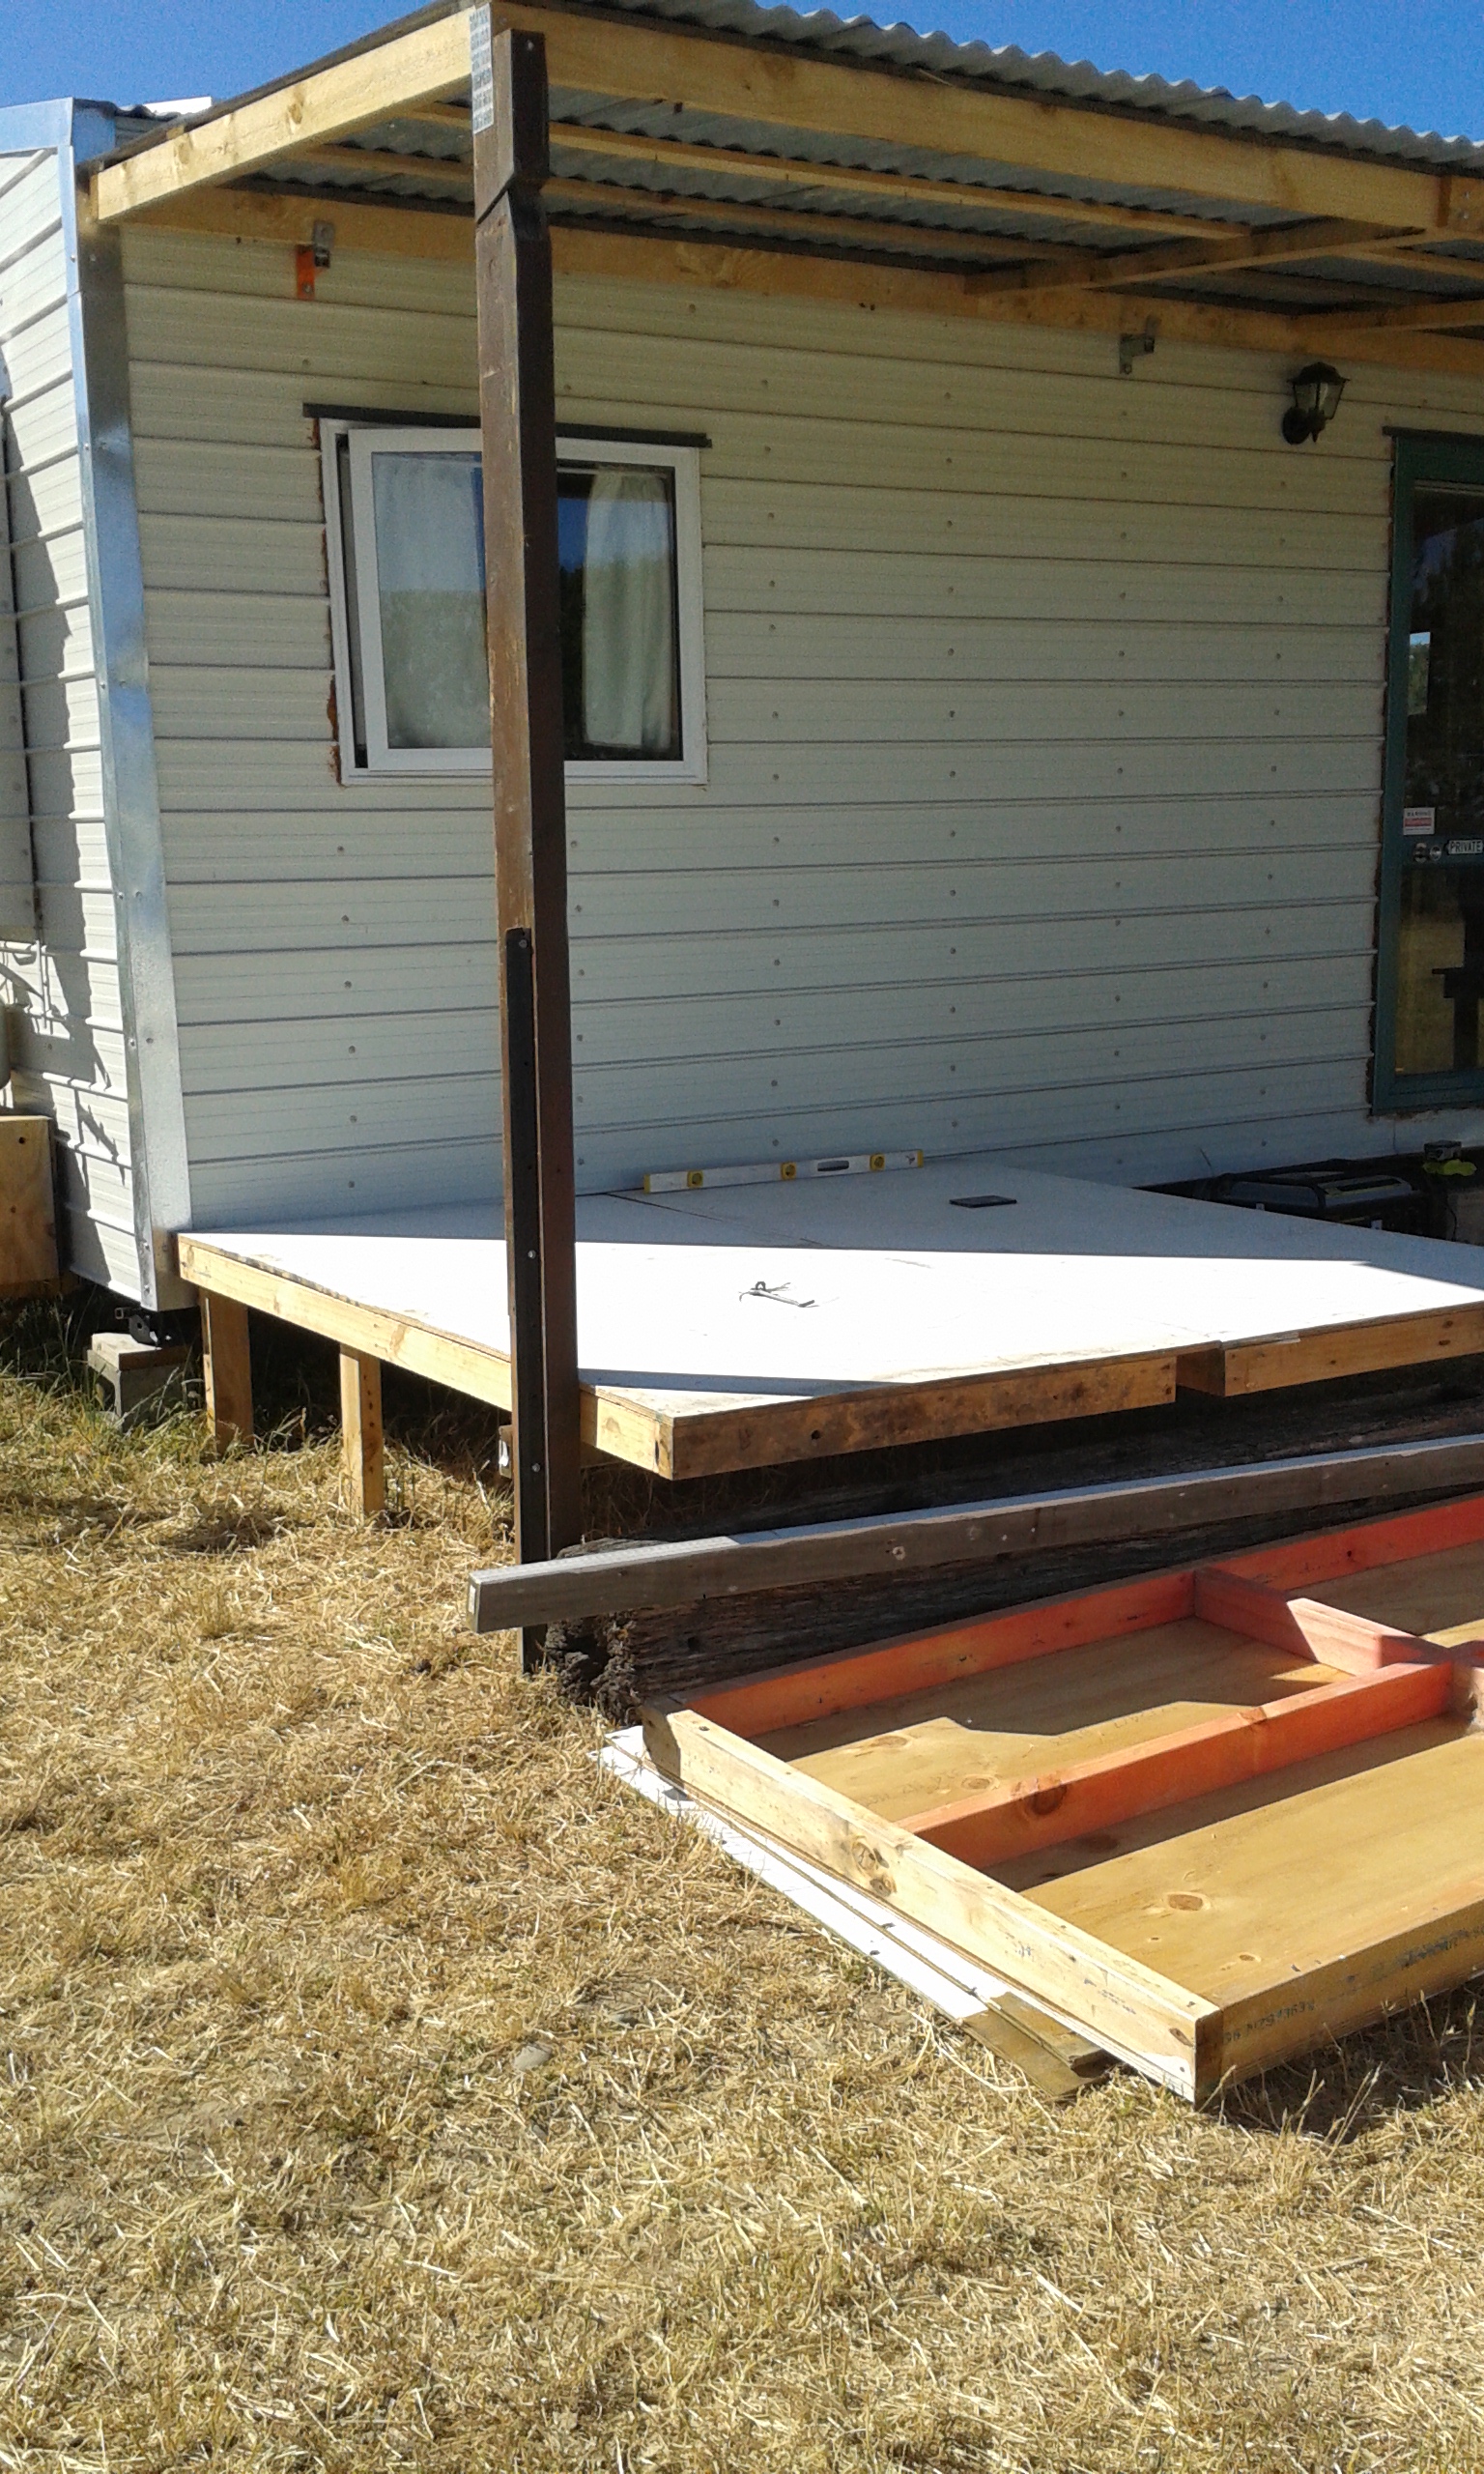
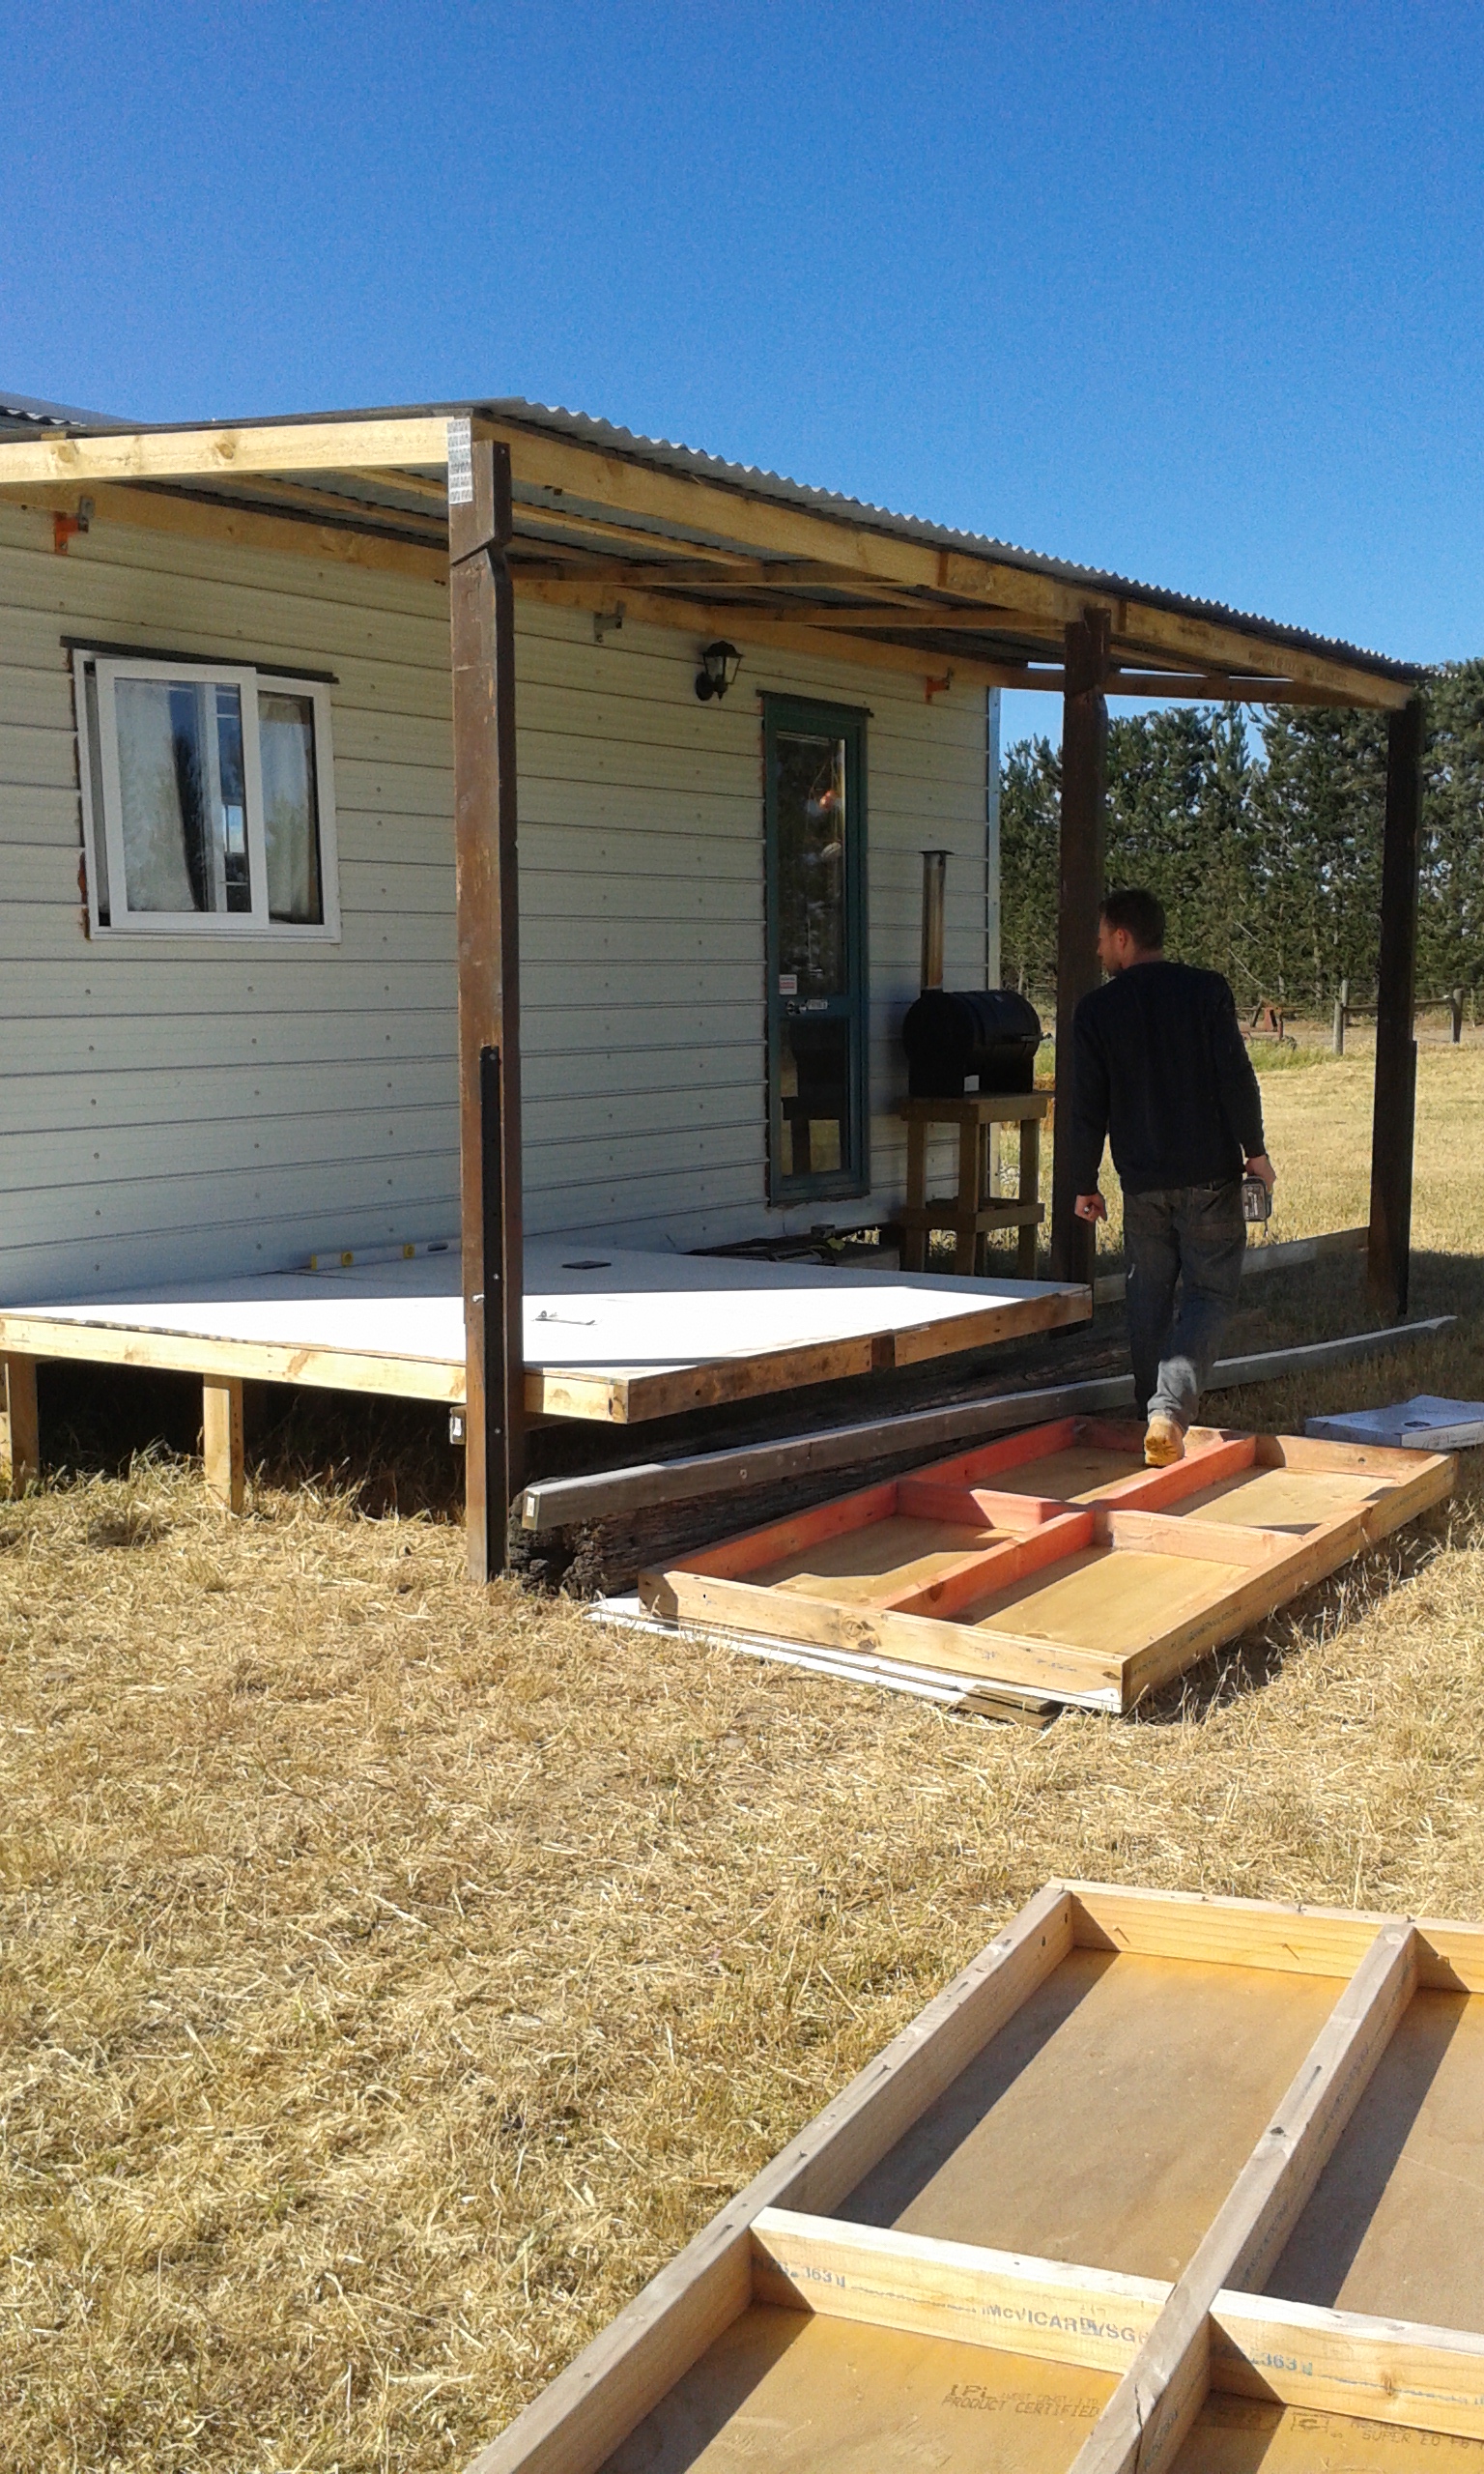
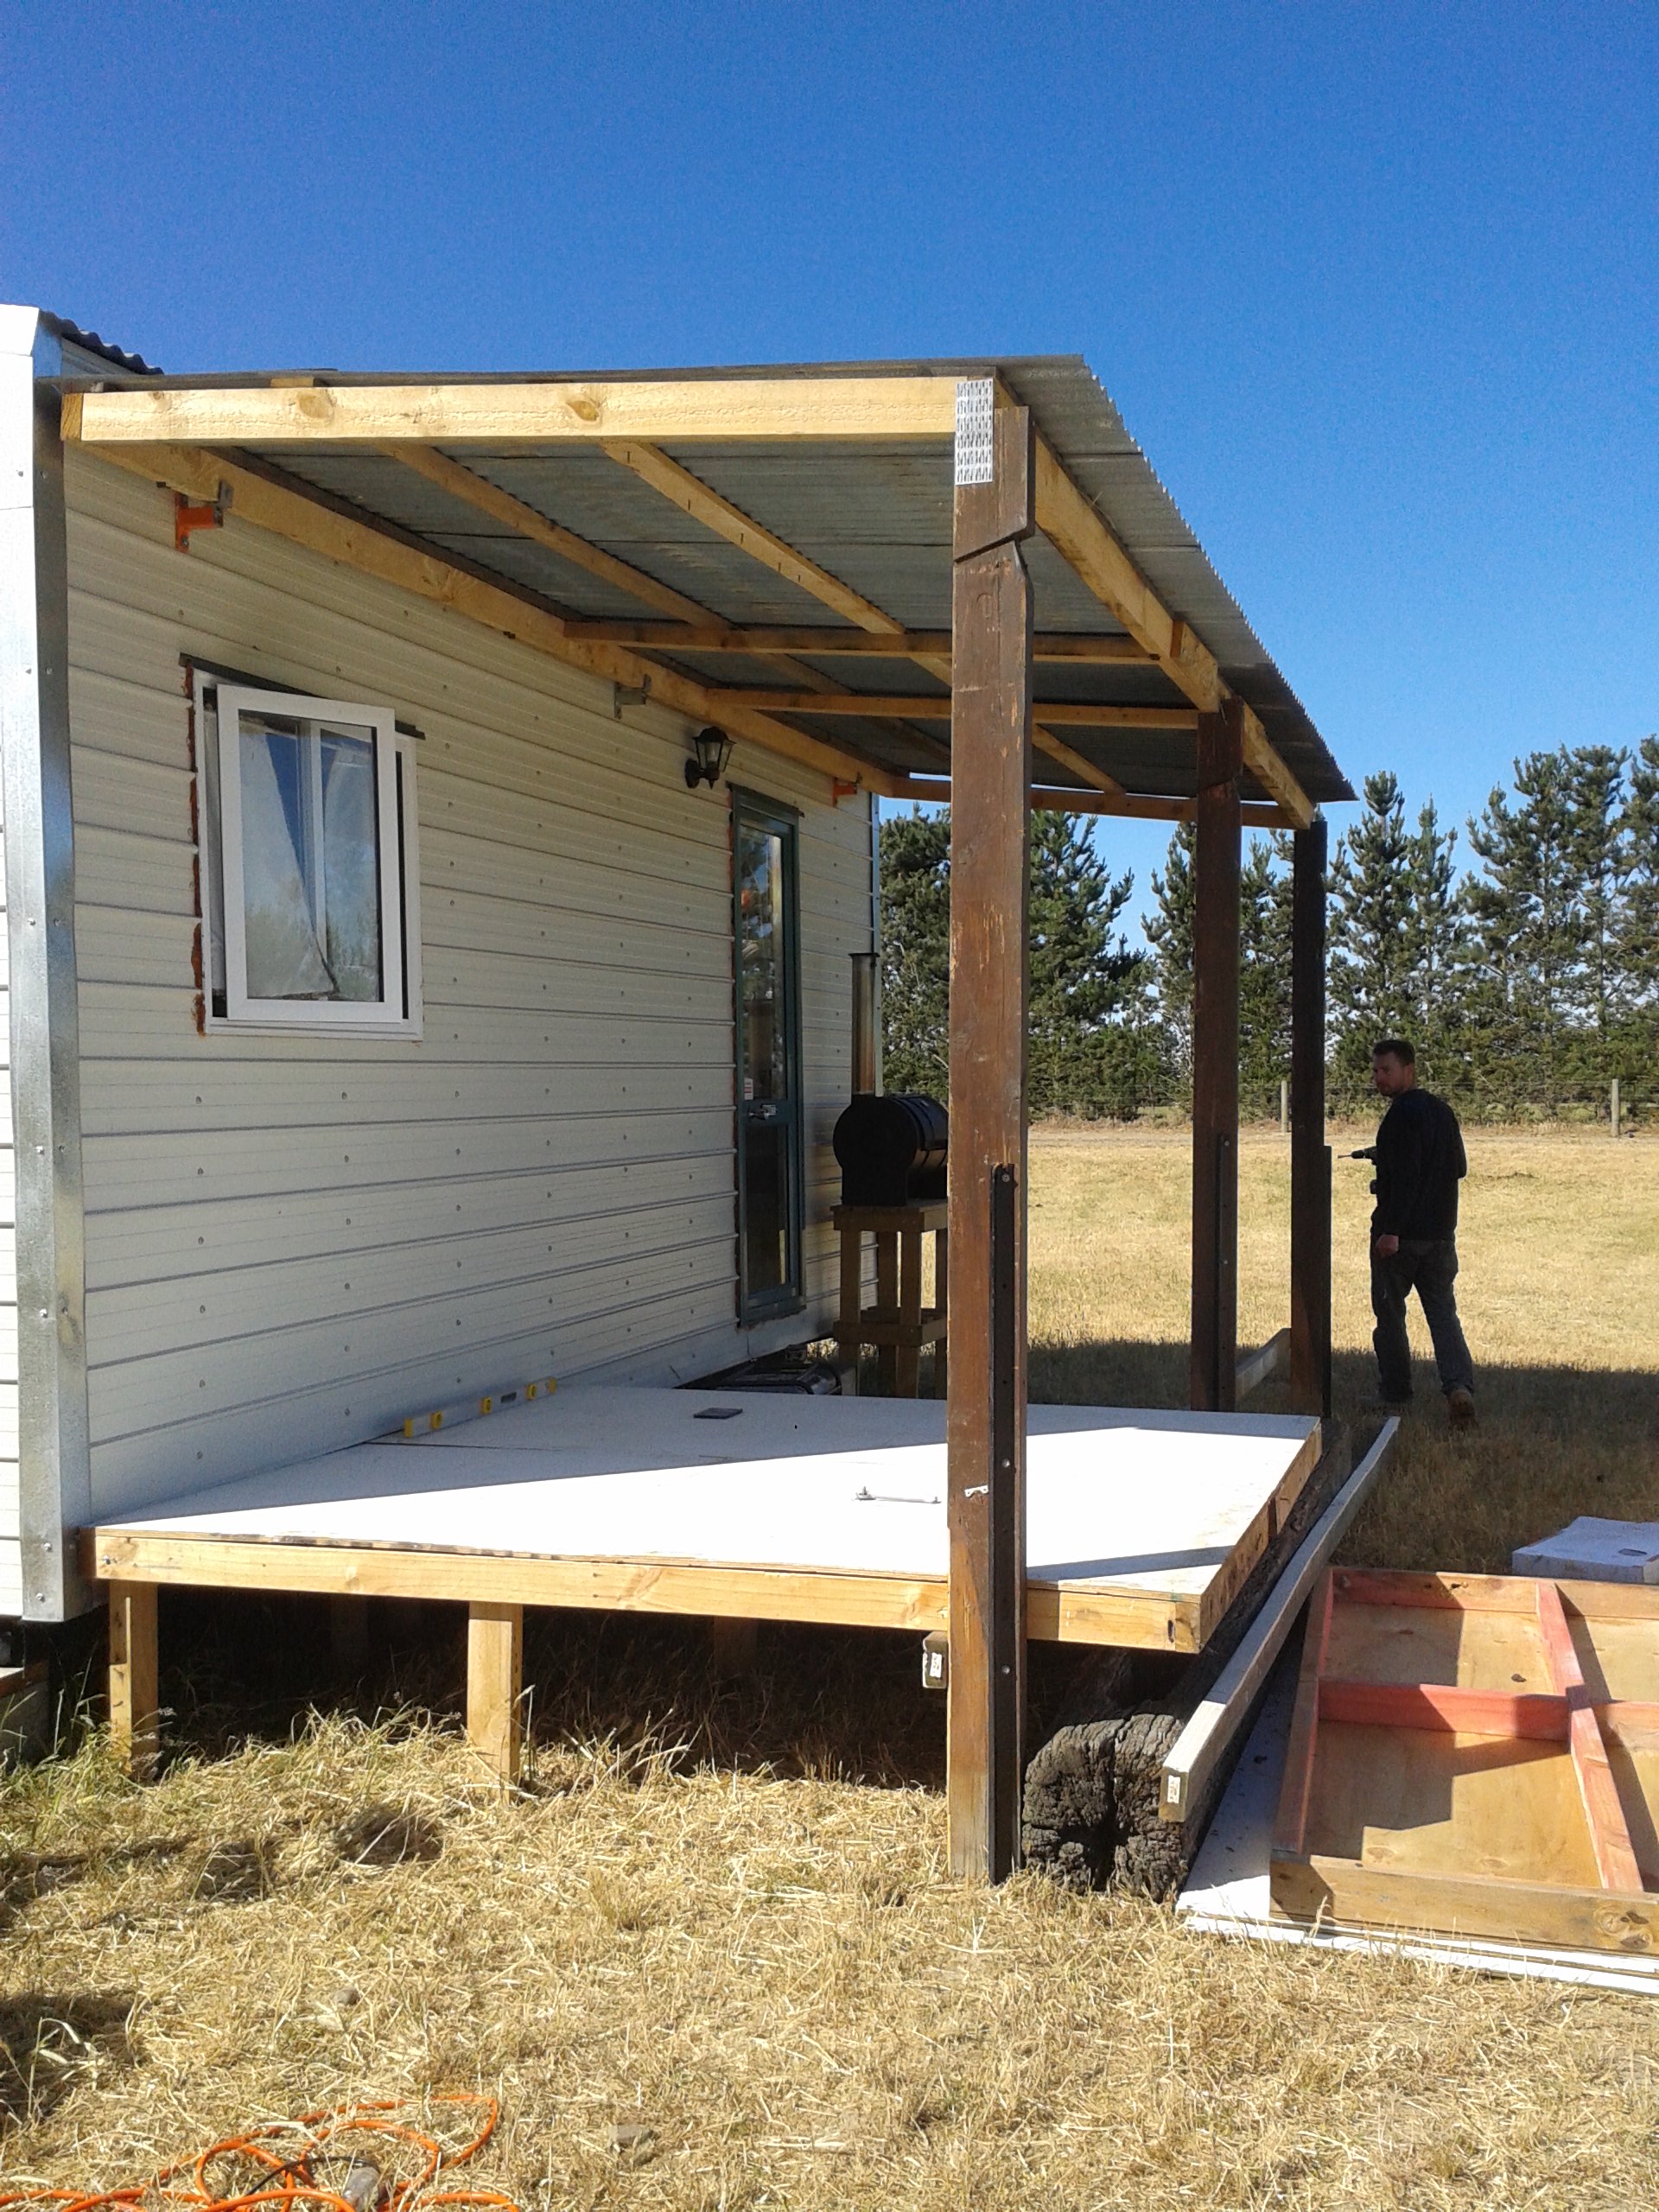
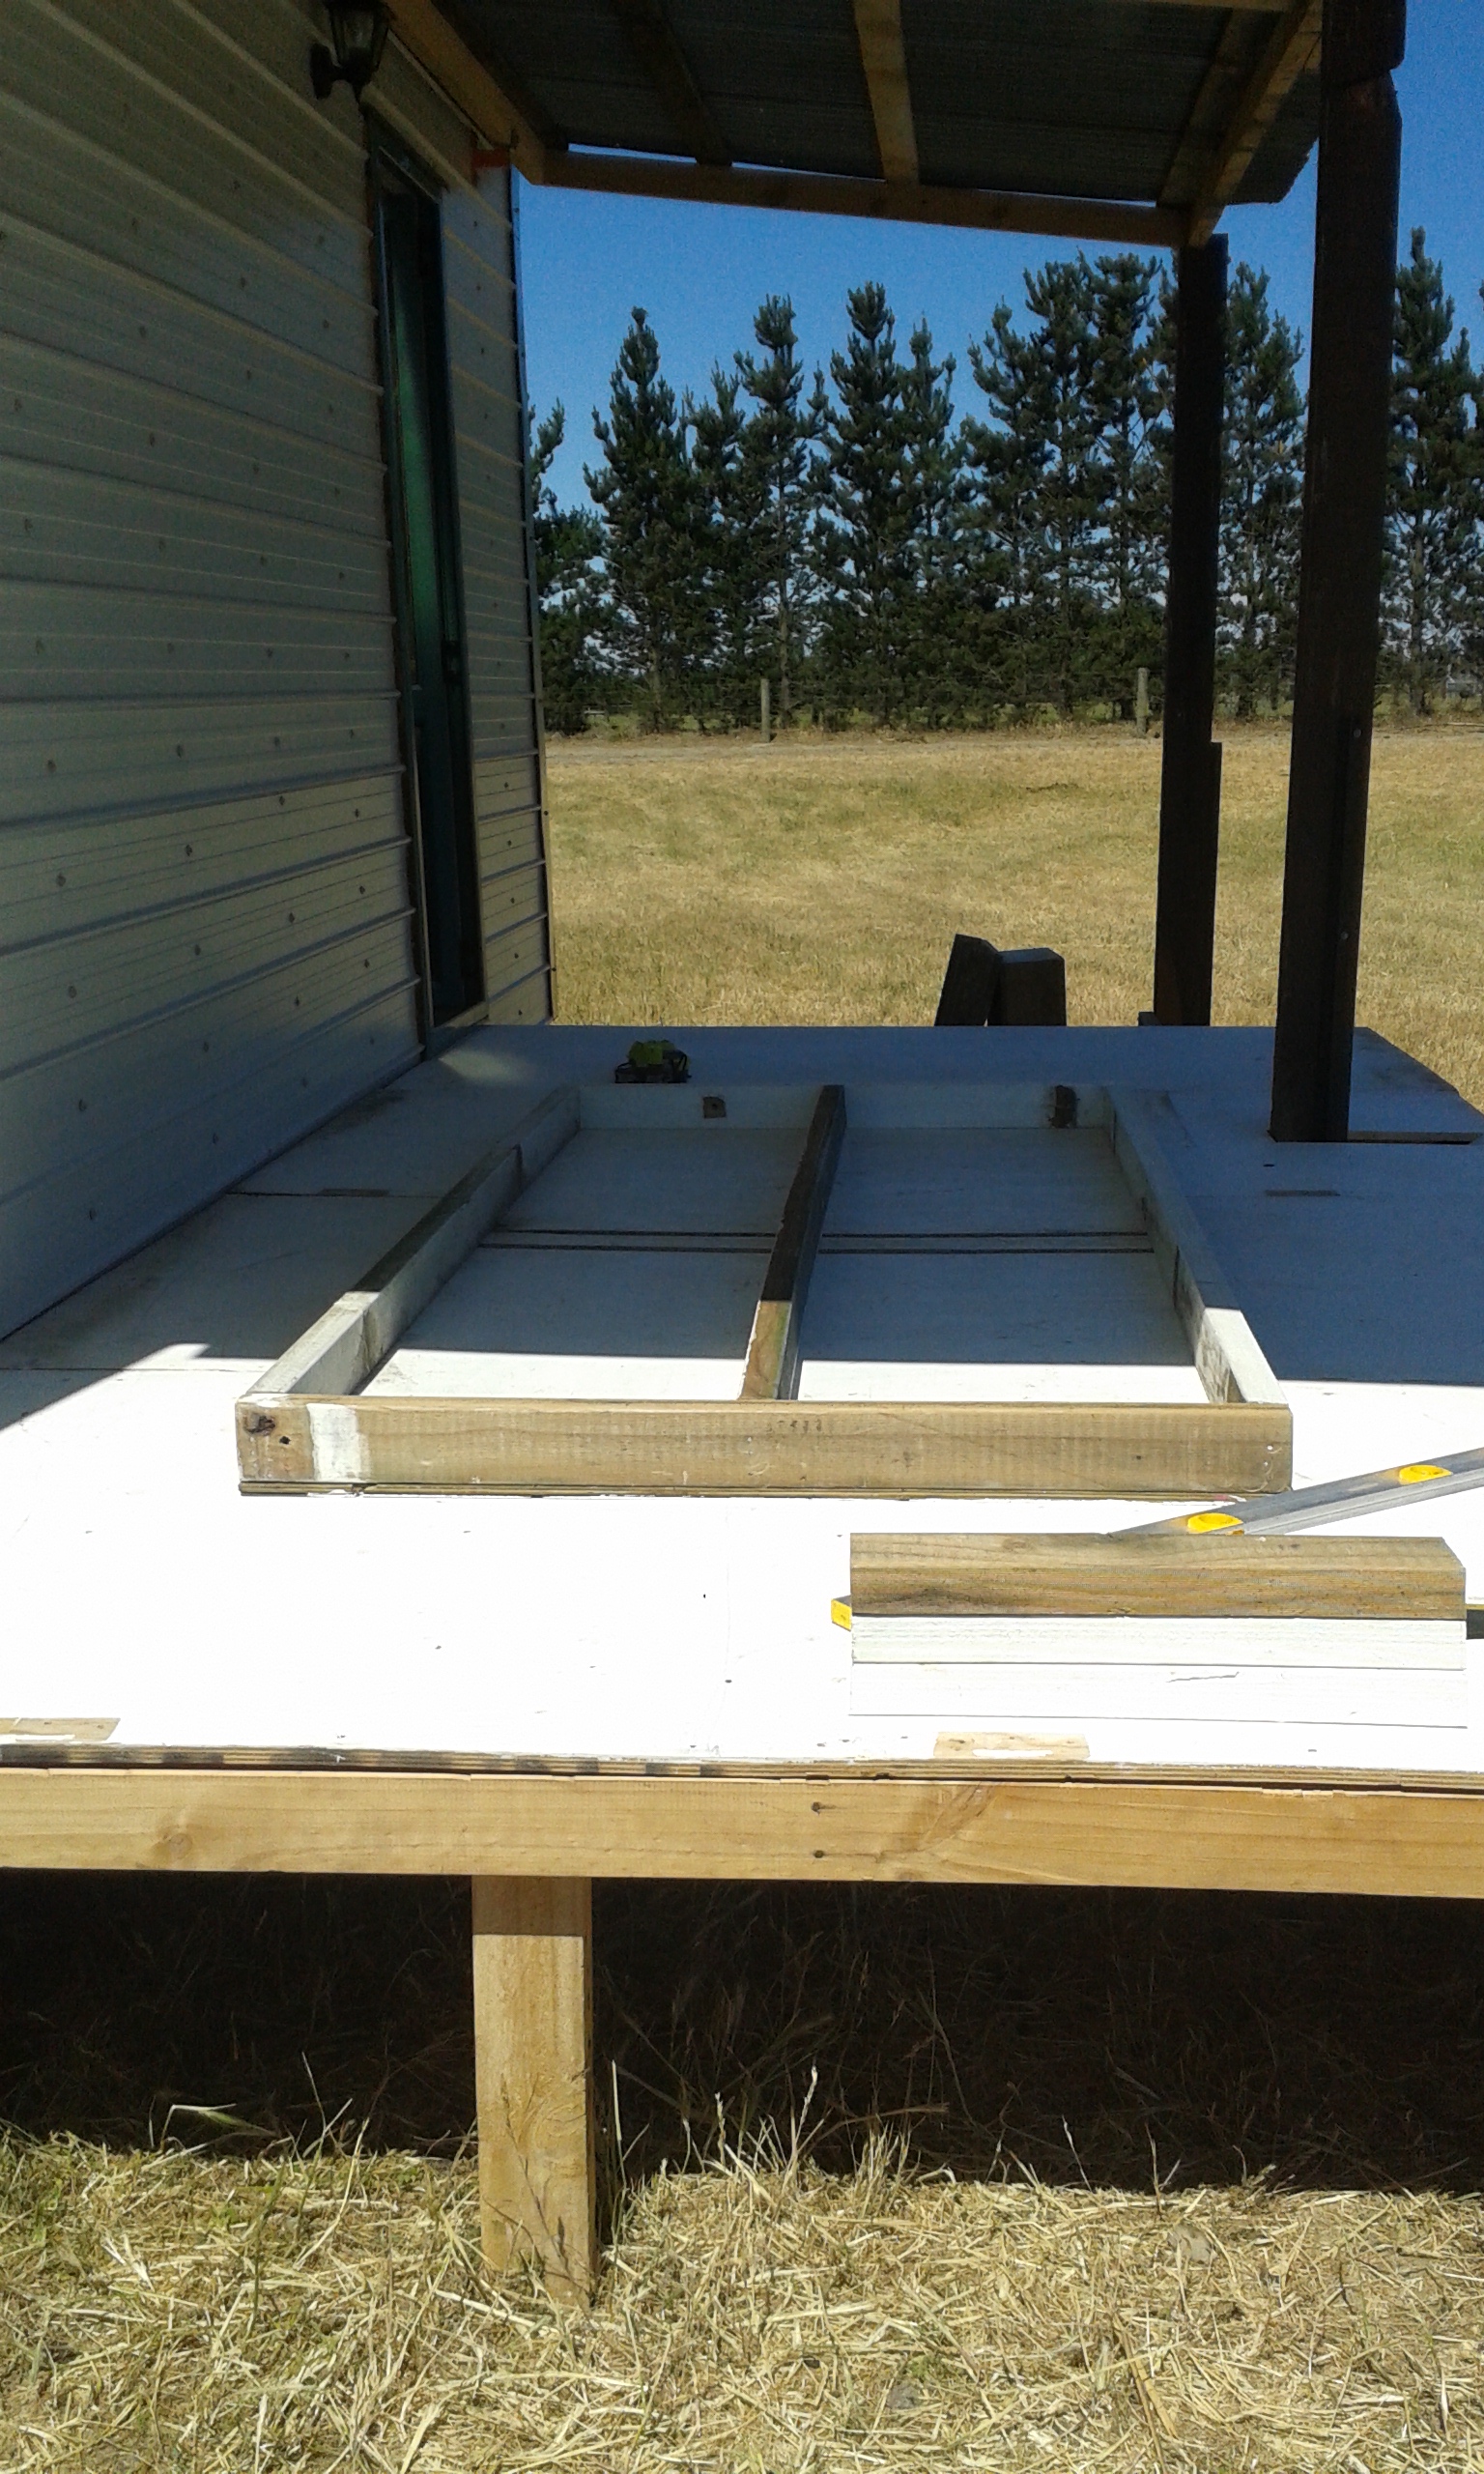
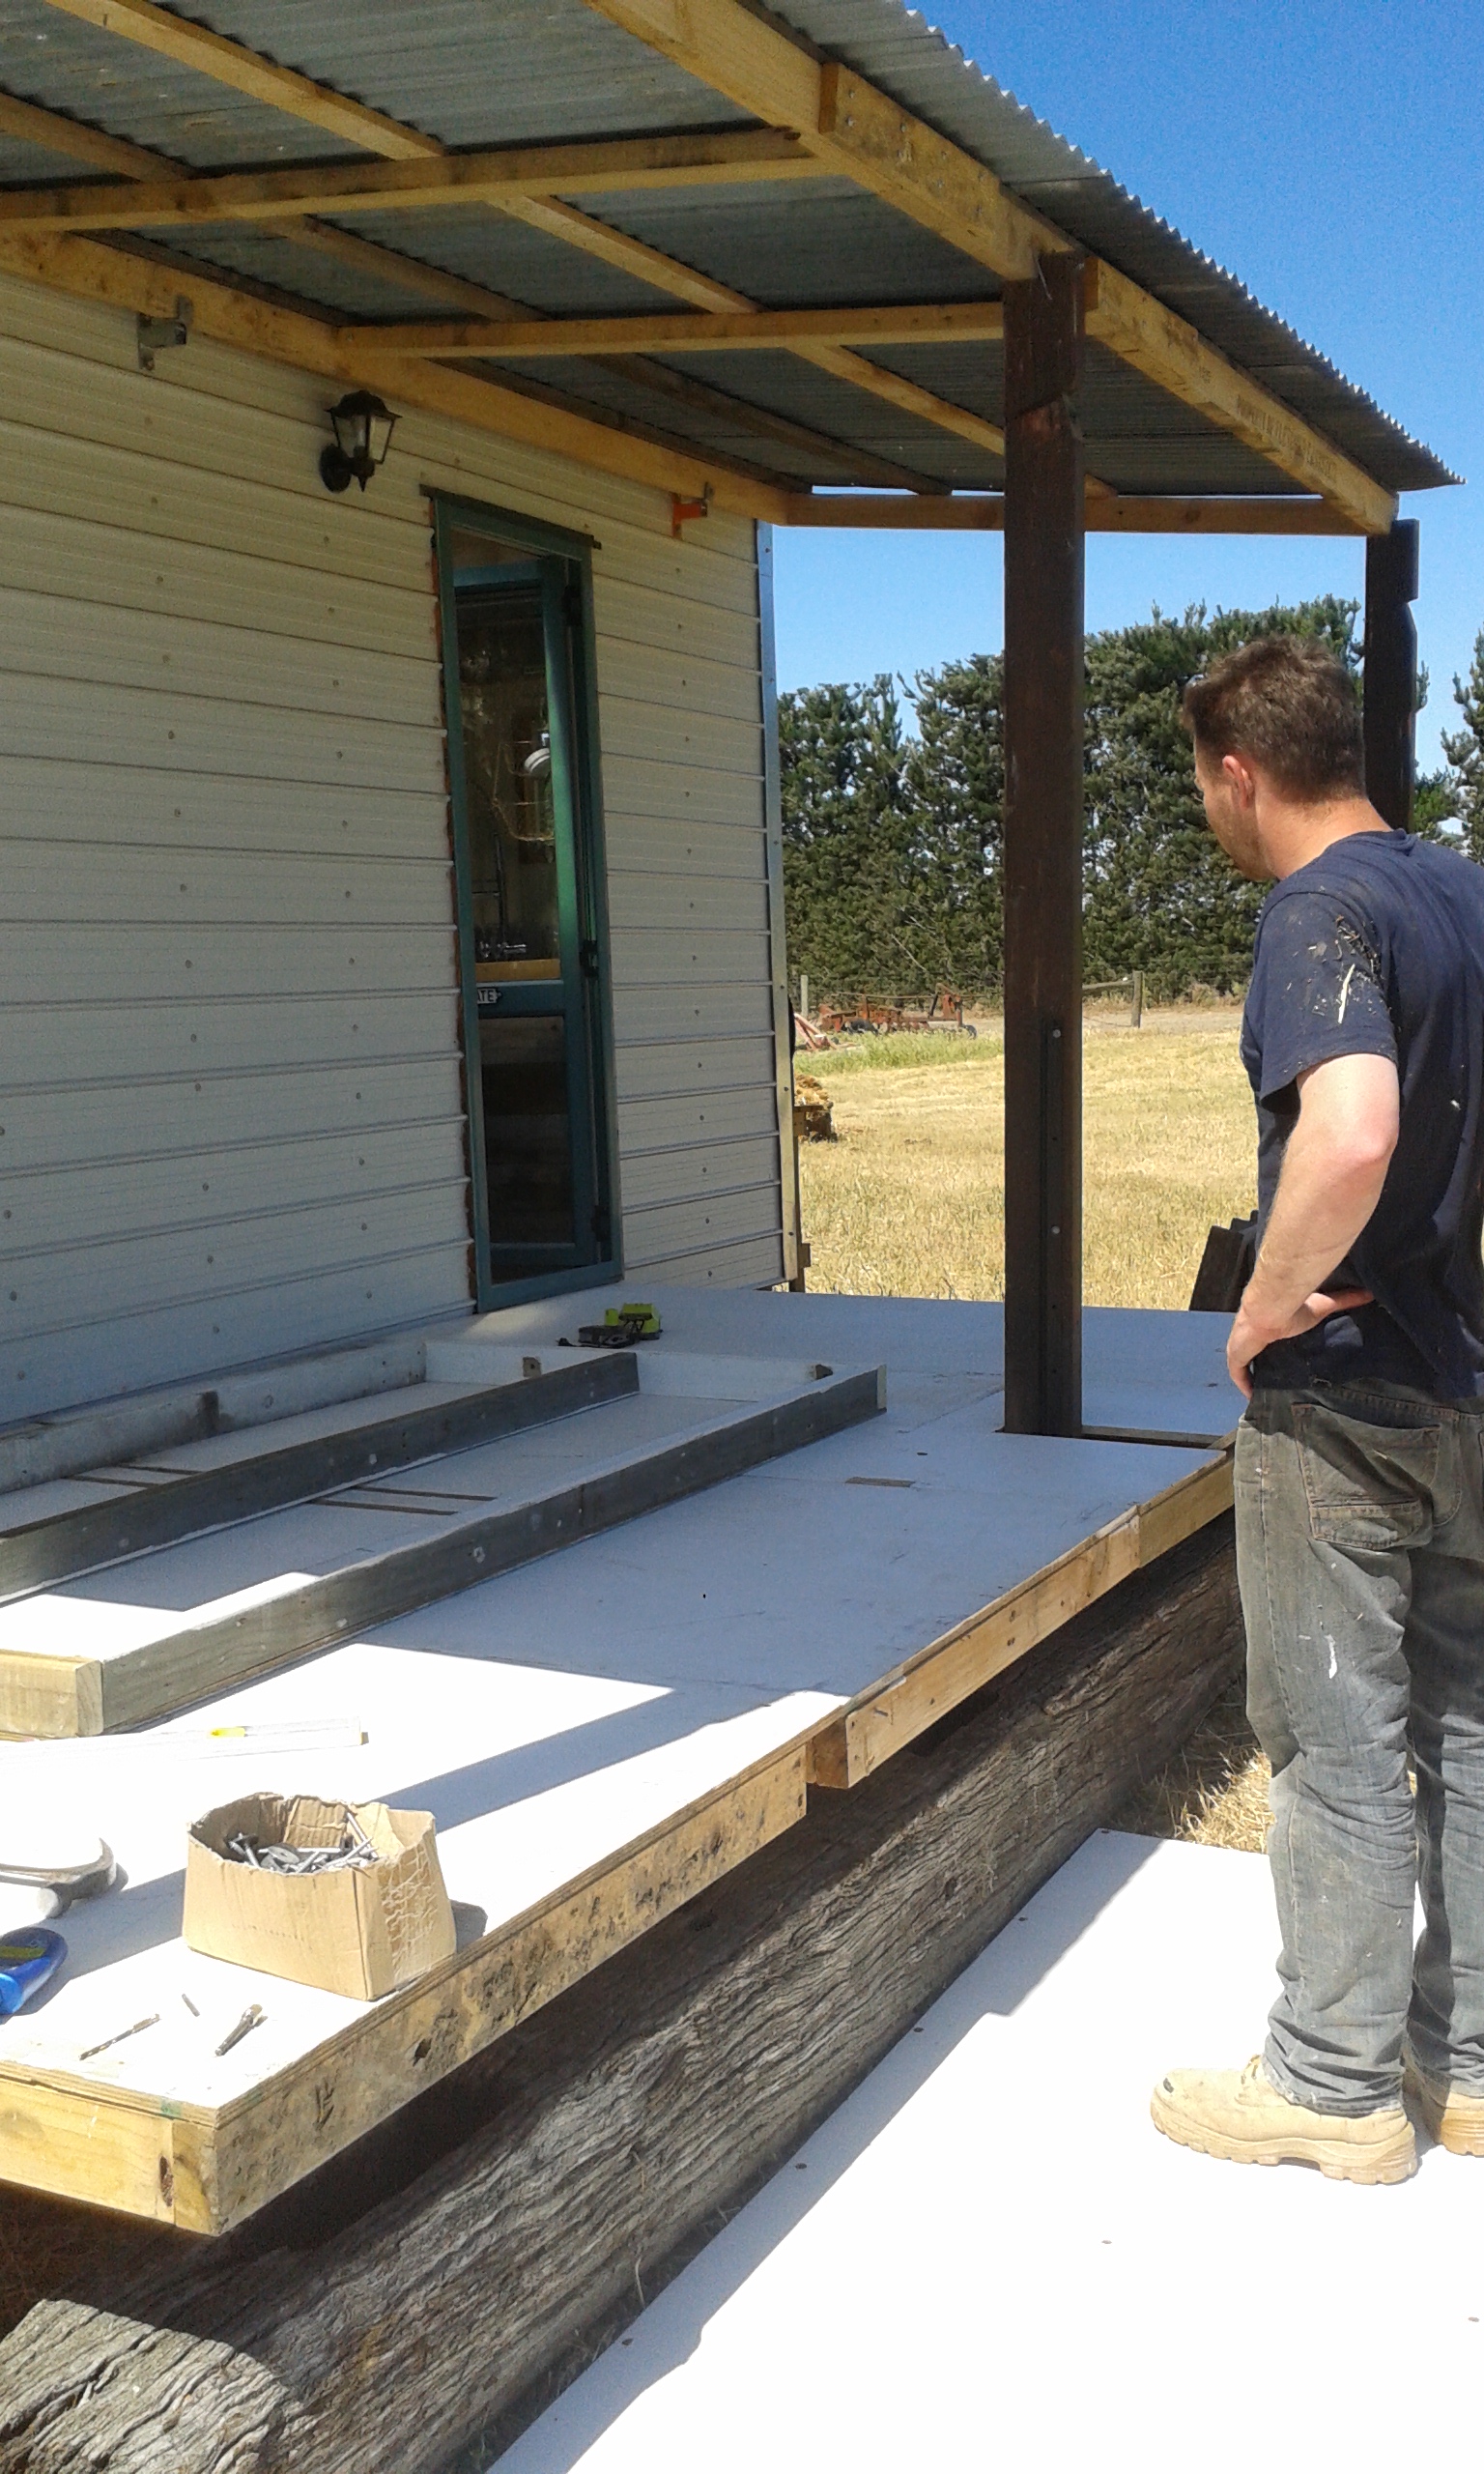
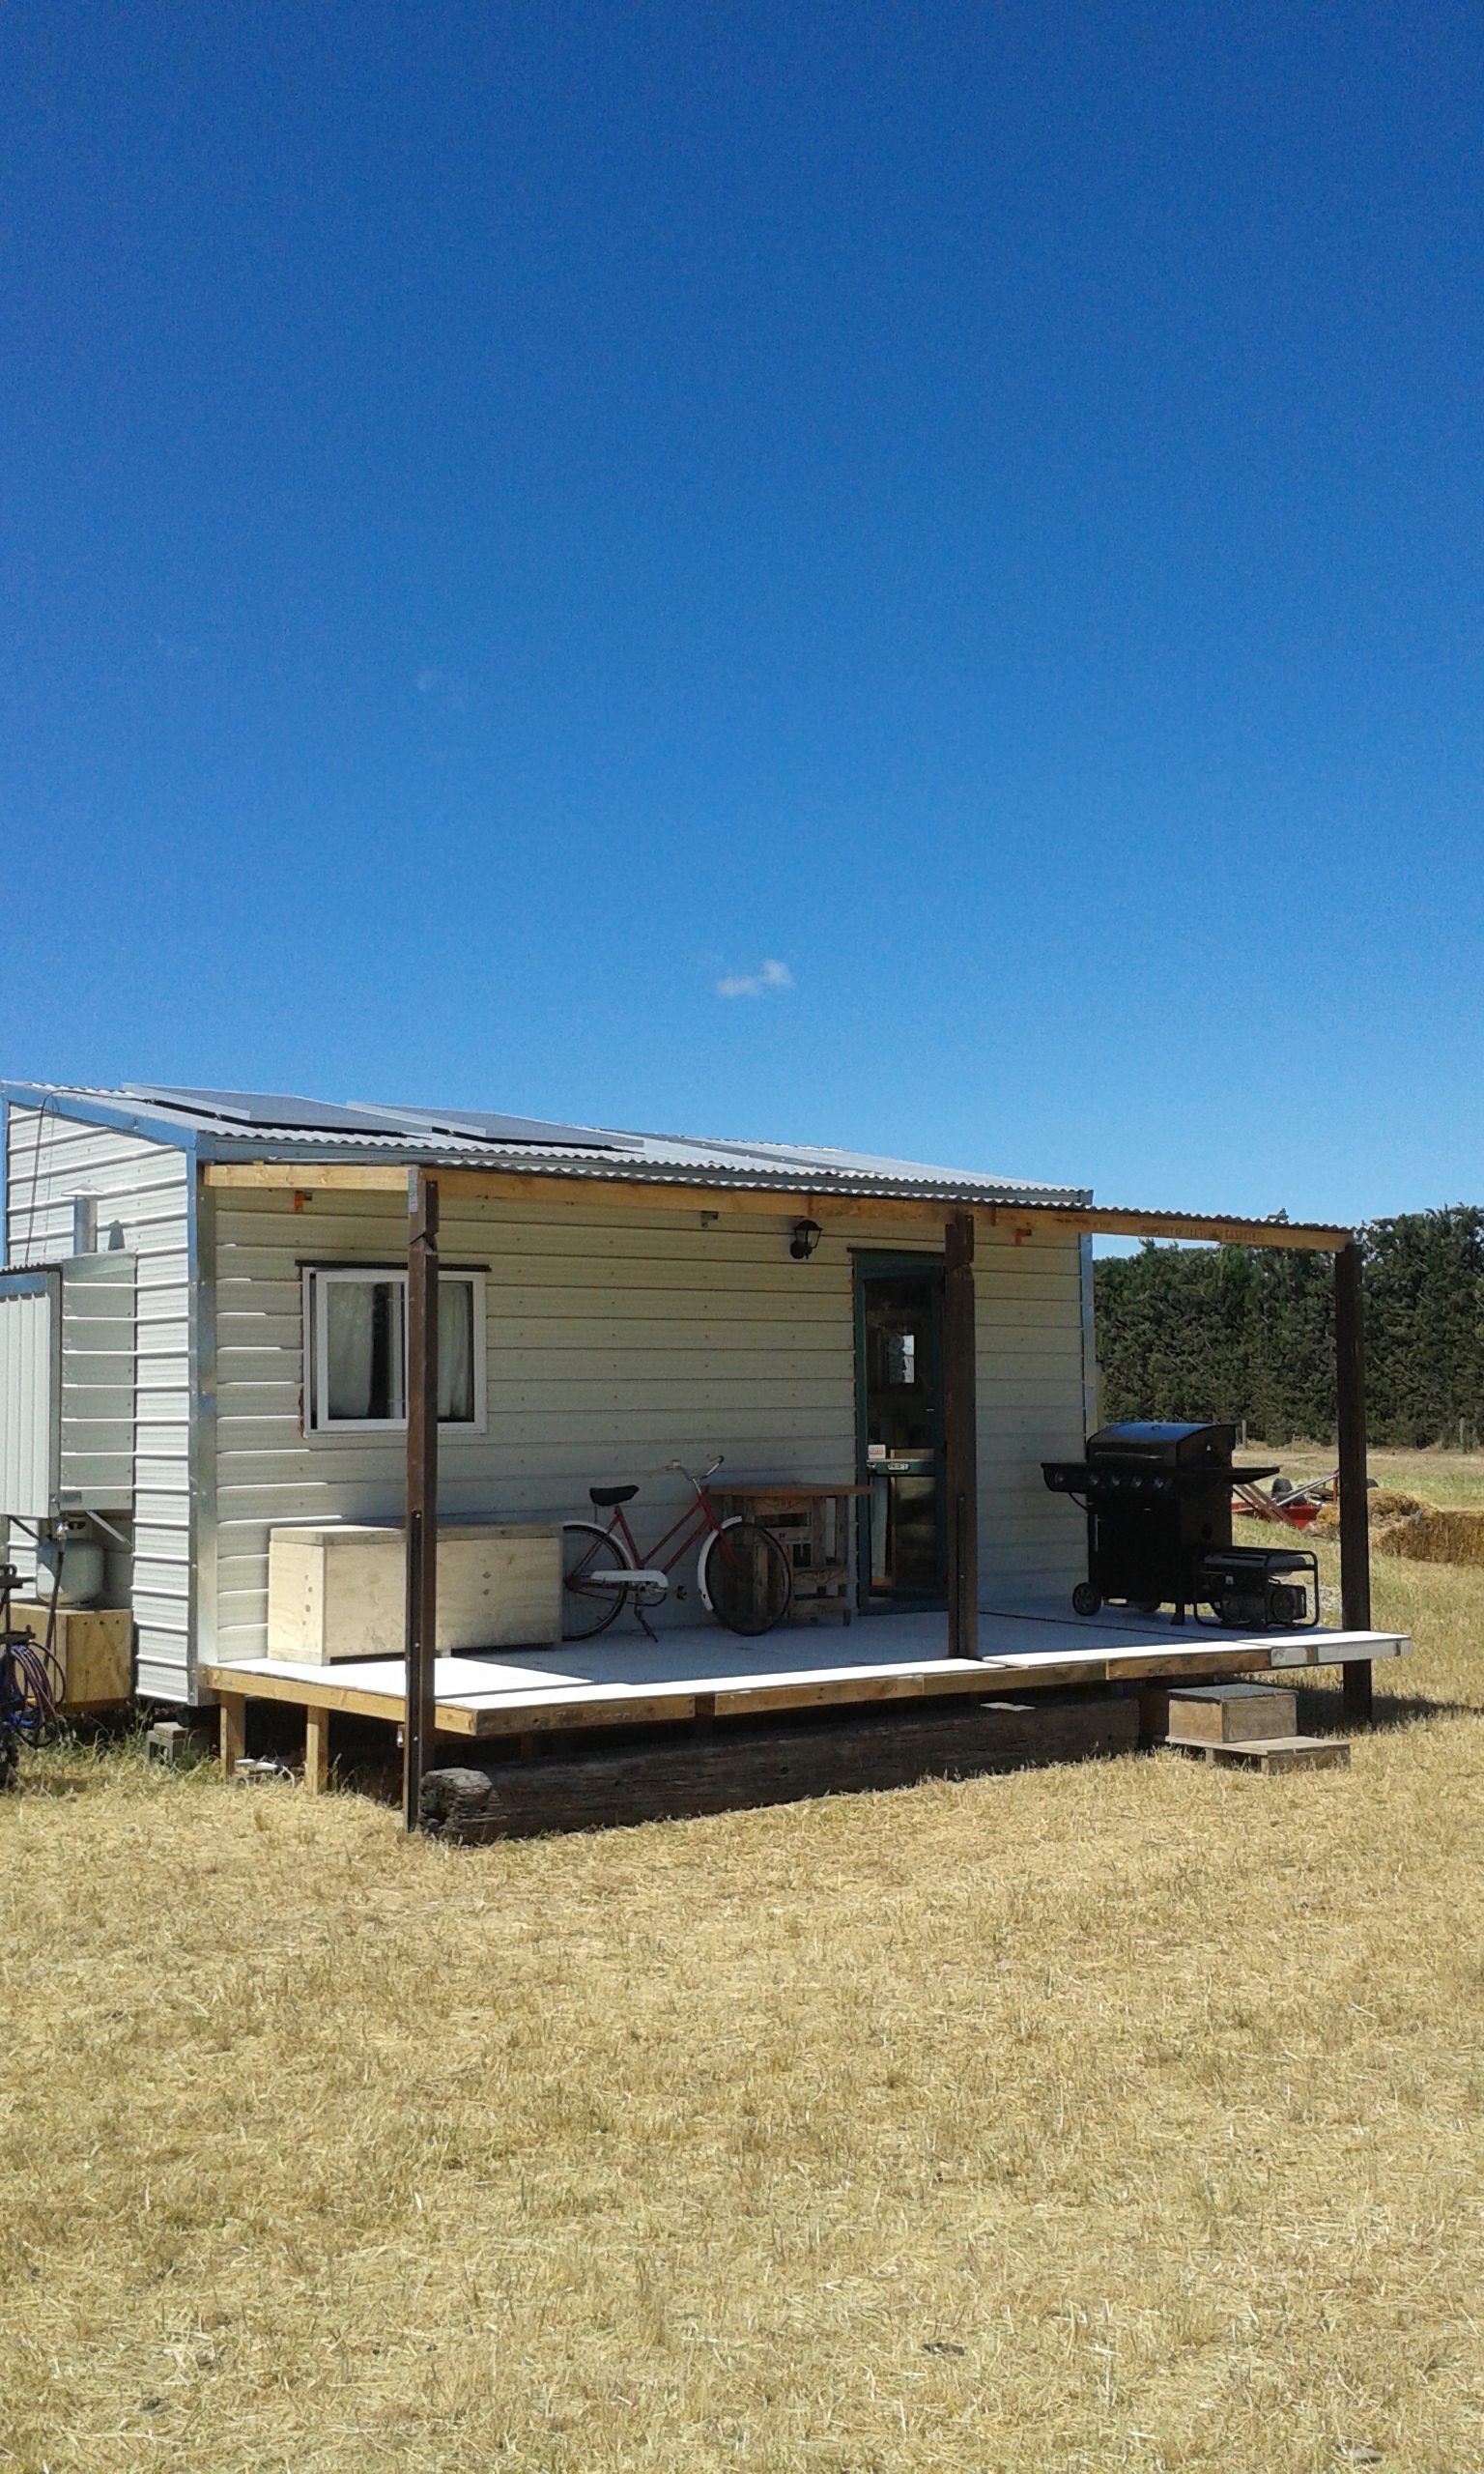
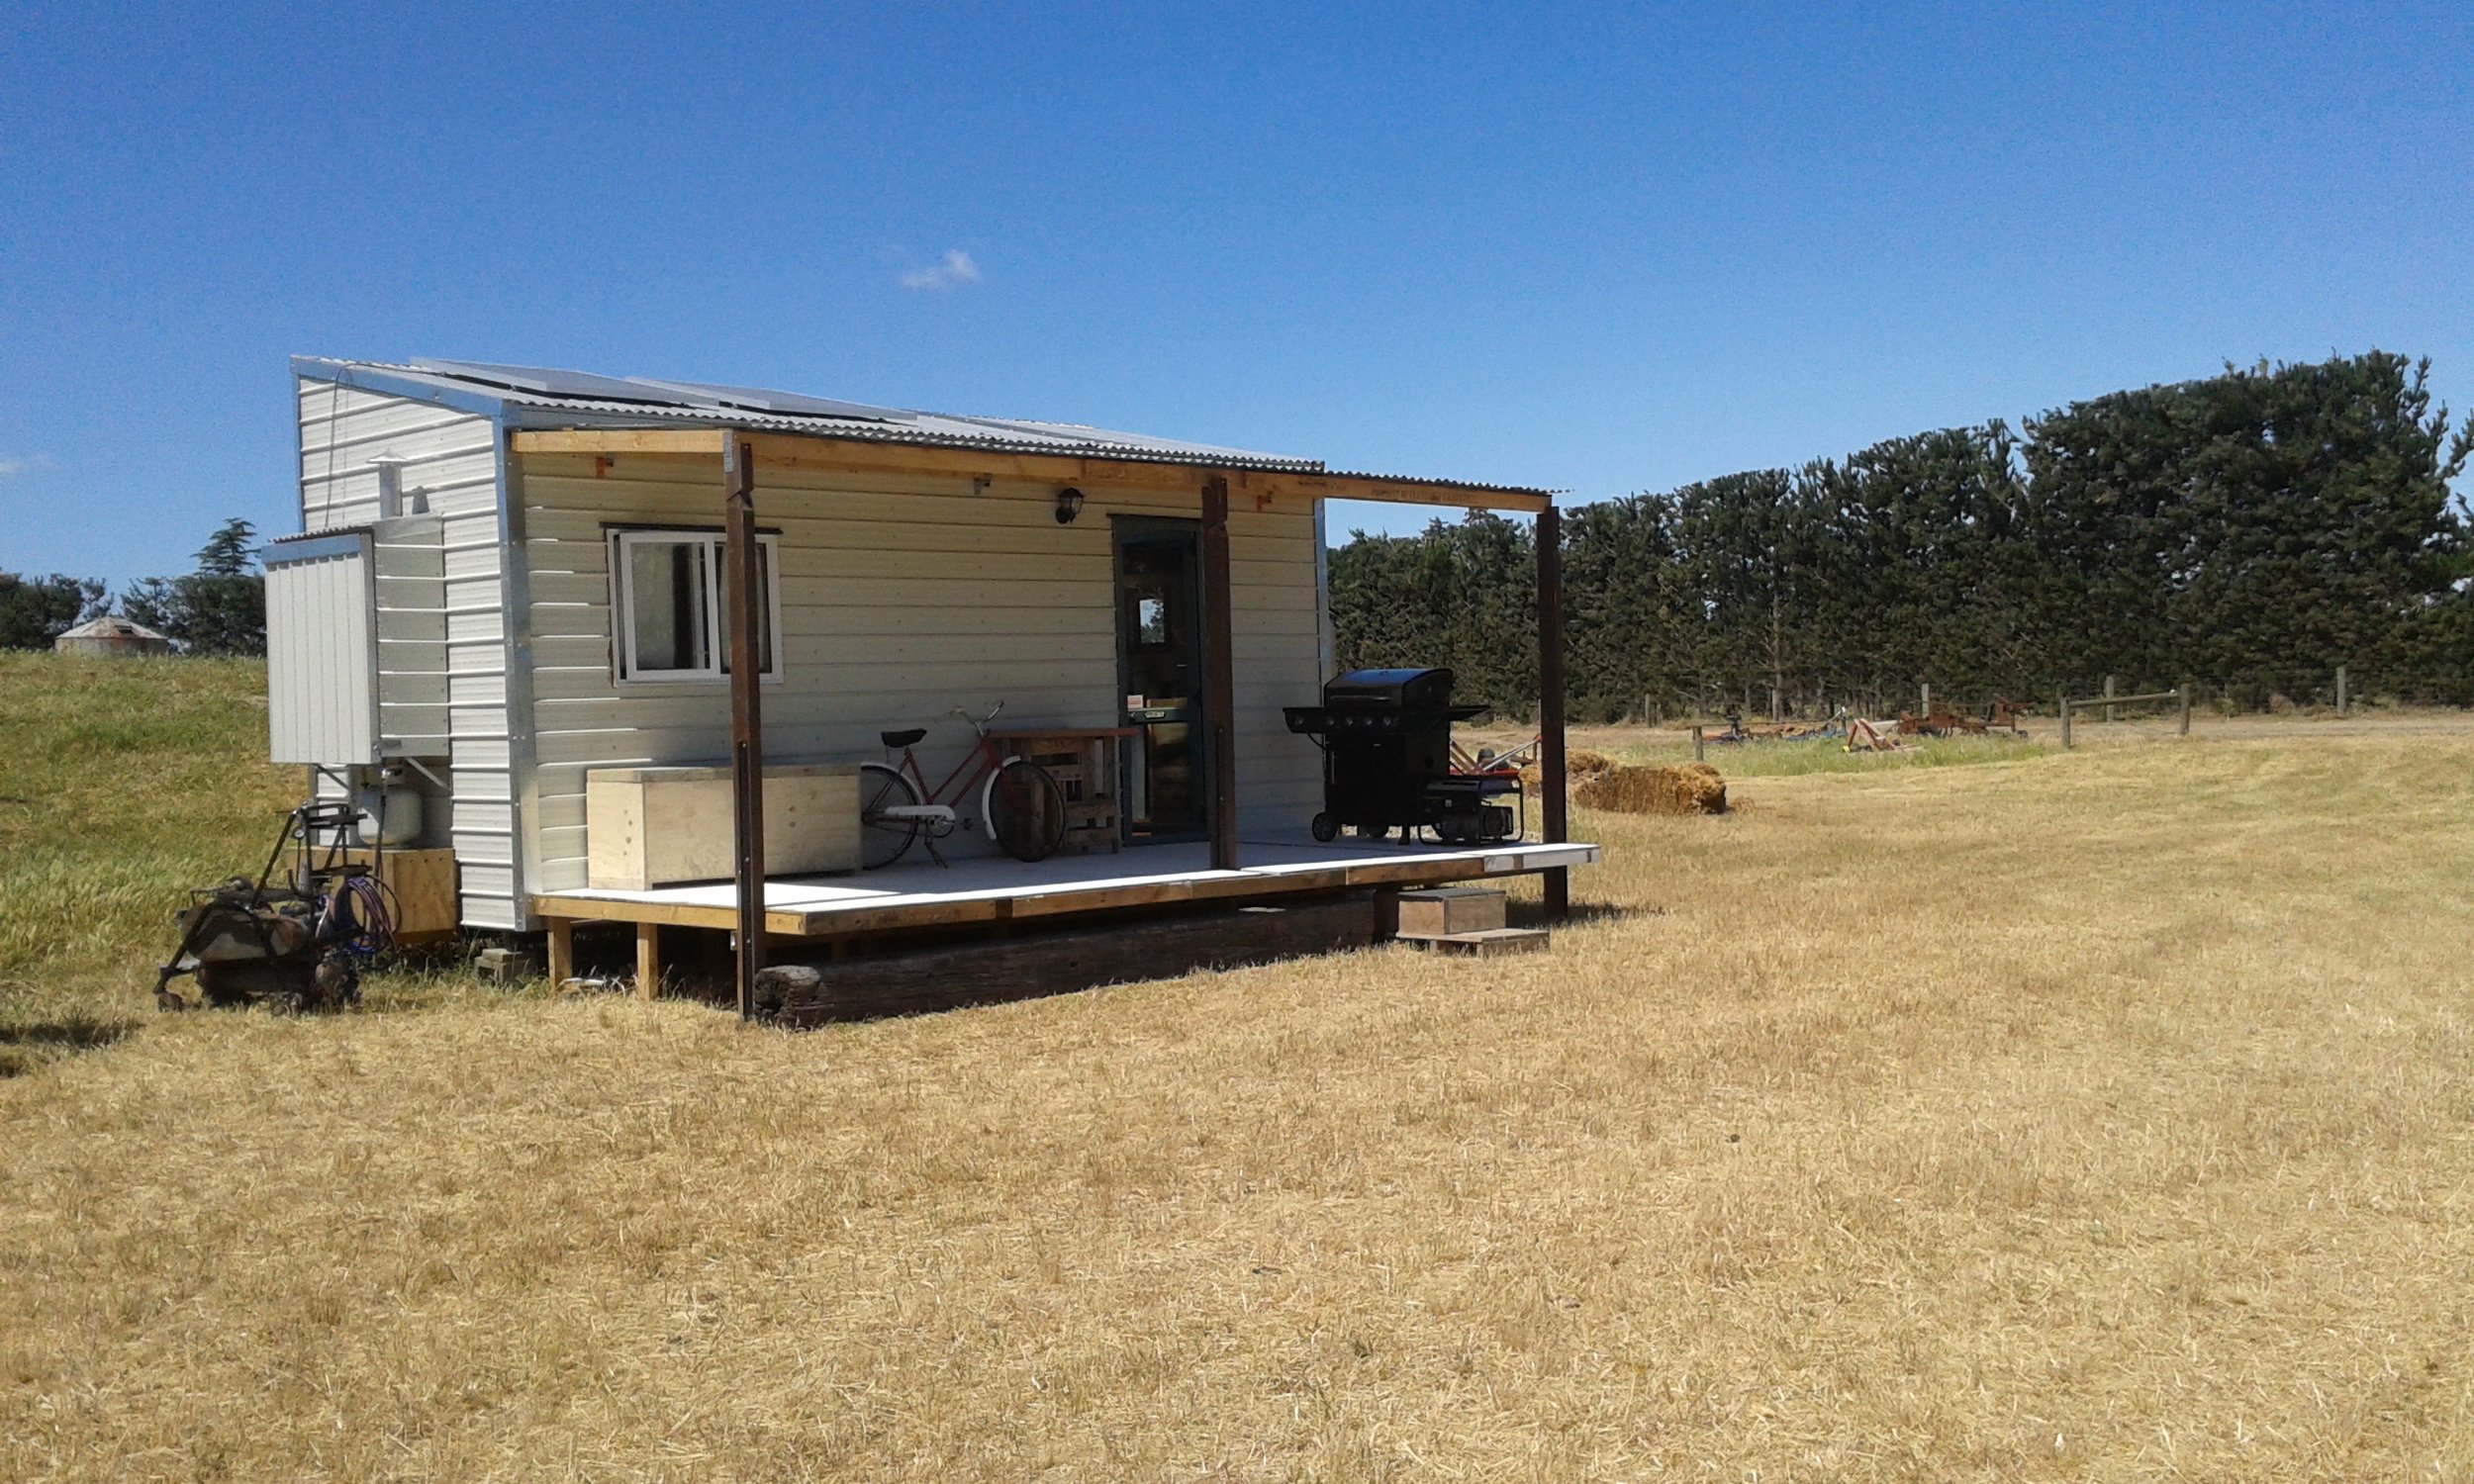
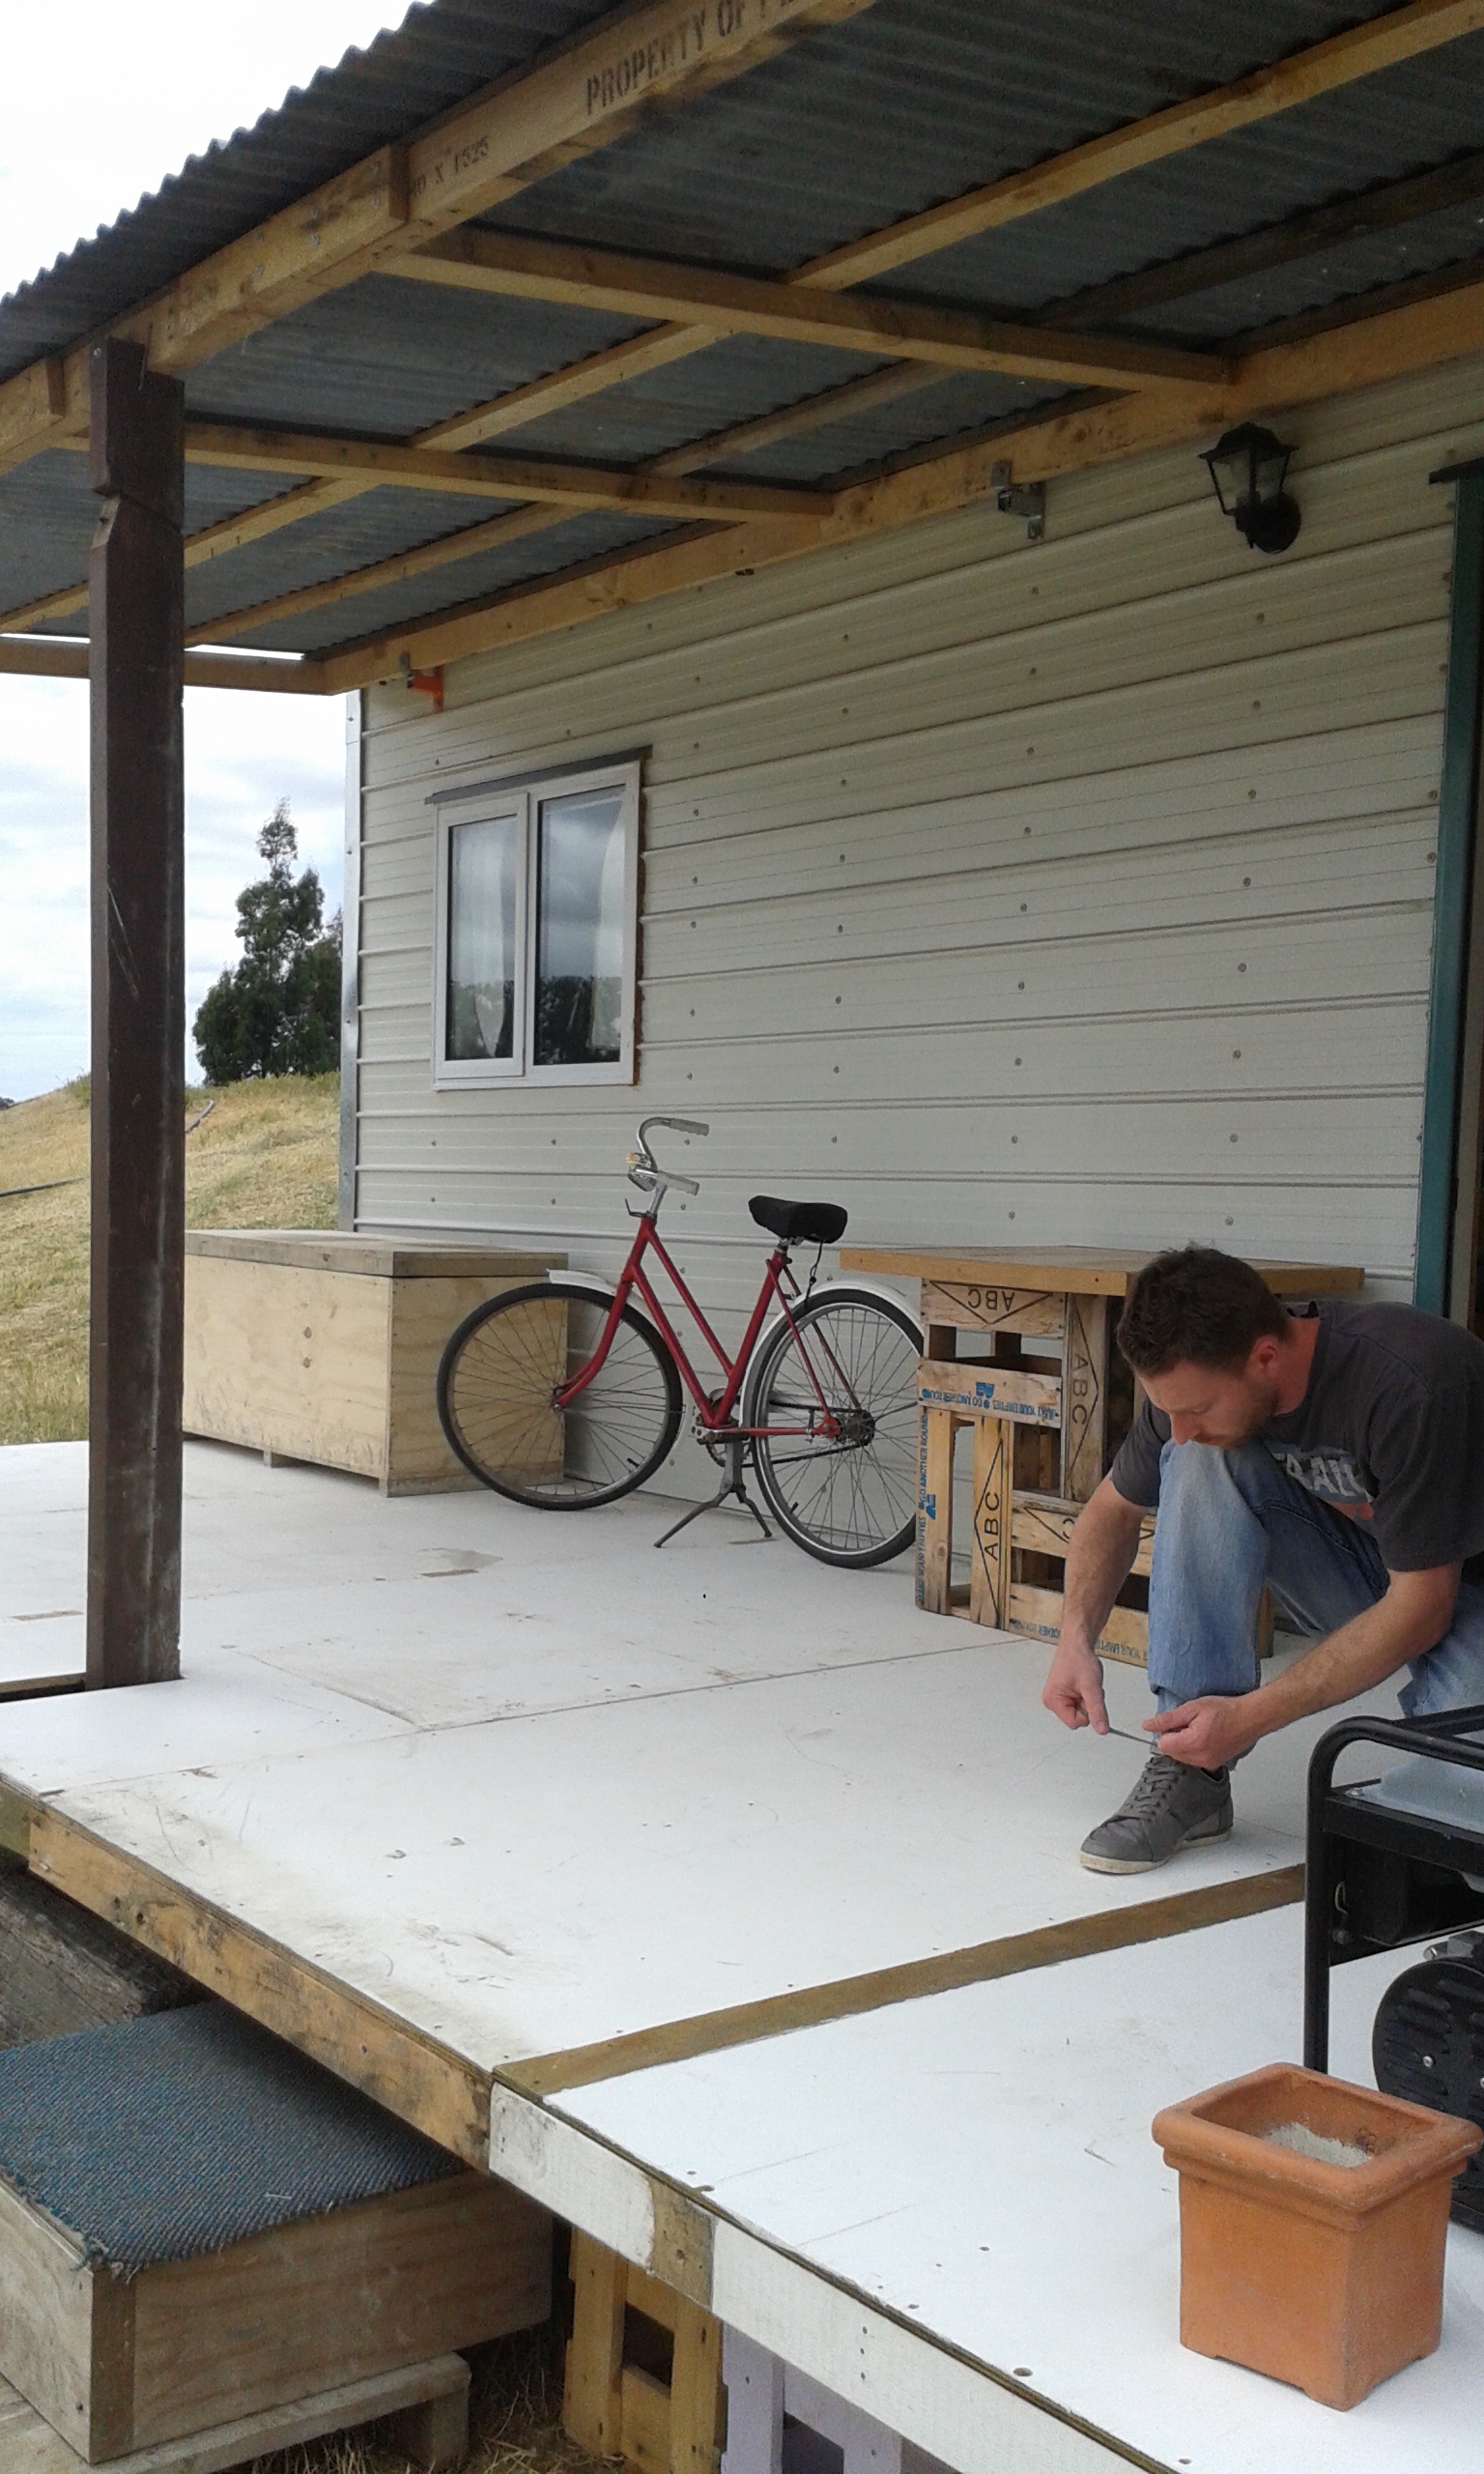
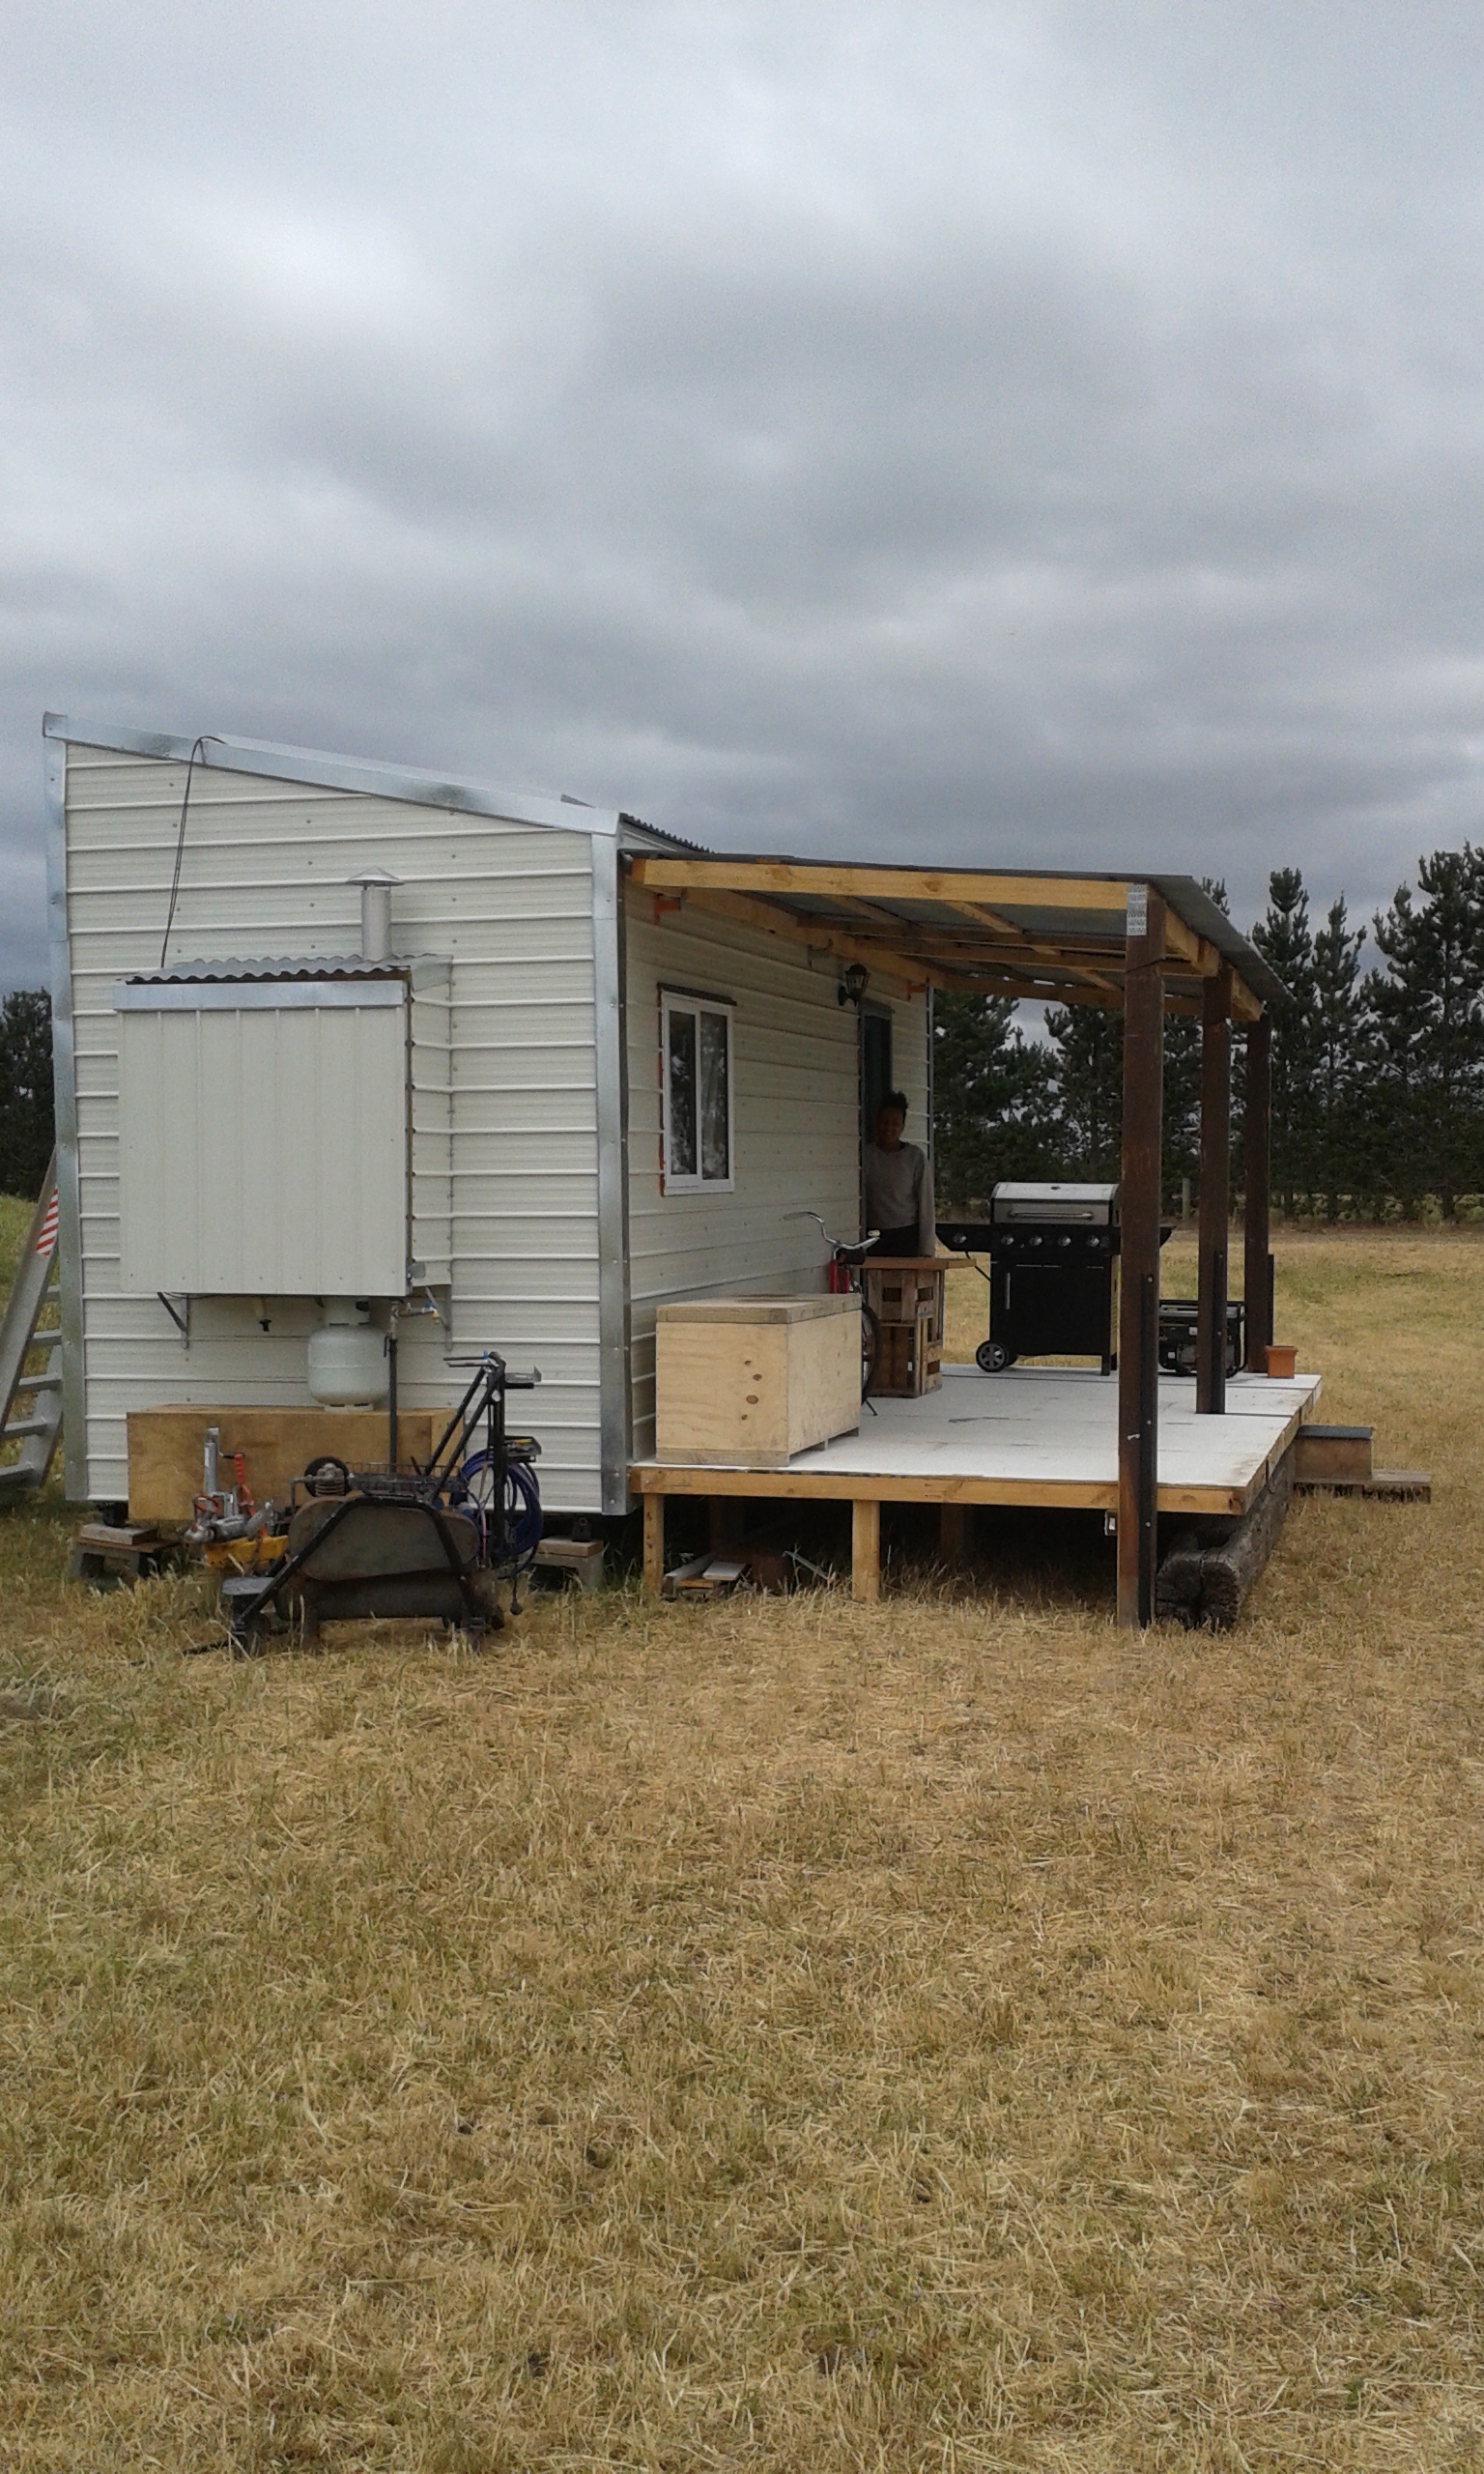
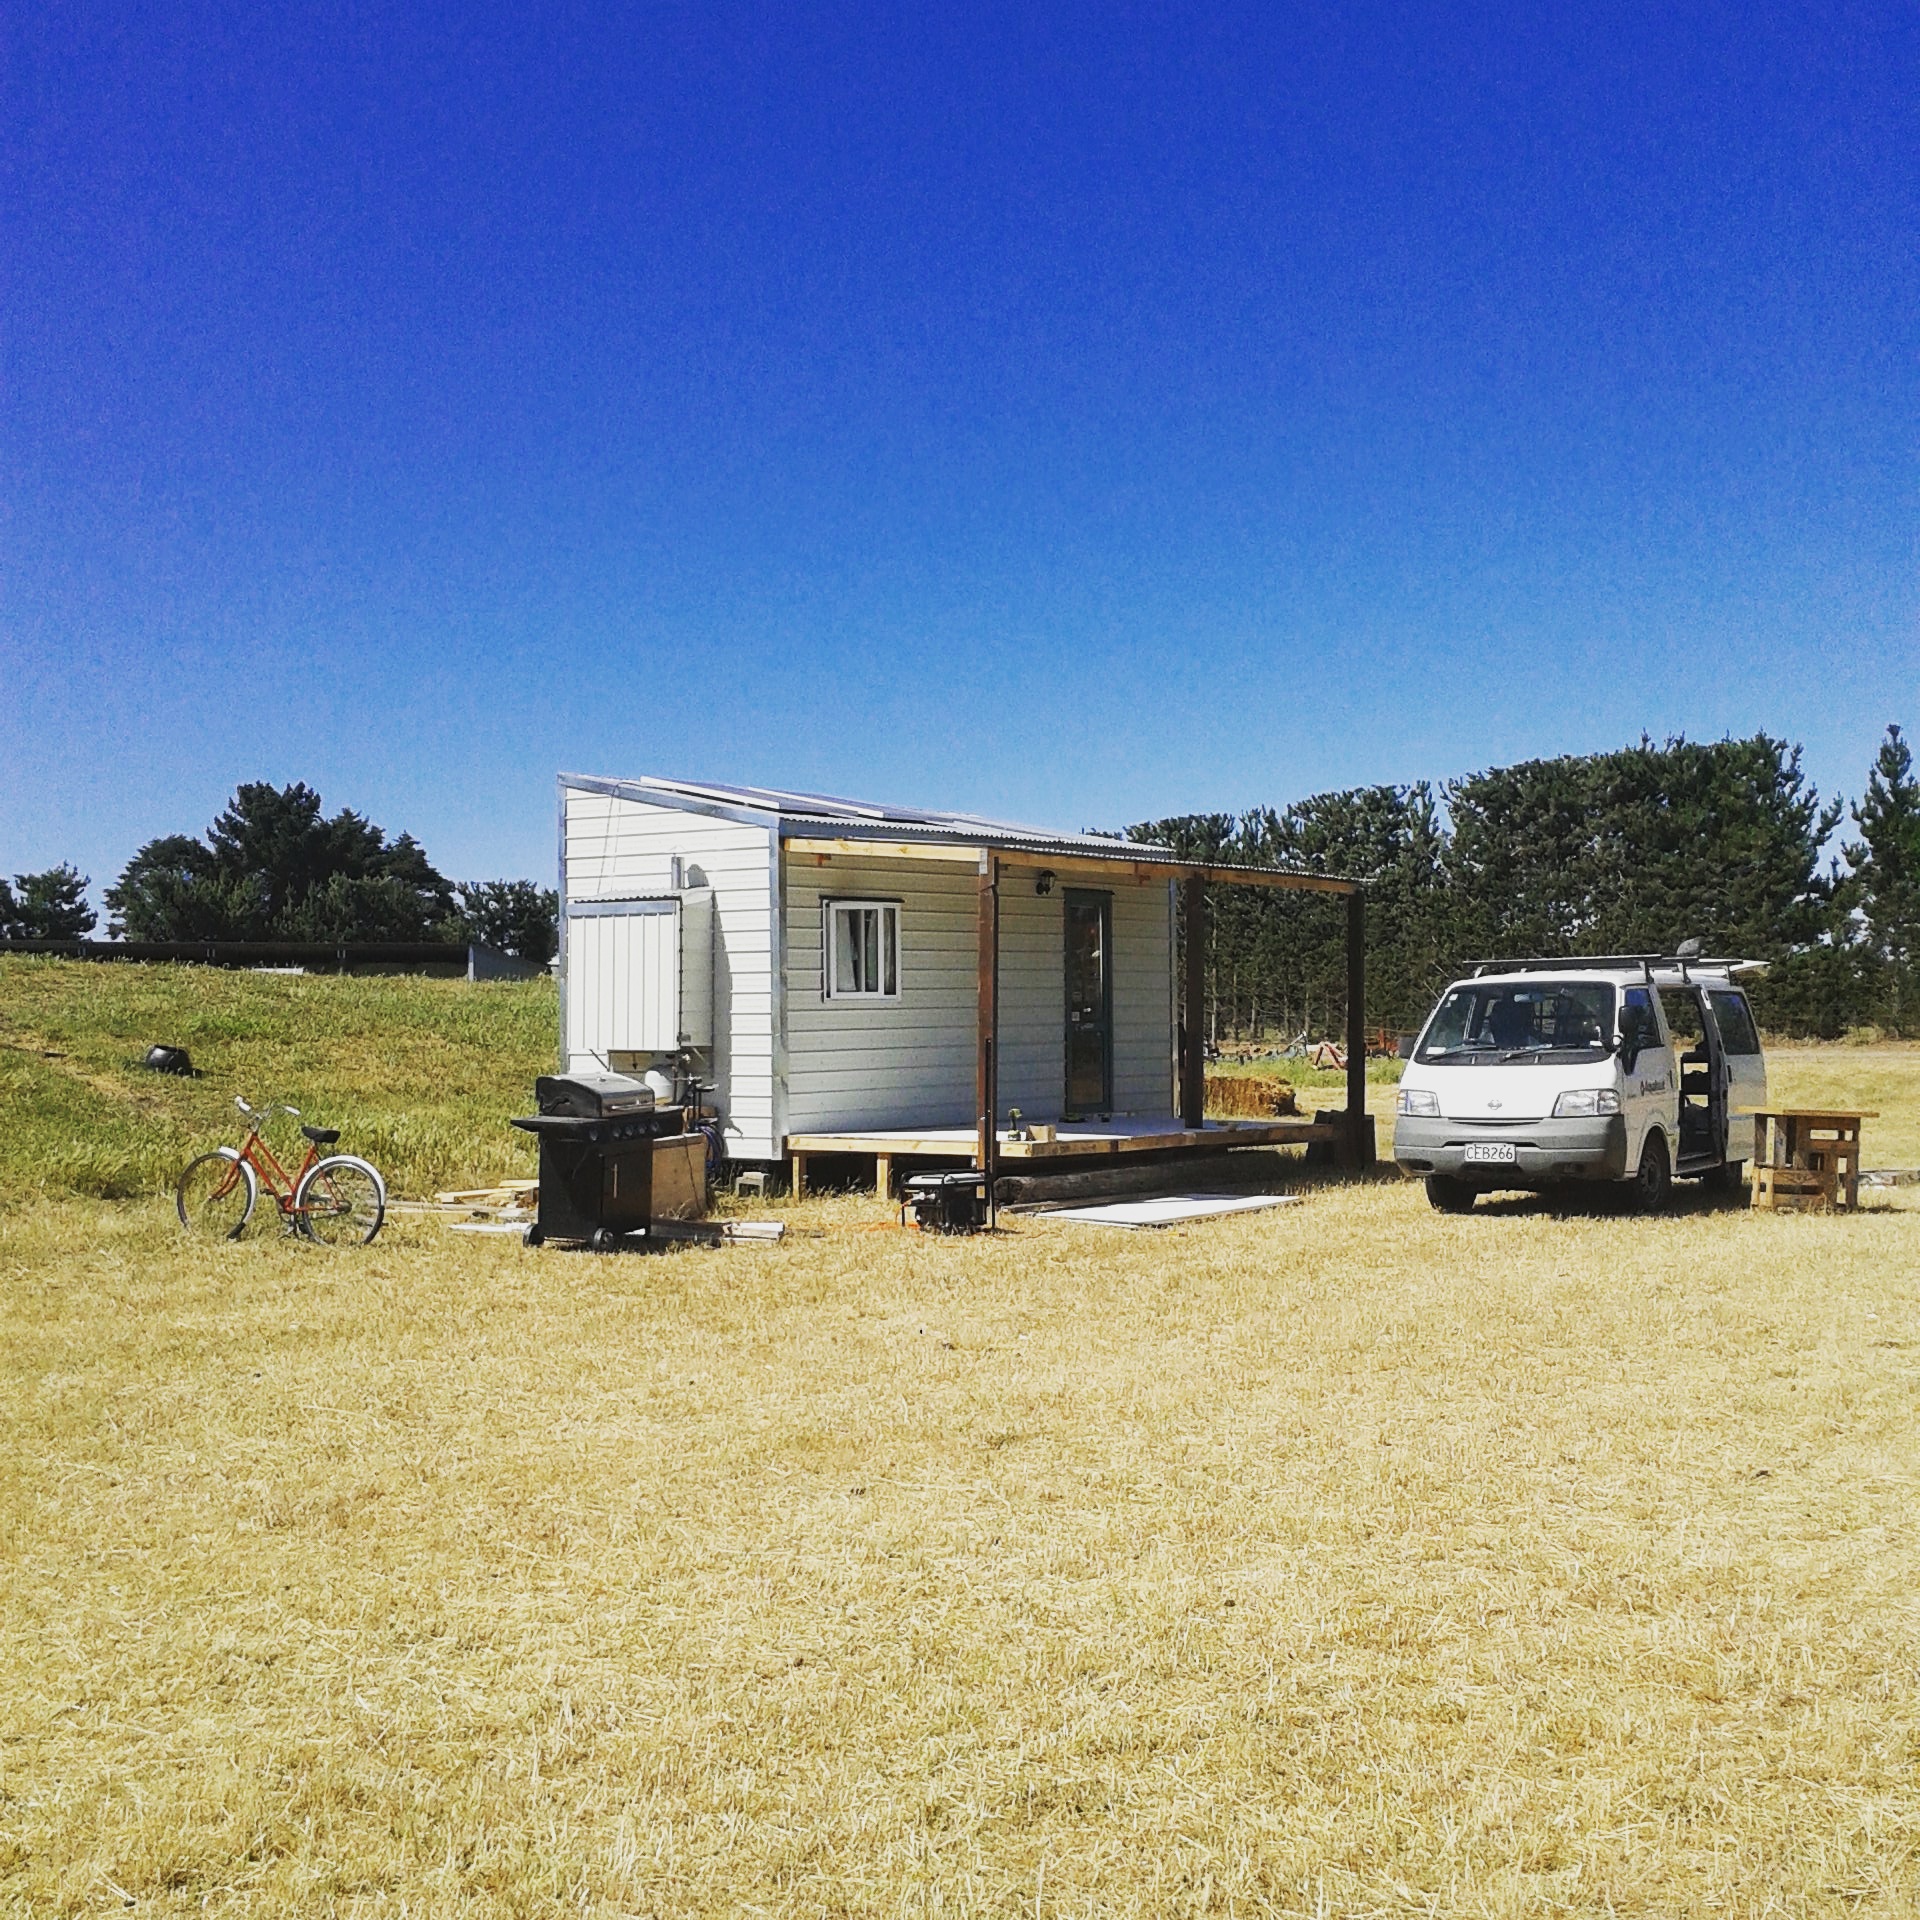
A nice coat of deck paint will bring these former walls back to life with a new purpose. Thanks for reading.
Pat and Cori
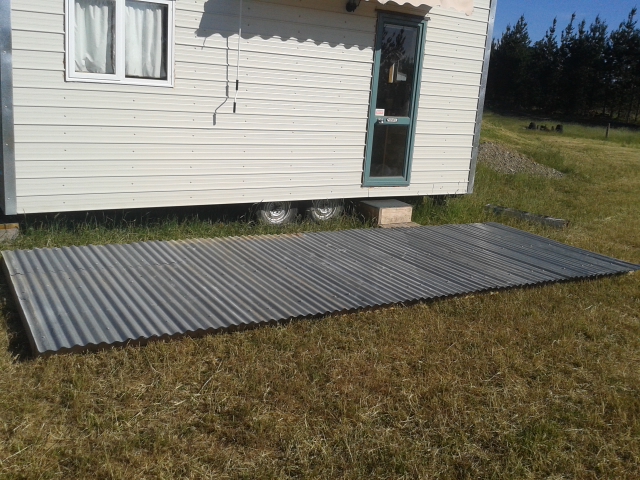
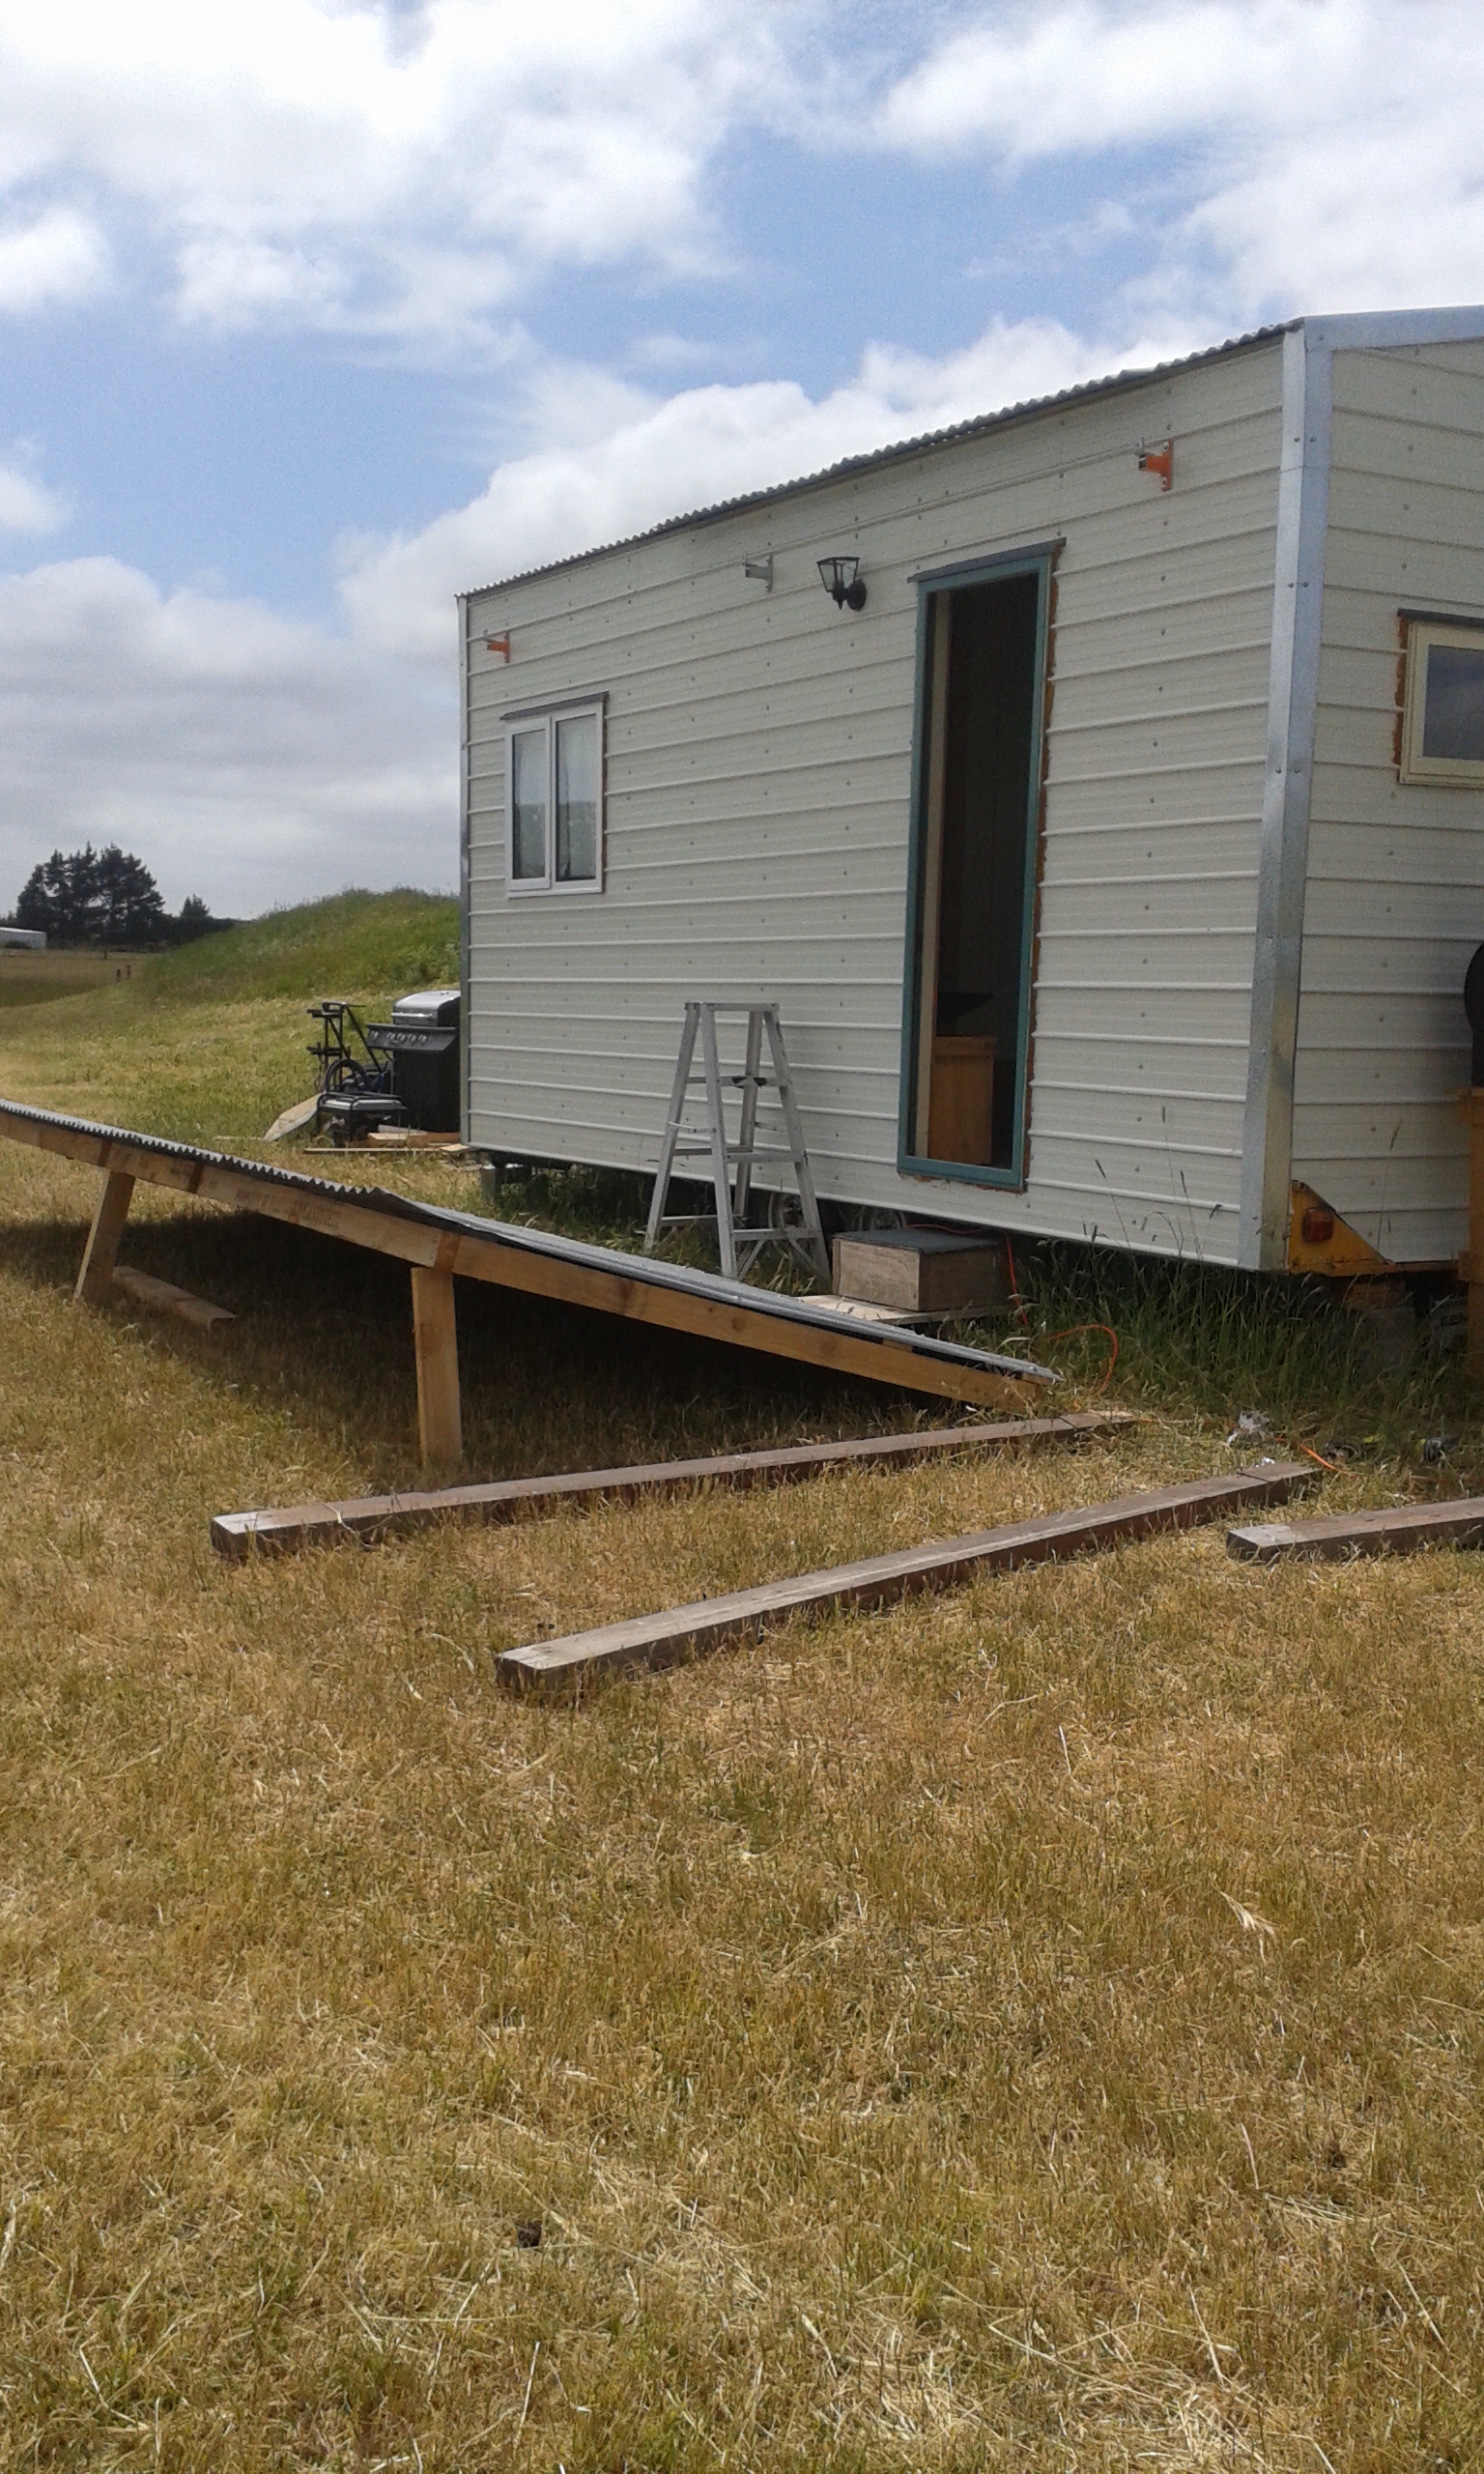
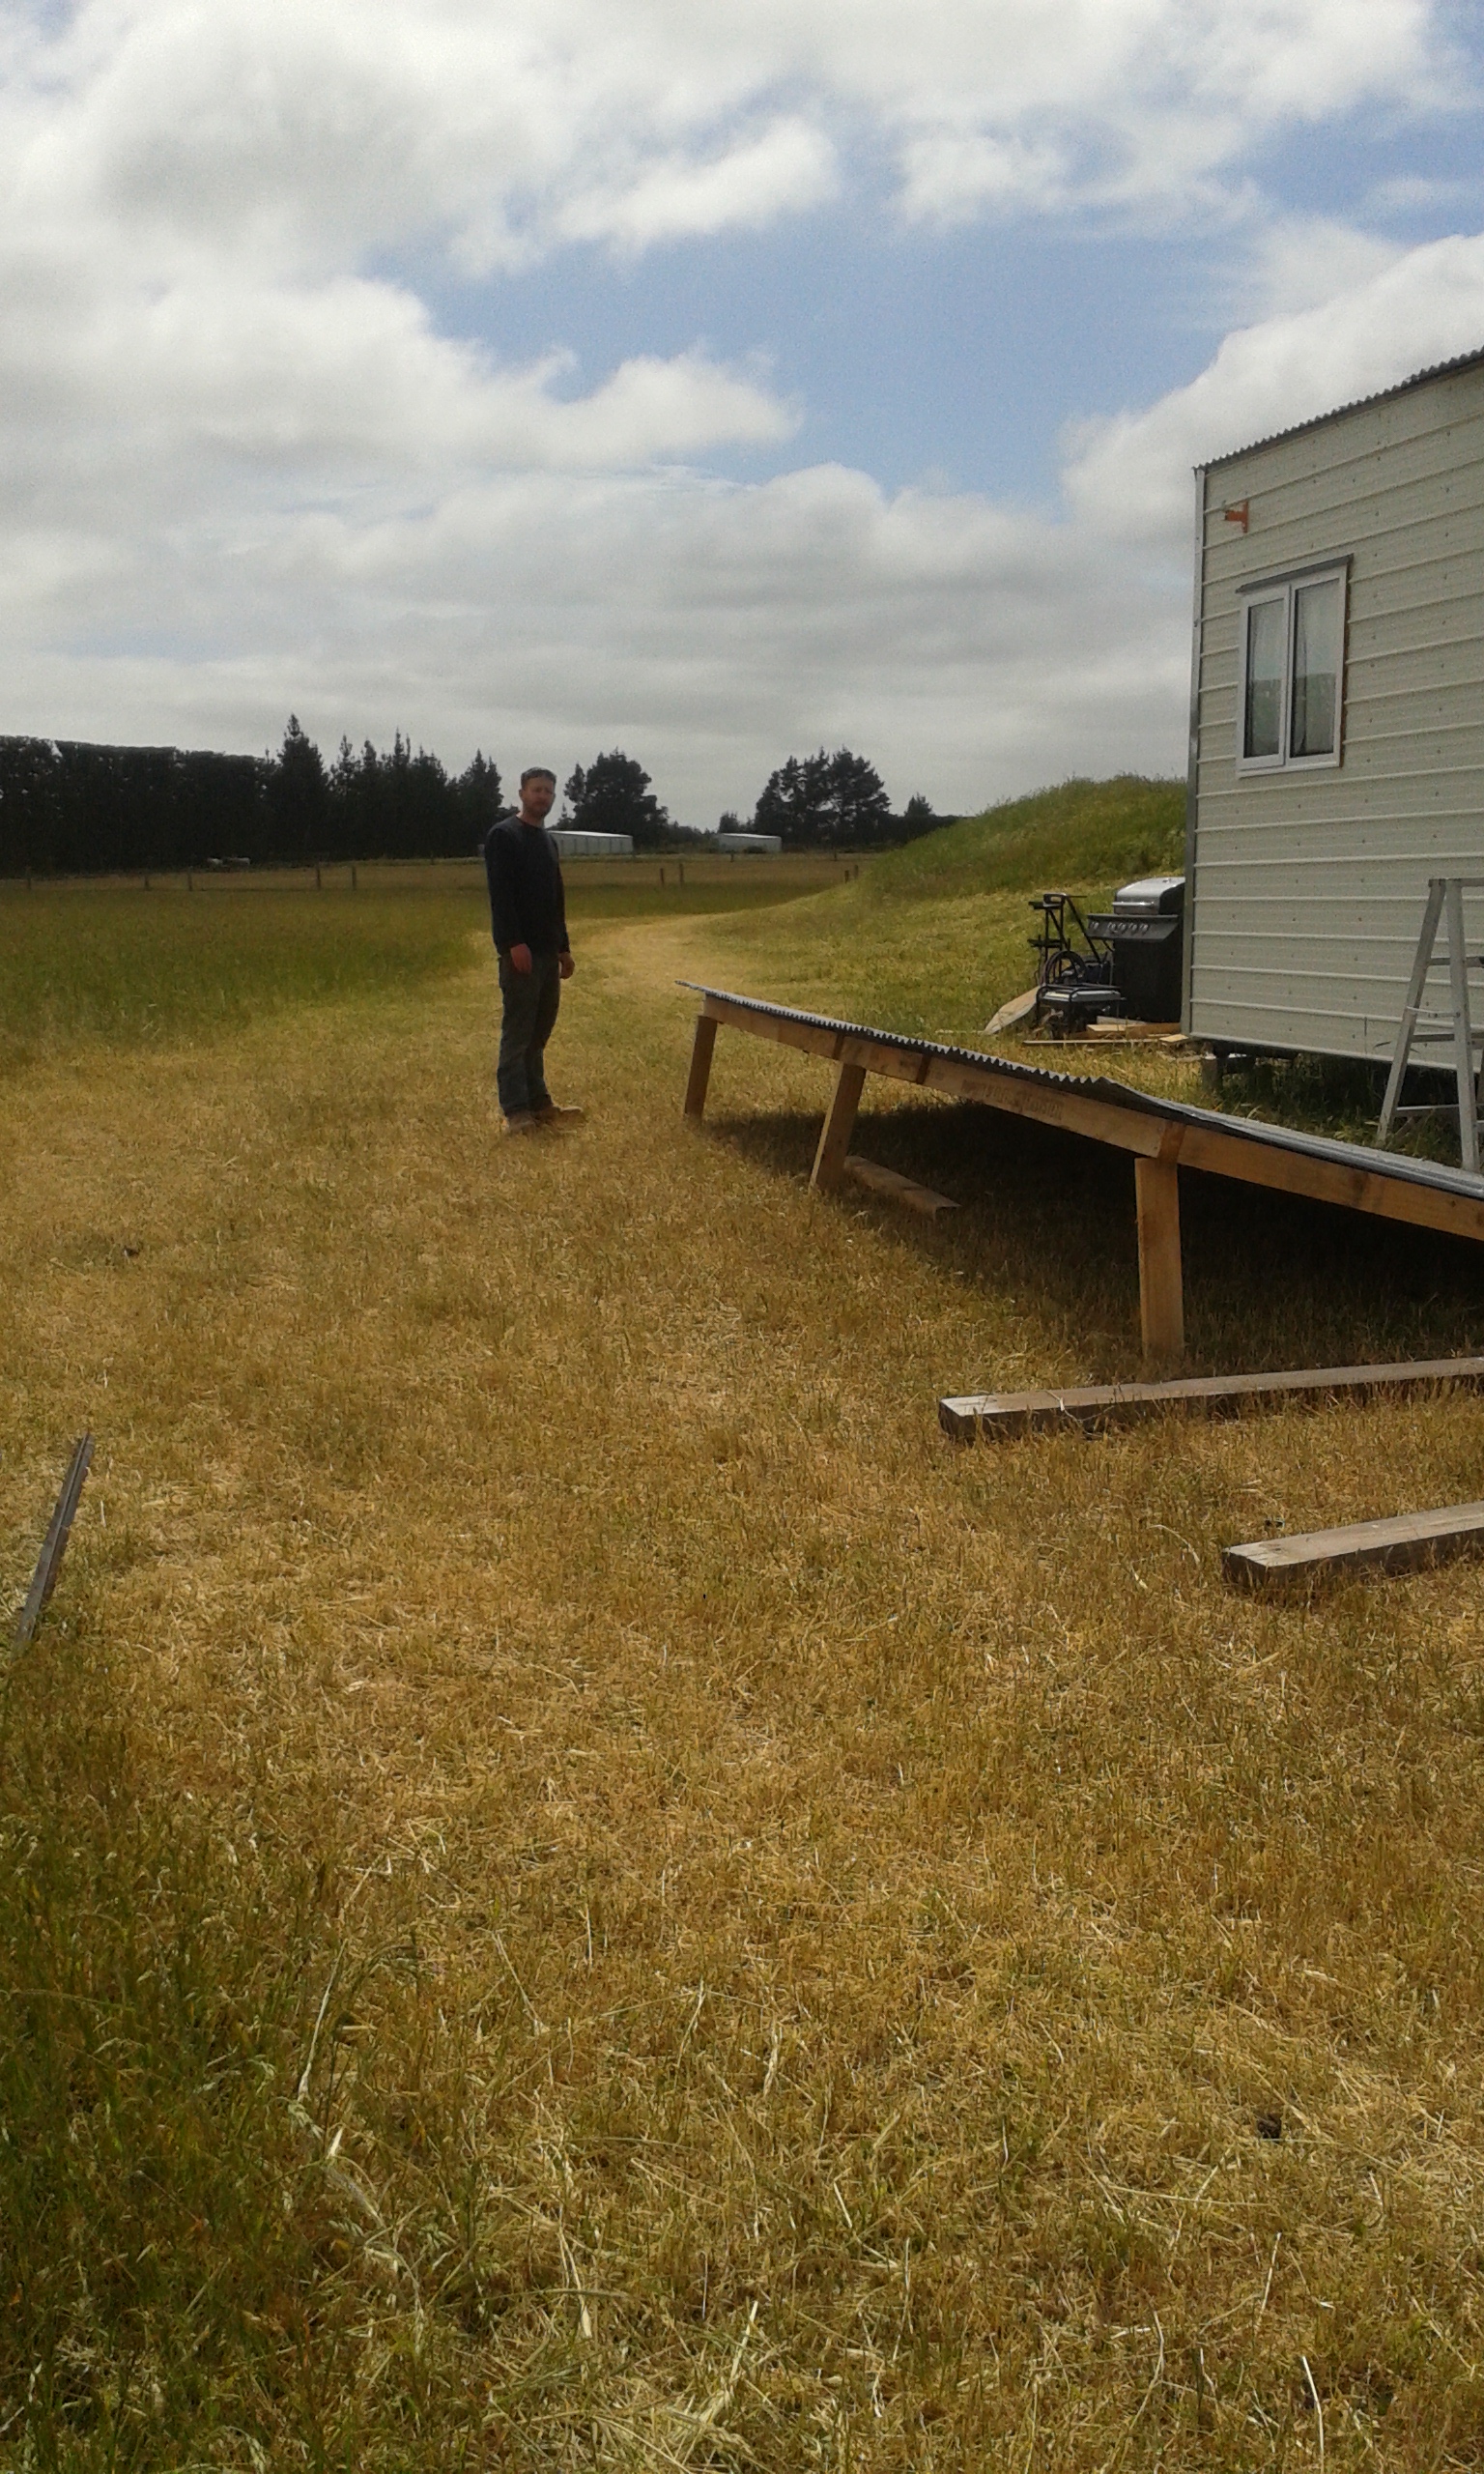
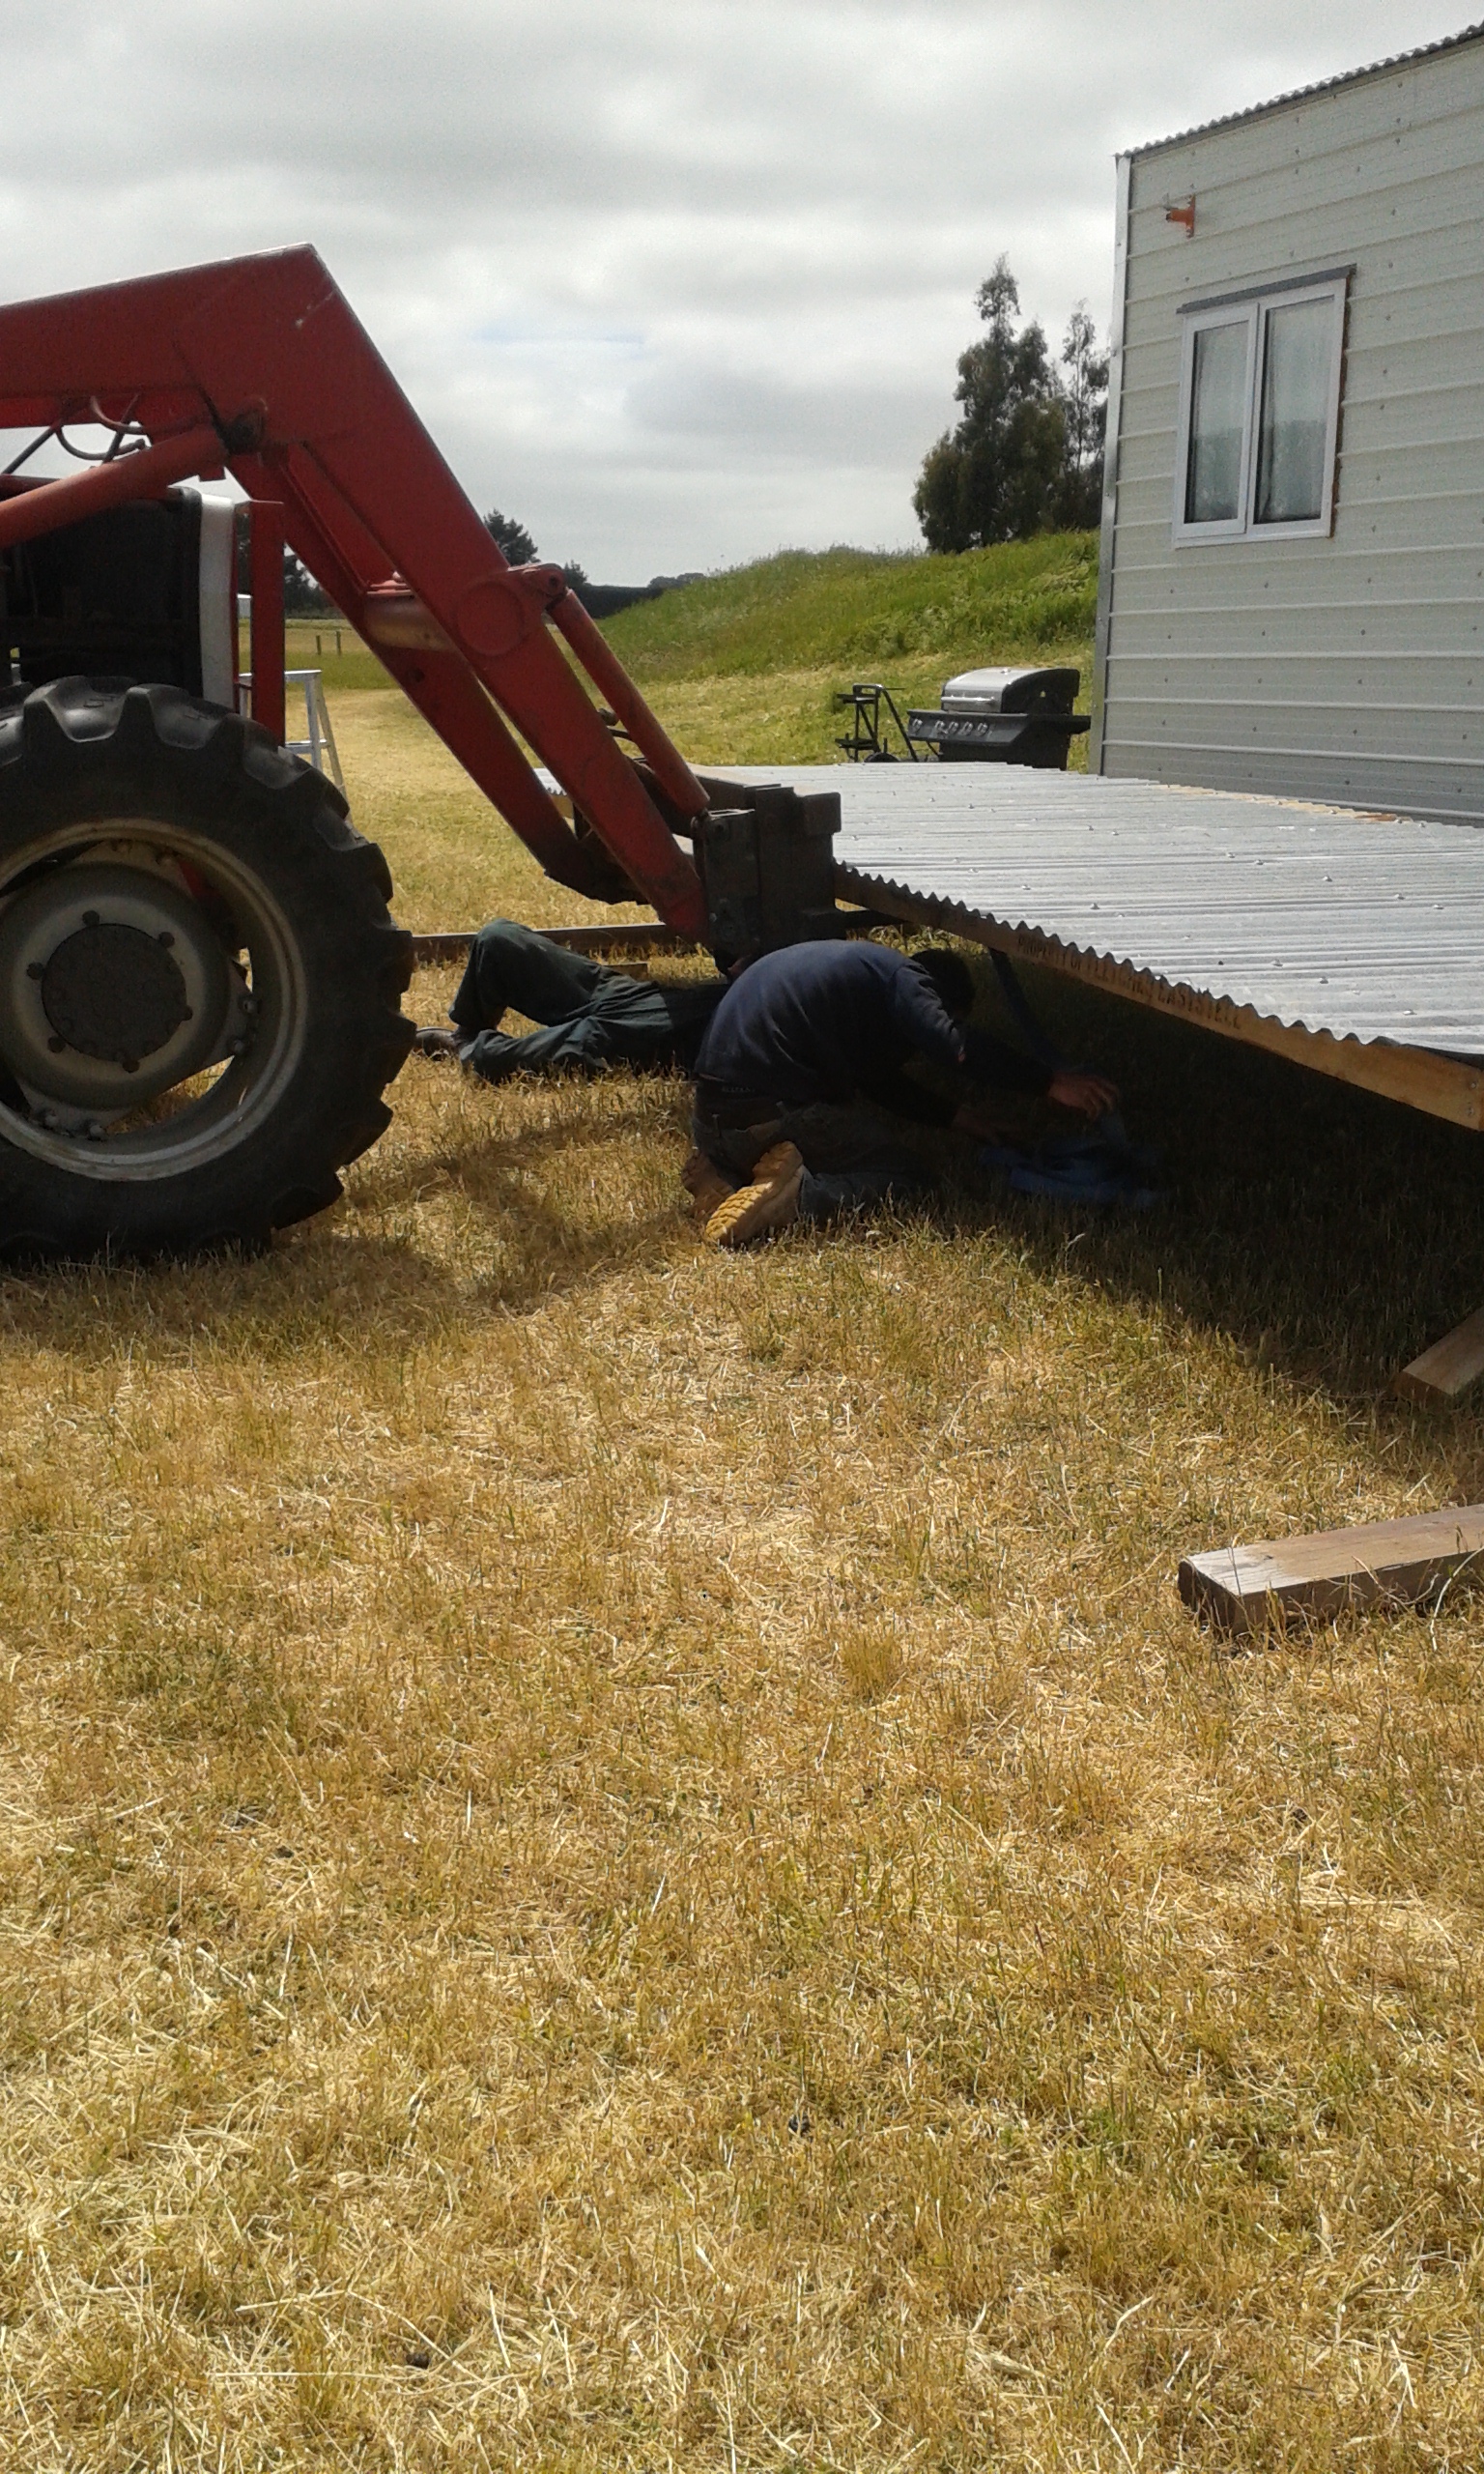
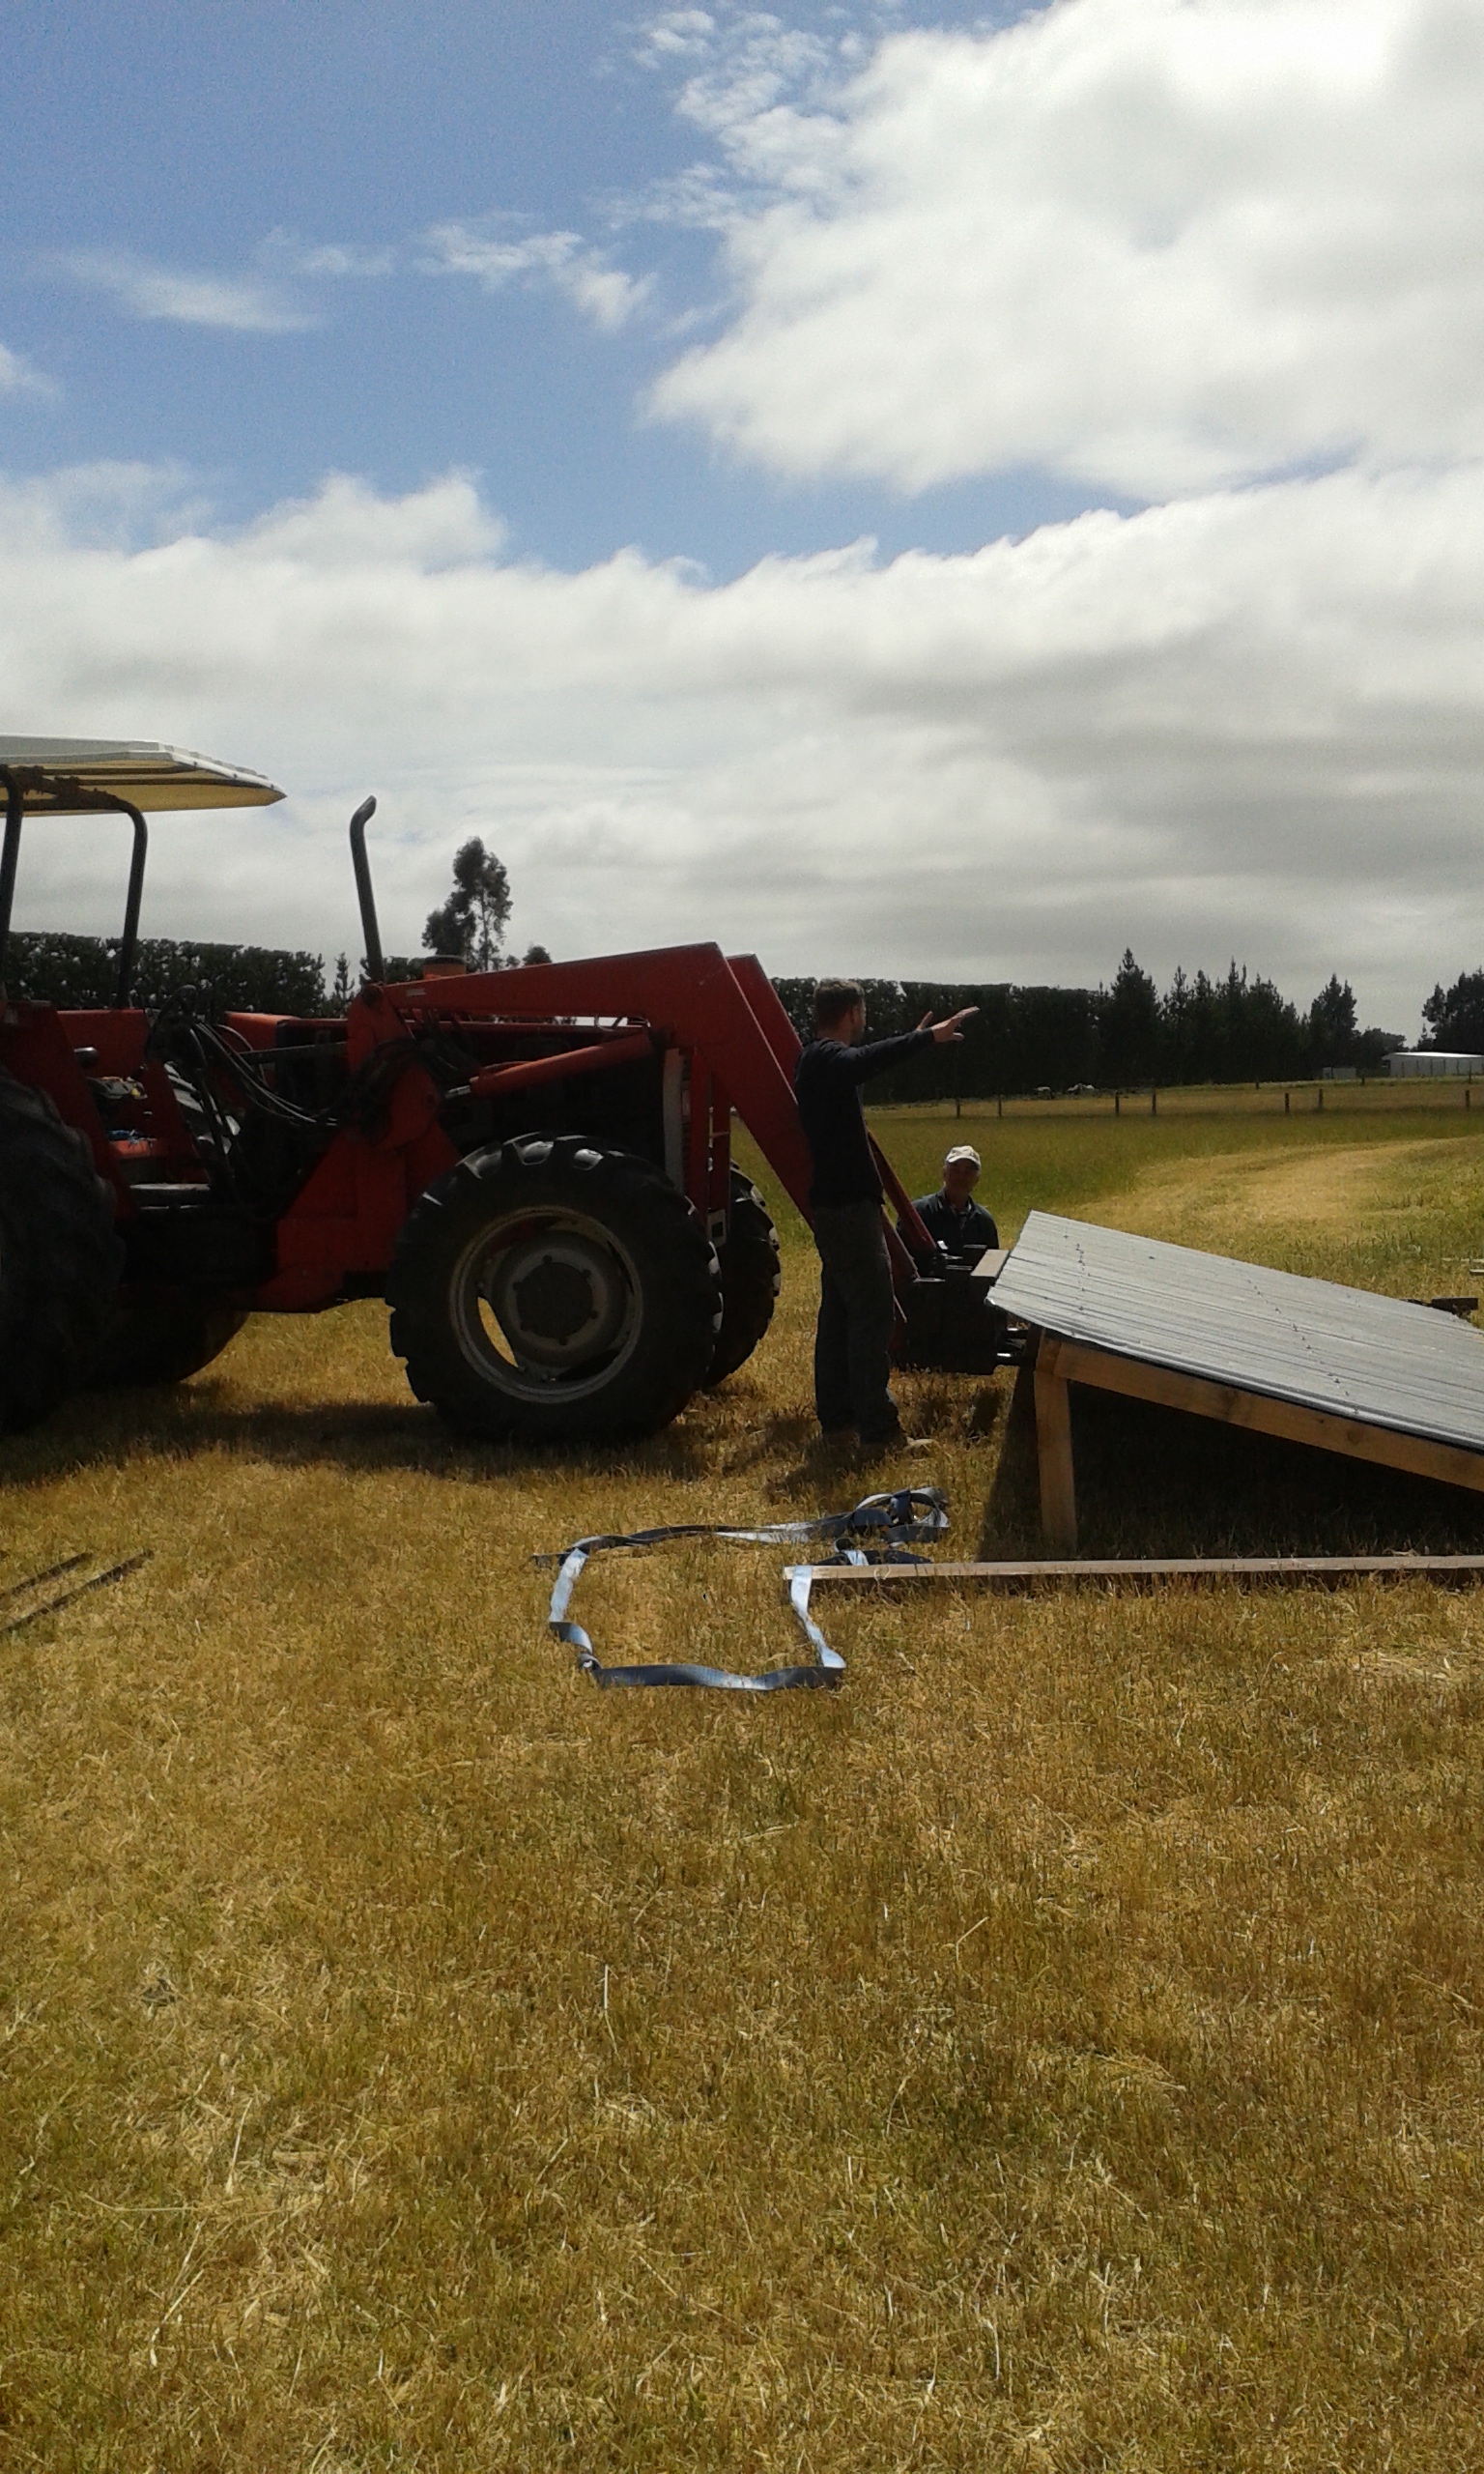
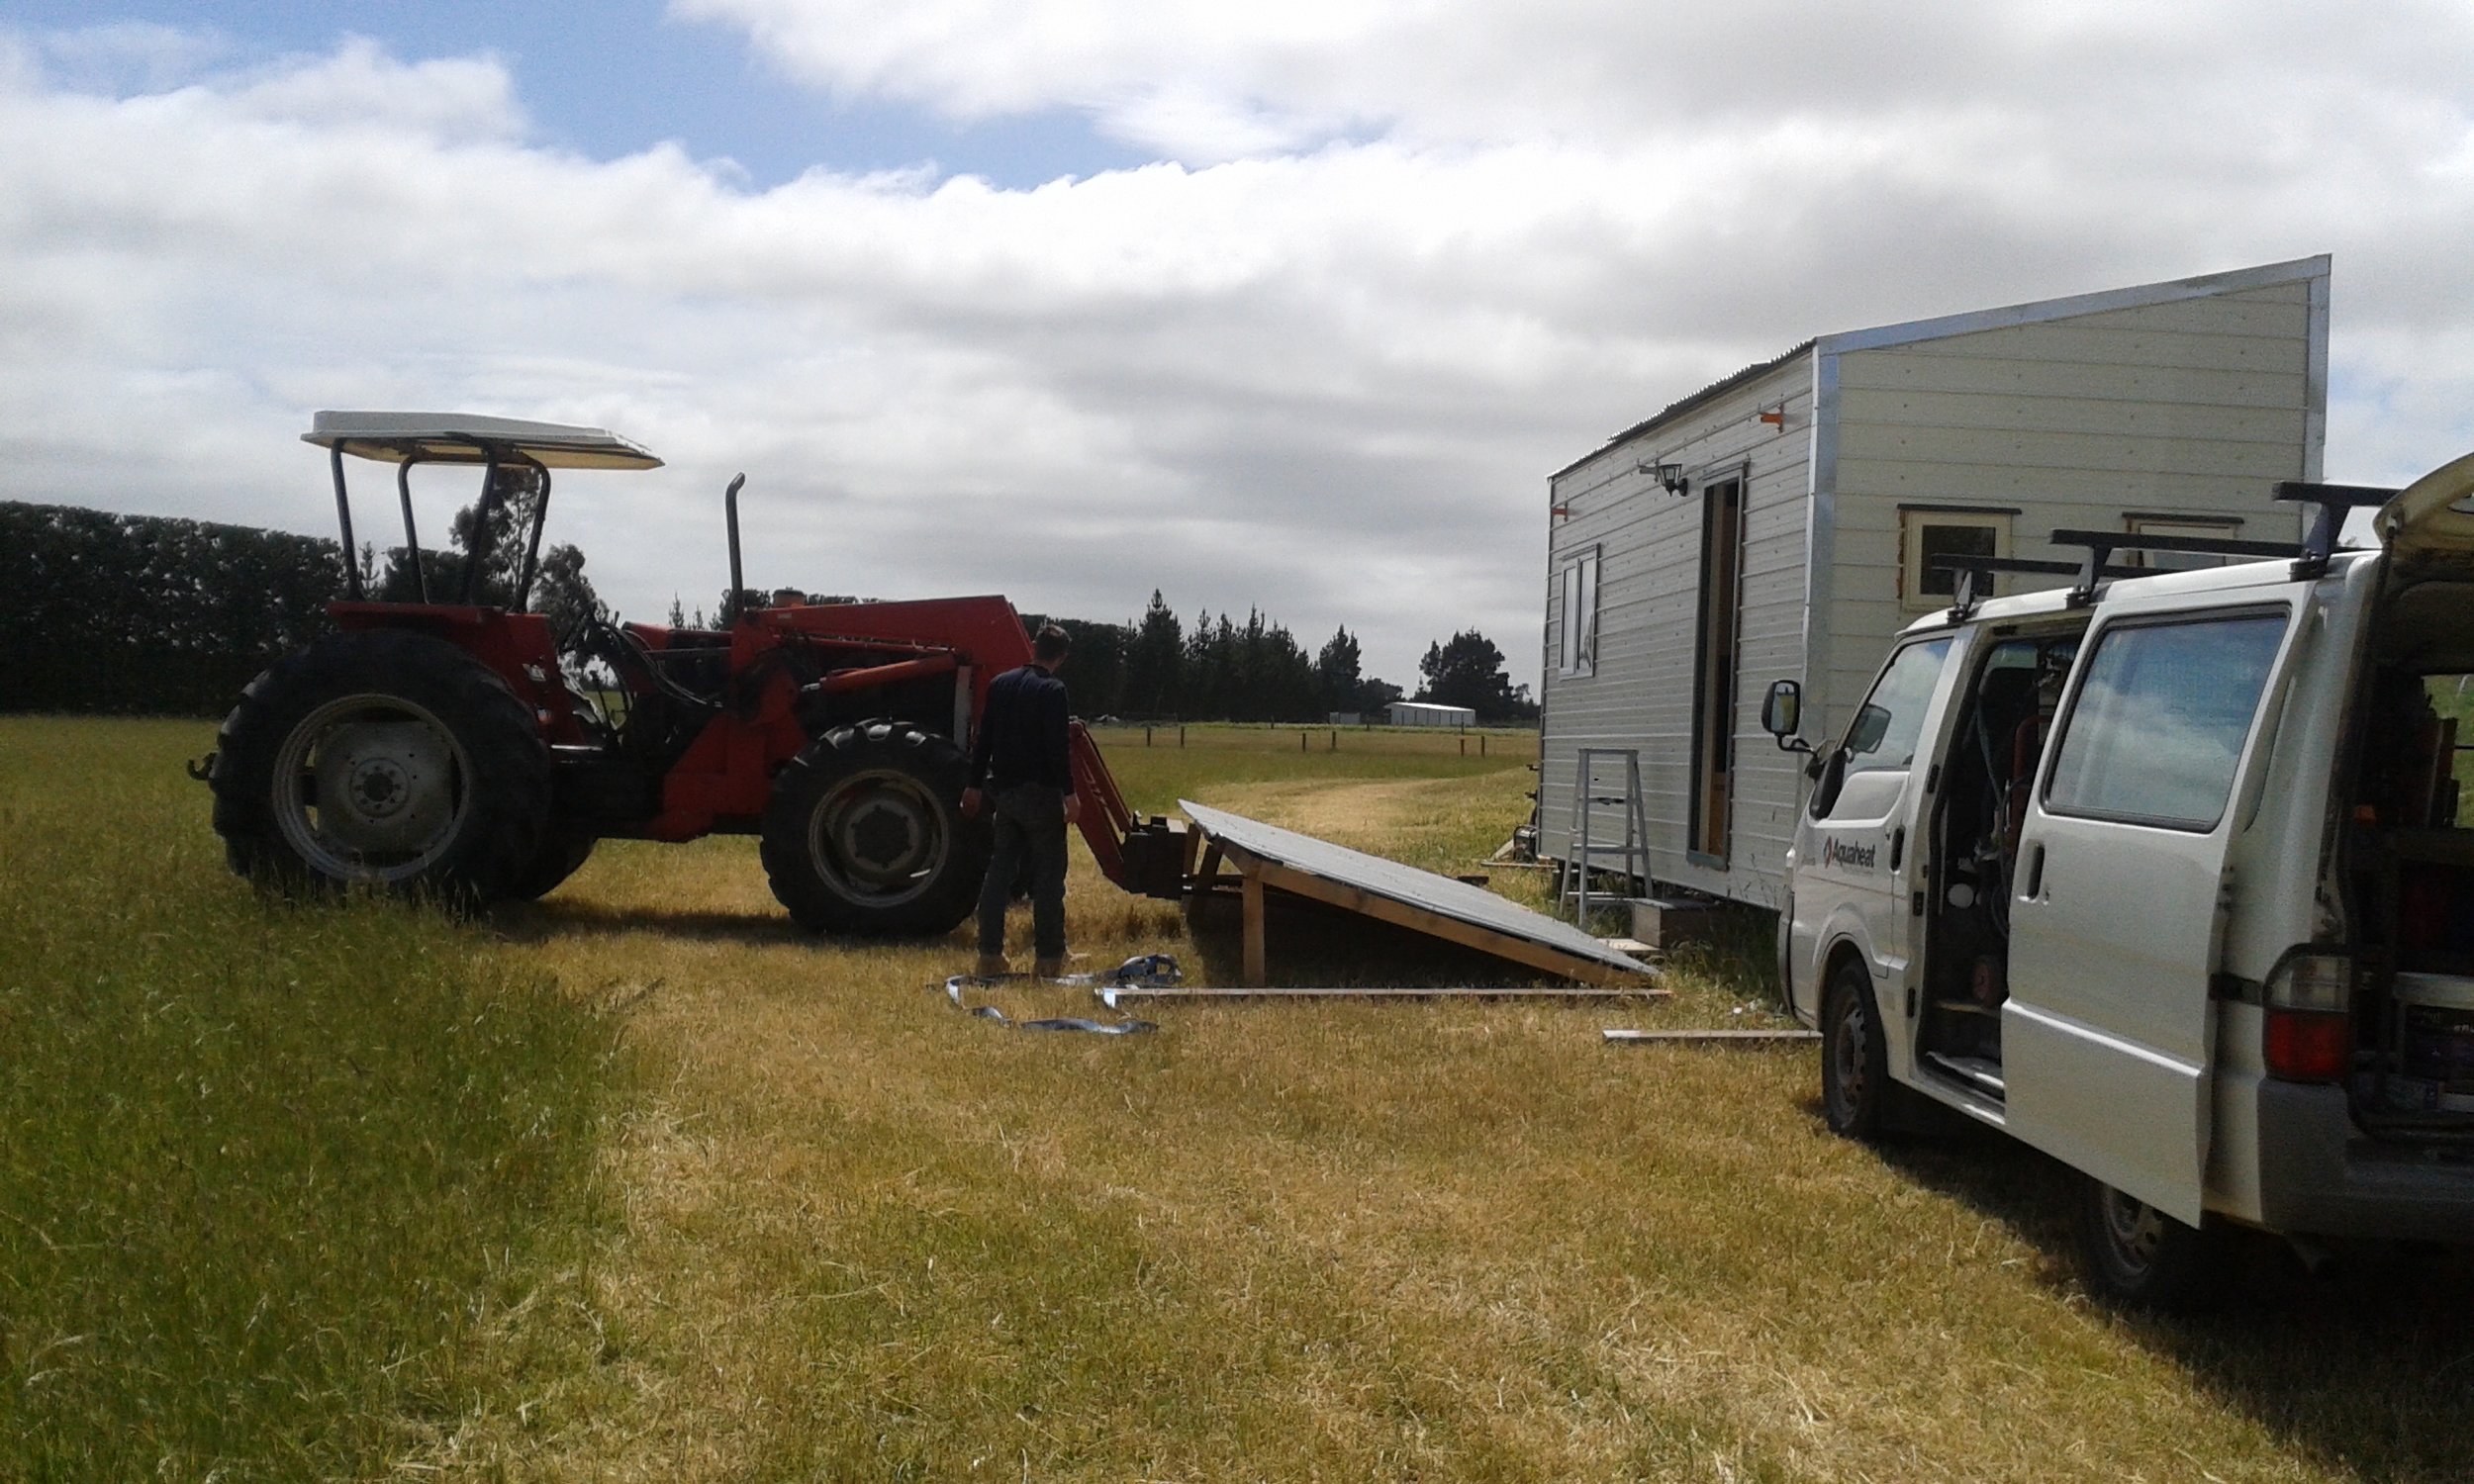
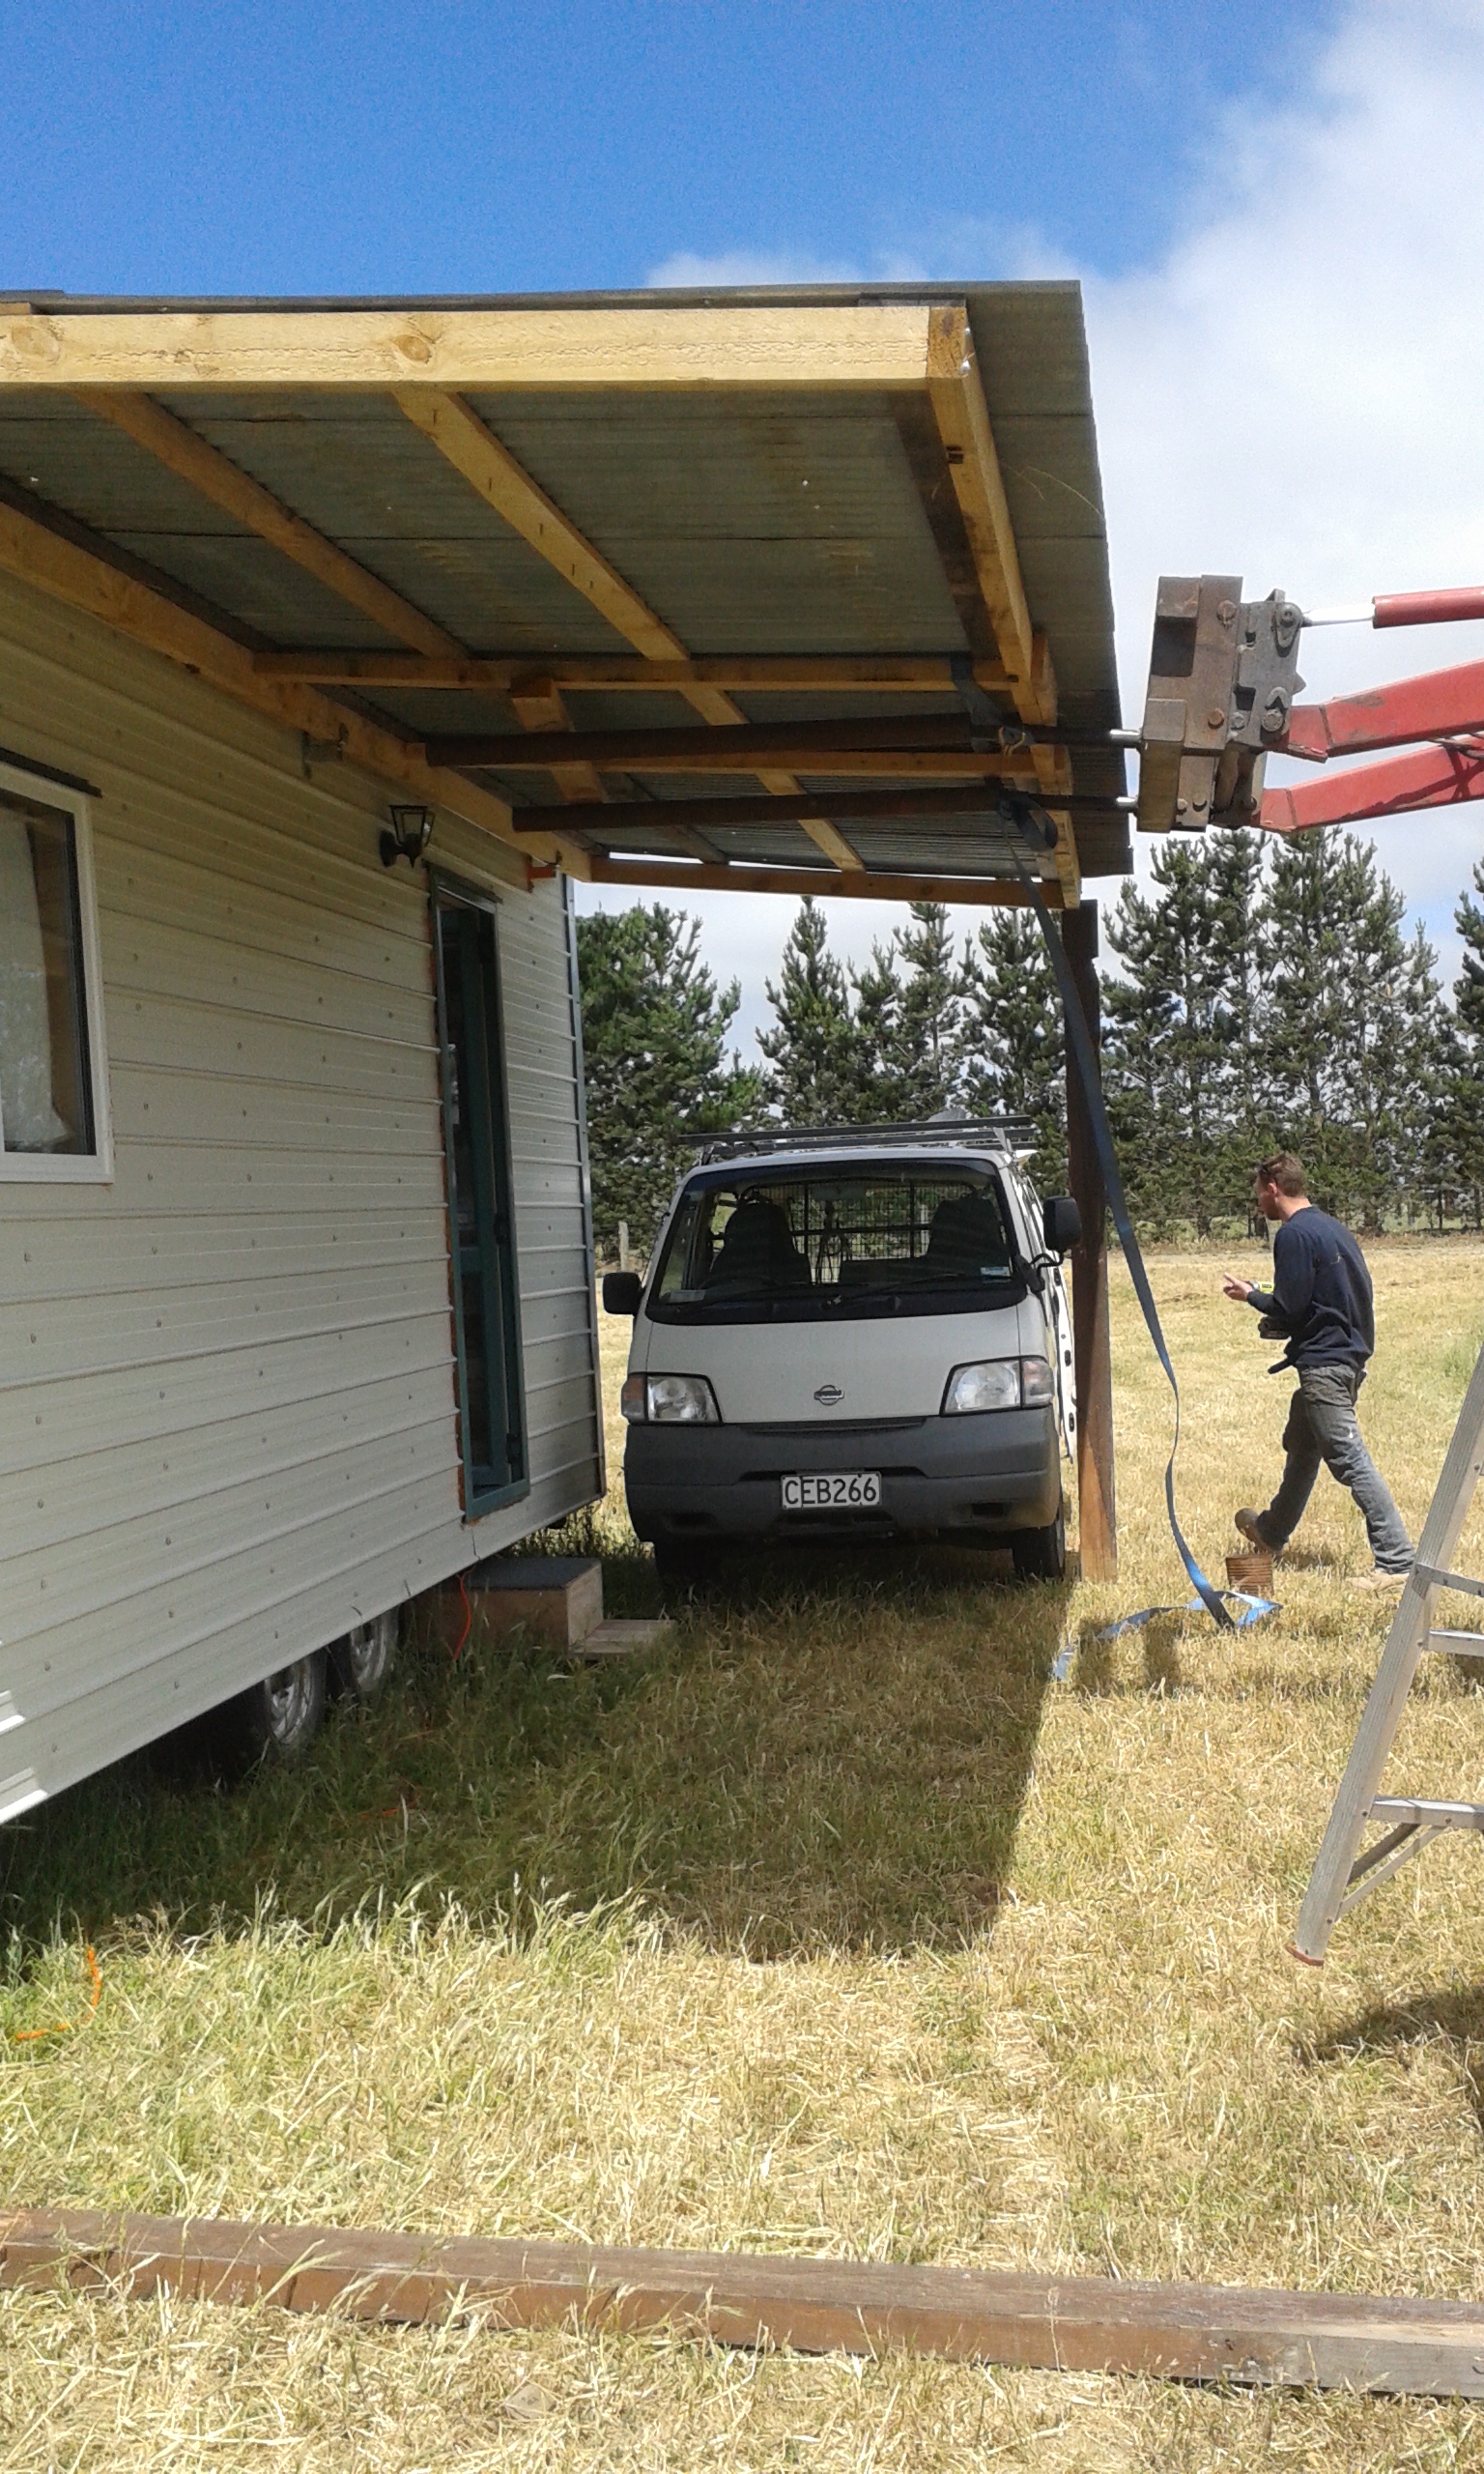
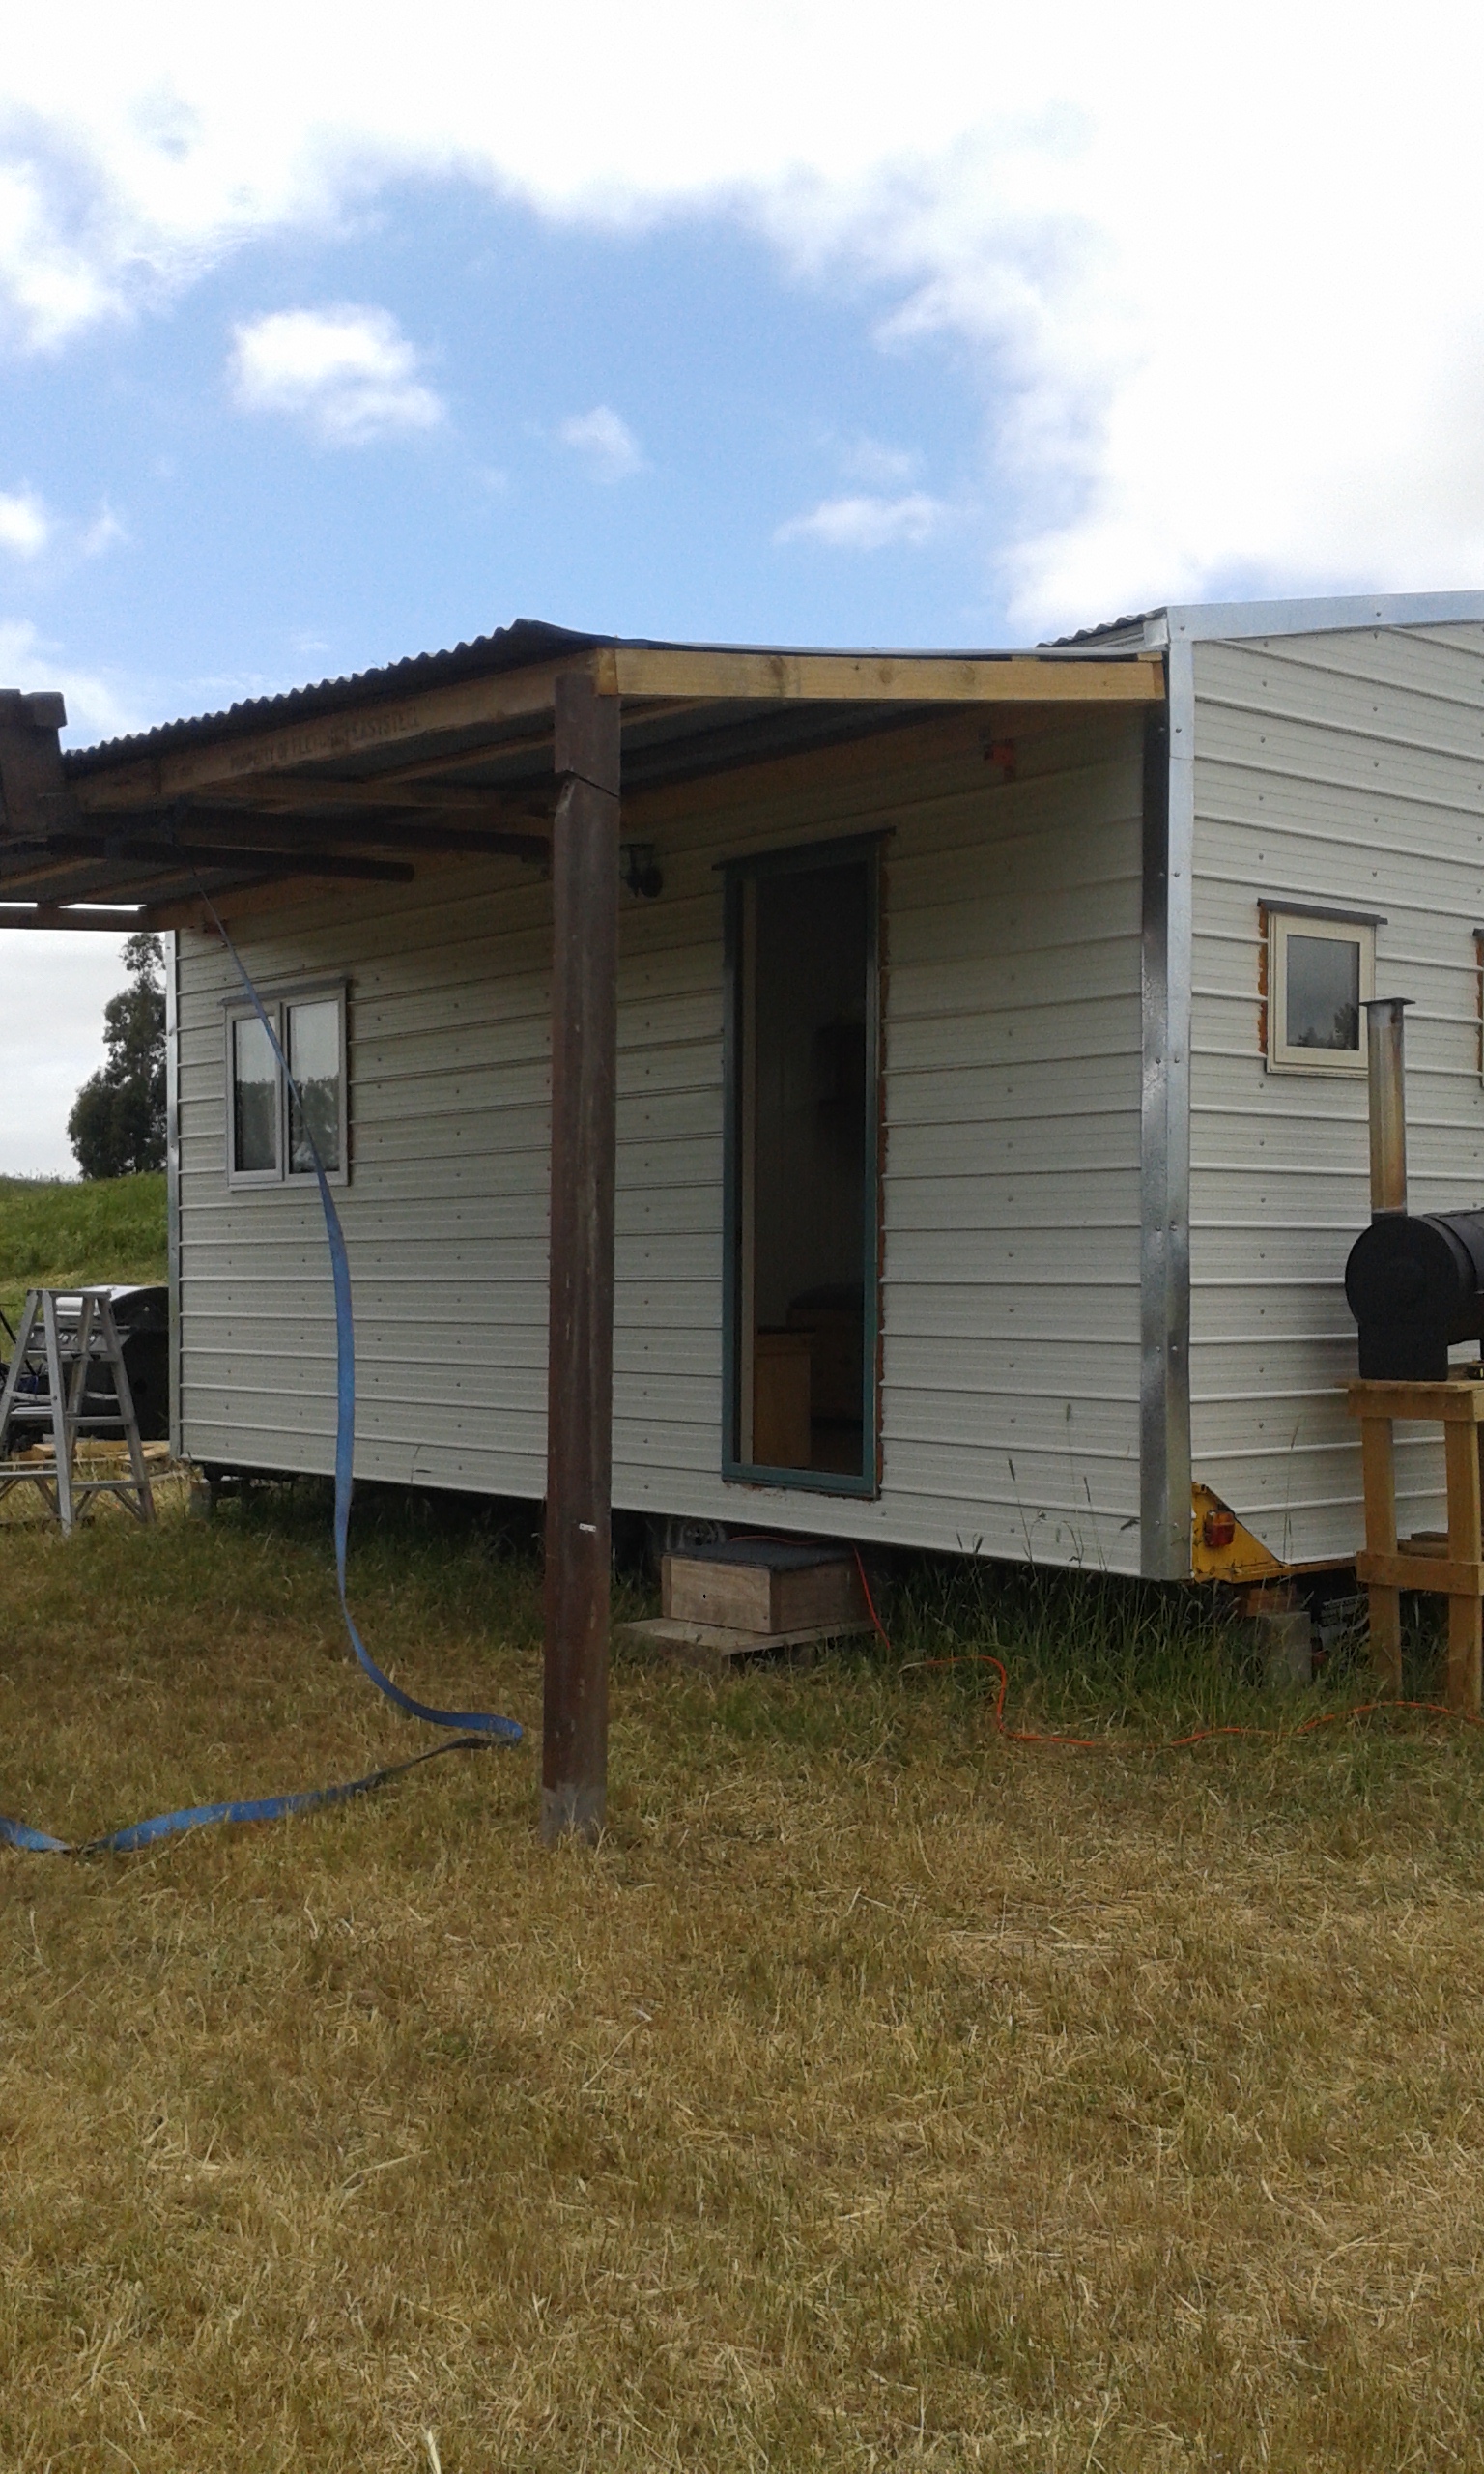
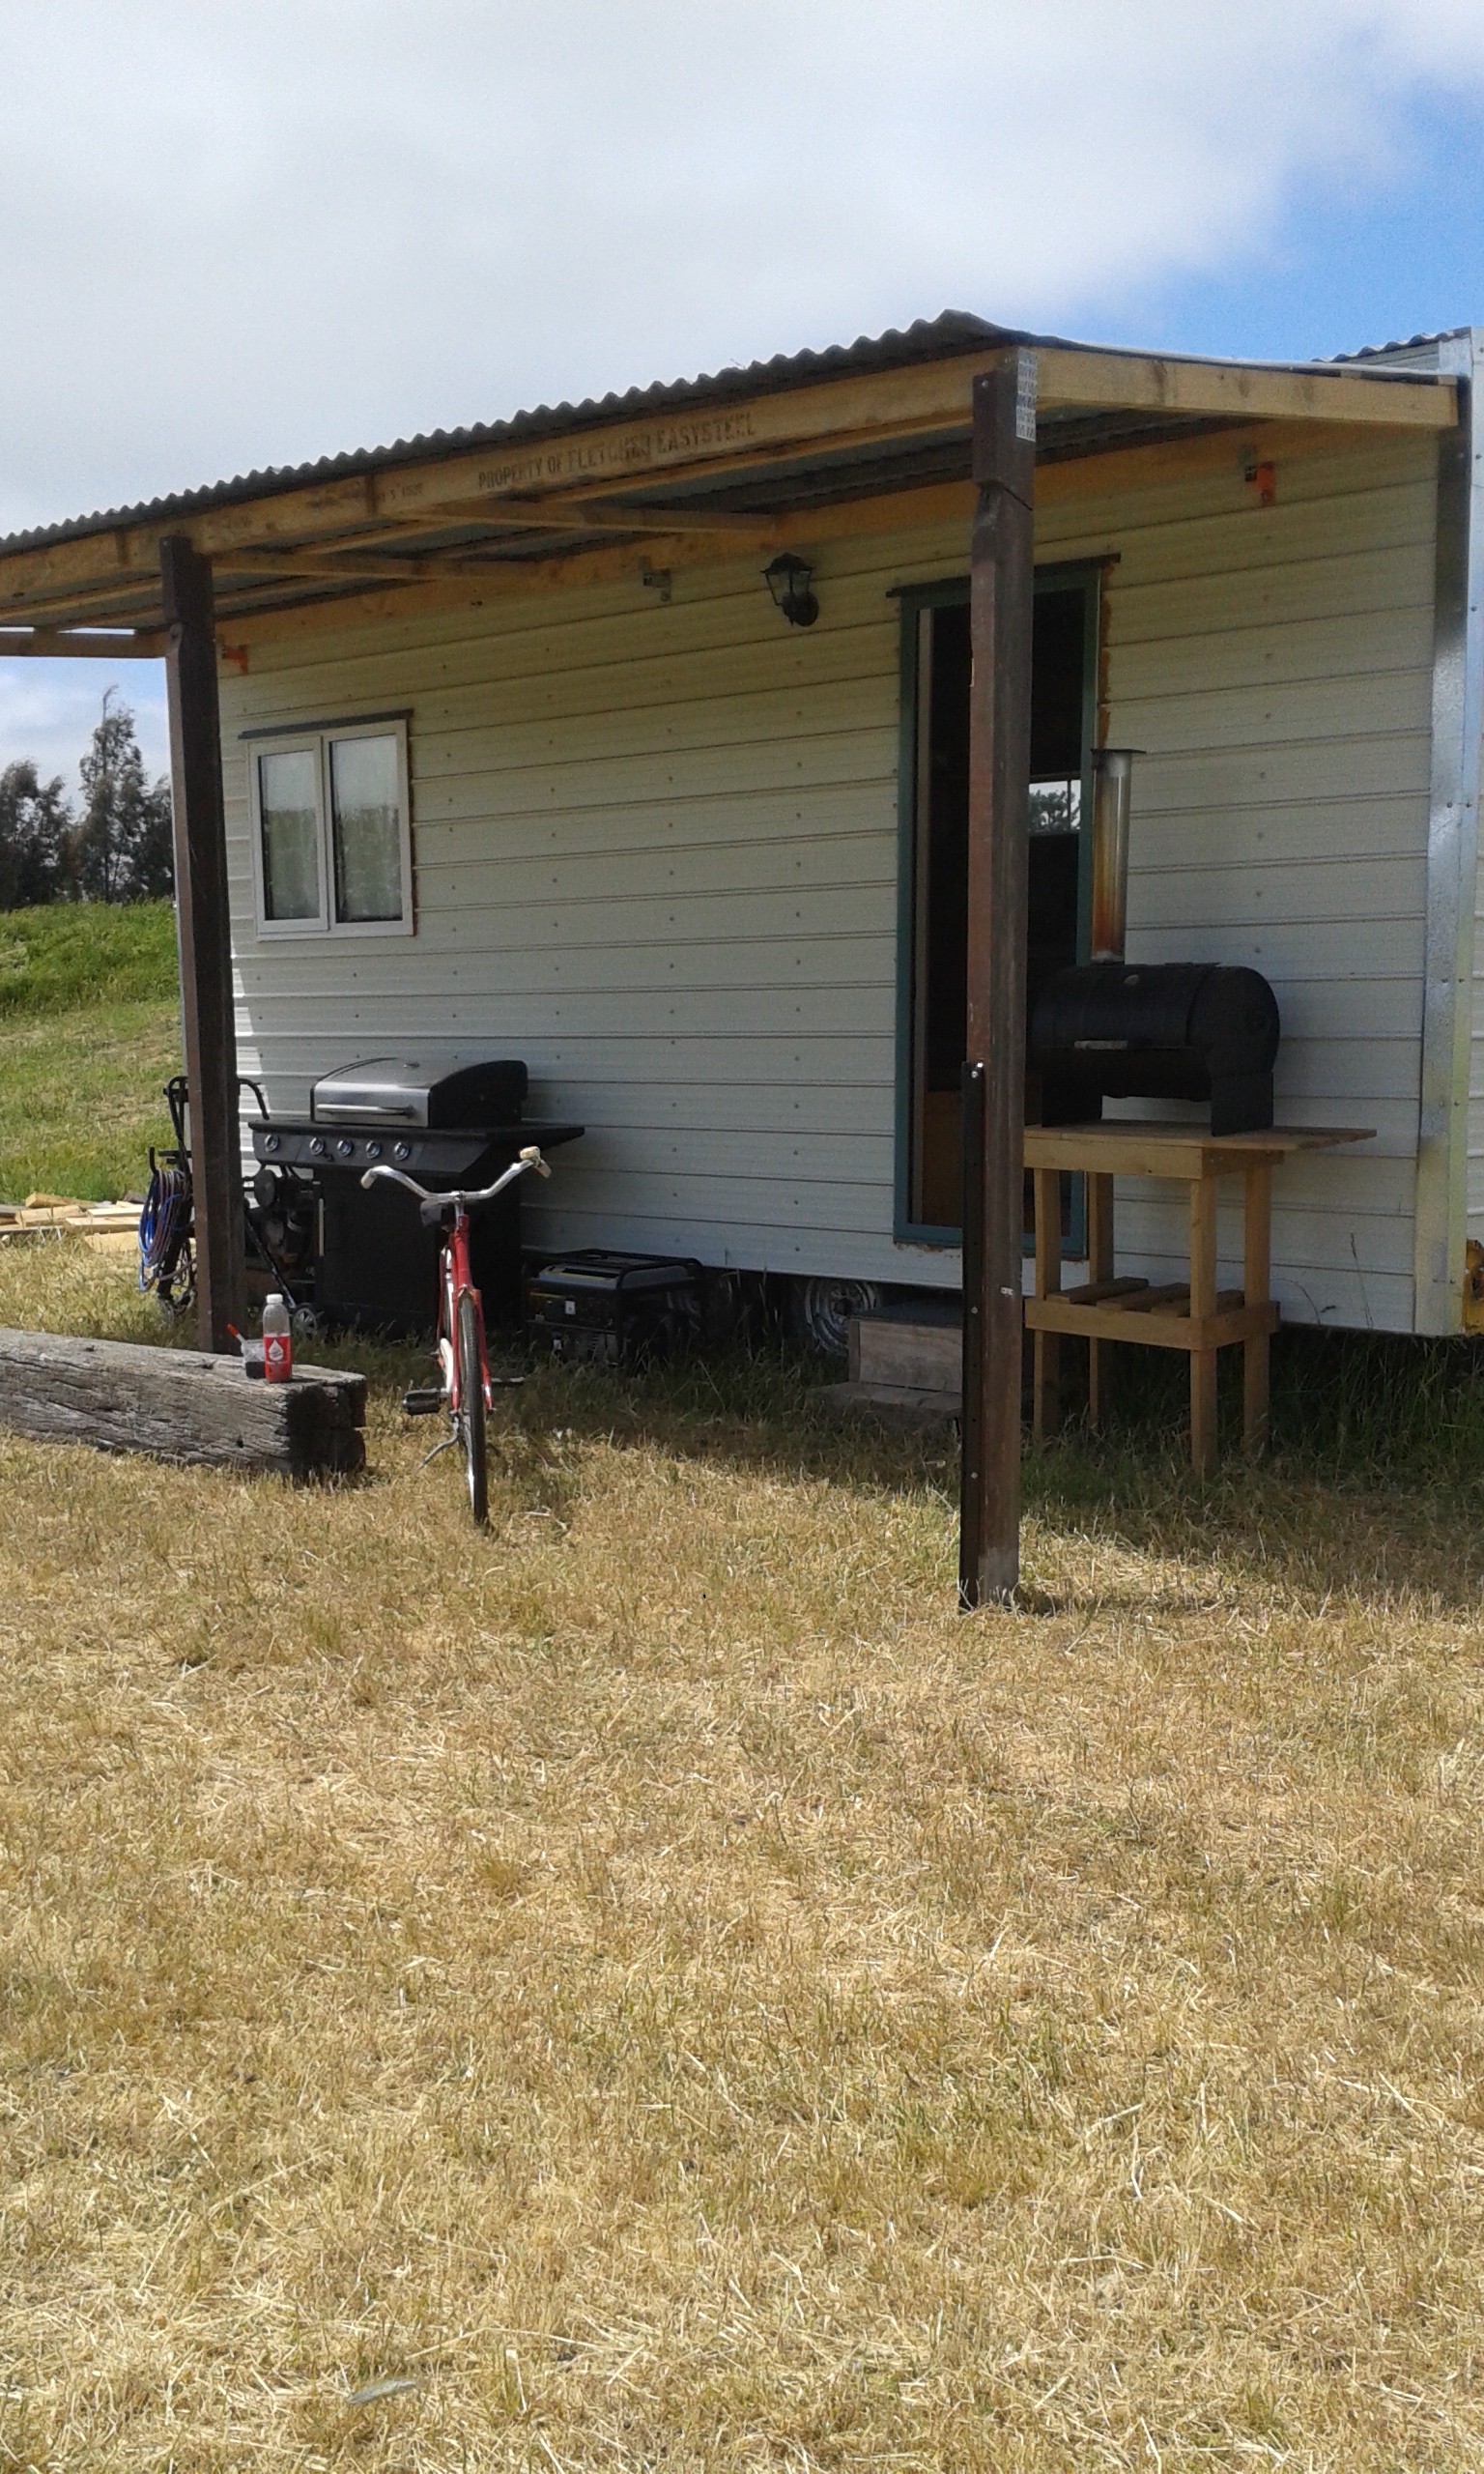
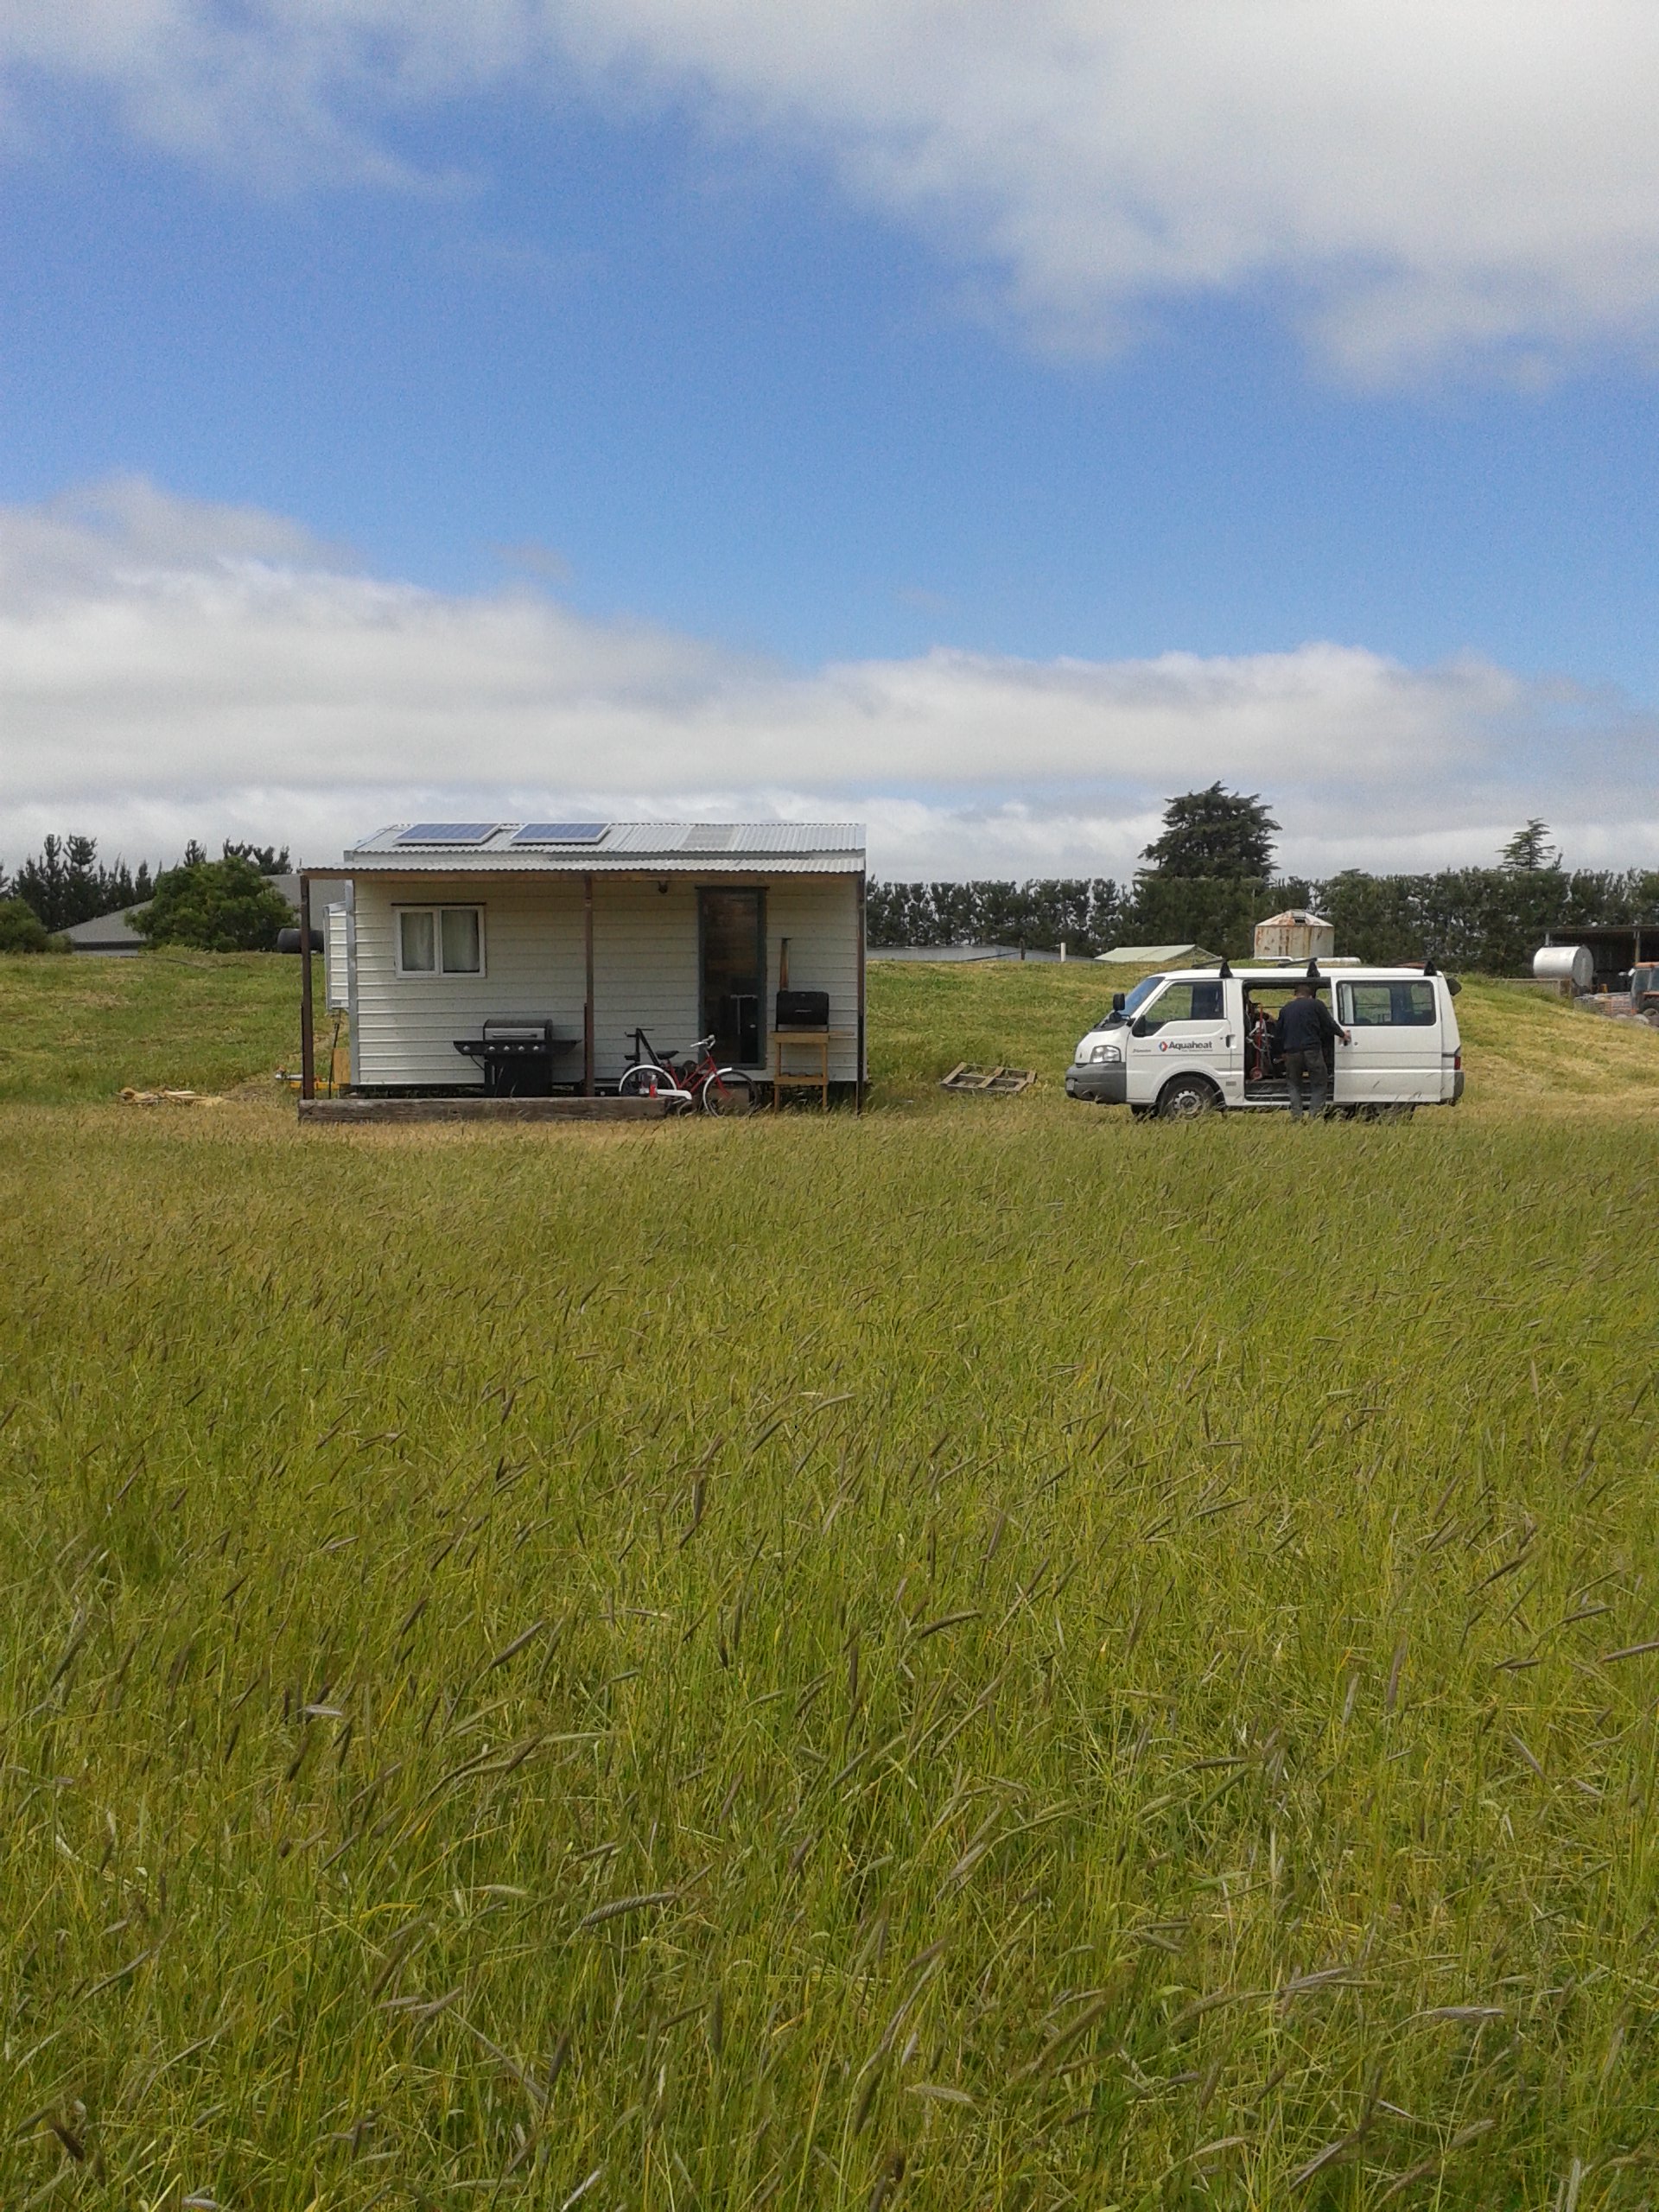
Hello Blog Readers, Today at the tiny house we took down our crappy awning and have replaced it with a more permanent roof structure. Our goal is to add more living space to our tiny house and will be complete once we finish building the attached deck.
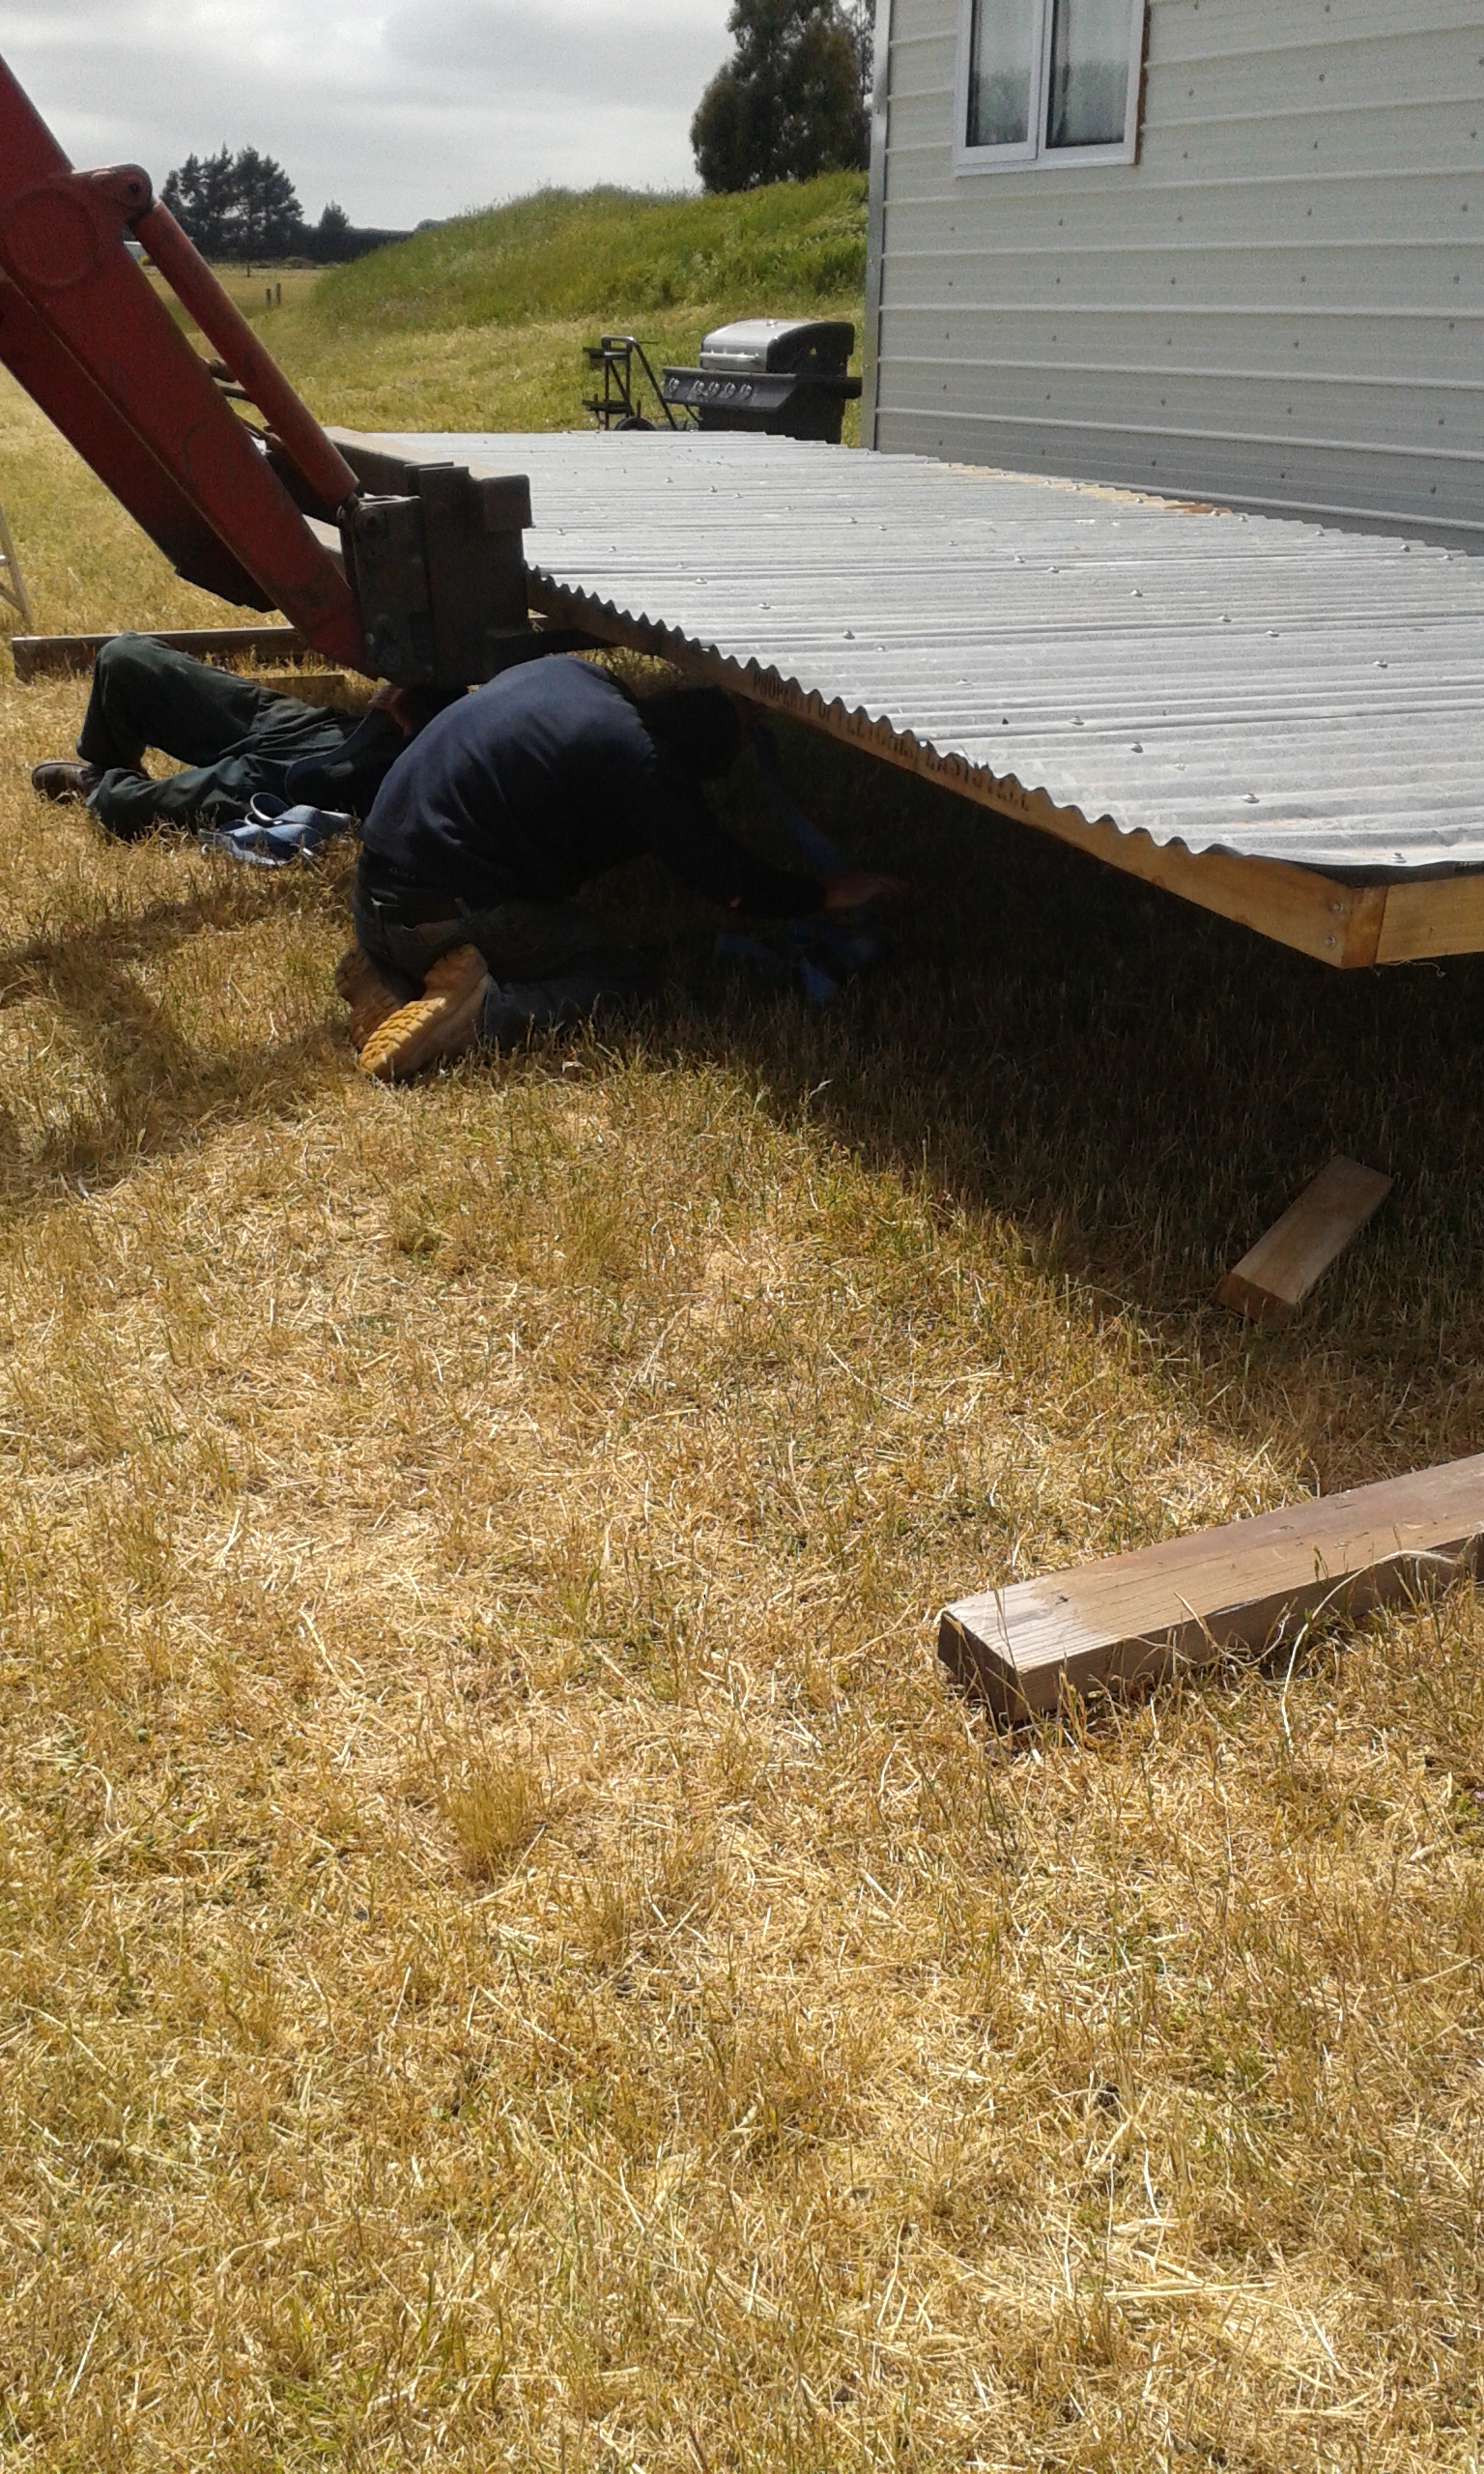
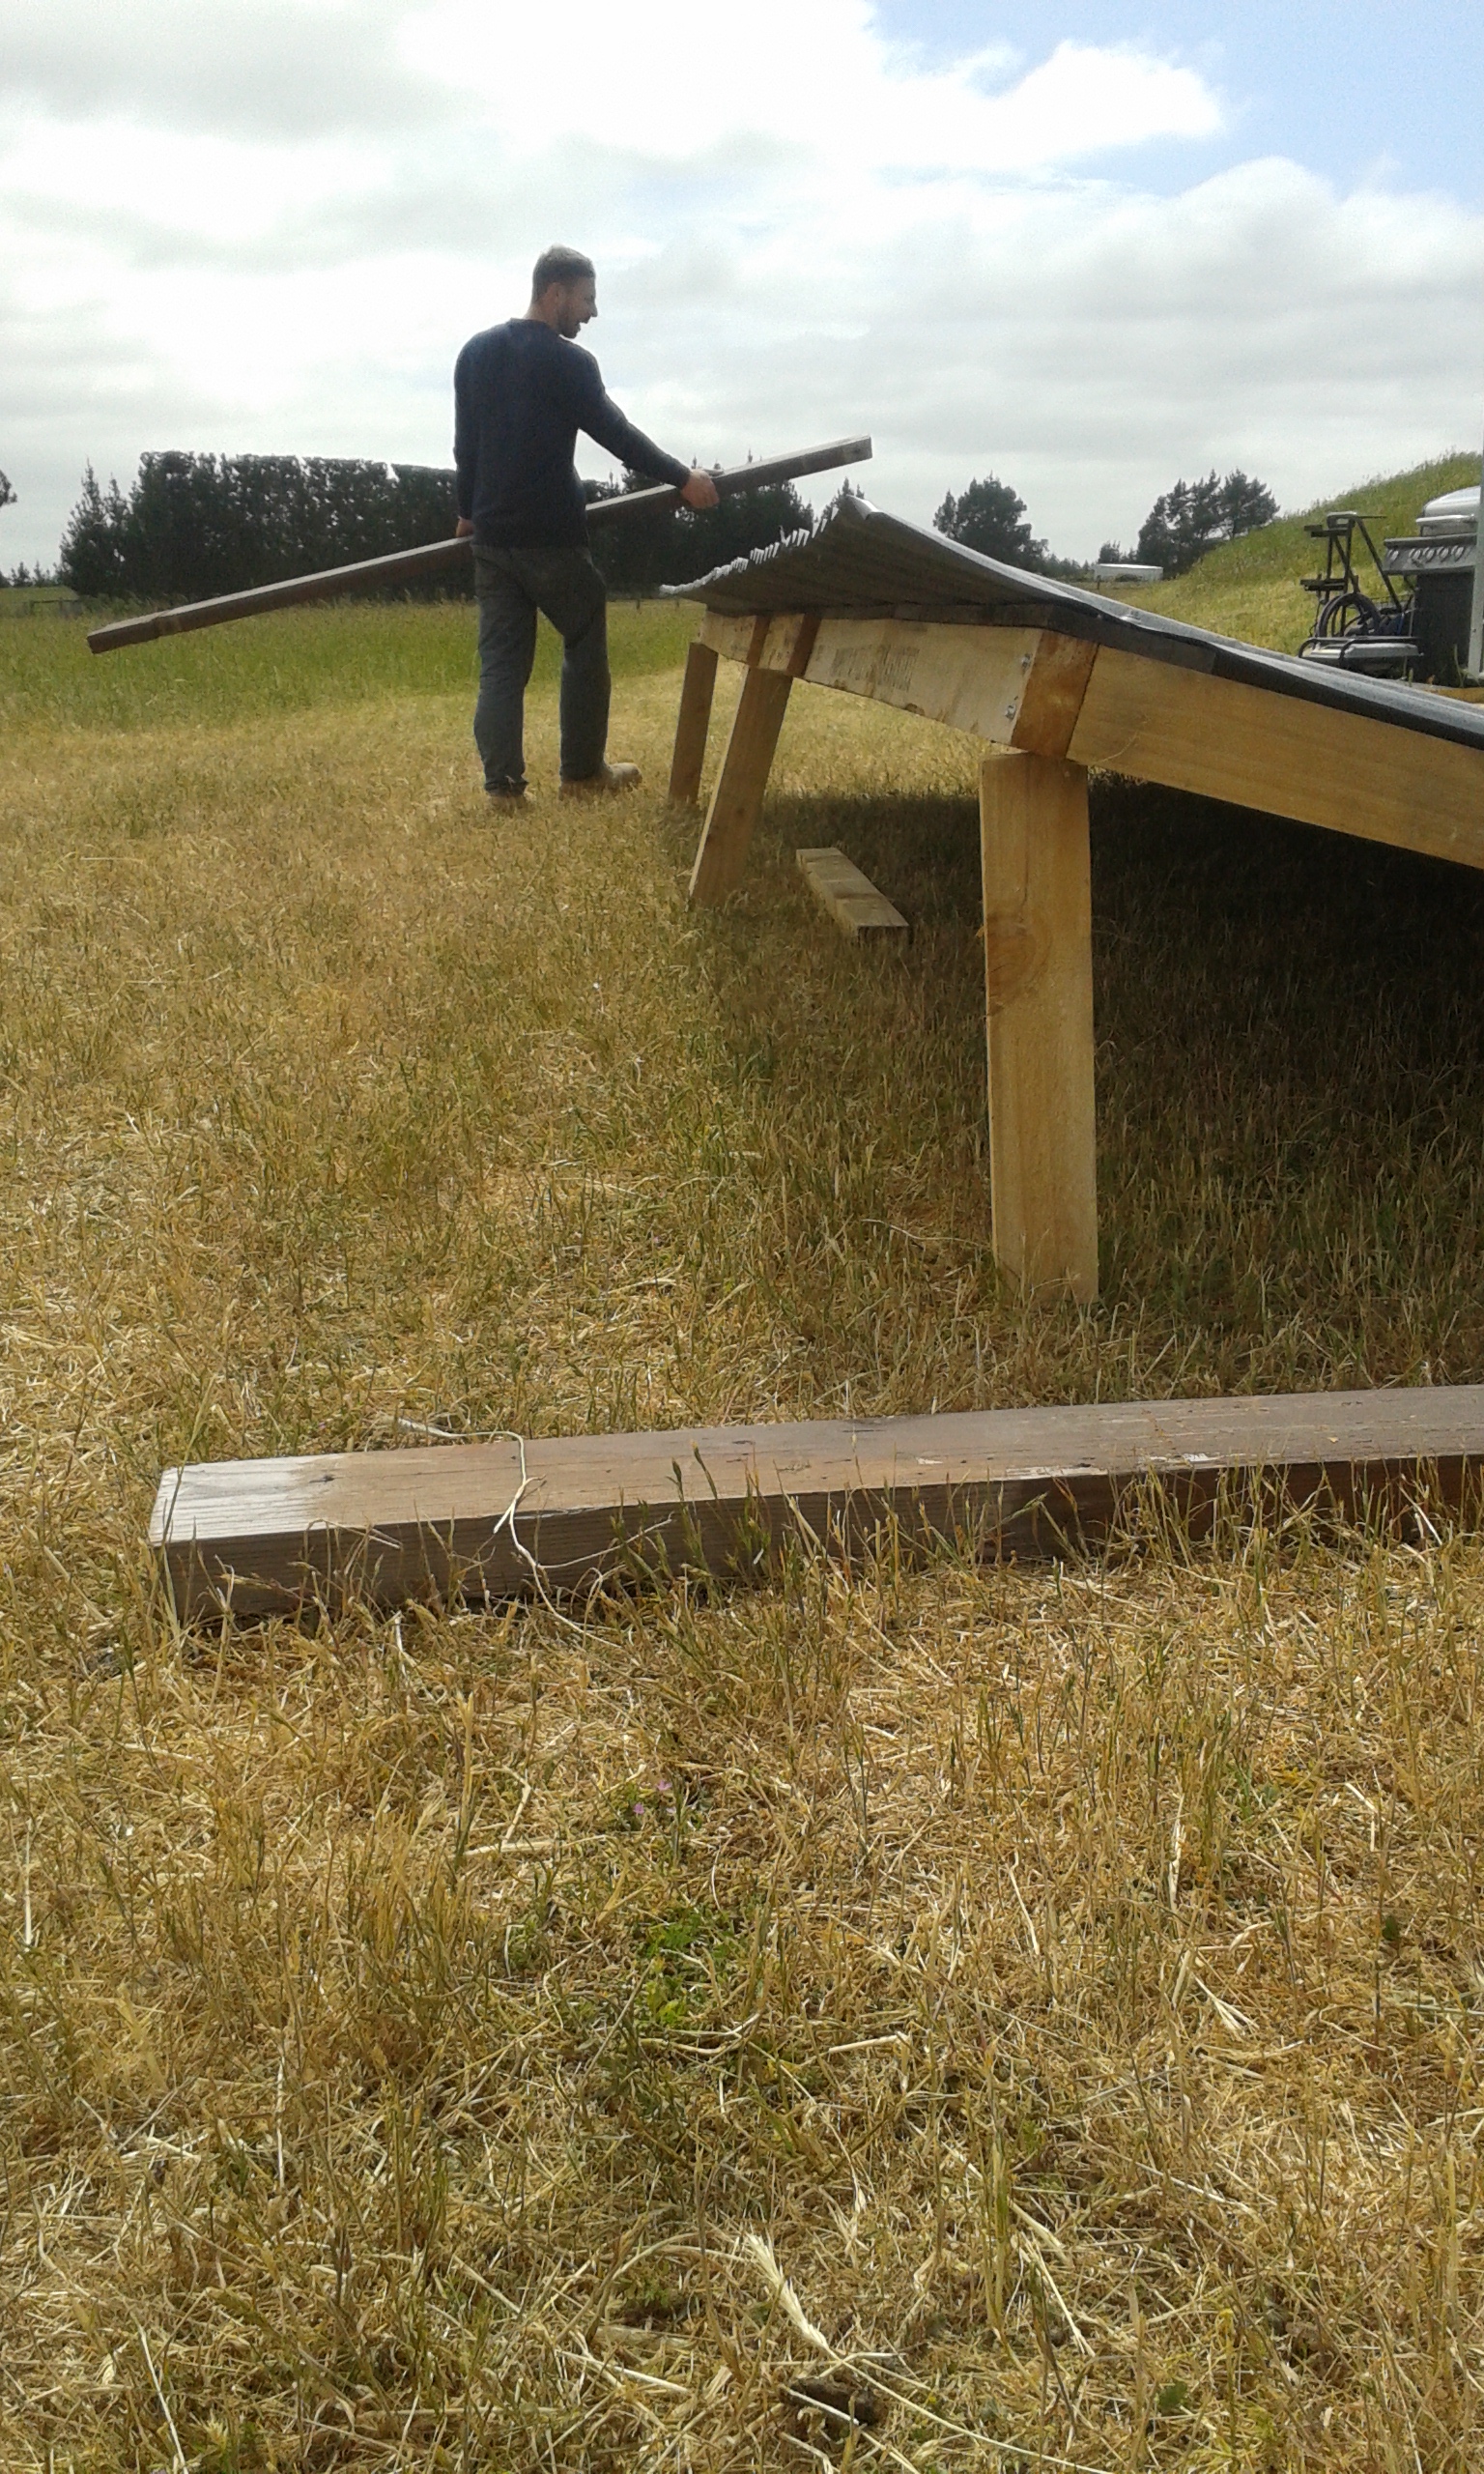
I have built the roof out of pallets I got for free and the corrugated iron was left over from building the tiny house. I purchased three used rimu timber posts to support the roof from the ground, and some roofing screws. The total cost of the roof was about 40 dollars. We had help from our awesome land owners to lift the roof into place with his loader. Thank you so much!!
Thanks for reading and stay tuned for the composting toilet and the deck!
-Pat and Cori
Hello everyone, Today we shifted our tiny house to its final location. The new location was only about 1 minute up the road in a great big paddock with some sheep. The move went really well and the Terrano towed it surprisingly well. The next step is to build a nice big deck on the front so we have a nice place for our grill and additional living space.
As soon as we got the tiny house lined up at the gate all the llamas just had to come over. Nosey pricks.
The llamas were very excited to finally see the Tiny House move! They all came over for a visit.
Pat just took off as soon as the coast was clear.
Into the paddock it goes.
It looks so tiny! We feel so much better now that we safely moved it with no issue. Now we can actually start putting things on shelves and organizing our lives. Thanks for reading! Stay tuned for more tiny house action. And also we should address the common question, "So is it done yet?" the answer is no, It will probably always be a work in progress. But for the time being our goal is to get it livable. We need a toilet, water, electrical and gas. Everything is tested, all we need to hook everything up!
Also shout out to all my wellesley girls/badonderz/CFYM and our family and friends, thank you for your interest and excitement, I (cori) had a great time at home and miss everyone already.
LOVE LOVE LOVE to everyone!
-Cori and Pat

Hi, Today Cori and I worked on our under floor pull out bed and I welded four little tabs on the kitchen sink to support a cutting board to give us some more counter space. We also finished off a few other little things. I hope you enjoy the pictures.
This is for pillow storage at the head of the bed.
Now here's a video of Cori.
[youtube https://www.youtube.com/watch?v=EGvXMo4i2sA&w=420&h=315]
We installed some bathroom shelves using old apple crates.
Trim for the bathroom window.
As Pat would say "Sweet."
-Cori and Pat
This coming week is ECO WEEK, sponsored by the Canterbury Sustainability Department. We were asked to participate by hosting an tiny house open house. Check out the website: http://www.sustain.canterbury.ac.nz/ecoweek/!
There will be a few visitors to the tiny house this Tuesday, so we made a big push to get a lot of stuff done (plus cleaning!). Enjoy.
TRIMMING MISSION: Cover up the fact that our plastic wasn't long enough to reach the floor...
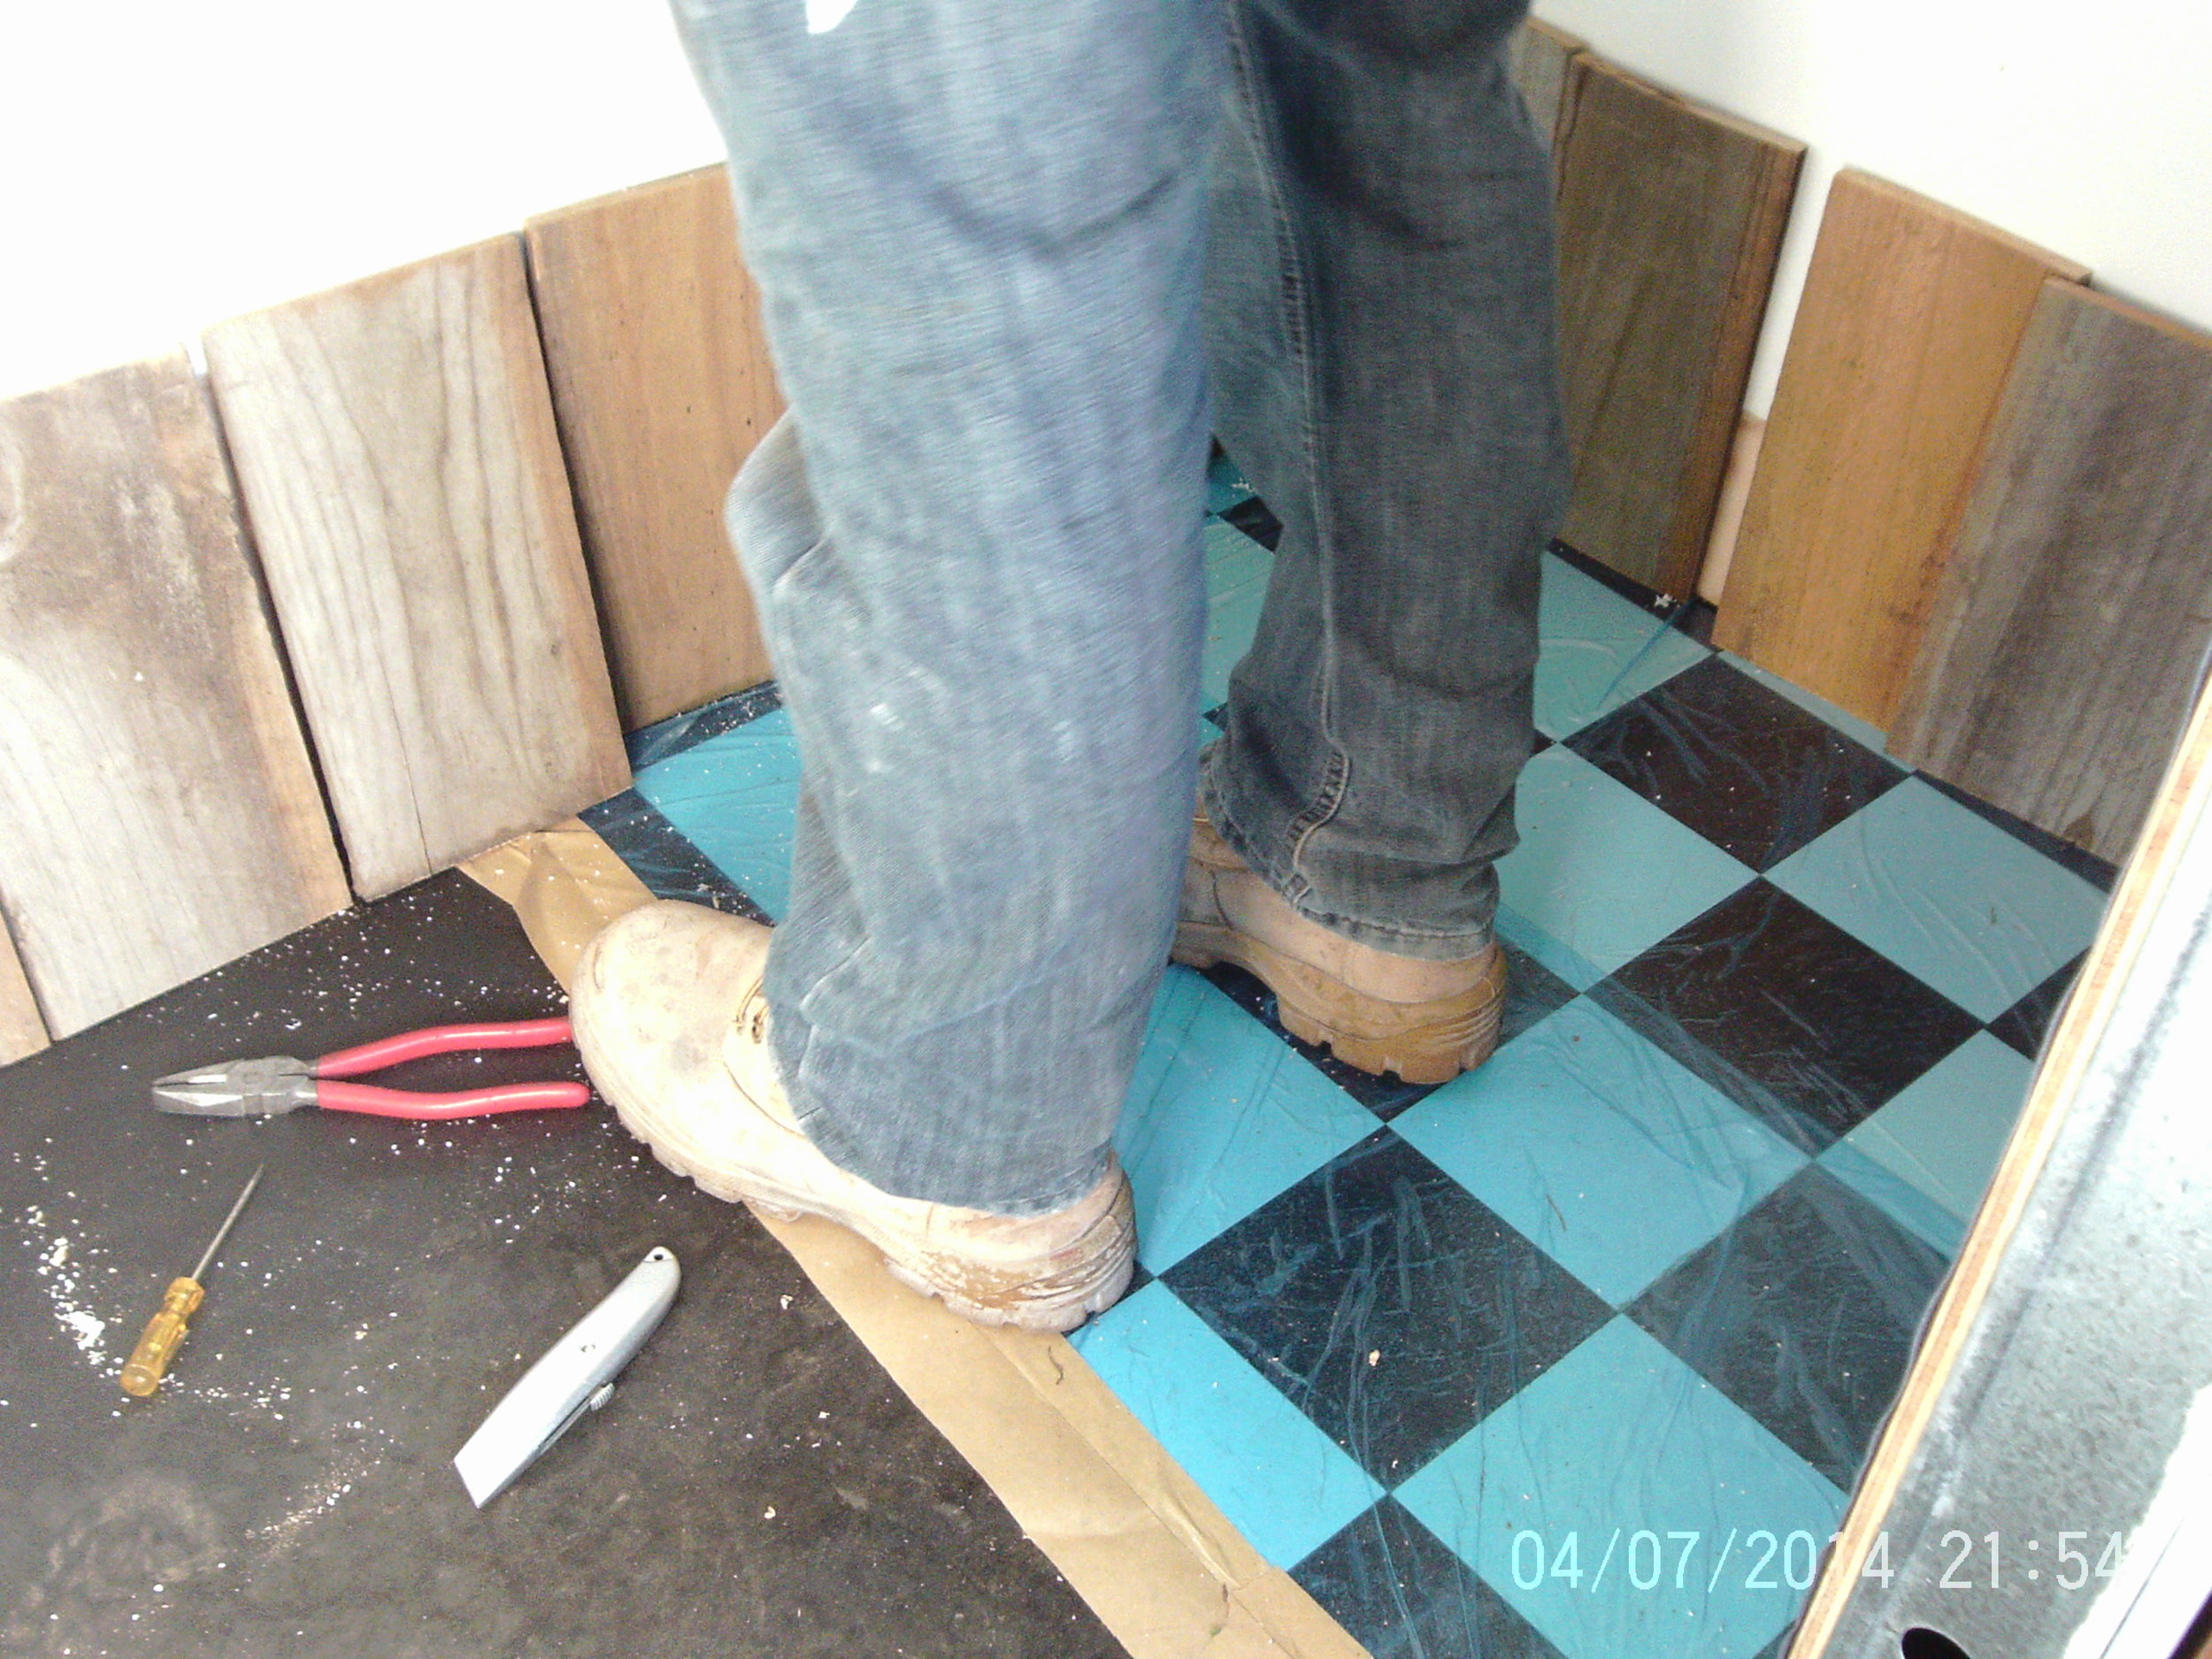
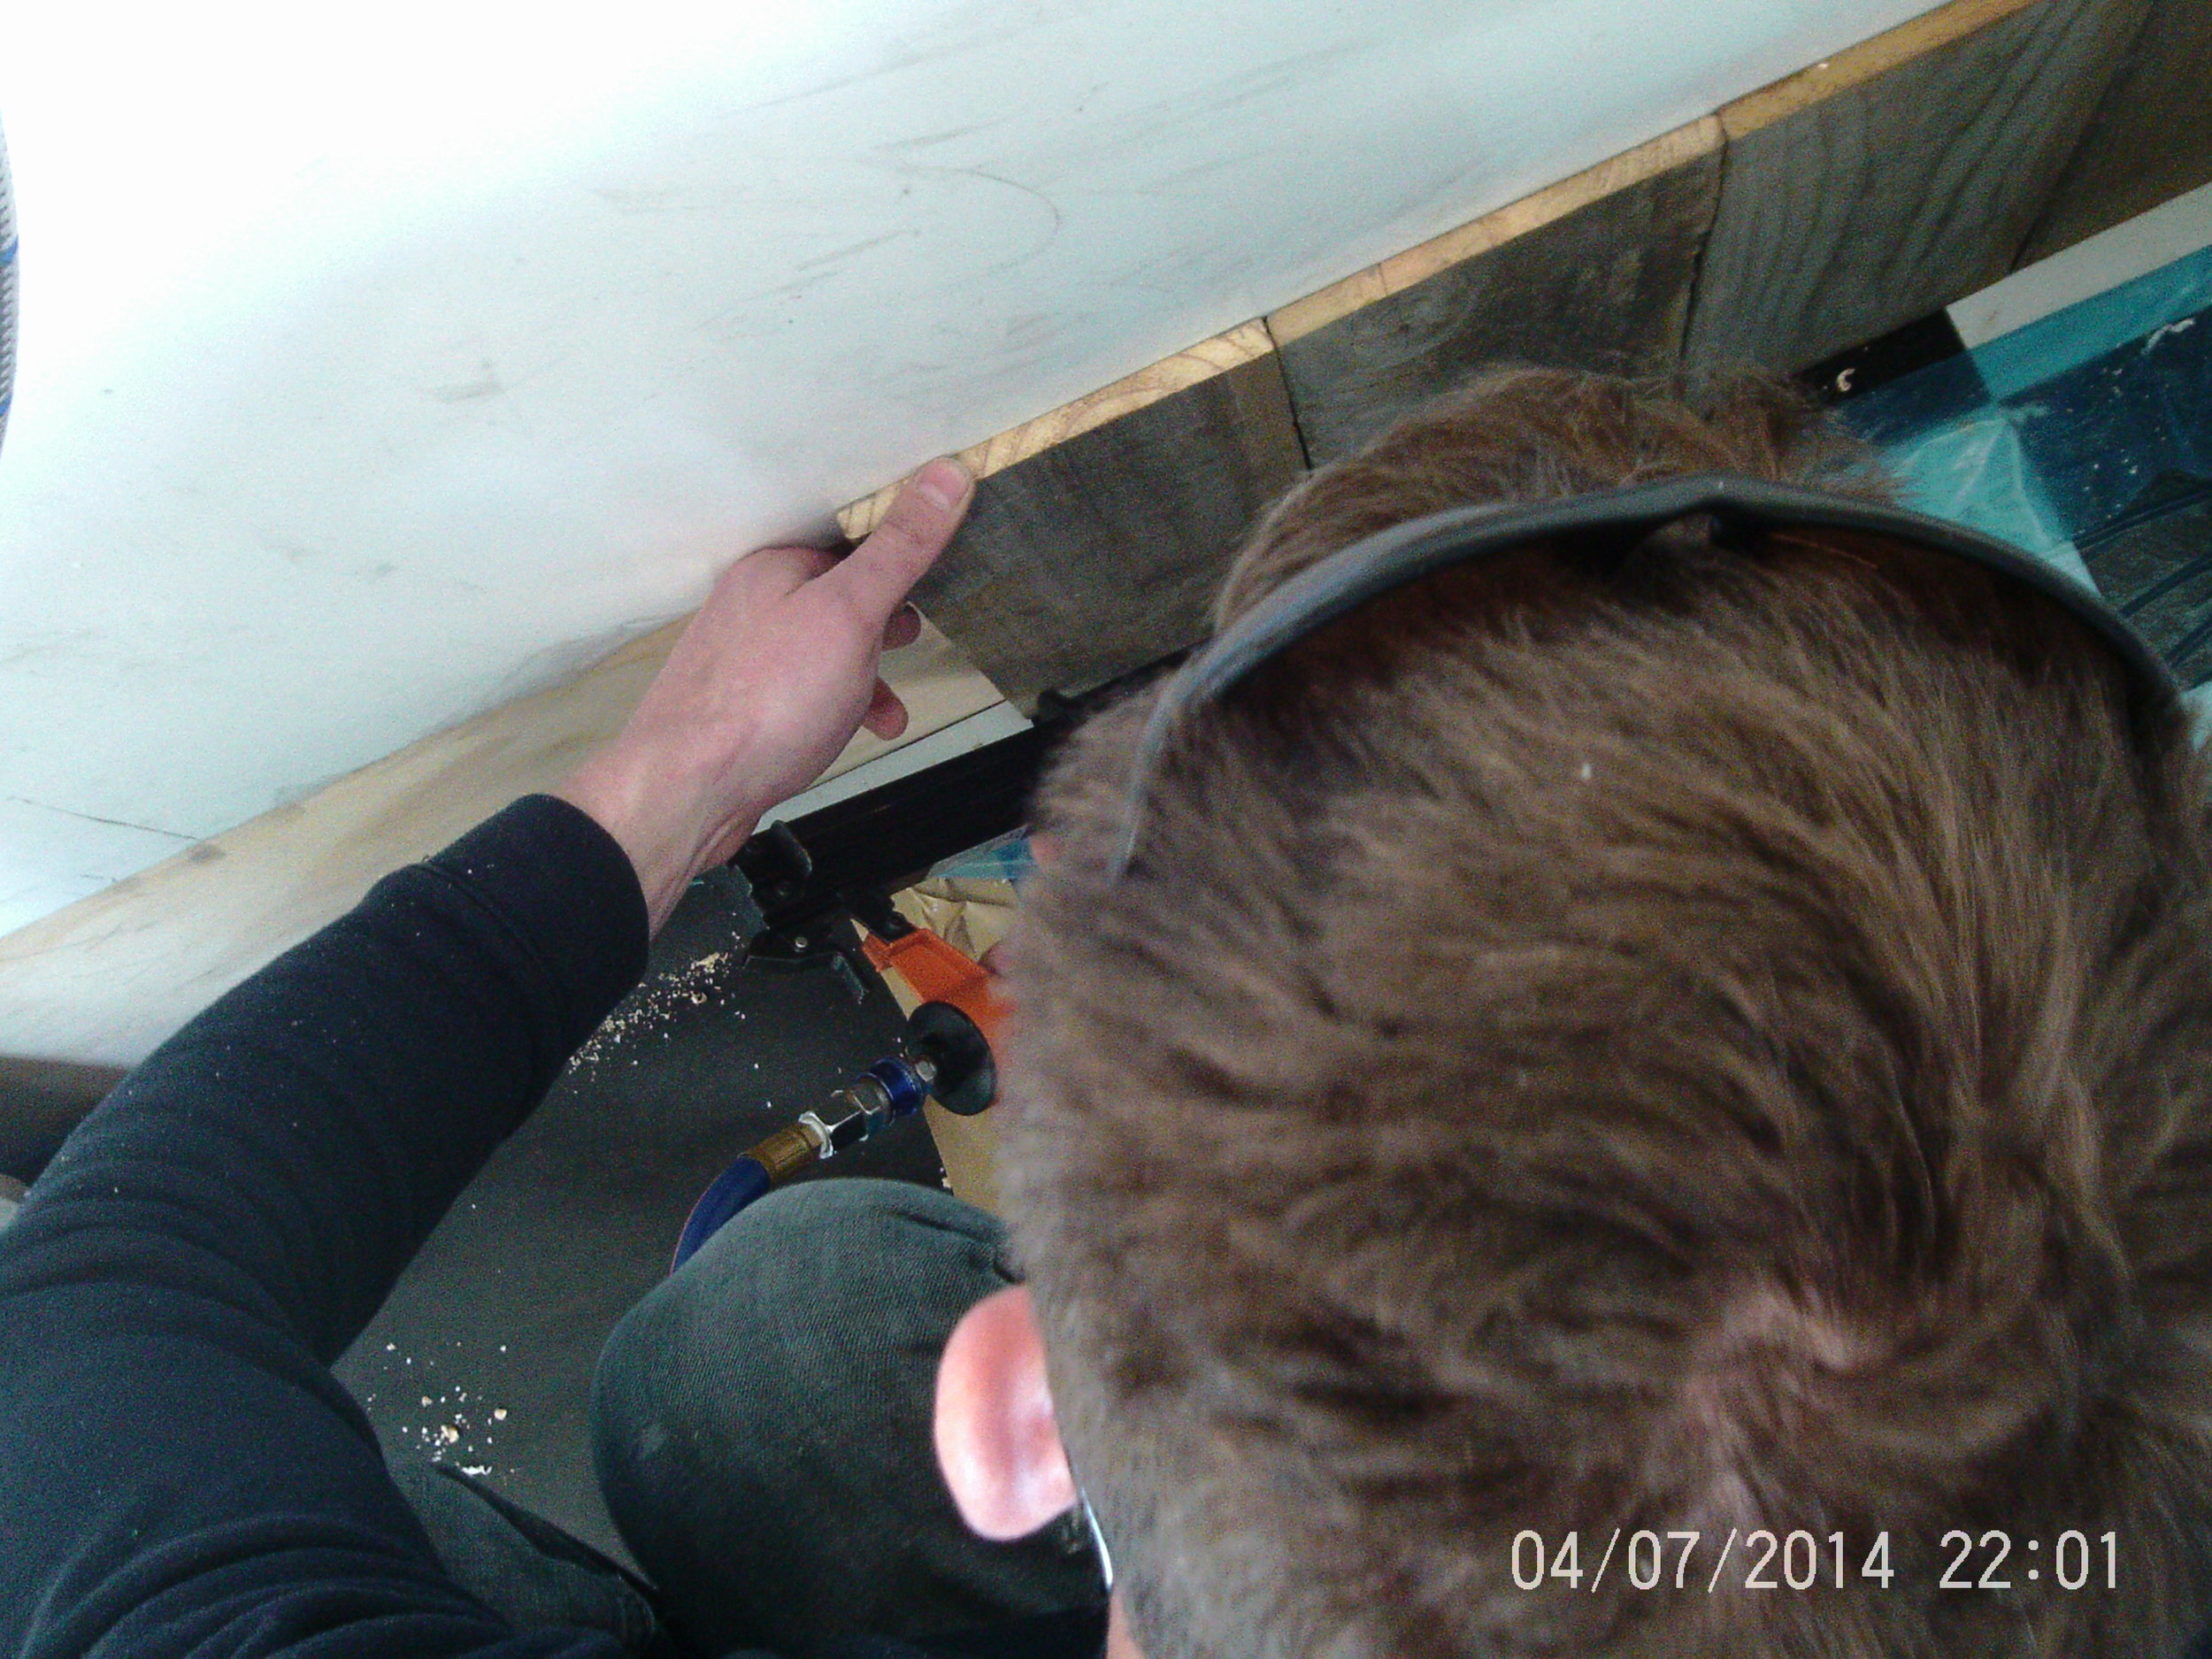
ALL DONE! Now on to the light and fan!

And now to clean up the look of the sink. First we peeled back the plastic and then came up with this brilliance! 
Just an old suitcase with an attitude, came free with an old newspaper from 1975!
A nice curtain rod in anticipation for an actual curtain!
We needed some more storage!
And EVEN MORE STORAGE!
Why so SERIOUS???
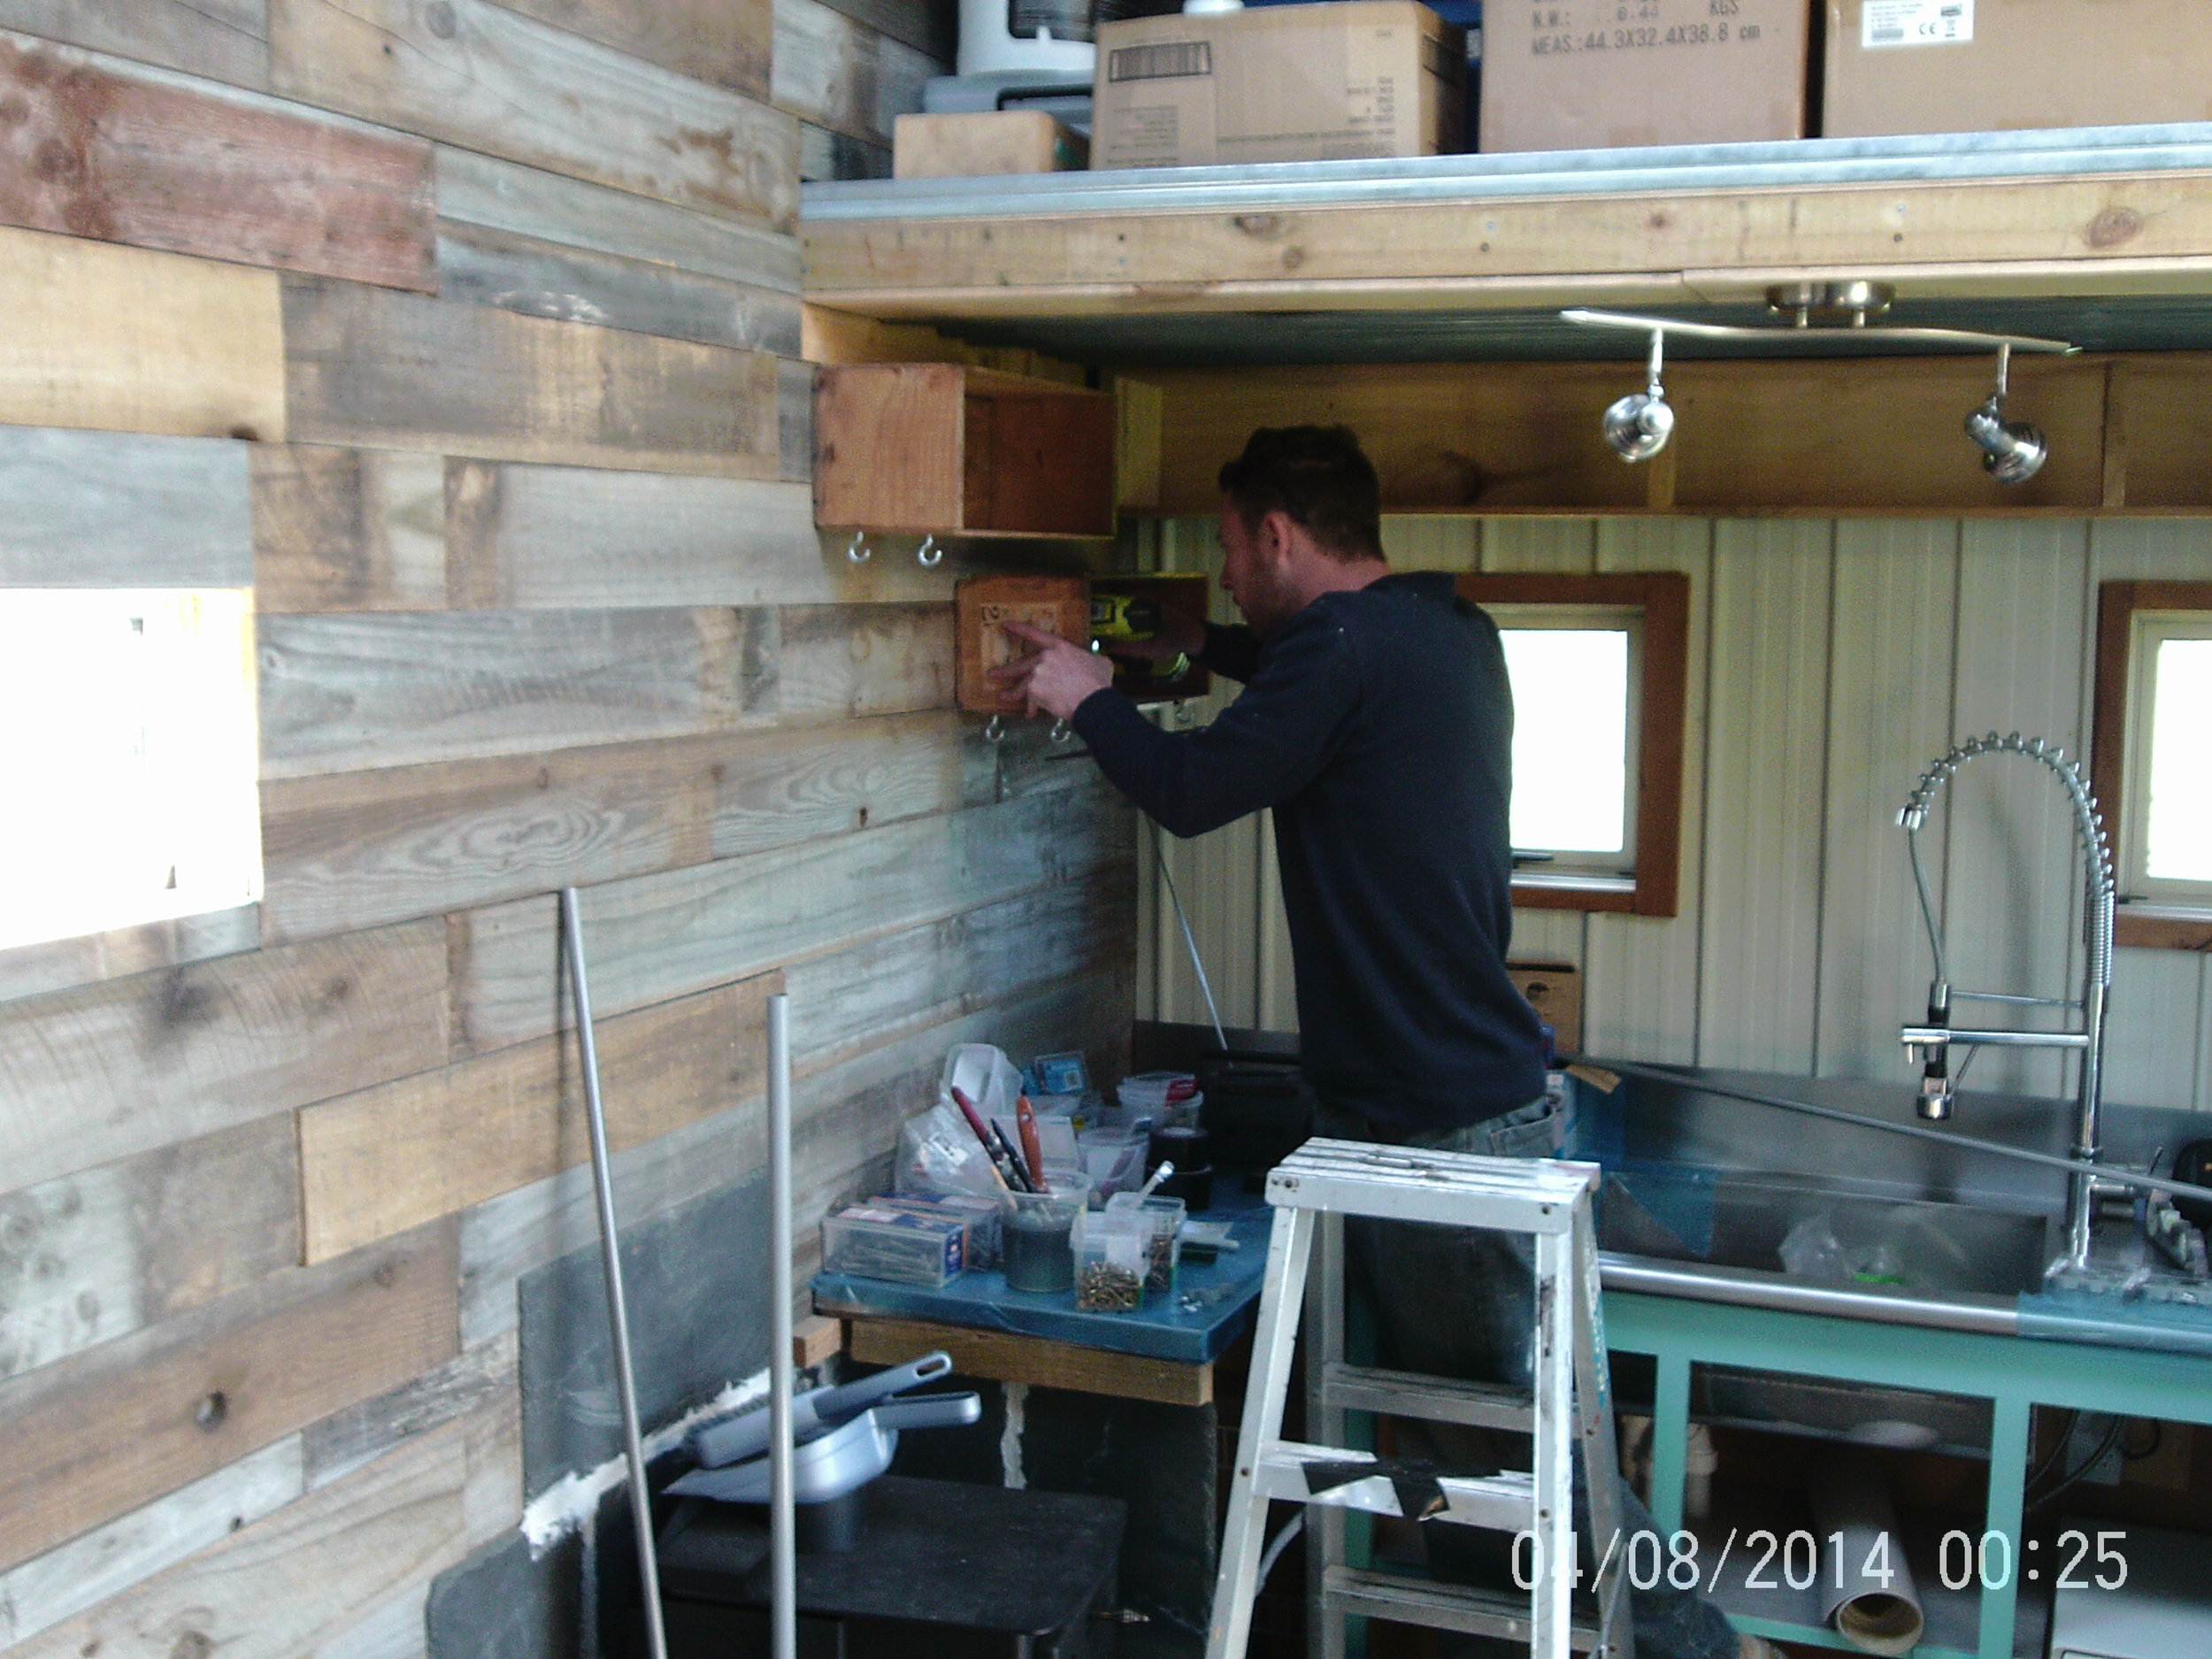
We also finished some trim if you can tell.
We also installed our bench top. And added some hinges and protection.
I know you have seen our letters but we finally finished all the electrical in the house today! All we have to do is test and mount our solar panels.
This is the cleanest we could get the house!
Thanks for reading!
-Cori and Pat
Hello blog readers, I have been working on building a homemade butcher block from completely recycled materials. Thank you Tom and Maria for the beautiful rimu timber. I bought a 5 gallon bucket of used wrenches for 40 dollars and used them to build the frame. The end product has one coat of stain and three coats of polyurethane. The only new material I bought was the wheels. I hope you enjoy.
Hi Readers! Last weekend was one of the first weekends we worked on the tiny house that was cut short by bad weather. But Pat still managed to paint the beige walls (you probably can't tell from the pictures but the walls were scratched and dented). So this weekend we made a huge push to make up for our lost day!
This Saturday we lined our bathroom with plastic we got for free from a friend. We didn't have enough to cover the ceiling as well so once again we used up some scraps! At least our whole house (inside and outside) matches! We also had time to install our sink that had been lying dejected in our shower for ages!
This is the floor I did a while back, finally you can see it ! Previously we had used cardboard to protect the flooring but this weekend we brought the vacuum cleaner along with us. 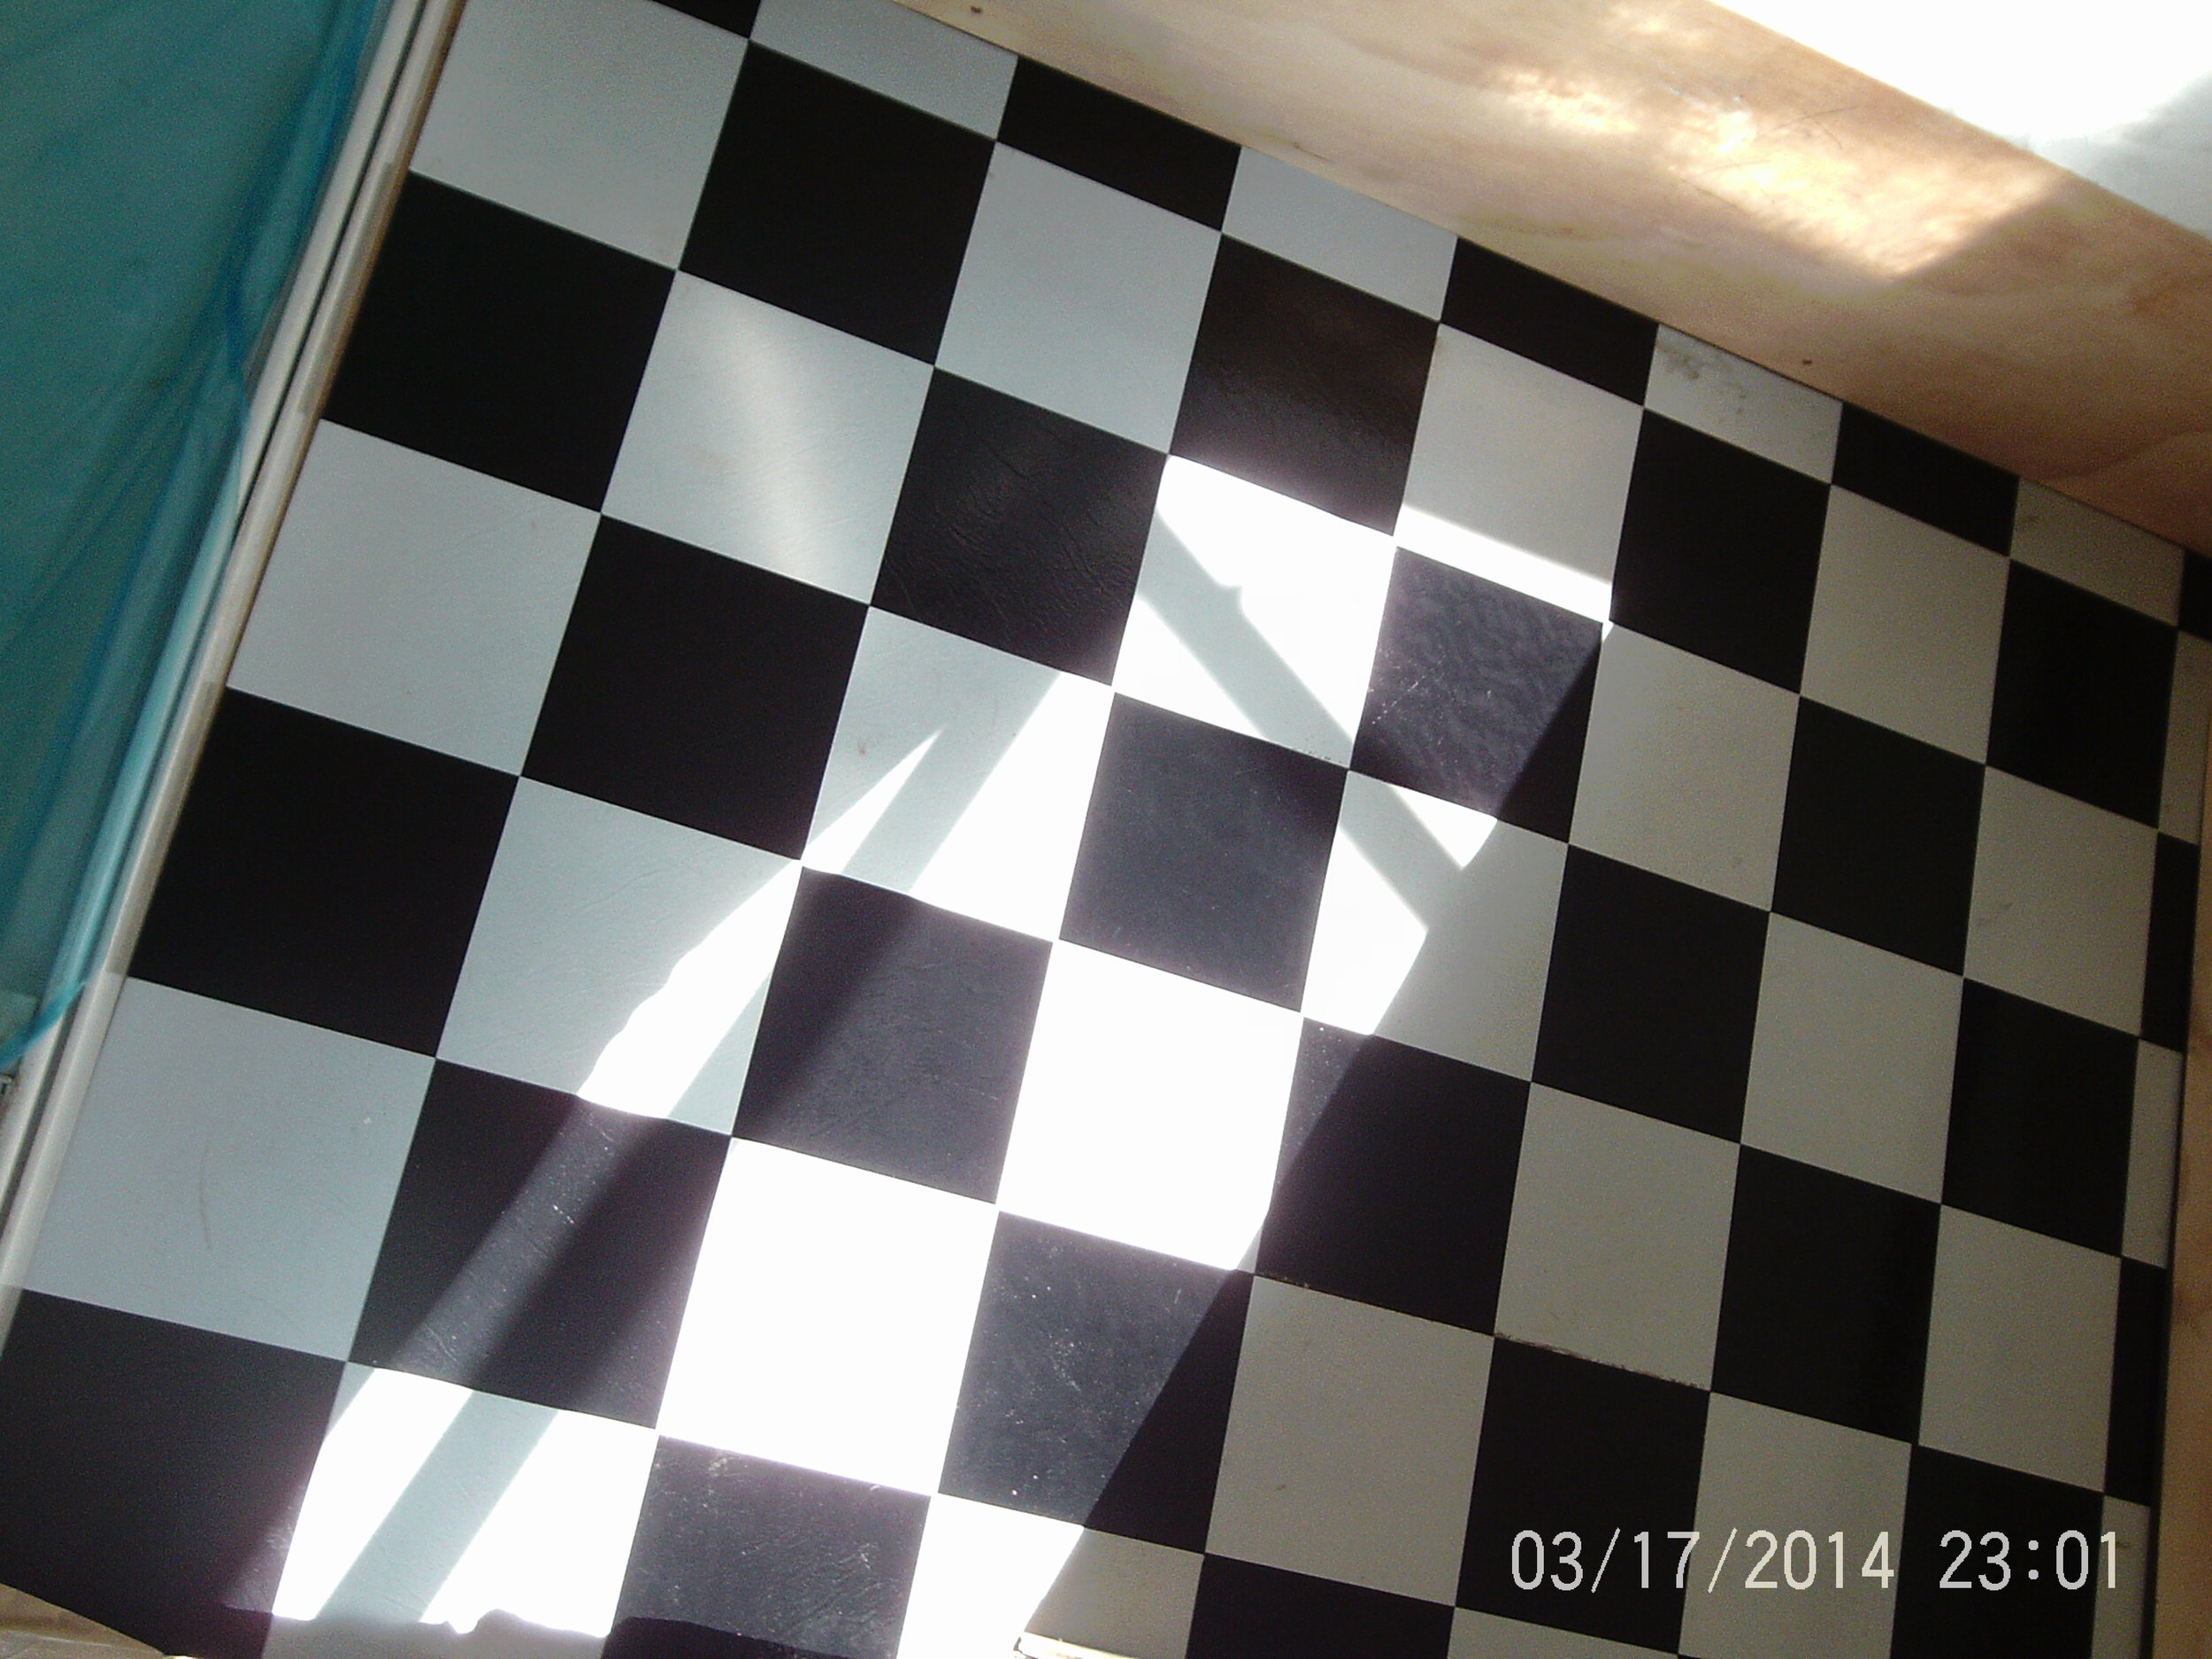
We spent the rest of the day cleaning, laying down blue plastic and checking on our bathroom walls.
Sunday was a later start. We got began by hooking up our plug outlets and our lights. Check out the difference it makes!
We finished up the day by finally putting a door on our storage cabinet (we also shortened it!)
It def needs some tweaks but it is on its way! We had a great weekend with lovely weather and our house looks and smells brand new!
Thanks for reading, next weekend hopefully we will have a couch installed and some more trim!
Please enjoy our first attempts at using the panaromic feature on Pat's phone ;)
Signing off!
Pat and Cori

Hello blog followers, Today at the tiny house we finished off the door for the utilities box, secured the last bolt fixing the house to the trailer, removed our kitchen cabinets to sand and repaint, and built a small shelf for the kitchen out of some free items we had laying around. The weather turned out to be really nice!
Hi everyone, Today at the tiny house we insulated and covered our ceiling. It has felt like forever that the ceiling has been not finished, but today we got it done! Some really good friend of ours had some extra polystyrene laying around. We took what they gave us and bought what we needed and today got around to finishing our ceiling. That stuff sure does make a hell of a mess but in the end it worked out well.
After the insulation was up we calculated that we had enough left over roofing material for our ceiling. The rust, holes, scratches, and all kinds of minor imperfections gives it a good rustic look.
We also had time to build a door for our utilities box completely out of scraps we had left laying around.
Hope you like it!
Think I am looking kind of stiff haha!
Hello blog followers, Today at the tiny house I got started by finishing the LPG gas piping running to the water heater and gas cook top. Then we moved on to mounting our television wall bracket and designed some under floor storage. We cut a hole in the upper floor to make room for lots of storage space for shoes and things.
Hello blog followers, Today at the tiny house the weather was not very nice. We had a early start and got a few things finished. We worked on laying carpet inside our storage crates, interior walls around the bathroom, and cleaning up around the tiny house. We got the carpet for free from a dumpster right next to our house. Next week we will be taking a break, heading up to Auckland for a romantic weekend not thinking about the tiny house. We will update the blog in two weeks time. see you soon!!
Hello! We knew when we started building that we didn't want to spend a crazy amount on our house. In order to do this we have been keeping track of every penny we have spent. We have made an effort to save every receipt during our tiny house build. This turned out to be a good thing not only for keeping within our budget but also when we were trying to prove to Immigration NZ that we are a couple with long terms plans of staying together, what better way than by overwhelming them with hundreds of receipts and pictures of our tiny house! Spoiler alert: It worked and Pat now has his permanent residency!
We have saved so much money by getting free materials and also buying recycled and used materials when possible. Our goal is to stay under $15,000 NZ dollars, so far we are on track. This price includes the purchase of our trailer and all of our household appliances (fridge, hot water heater, gas cook top, shower, faucet, etc..).
As you have probably noticed we haven't included our solar panels or batteries. We consider these to be investments for long term utilities (they will pay for themselves eventually with how much we can save). For two solar panels (260watts) and the controller inverter battery charger we spent $1600, and we still have to get our batteries! It is expensive to be off the grid, at least in the beginning.
Hello everyone, We installed a pull out rubbish can underneath our counter. We paid 25 dollars for it on trade me, a few days later we saw it for sale at Bunning's for $125! We really know how to find a bargain.
After the trash cans were fitted, we tackled the storage crates by cutting them to size and fitting them so the bed can still pull out in between them.

Hello Everyone,
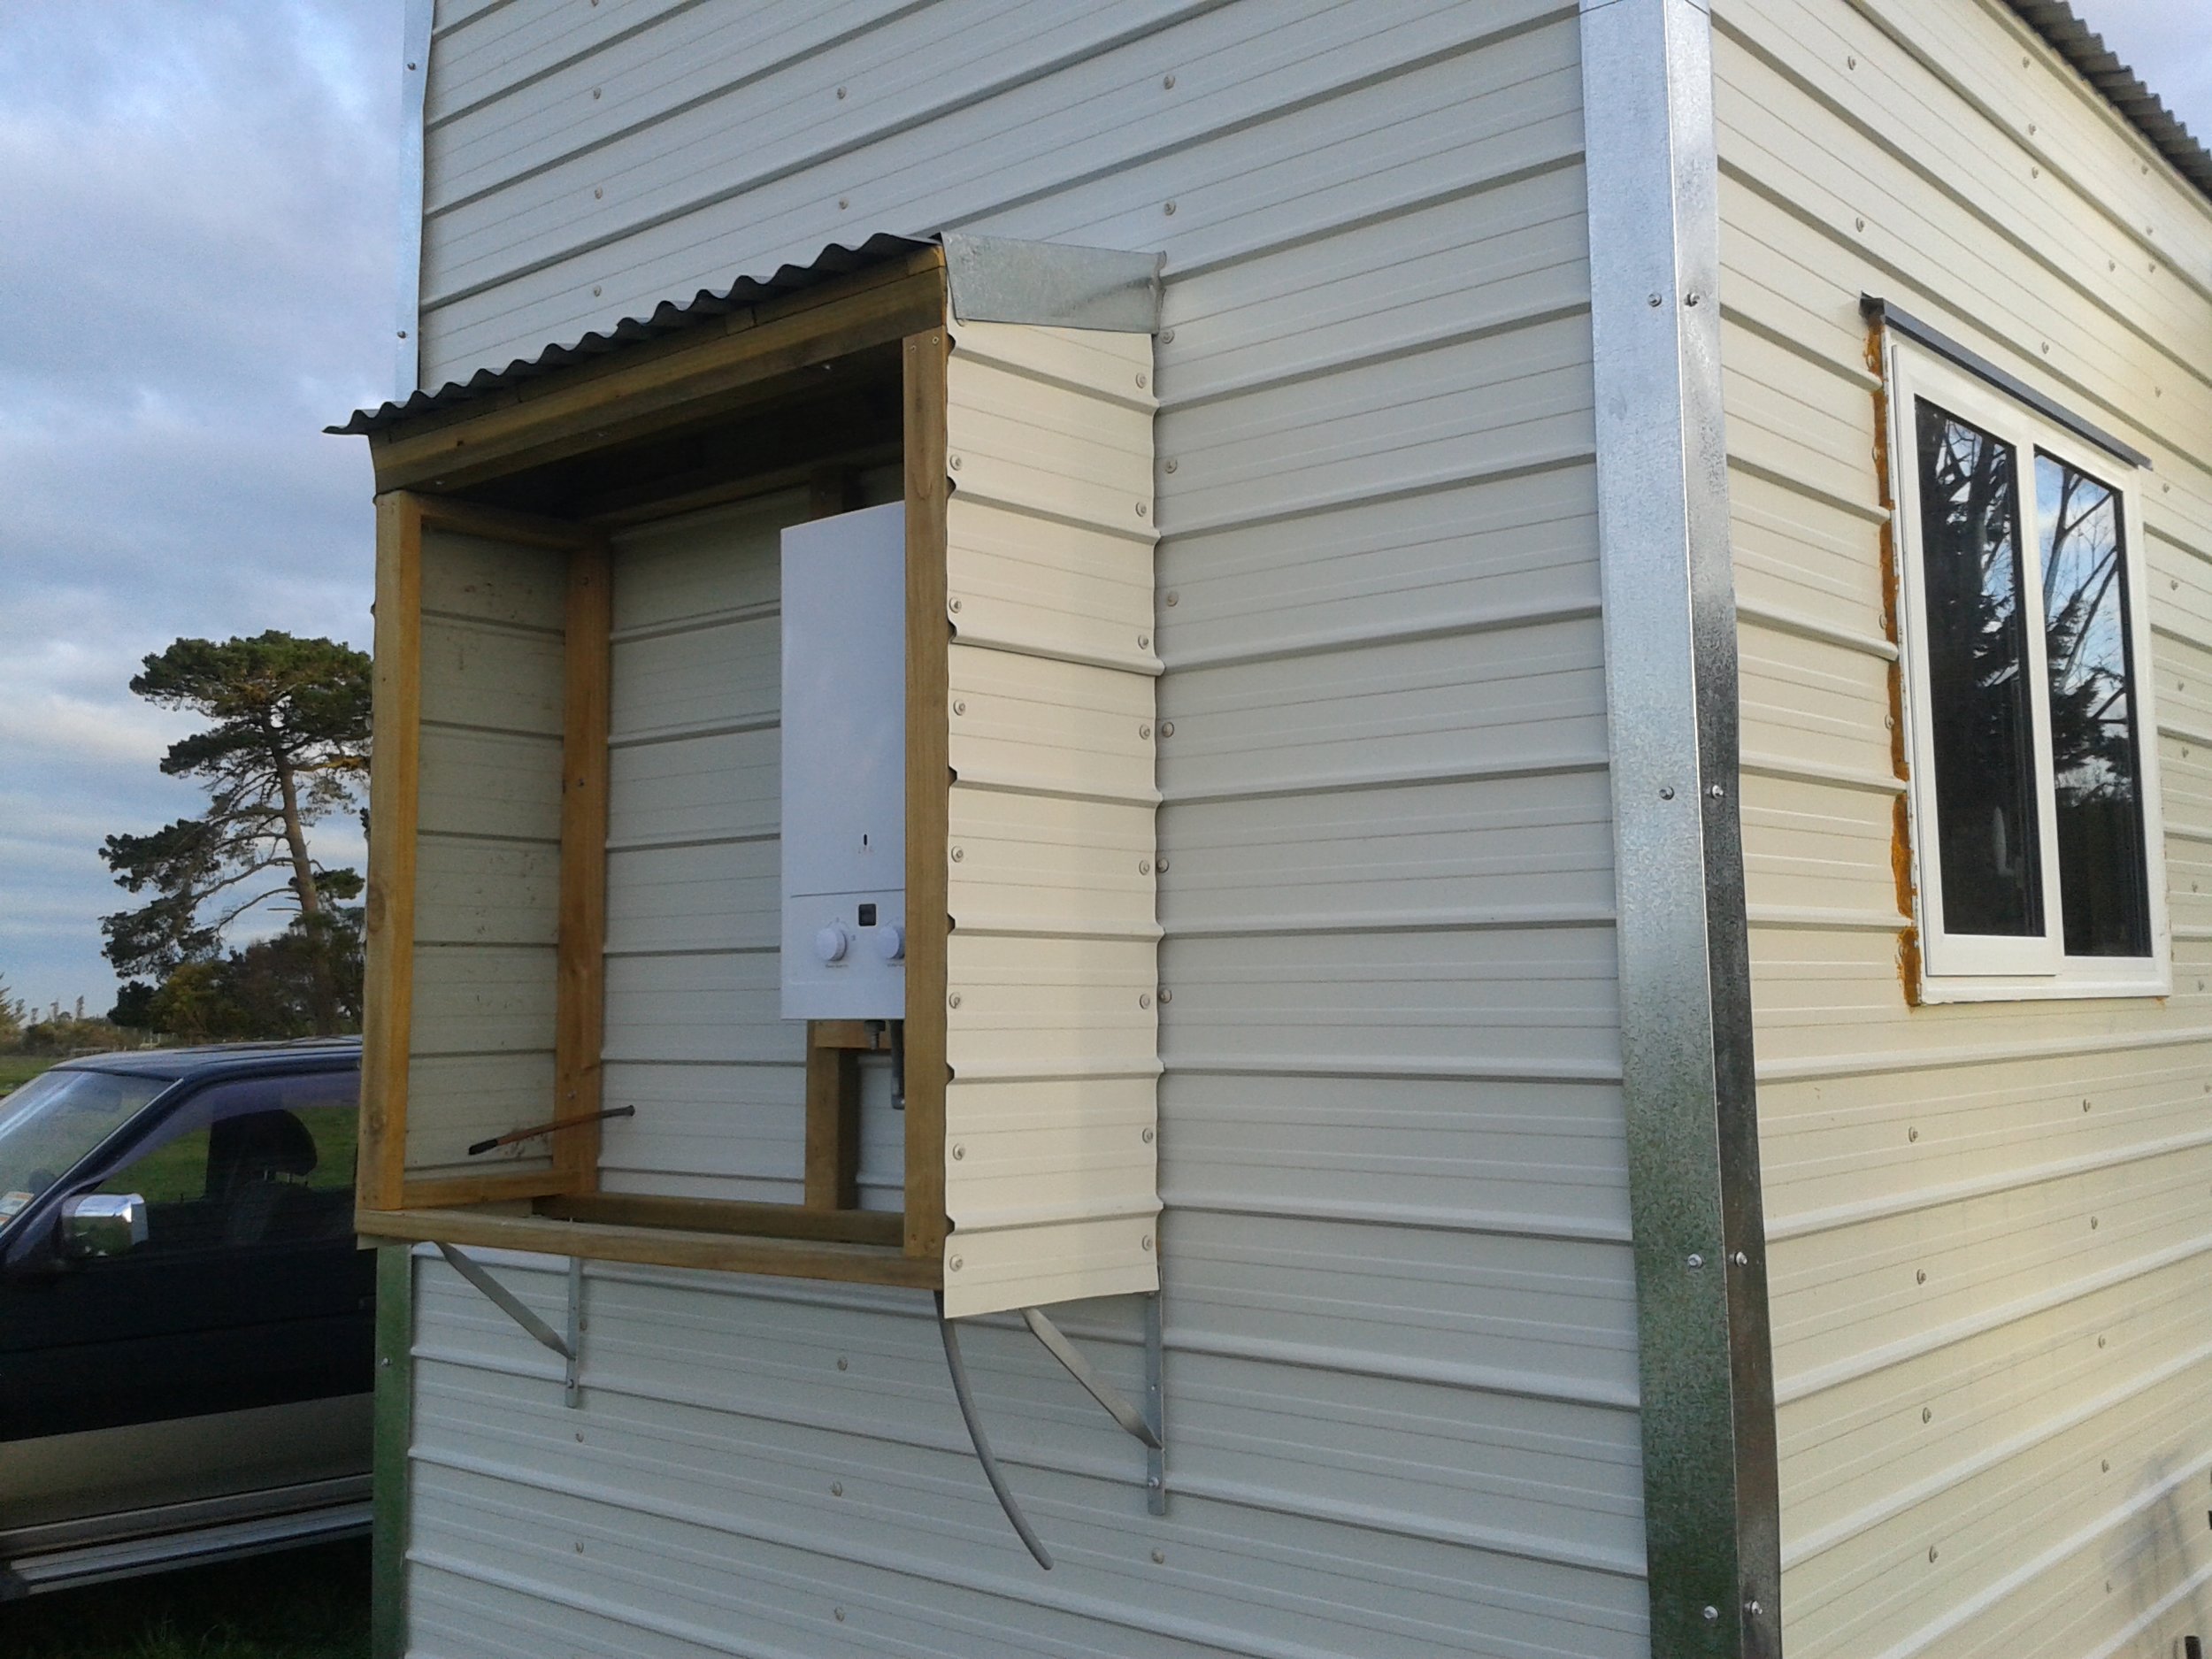
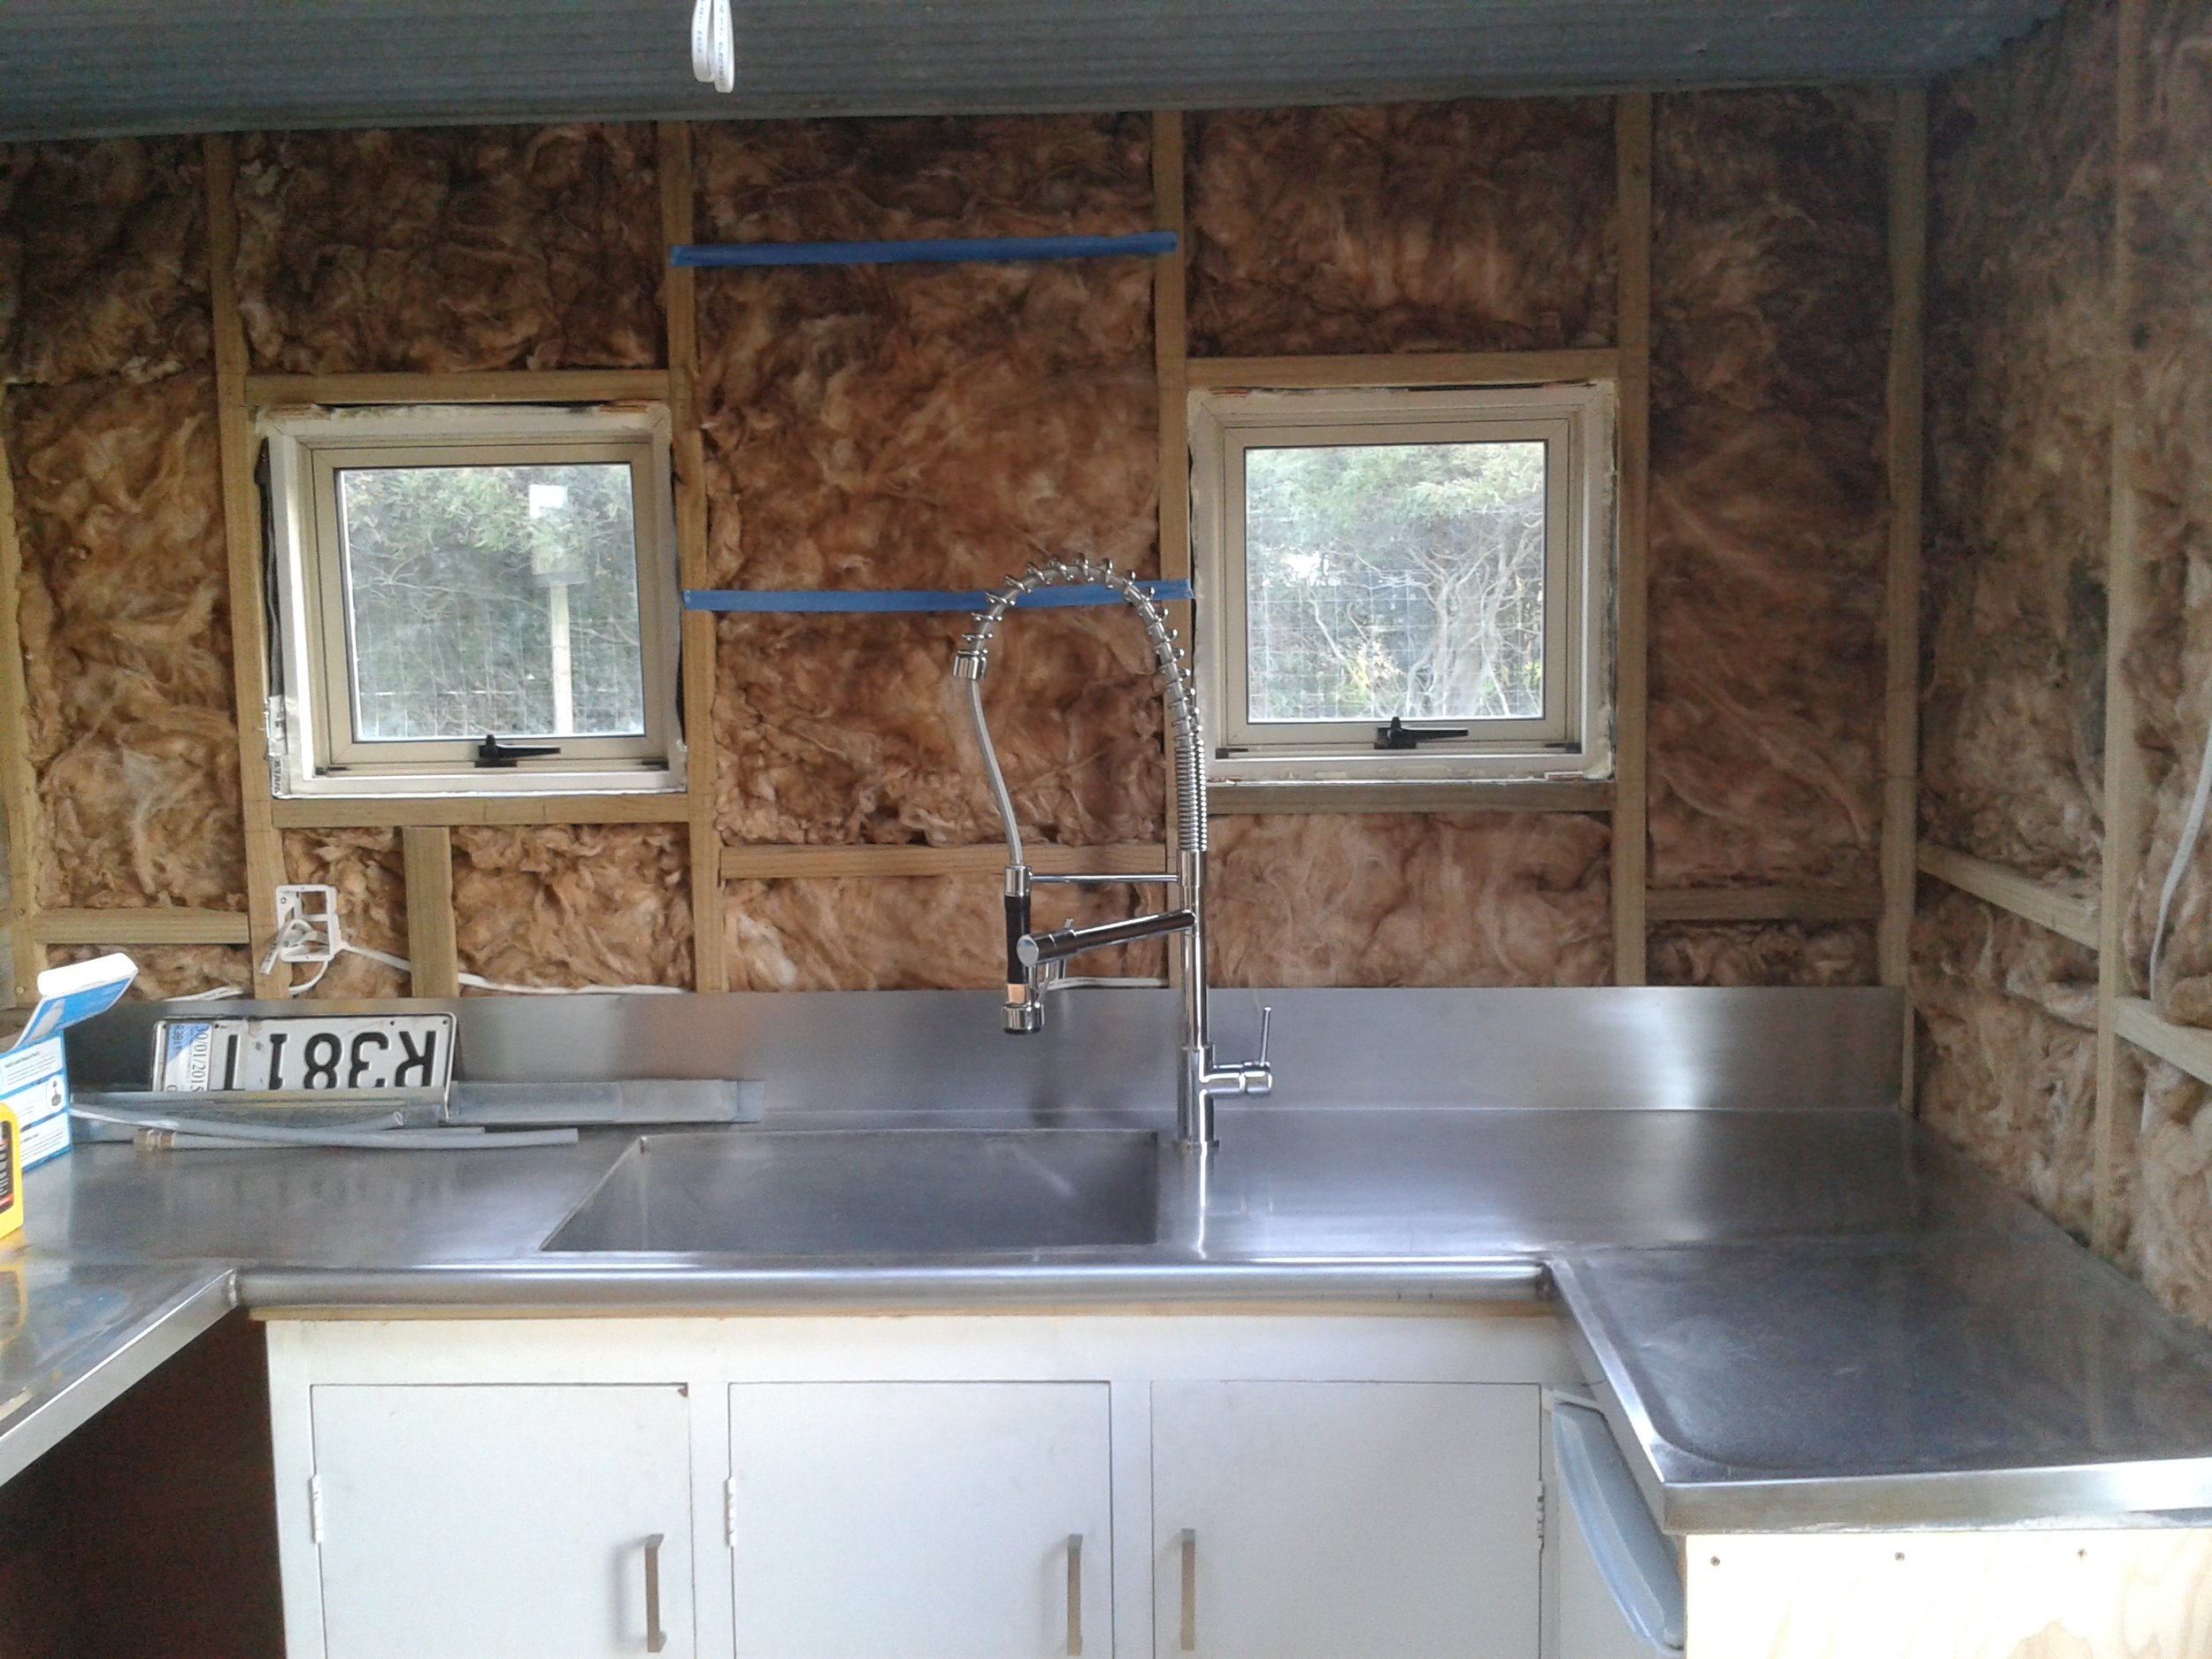
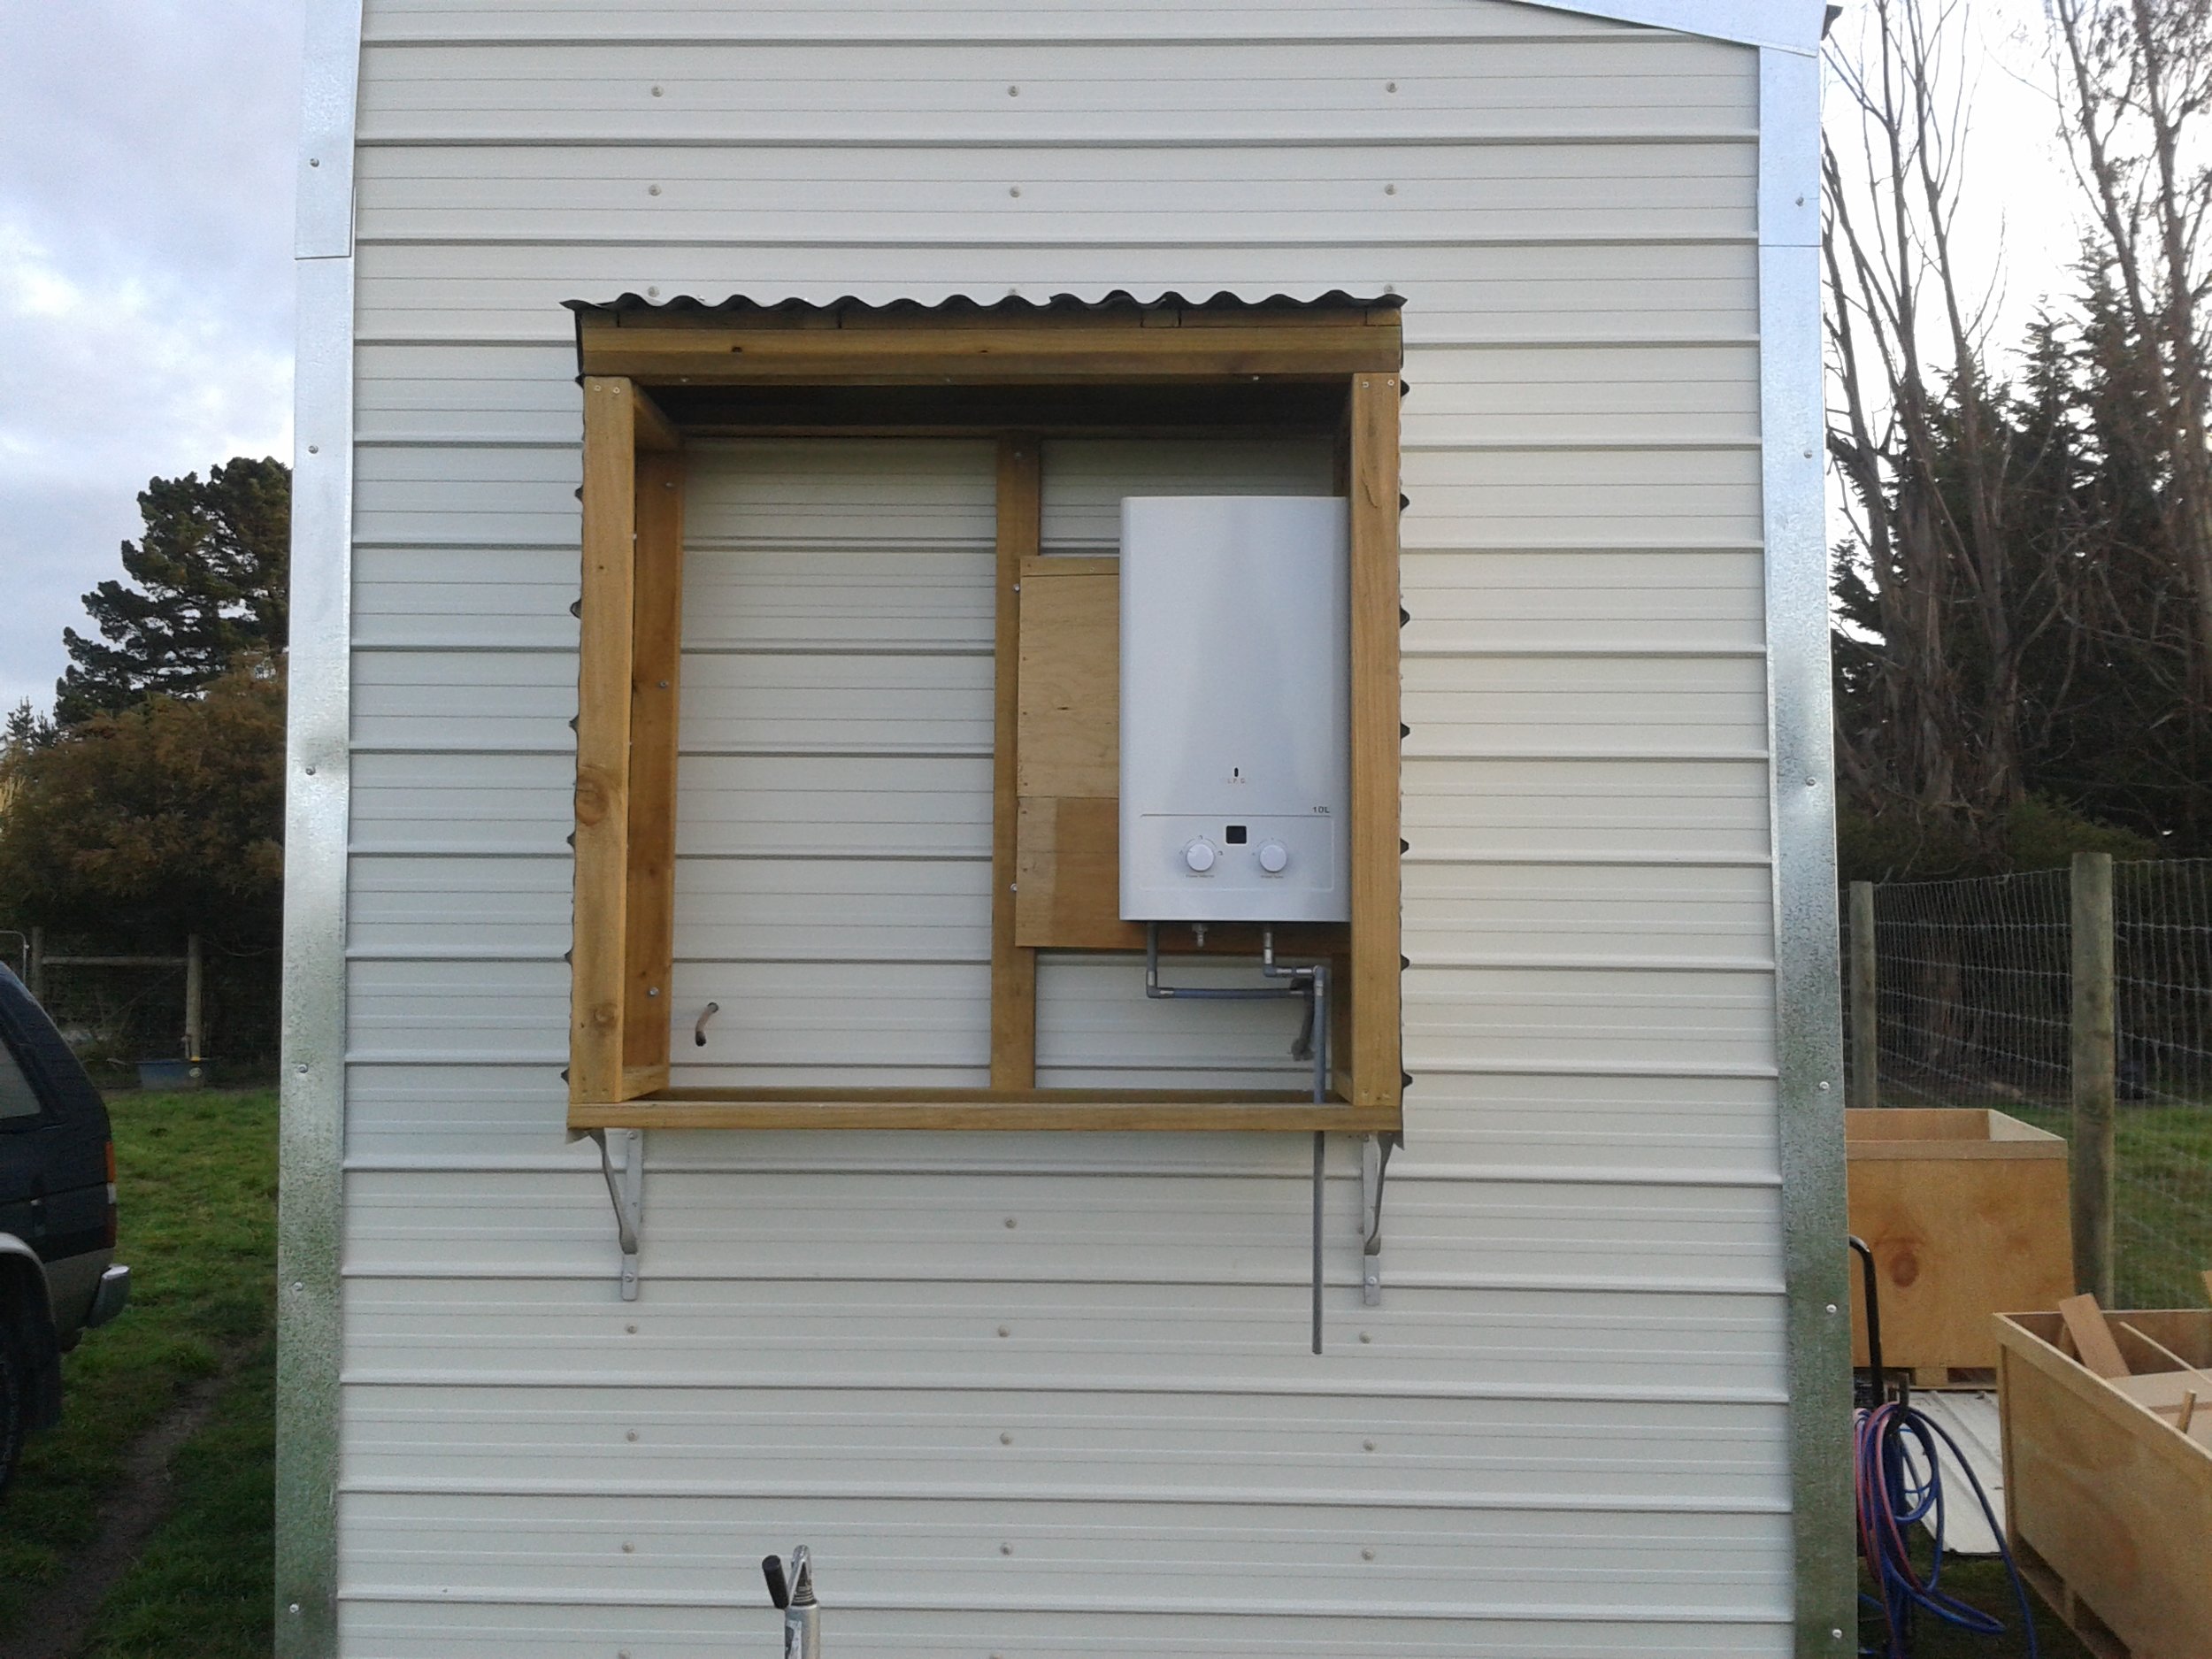
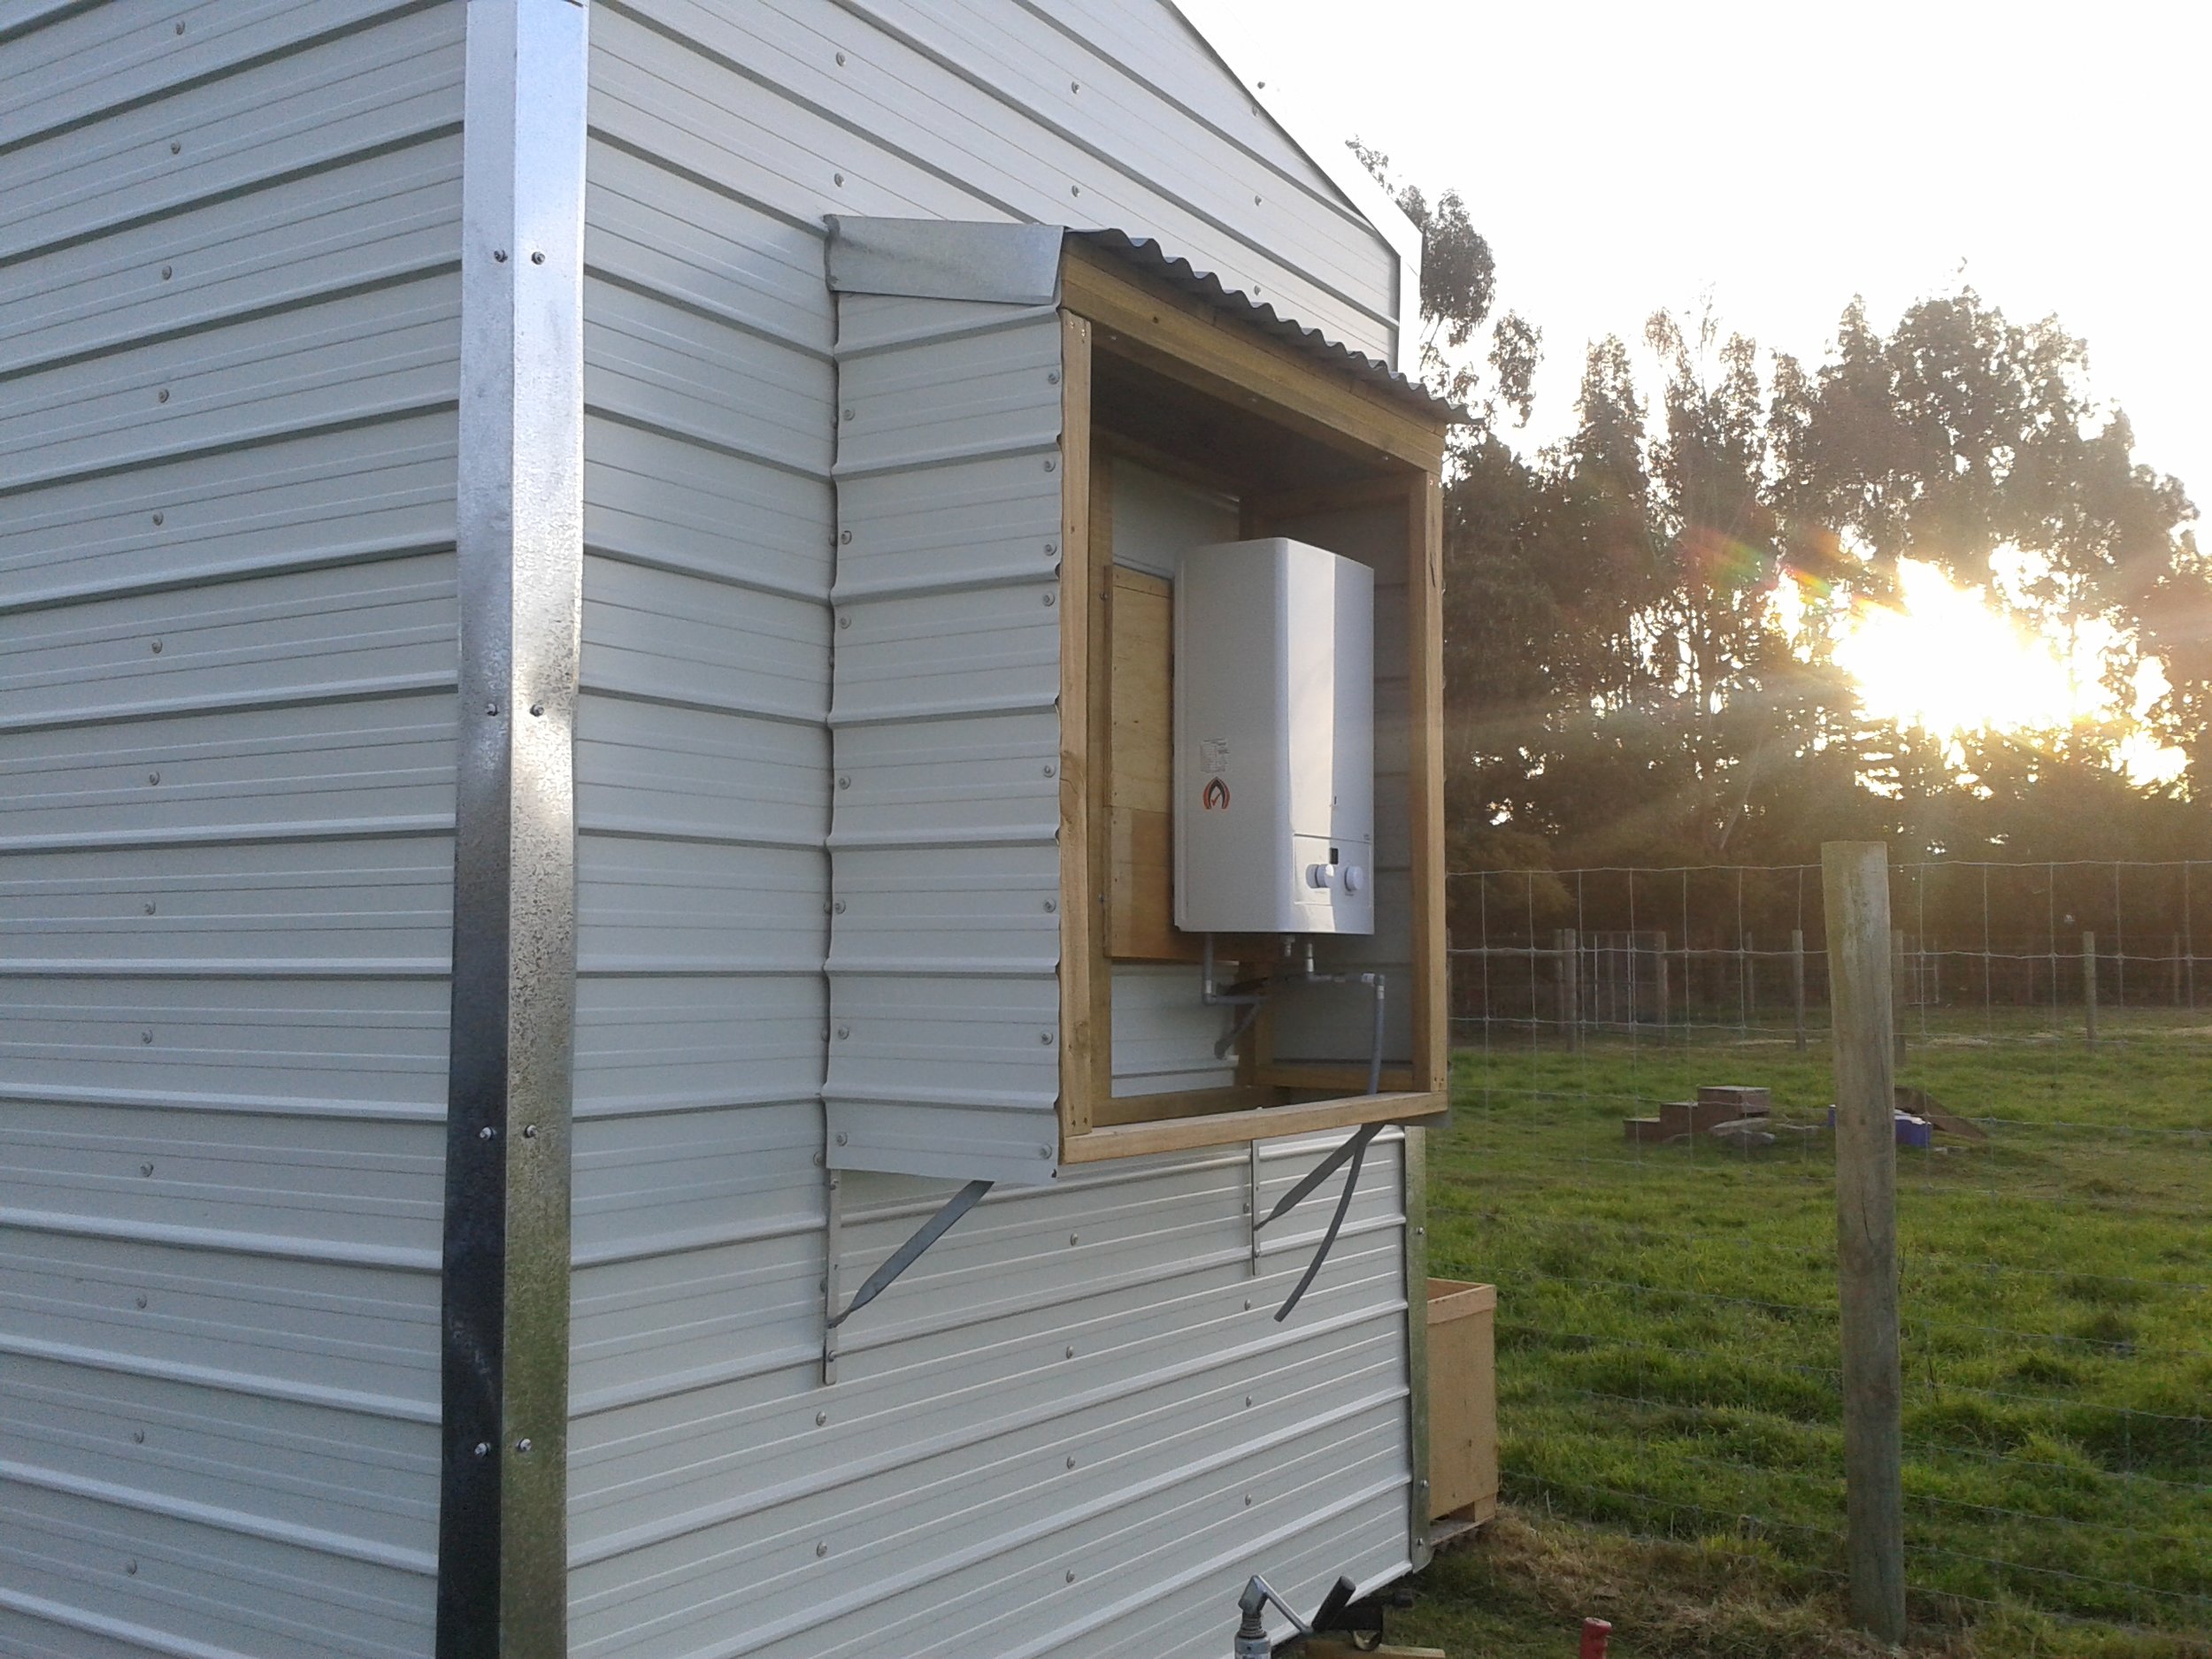
Today I installed the instantaneous hot water heater that will be powered by LPG. It also has a automatic igniter switch powered by two D batteries, instead of having main power run to it. I finished some more cladding on the outside of the utilities box and installed our kitchen faucet which we got a amazing deal on. I also added two photos of the shower. enjoy!!