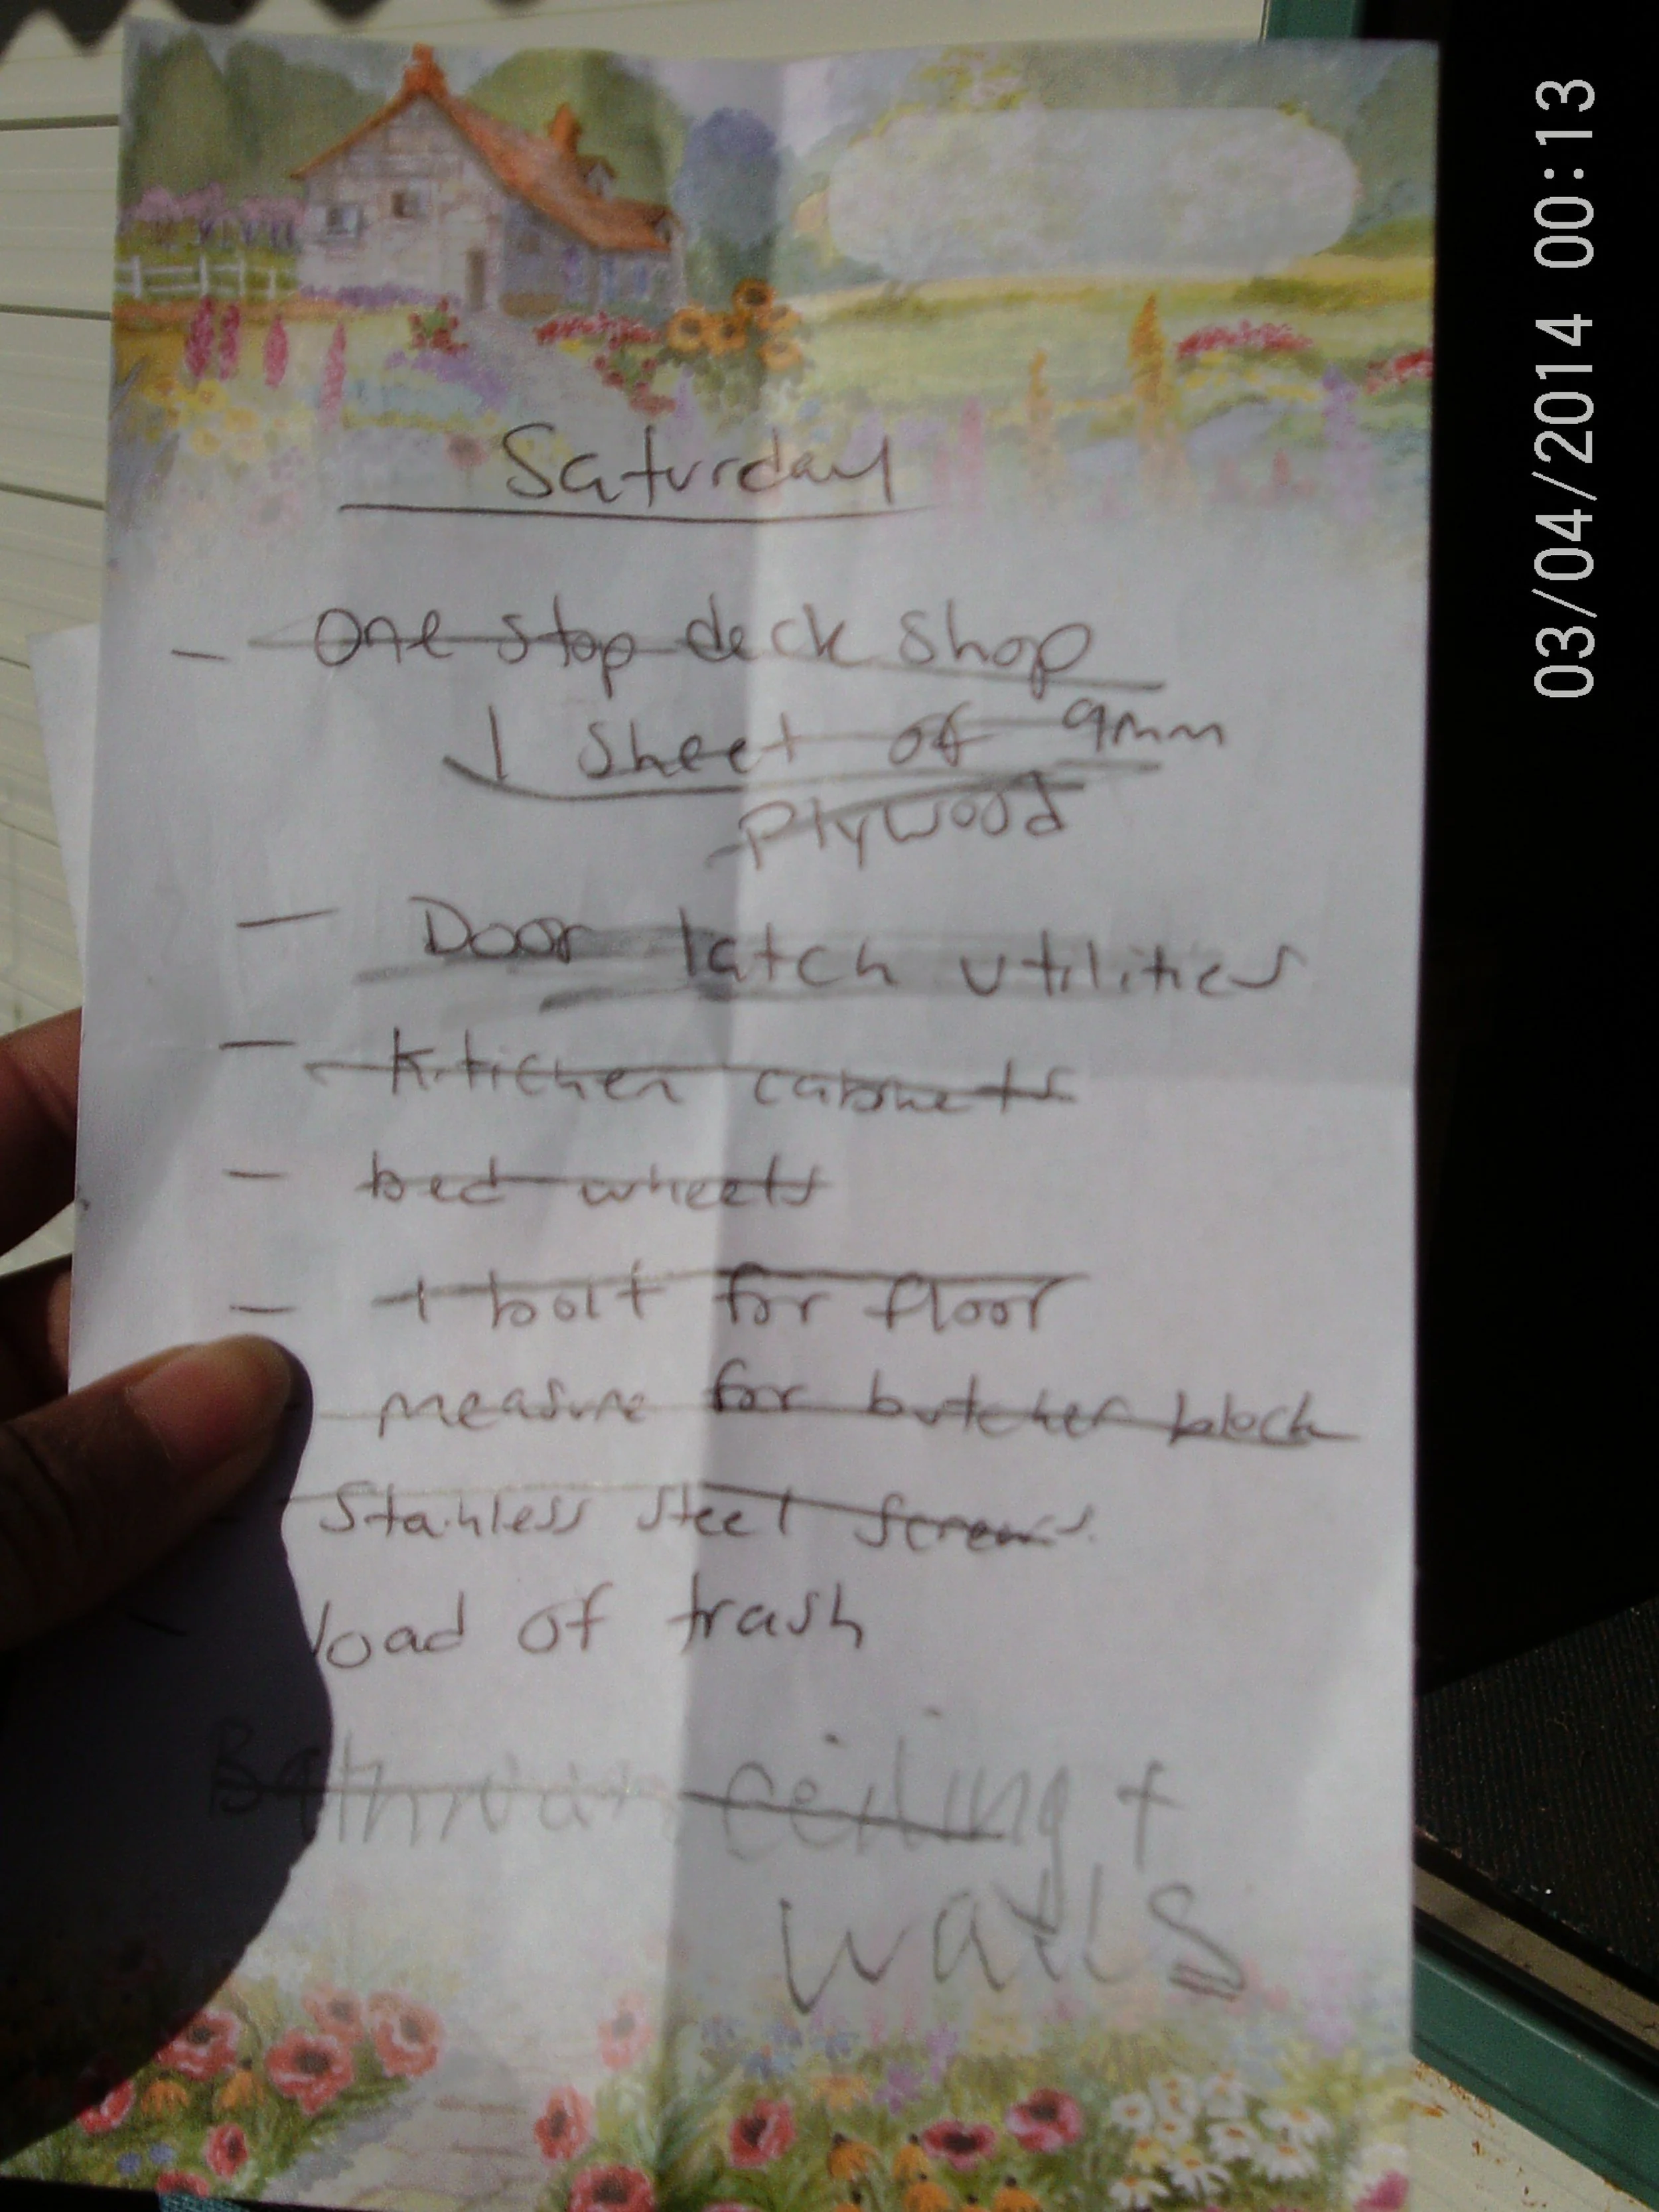
Viewing entries tagged
building

Mounting the Solar Panels

Comment

Mounting the Solar Panels

20151031_122807.jpg

Hi Everyone, This weekend at the Tiny House we mounted our solar panels to the roof. I had help from a good friend from work and it went really smoothly. We installed two 265 watt solar panels and two 12 volt 325 amp hour batteries to create a 24 volt system. Our goal from the beginning of our build was to be free of electric bills. We are now generating our own electricity and it is amazing to see the whole thing finally come together.

20151031_122654 20151029_175349

20151031_122756 20151031_123053 20151031_122821 20151031_122746 20151031_122723 20151031_122701

20151031_123154 20151031_123209 20151031_123627

Thanks for reading! Next up- water, deck and a toilet.

-Pat and Cori

Comment

Prepping for Eco Week

1 Comment

Prepping for Eco Week

Hello!

This coming week is ECO WEEK, sponsored by the Canterbury Sustainability Department. We were asked to participate by hosting an tiny house open house. Check out the website: http://www.sustain.canterbury.ac.nz/ecoweek/!

There will be a few visitors to the tiny house this Tuesday, so we made a big push to get a lot of stuff done (plus cleaning!). Enjoy.

BATHROOM

TRIMMING MISSION: Cover up the fact that our plastic wasn't long enough to reach the floor...

PTDC0048

CORI CUT ALL OF THESE (FYI, I do more than just take pictures.)

PTDC0050

PTDC0049

PTDC0051

PTDC0058

PTDC0059

ALL DONE! Now on to the light and fan!

PTDC0047

PTDC0057

And now to clean up the look of the sink. First we peeled back the plastic and then came up with this brilliance! PTDC0071

Just an old suitcase with an attitude, came free with an old newspaper from 1975!

PTDC0086 PTDC0084 PTDC0083

Next up: Kitchen!

A nice curtain rod in anticipation for an actual curtain!

PTDC0075 PTDC0076

We needed some more storage!

PTDC0063 PTDC0062 PTDC0065

And EVEN MORE STORAGE!

PTDC0067

PTDC0066

Why so SERIOUS???

PTDC0068

ViviLnk

PTDC0070

We also finished some trim if you can tell. 

PTDC0074 

We also installed our bench top. And added some hinges and protection.

PTDC0045

PTDC0081

PTDC0082

I know you have seen our letters but we finally finished all the electrical in the house today! All we have to do is test and mount our solar panels.

PTDC0046

This is the cleanest we could get the house!

PTDC0089 PTDC0090

Thanks for reading!

-Cori and Pat

1 Comment

Trimmyity Trim Trim! (and a door)

Comment

Trimmyity Trim Trim! (and a door)

Hello blog followers, We got a lot accomplished at the tiny house today. The trim around the entrance door and kitchen windows is complete. We were able to use the rimu we got for free from some friends. We cut all the pieces to size and stained them before brad nailing them into place. We also installed a barn style door to the entrance of the bathroom only using some recycled materials we had laying around. I love it when things come together!

20150906_142333 20150906_142327 20150906_142315 20150906_142257 20150906_142251 20150906_142243

20150906_152638 20150906_152654

20150906_152624 20150906_161158

20150906_161205 20150906_161216

20150906_152617

Now watch as Pat explains his recycling magic! 

[youtube https://www.youtube.com/watch?v=UxjD0k7ICXo&w=420&h=315]

Comment

It Moves!

2 Comments

It Moves!

Hello everyone, 
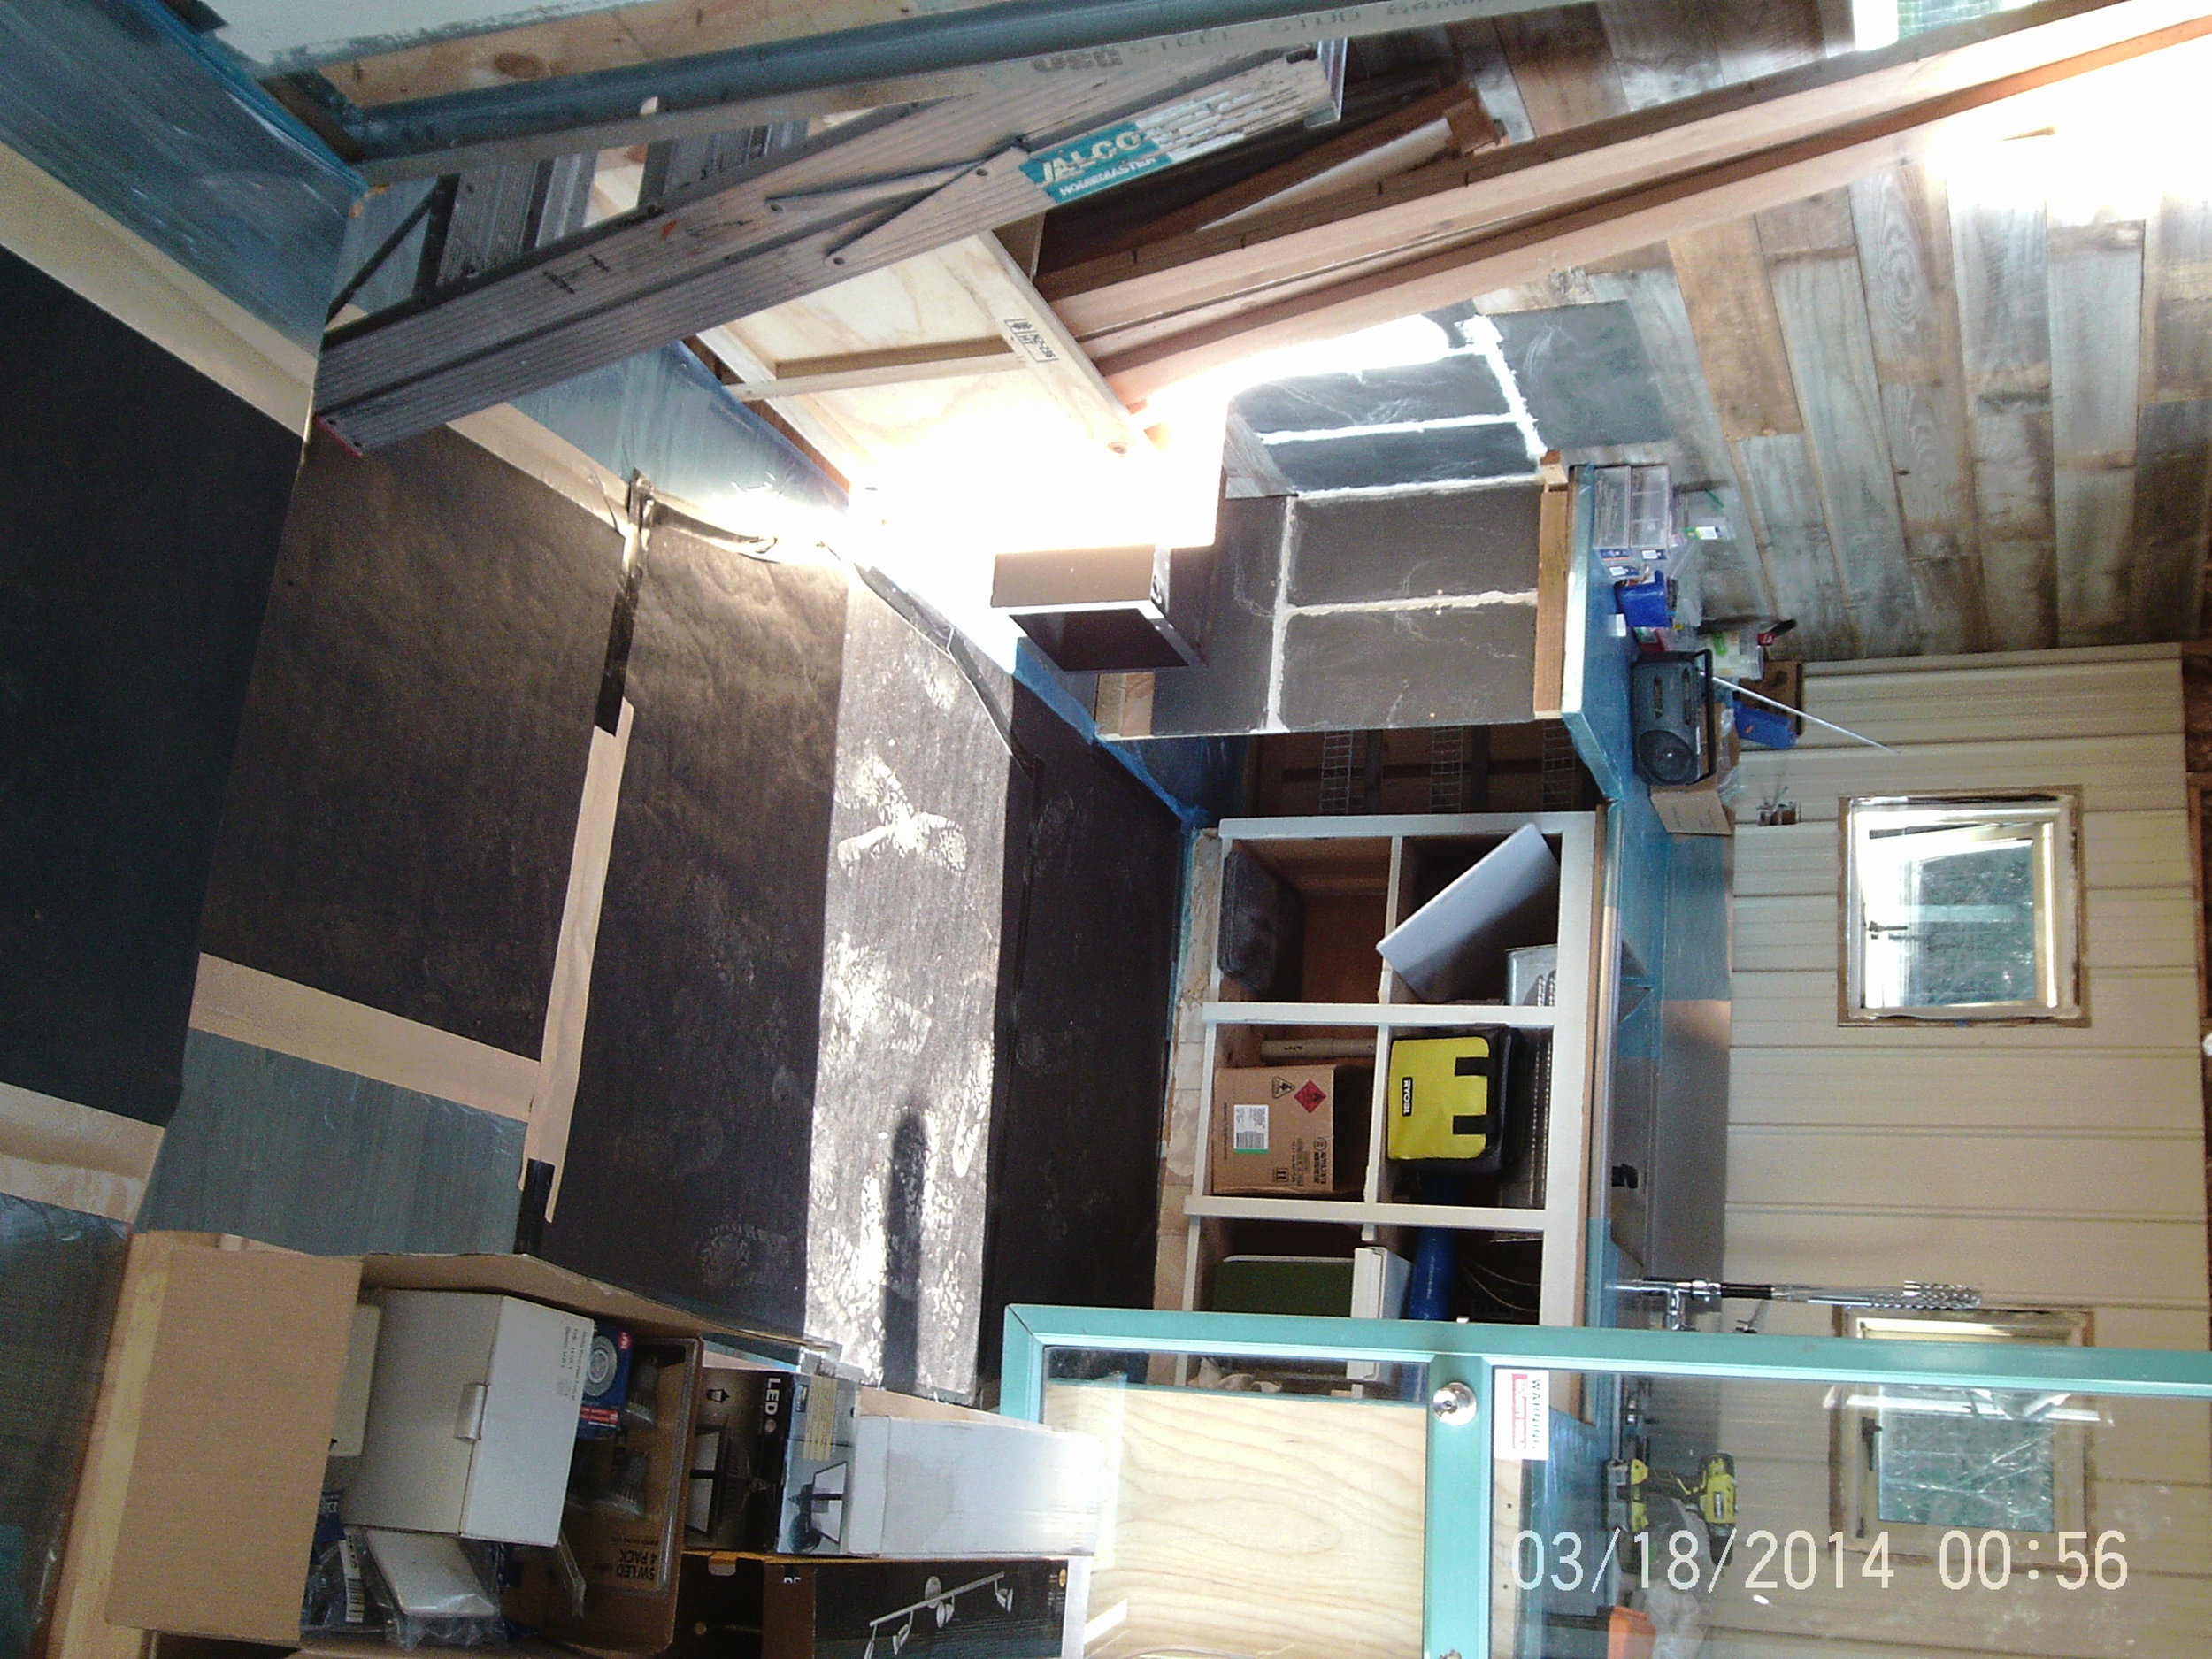
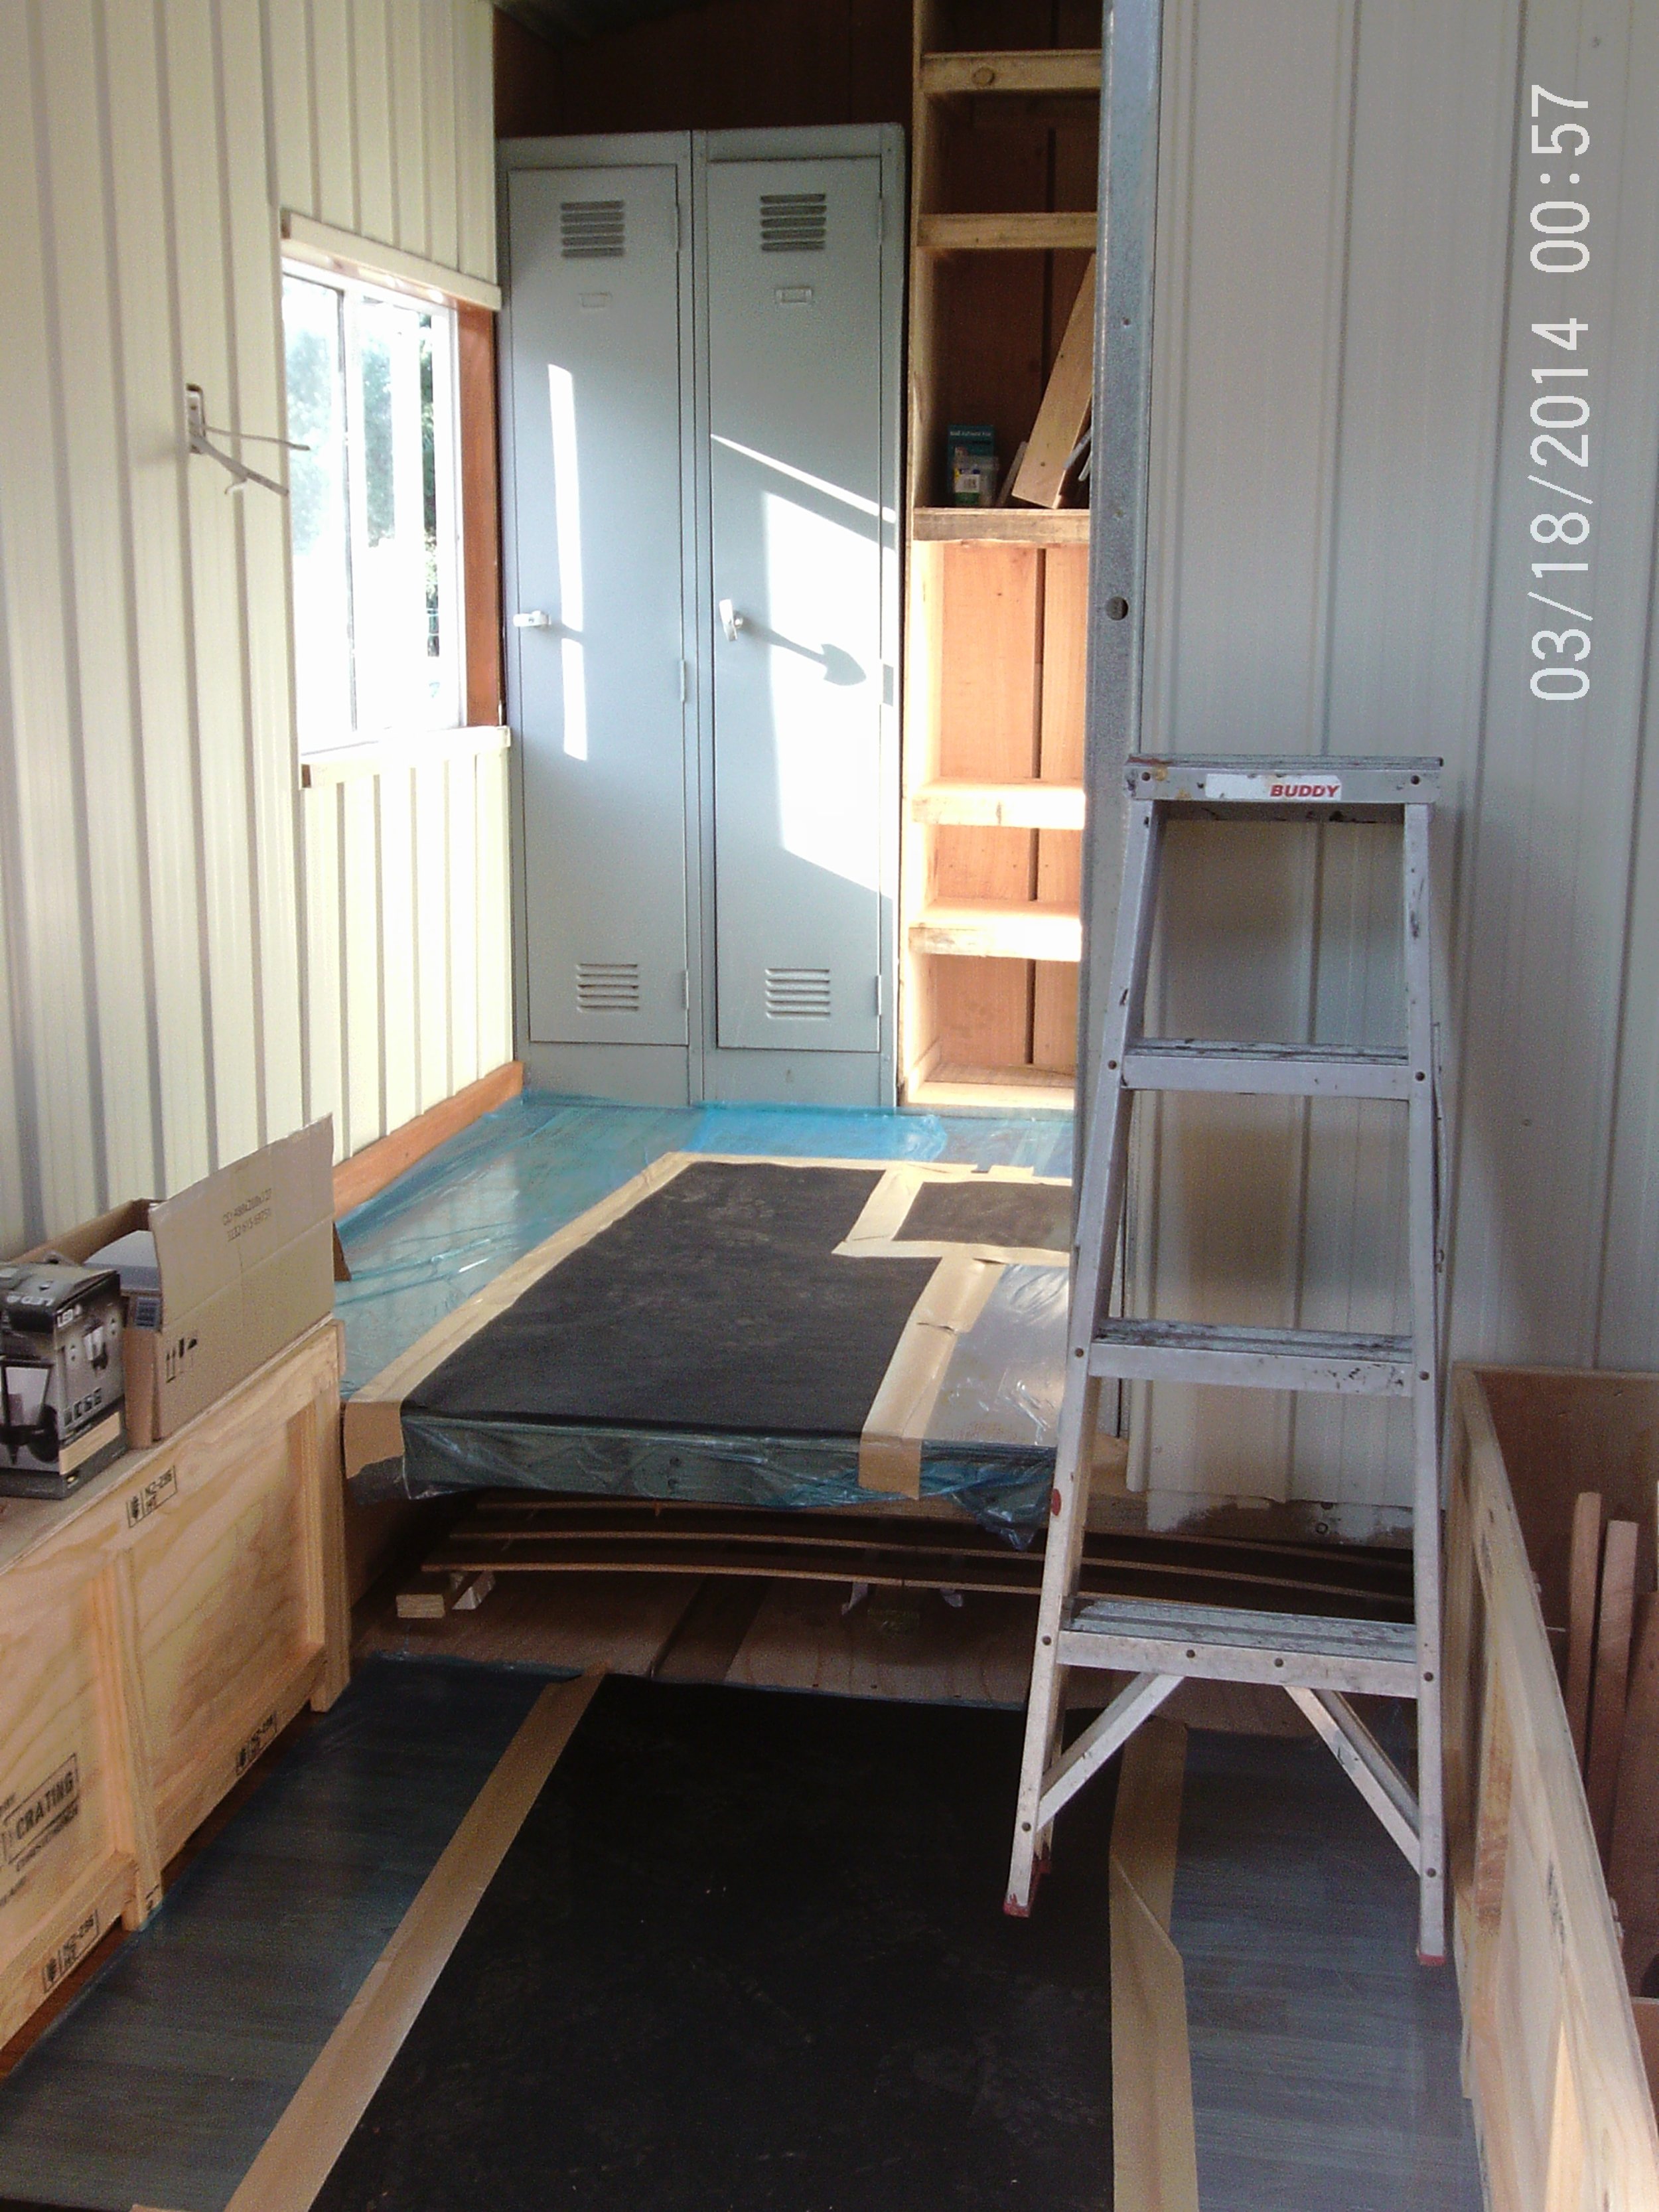
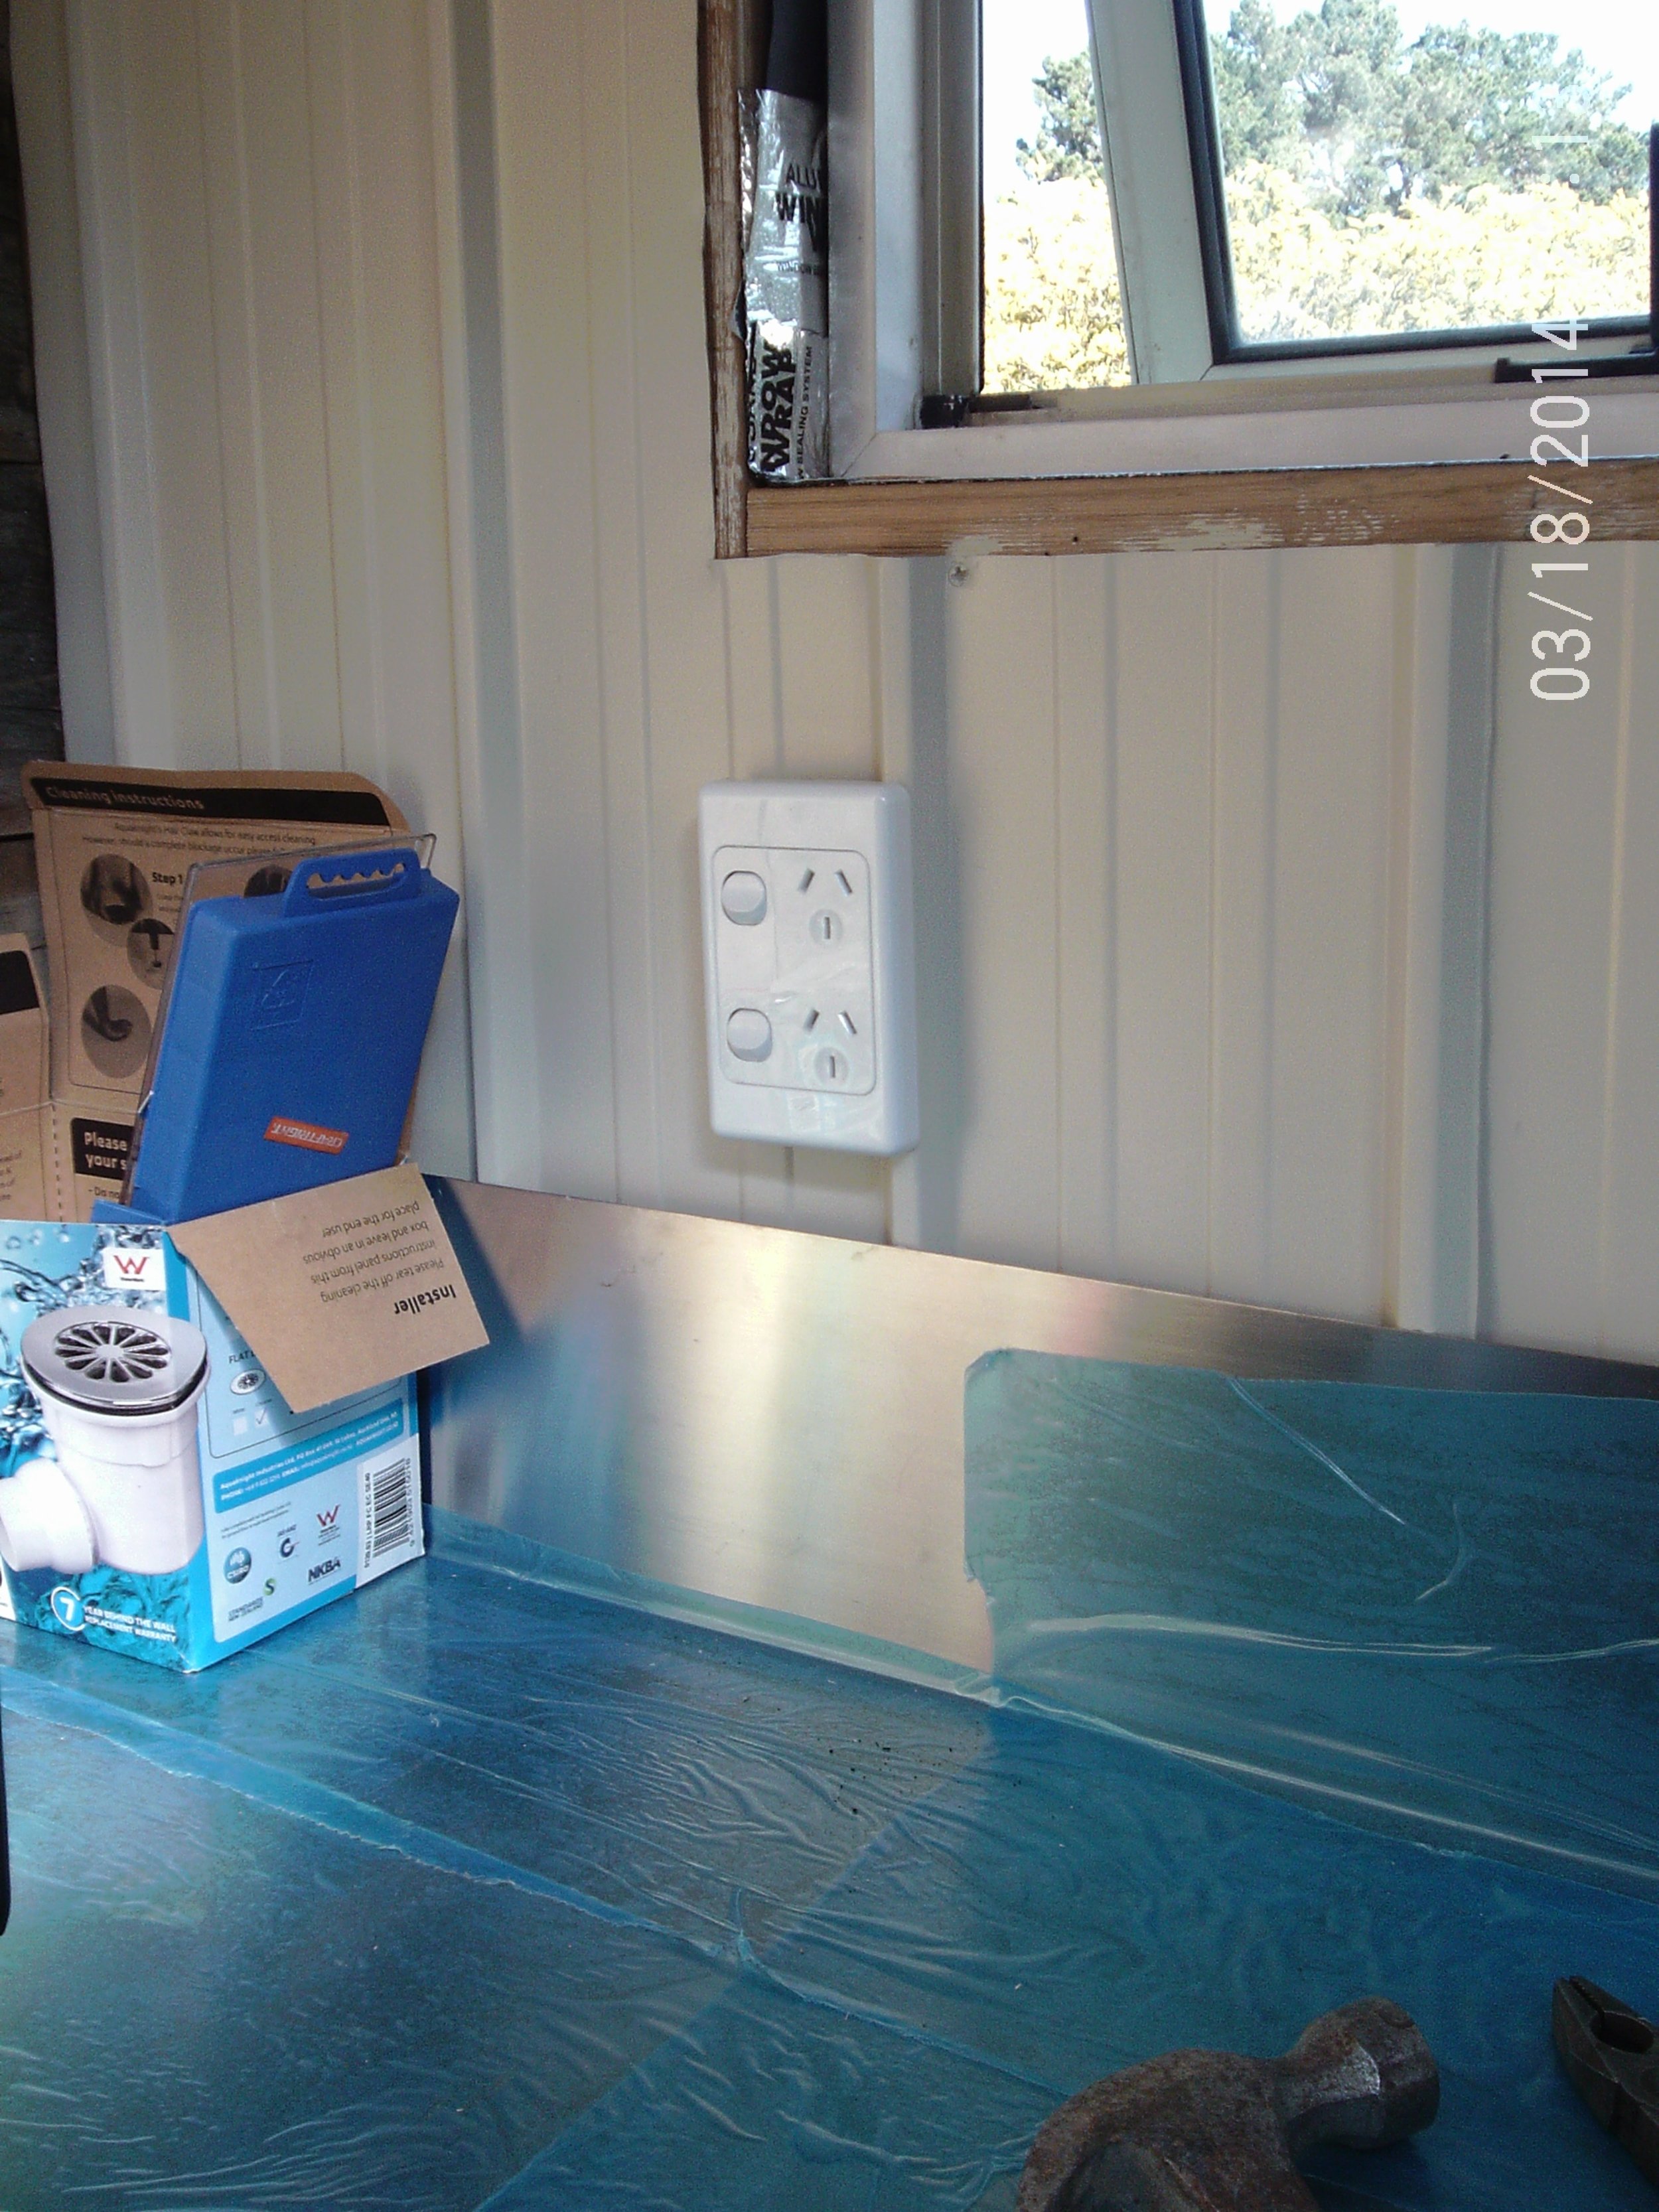
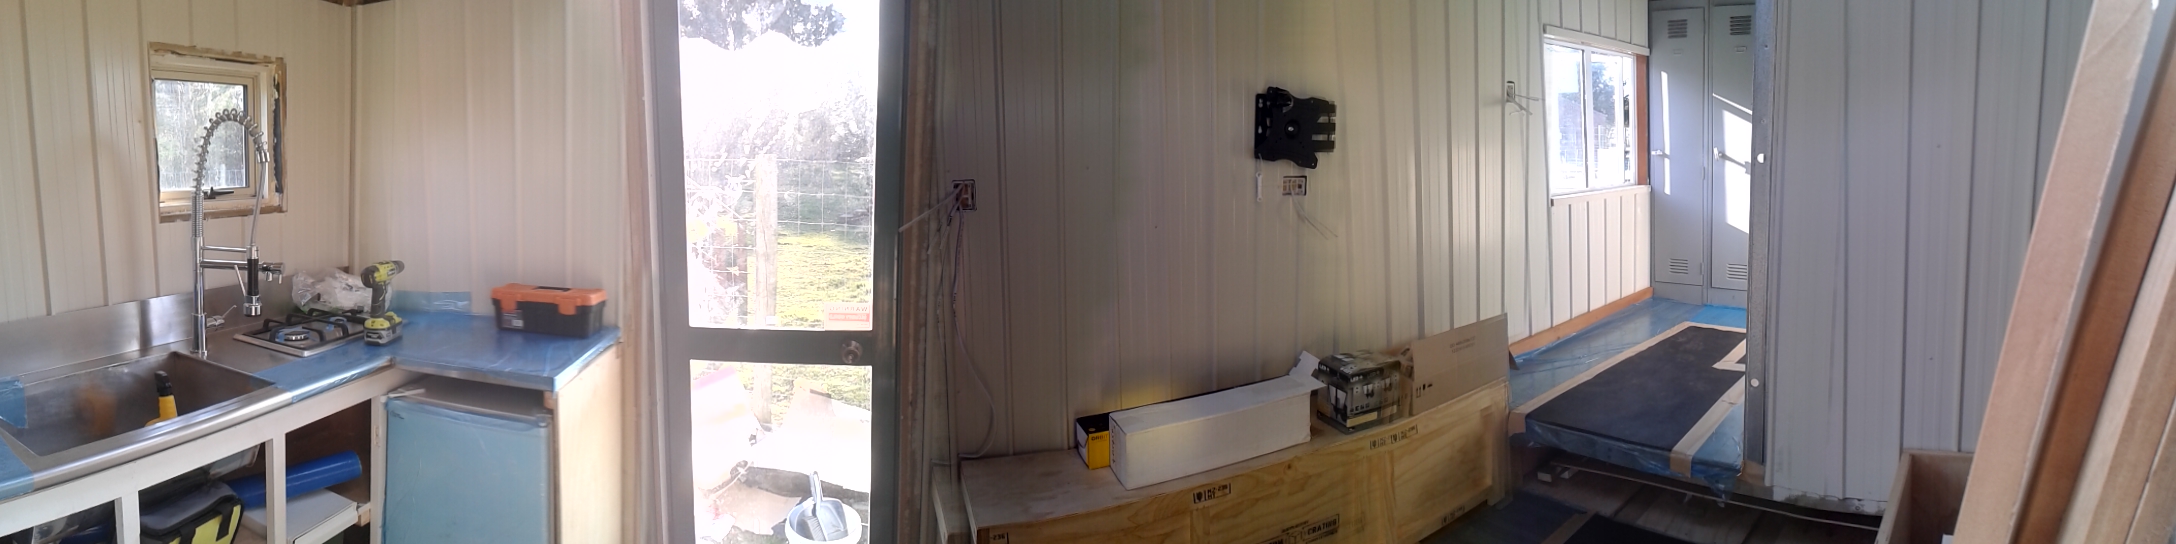
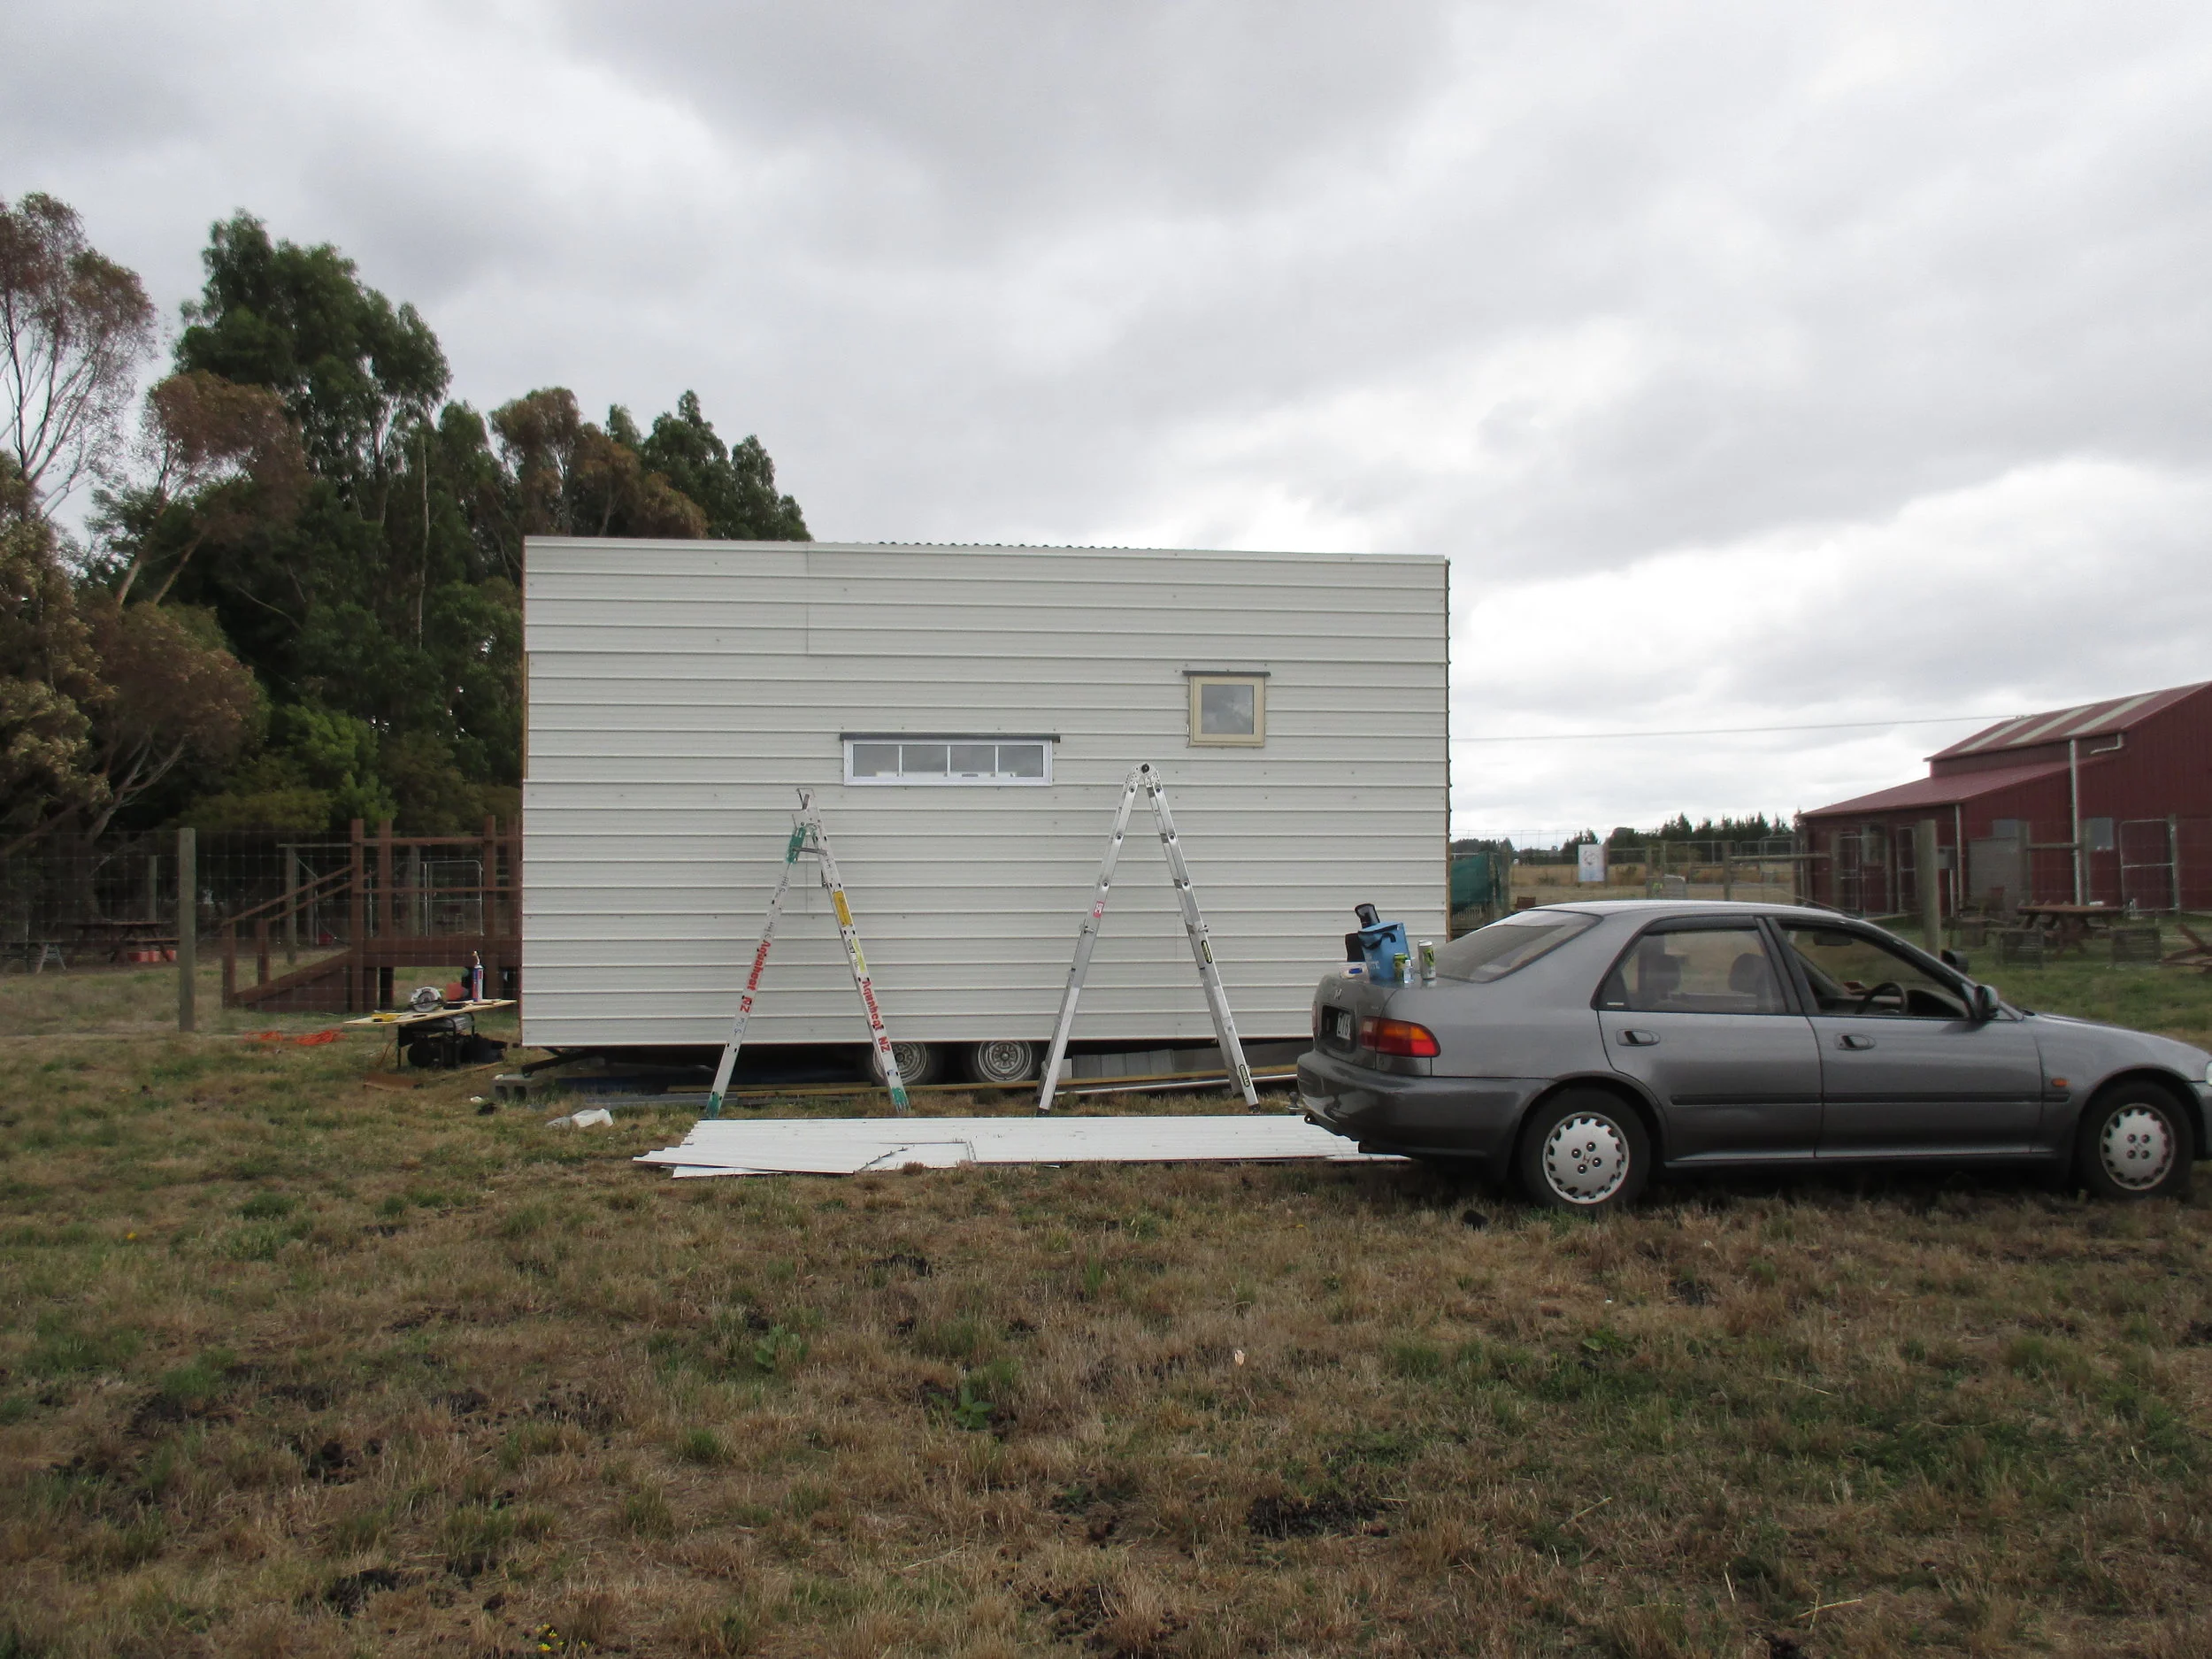
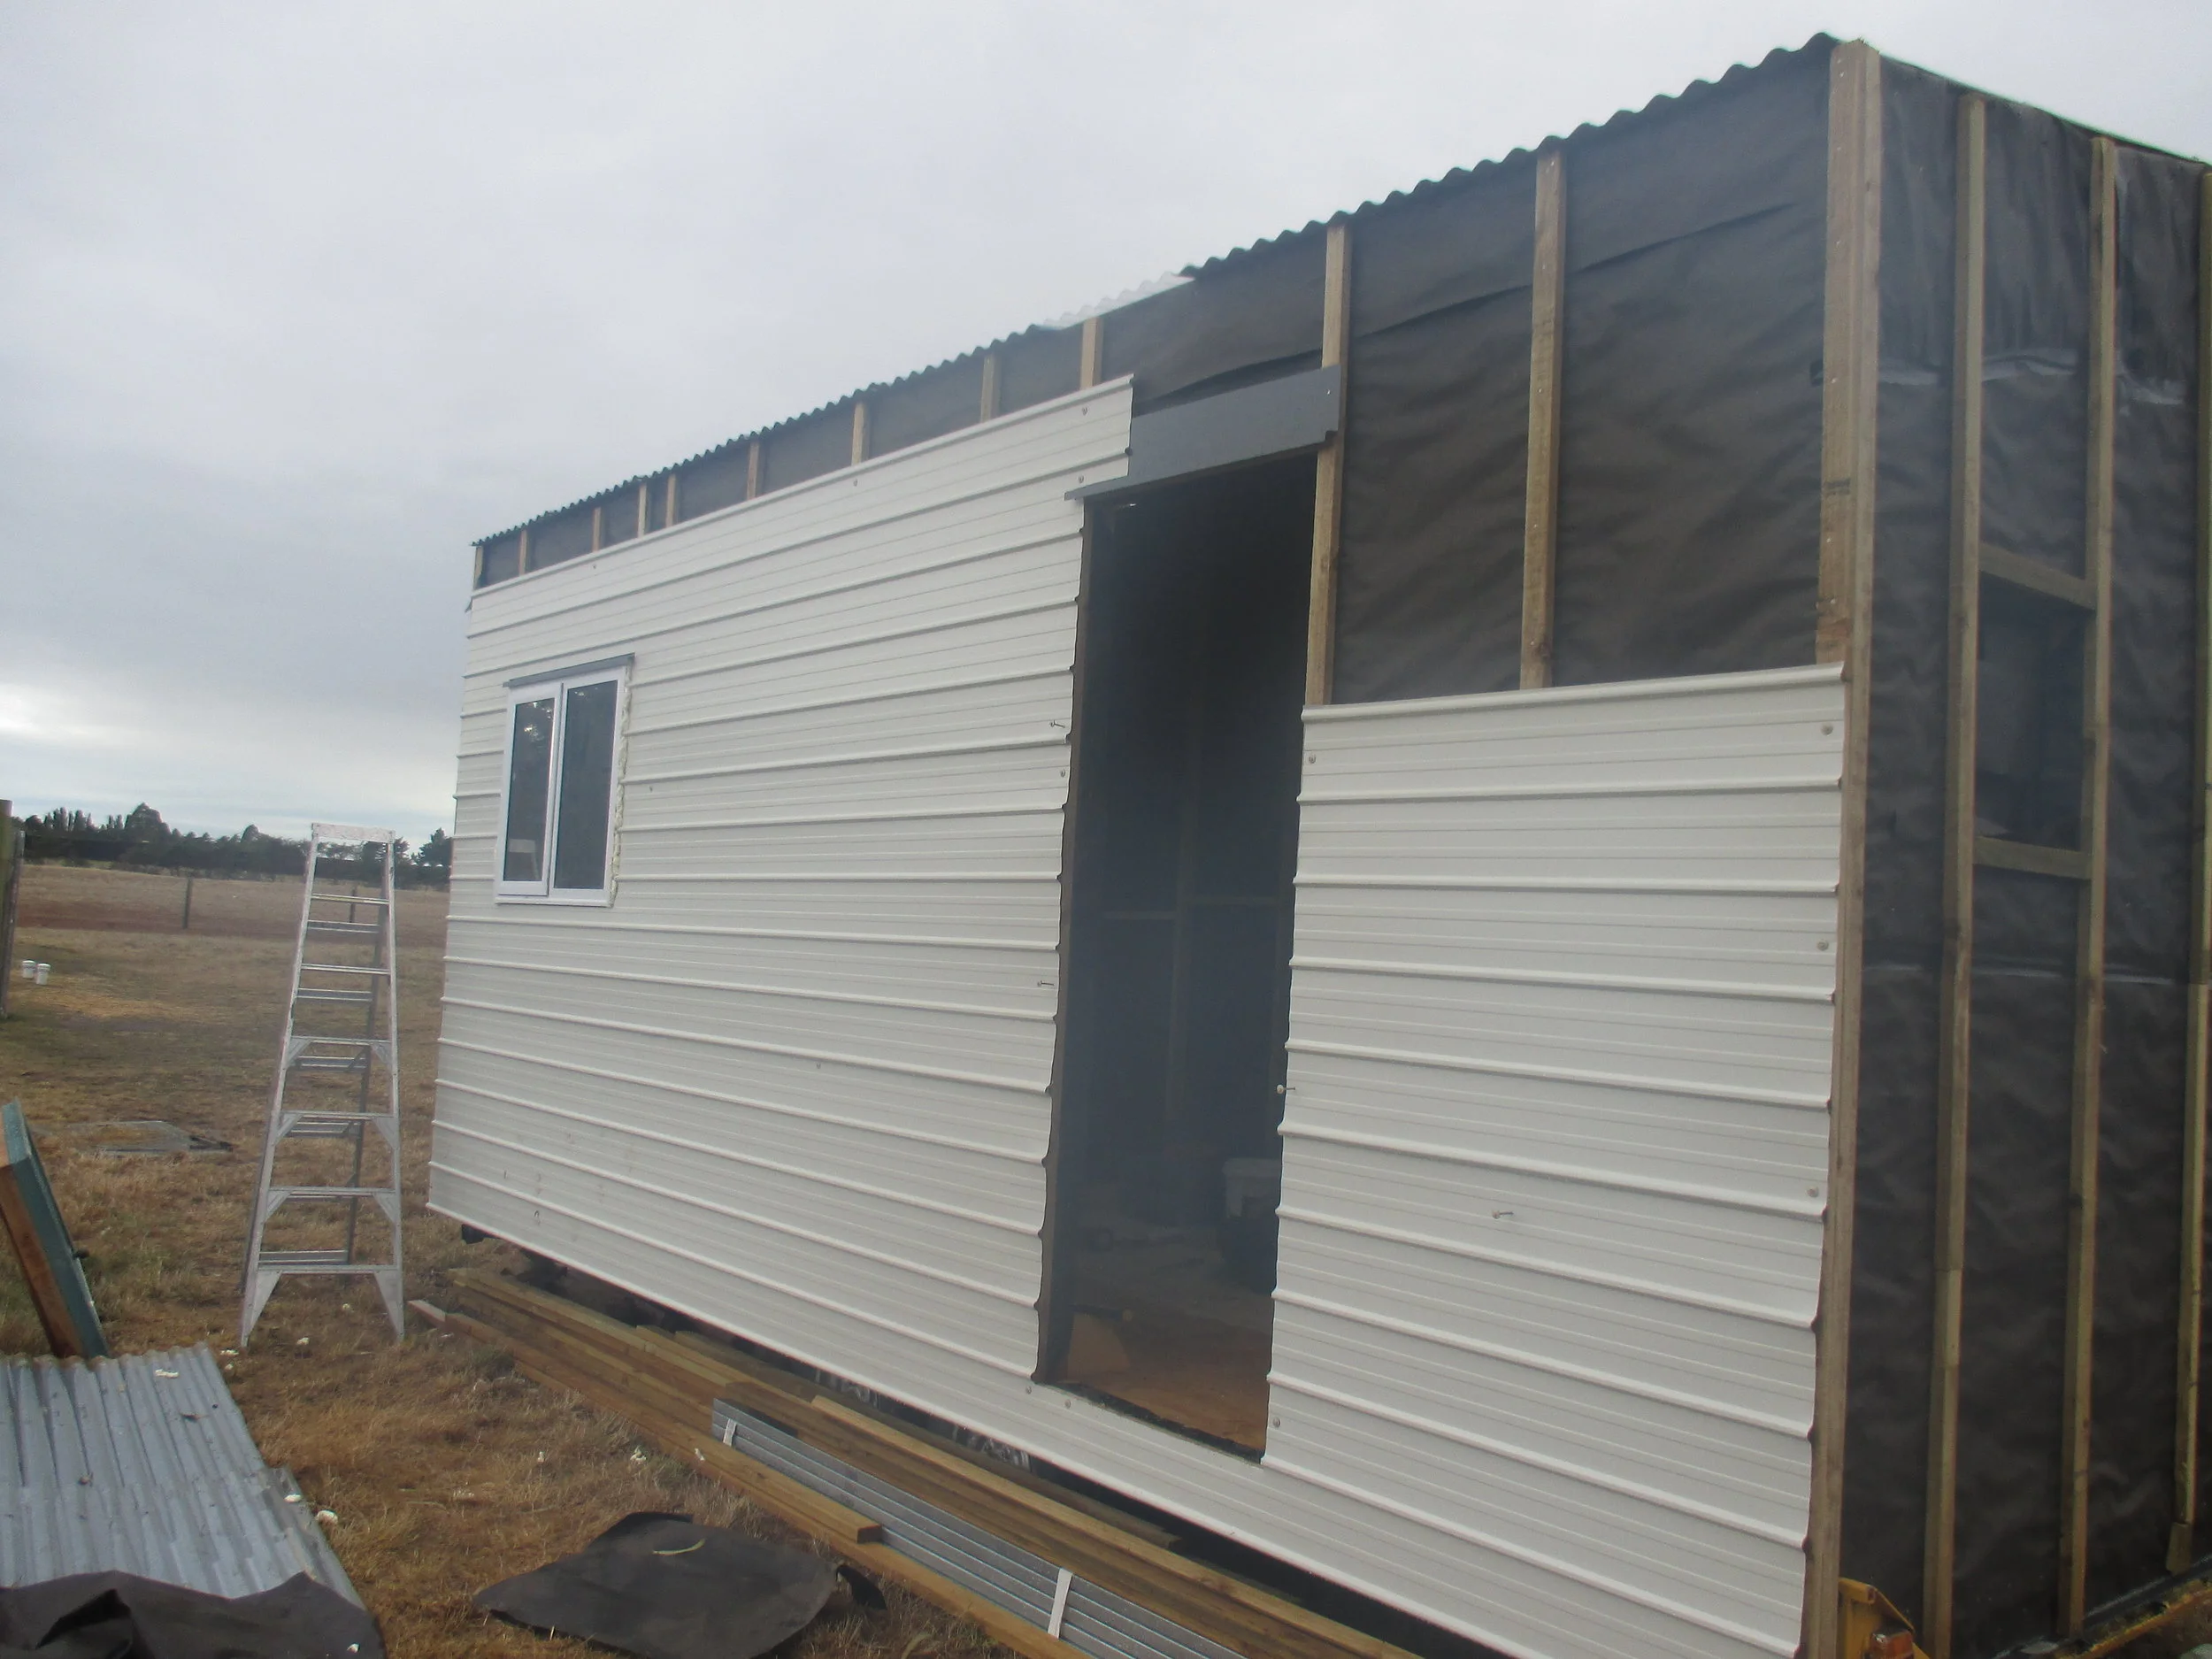
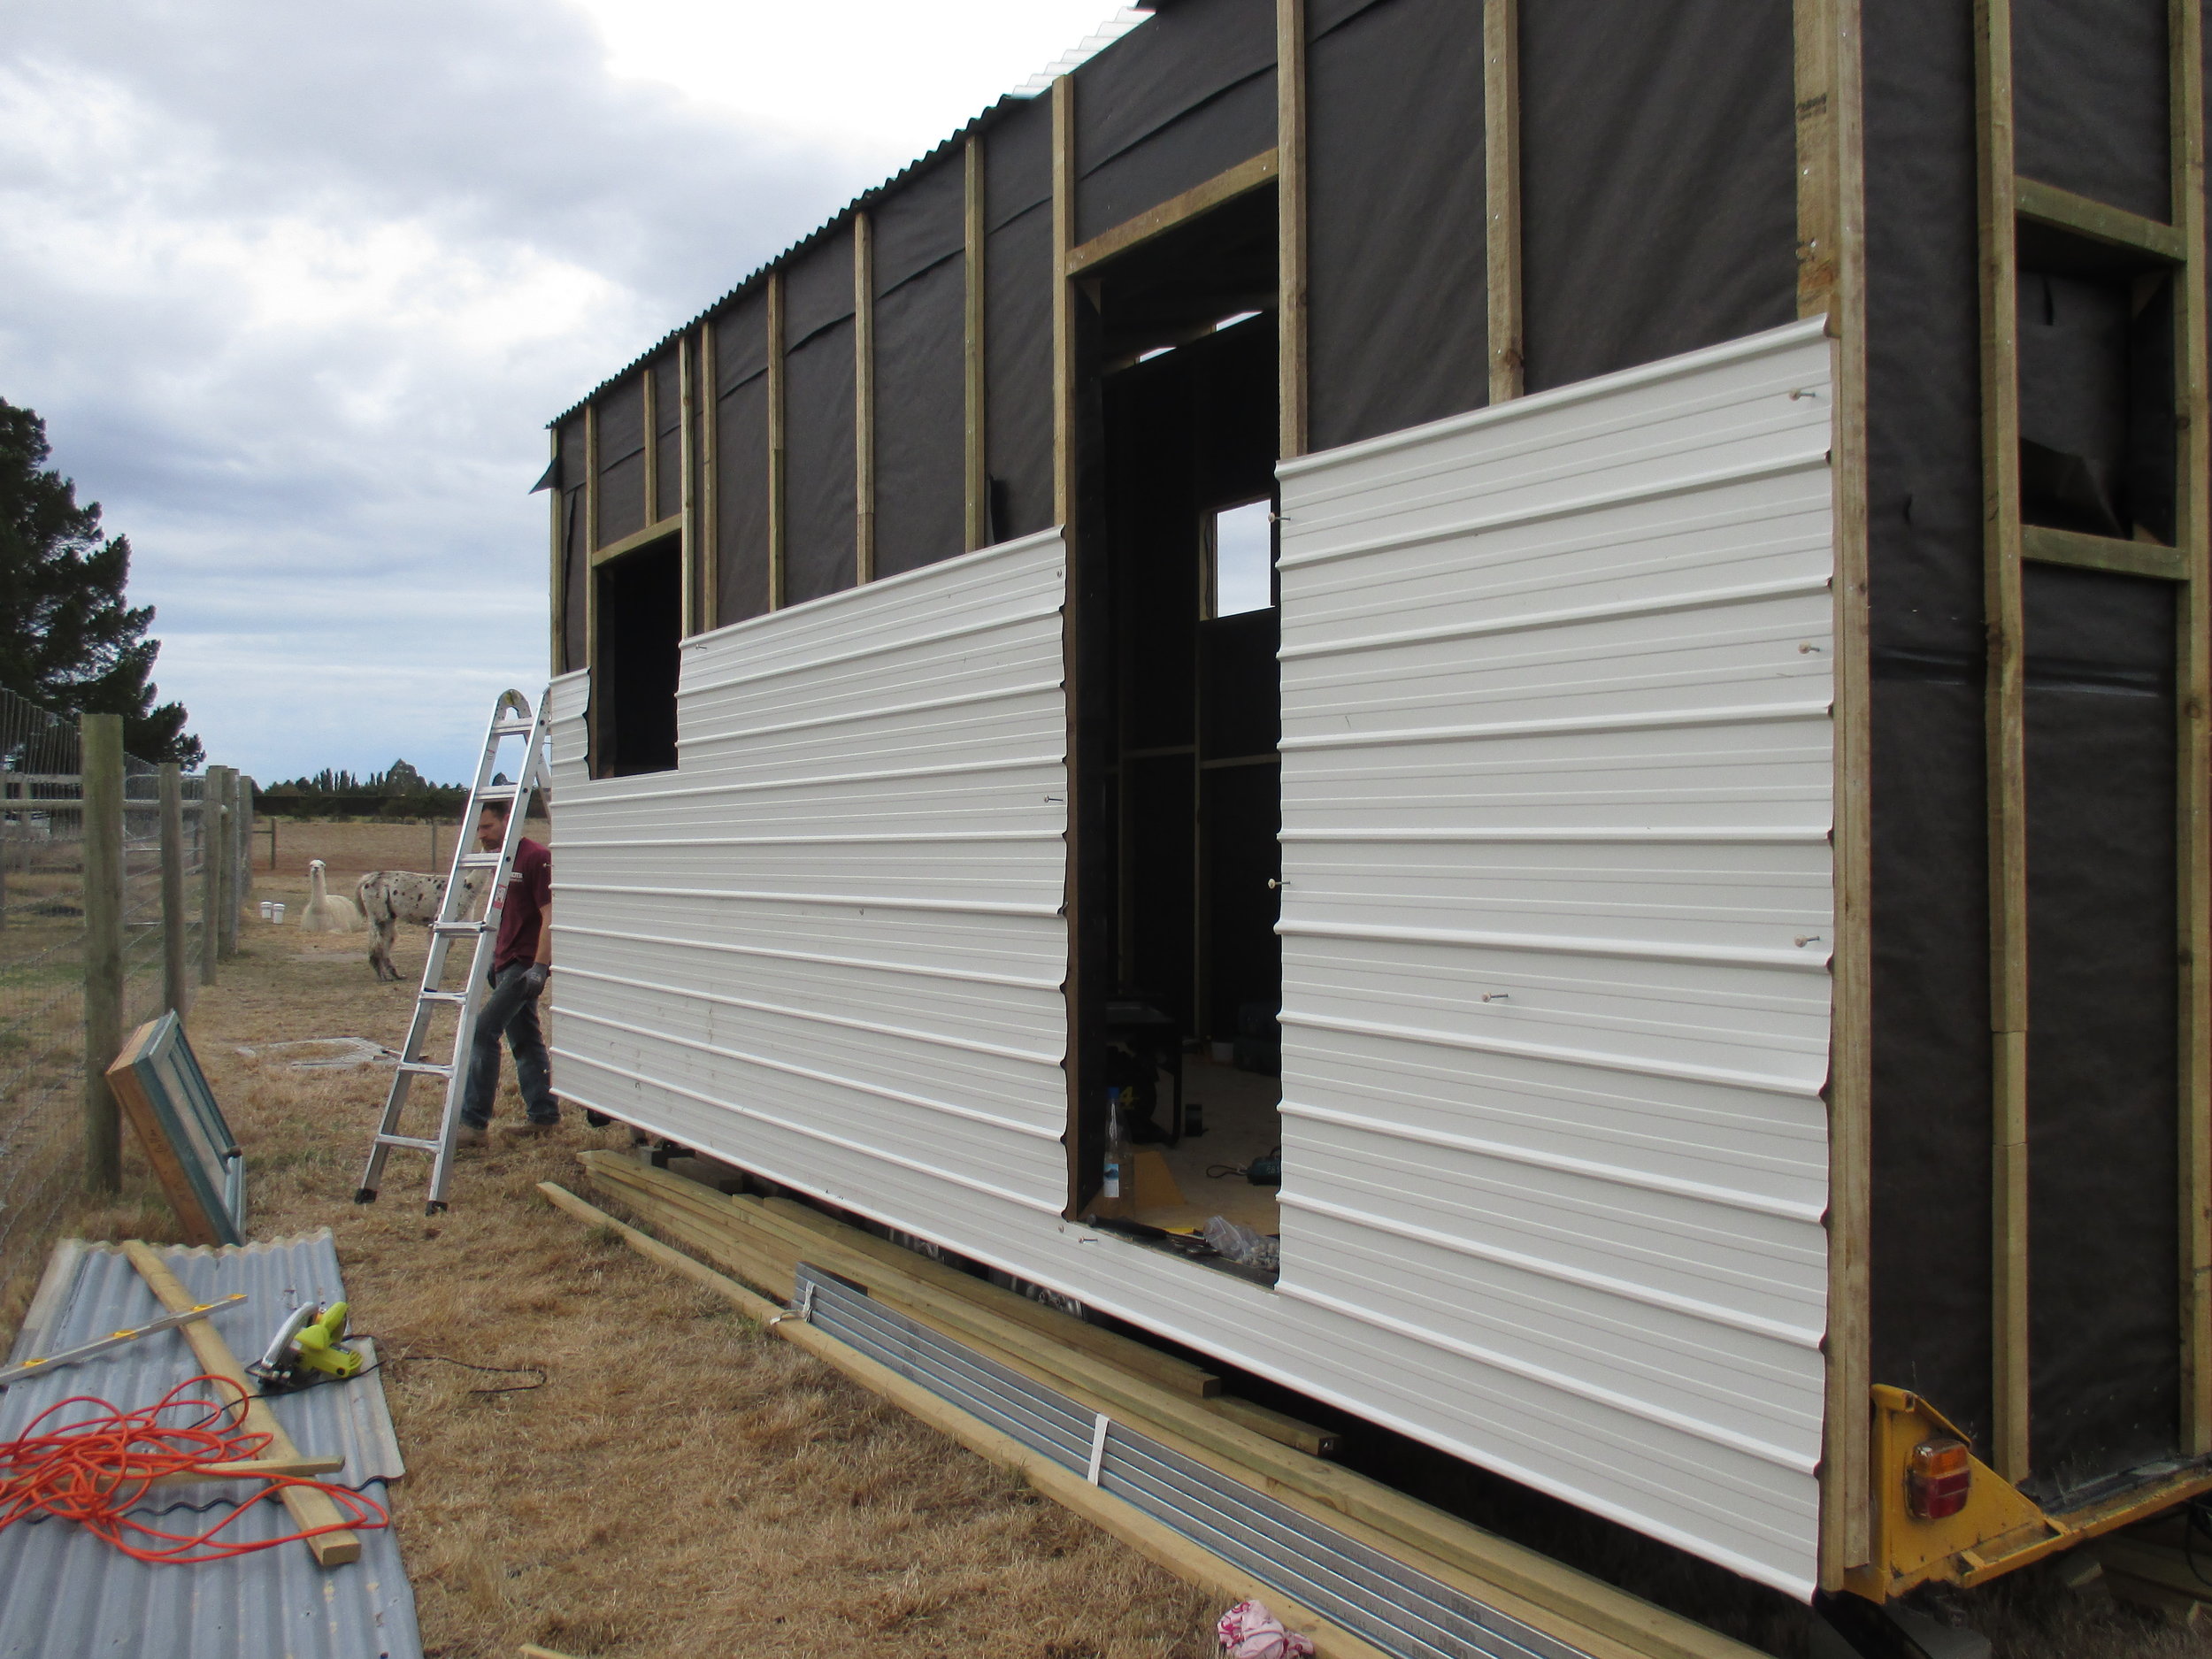
Today at the tiny house we did a bunch of little things including trim, kitchen lighting, vinyl in the cabinets, and some decorating. We also lowered the trailer off the four blocks its been resting on for over 7 months. We hooked the trailer up to our truck to test the lights and towing capabilities. After filling all four tires on the trailer with air we shifted the tiny house with no worries. Success! Watch the drama unfold!

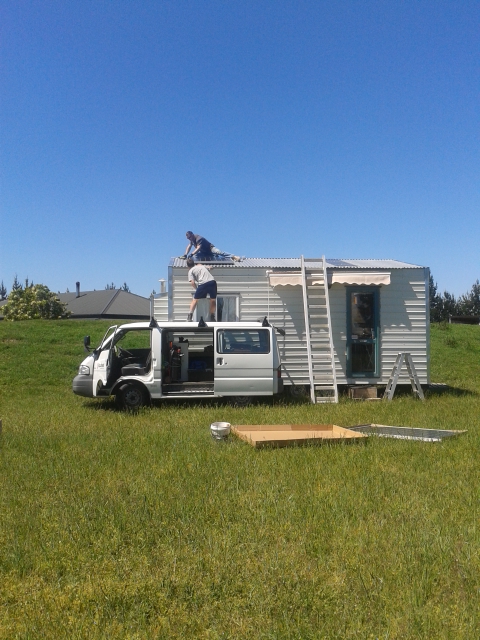
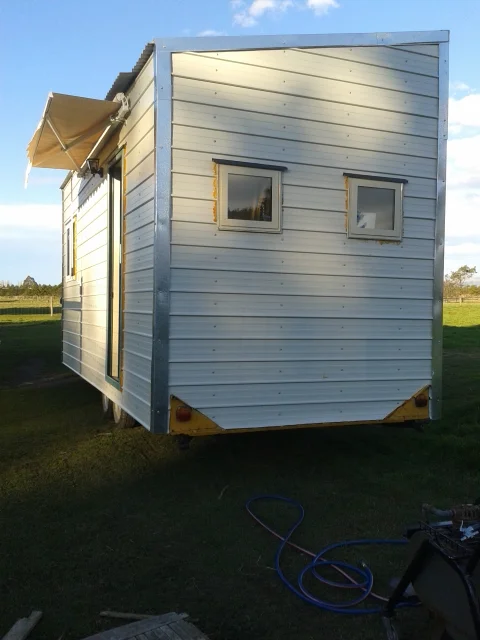
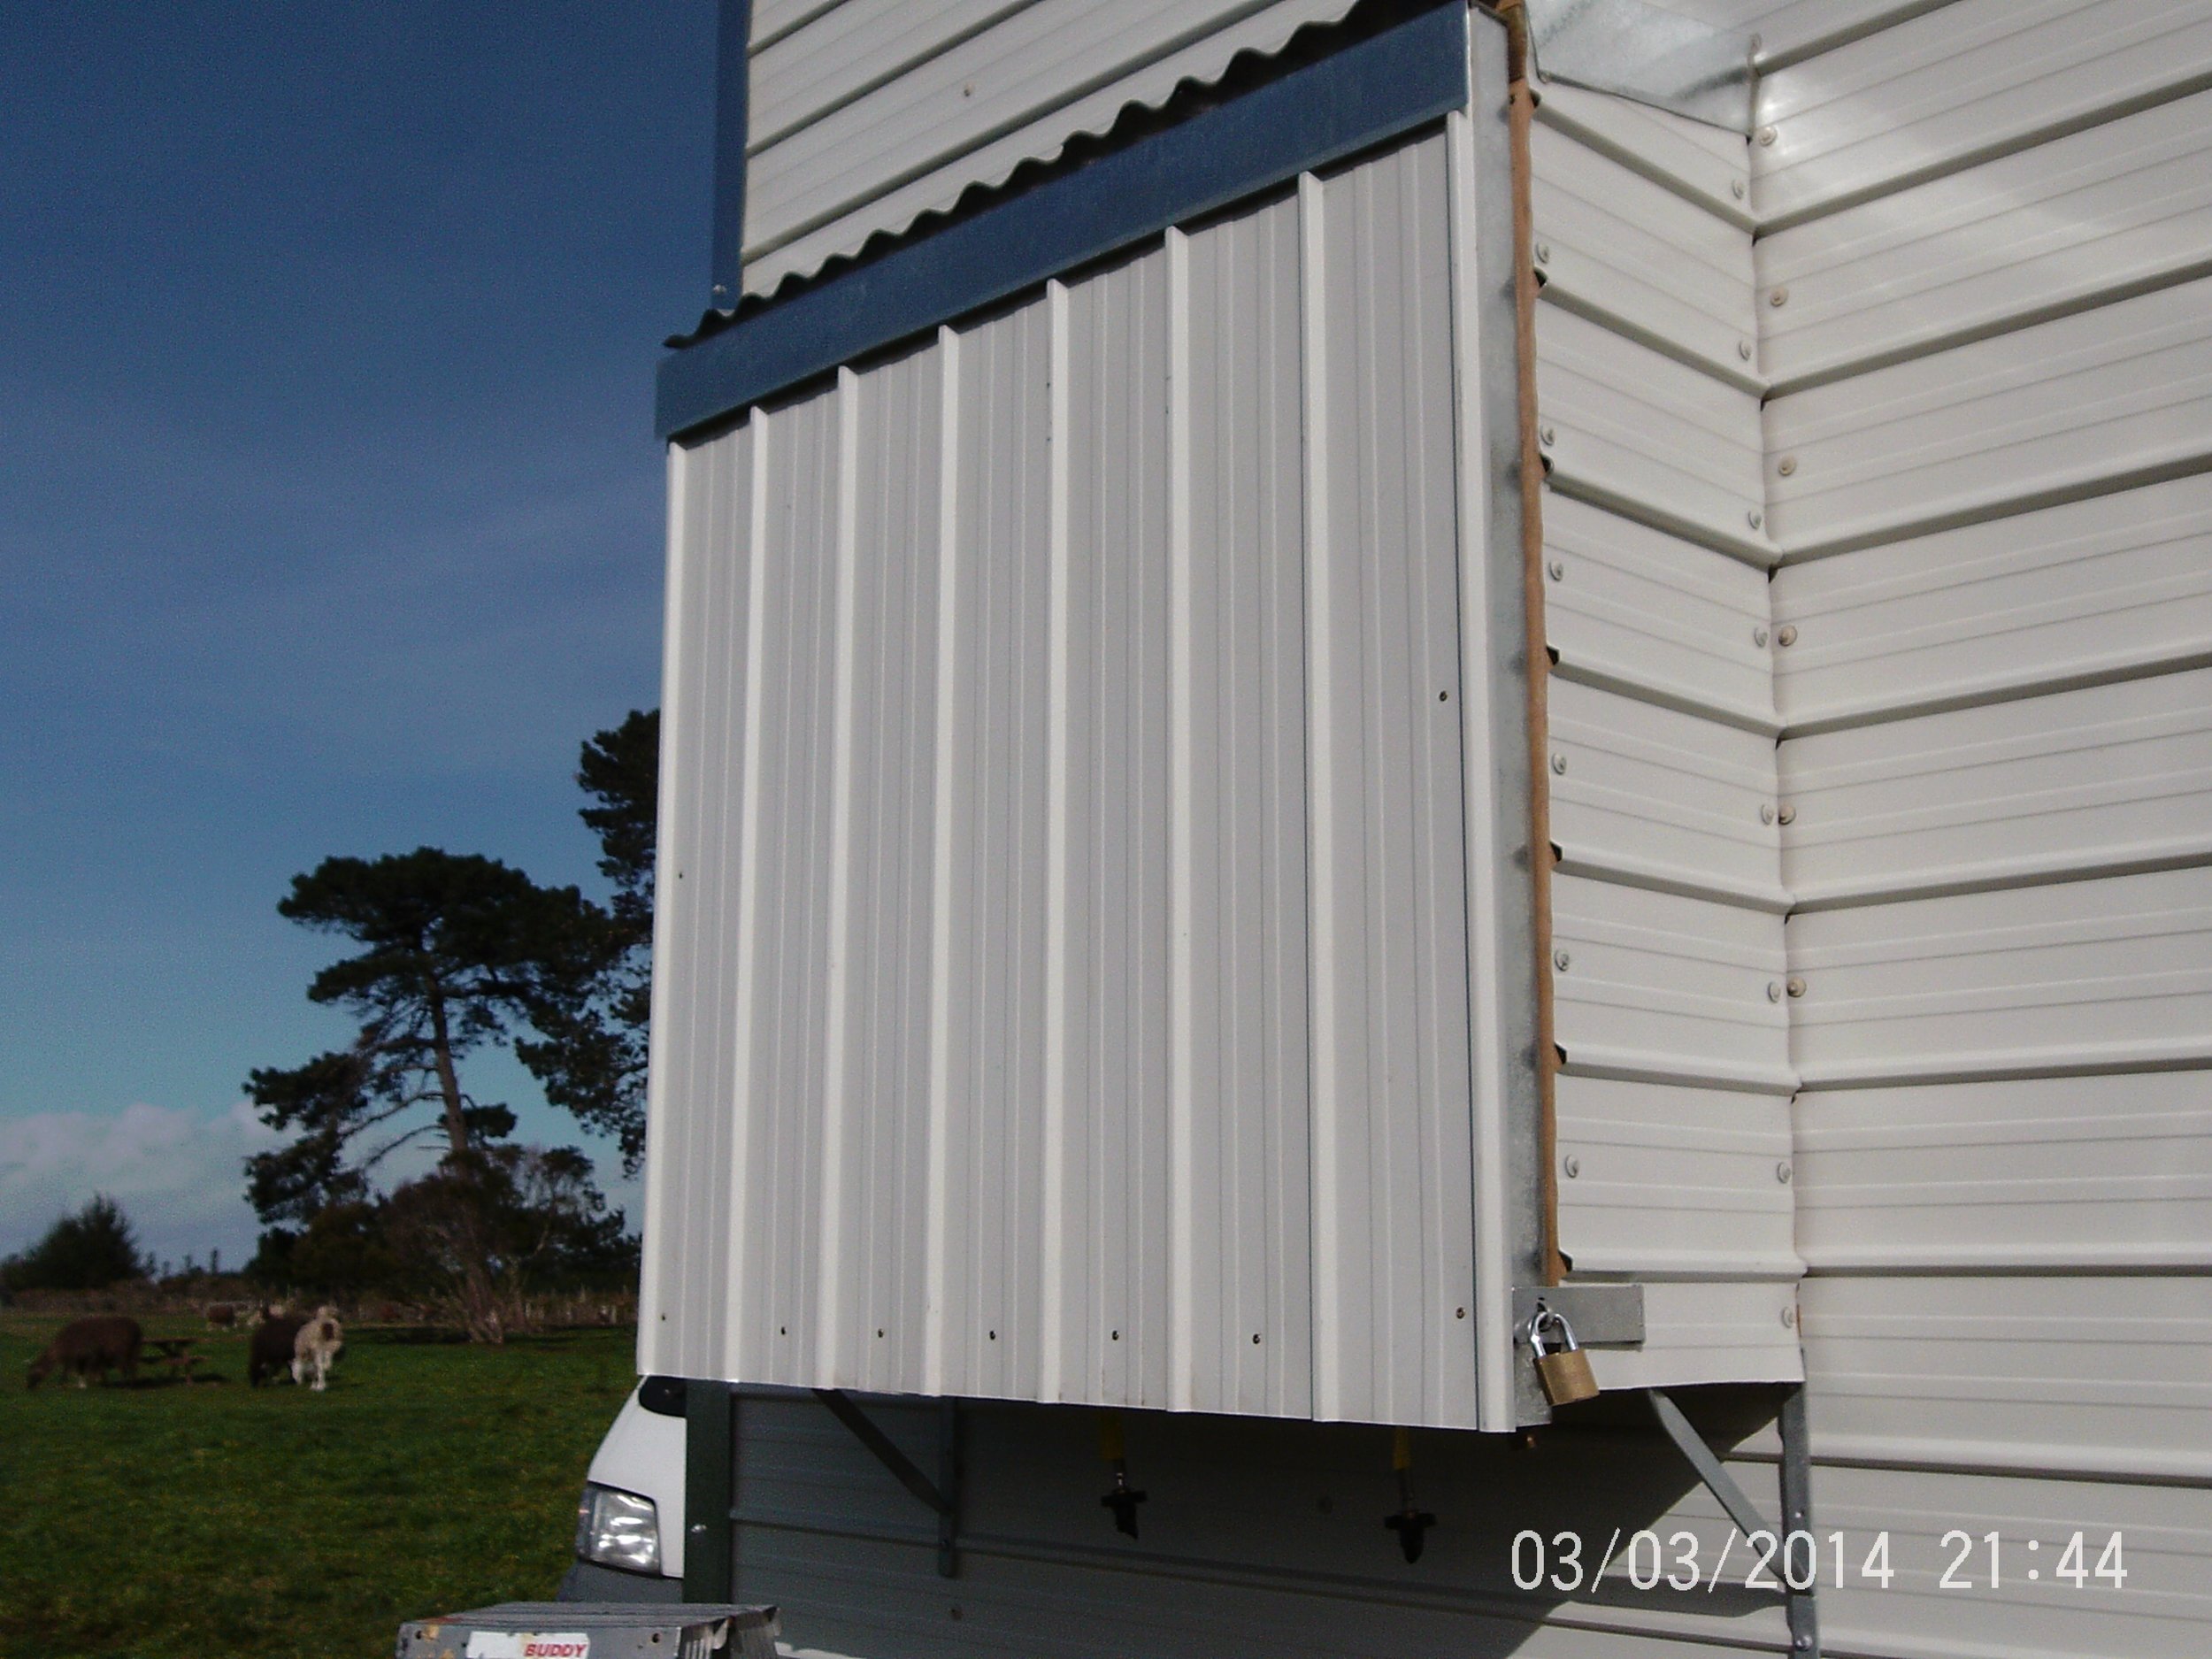
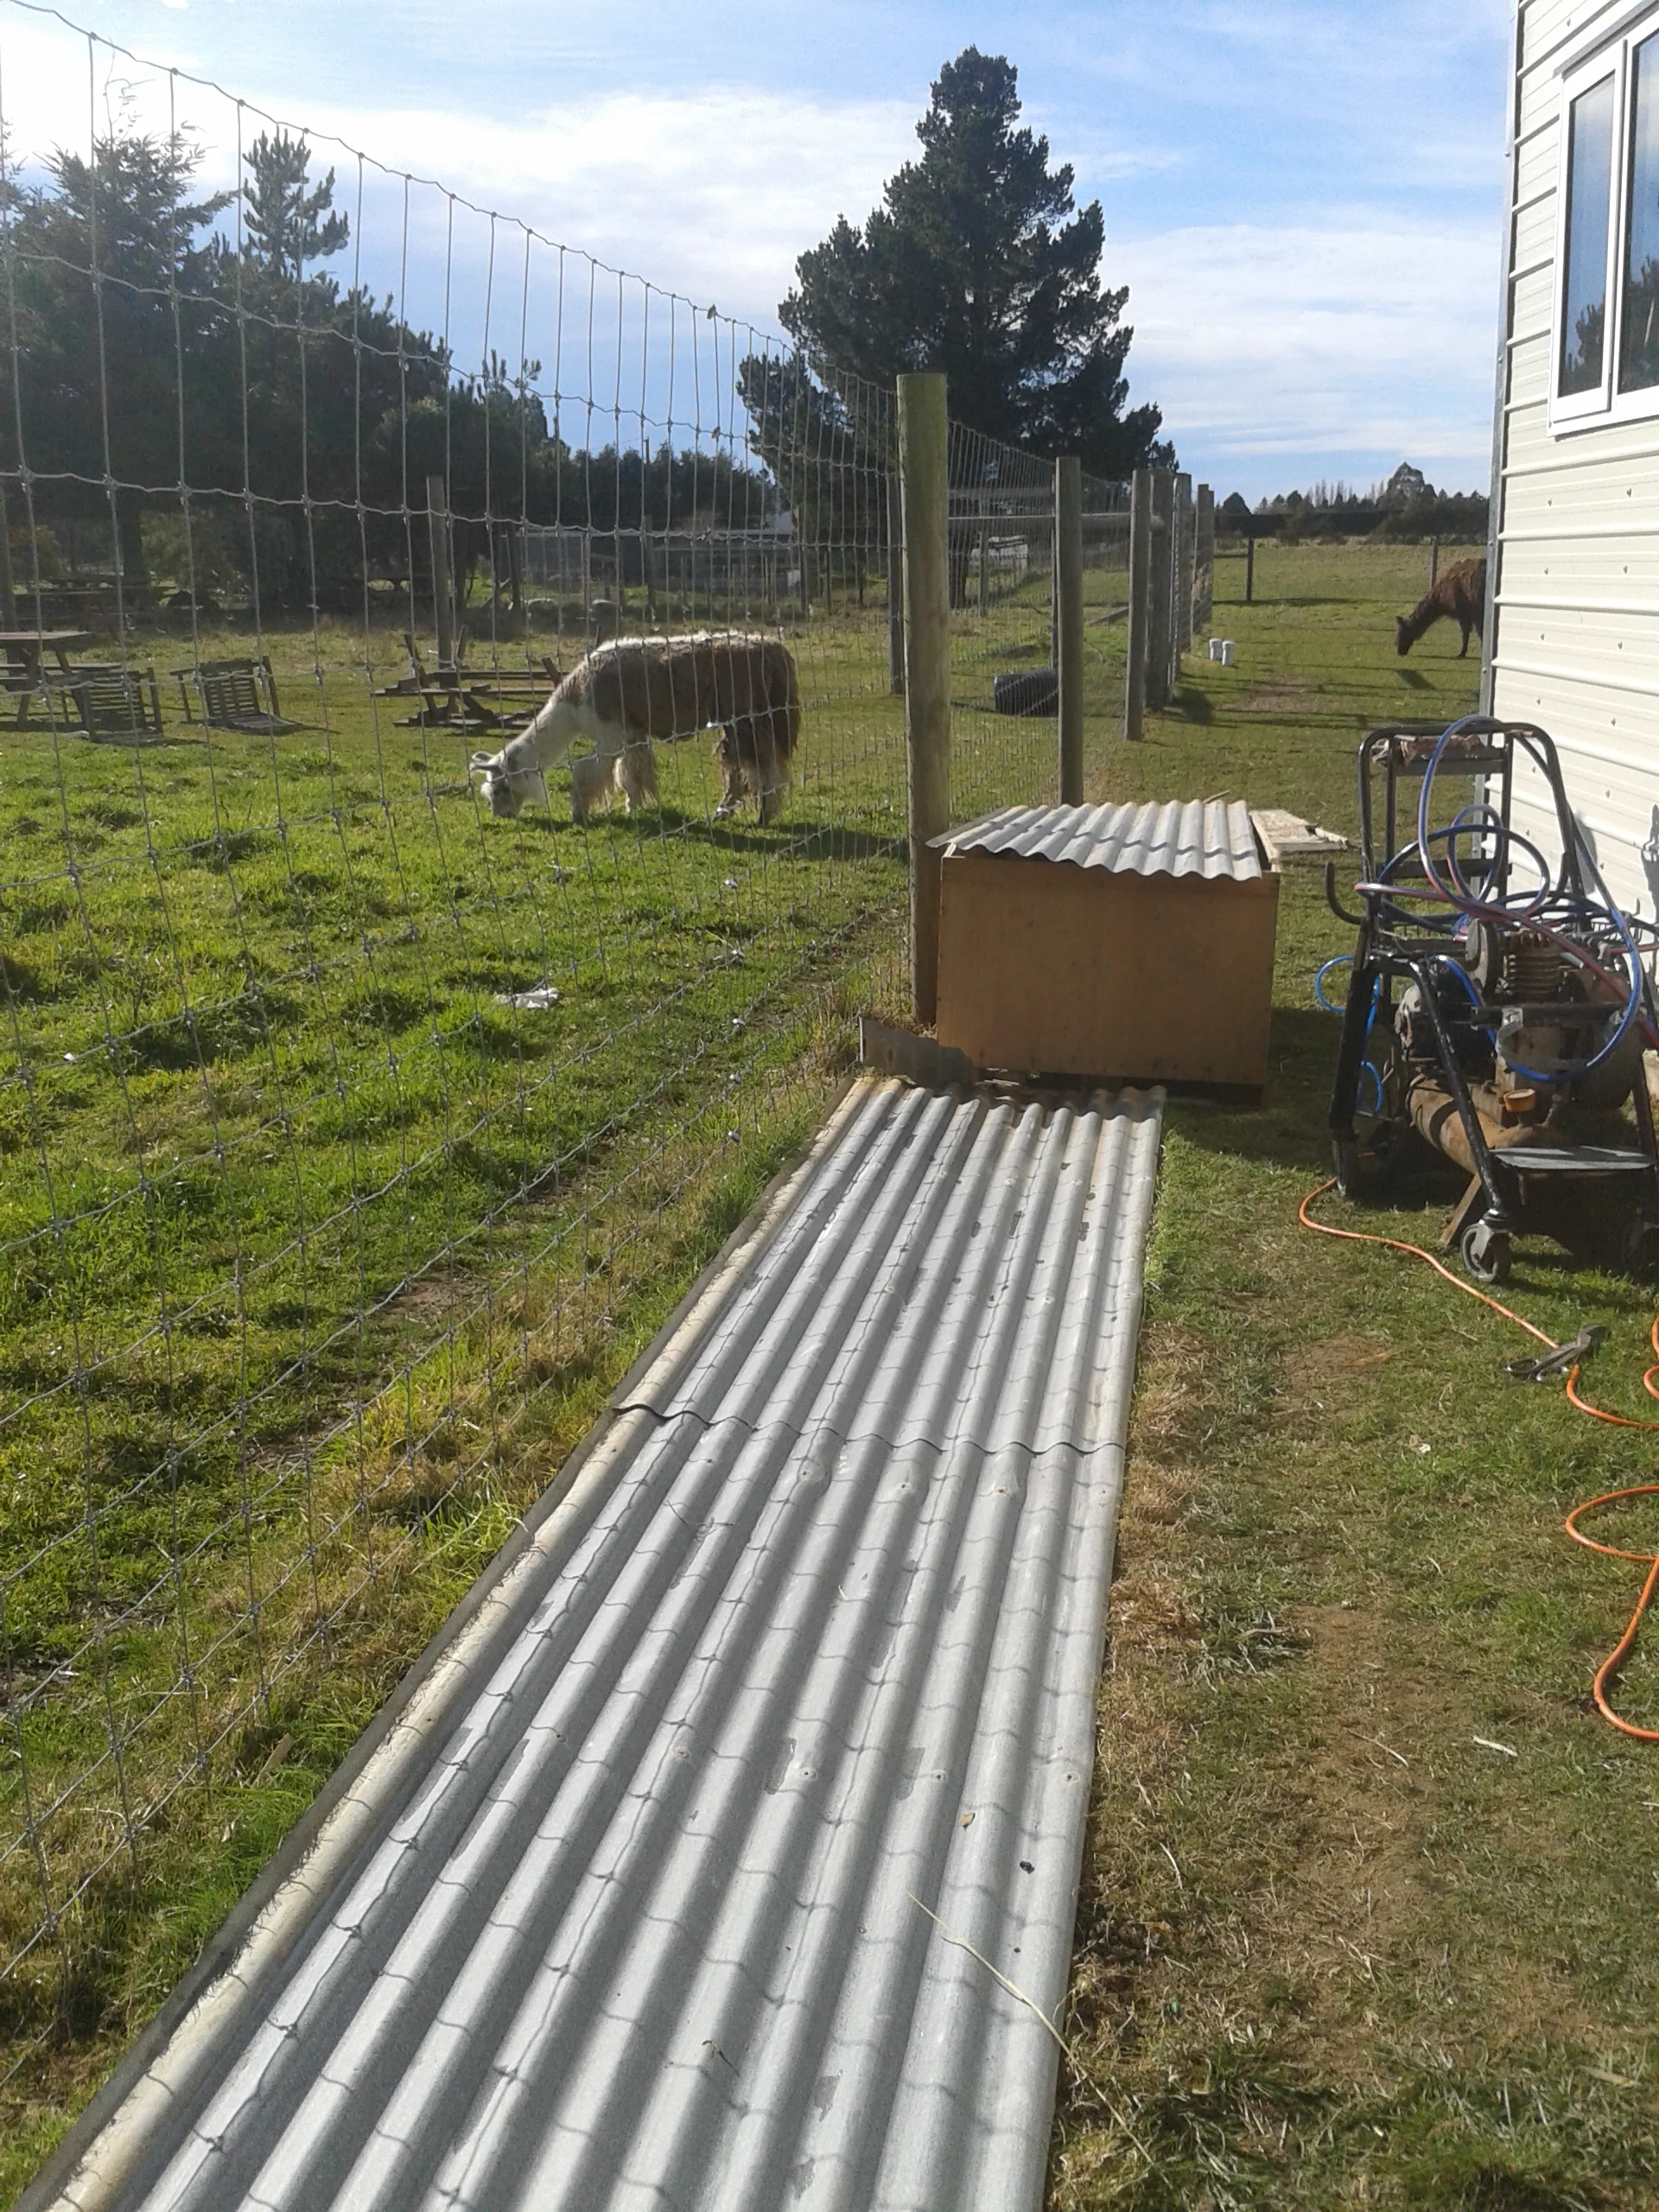
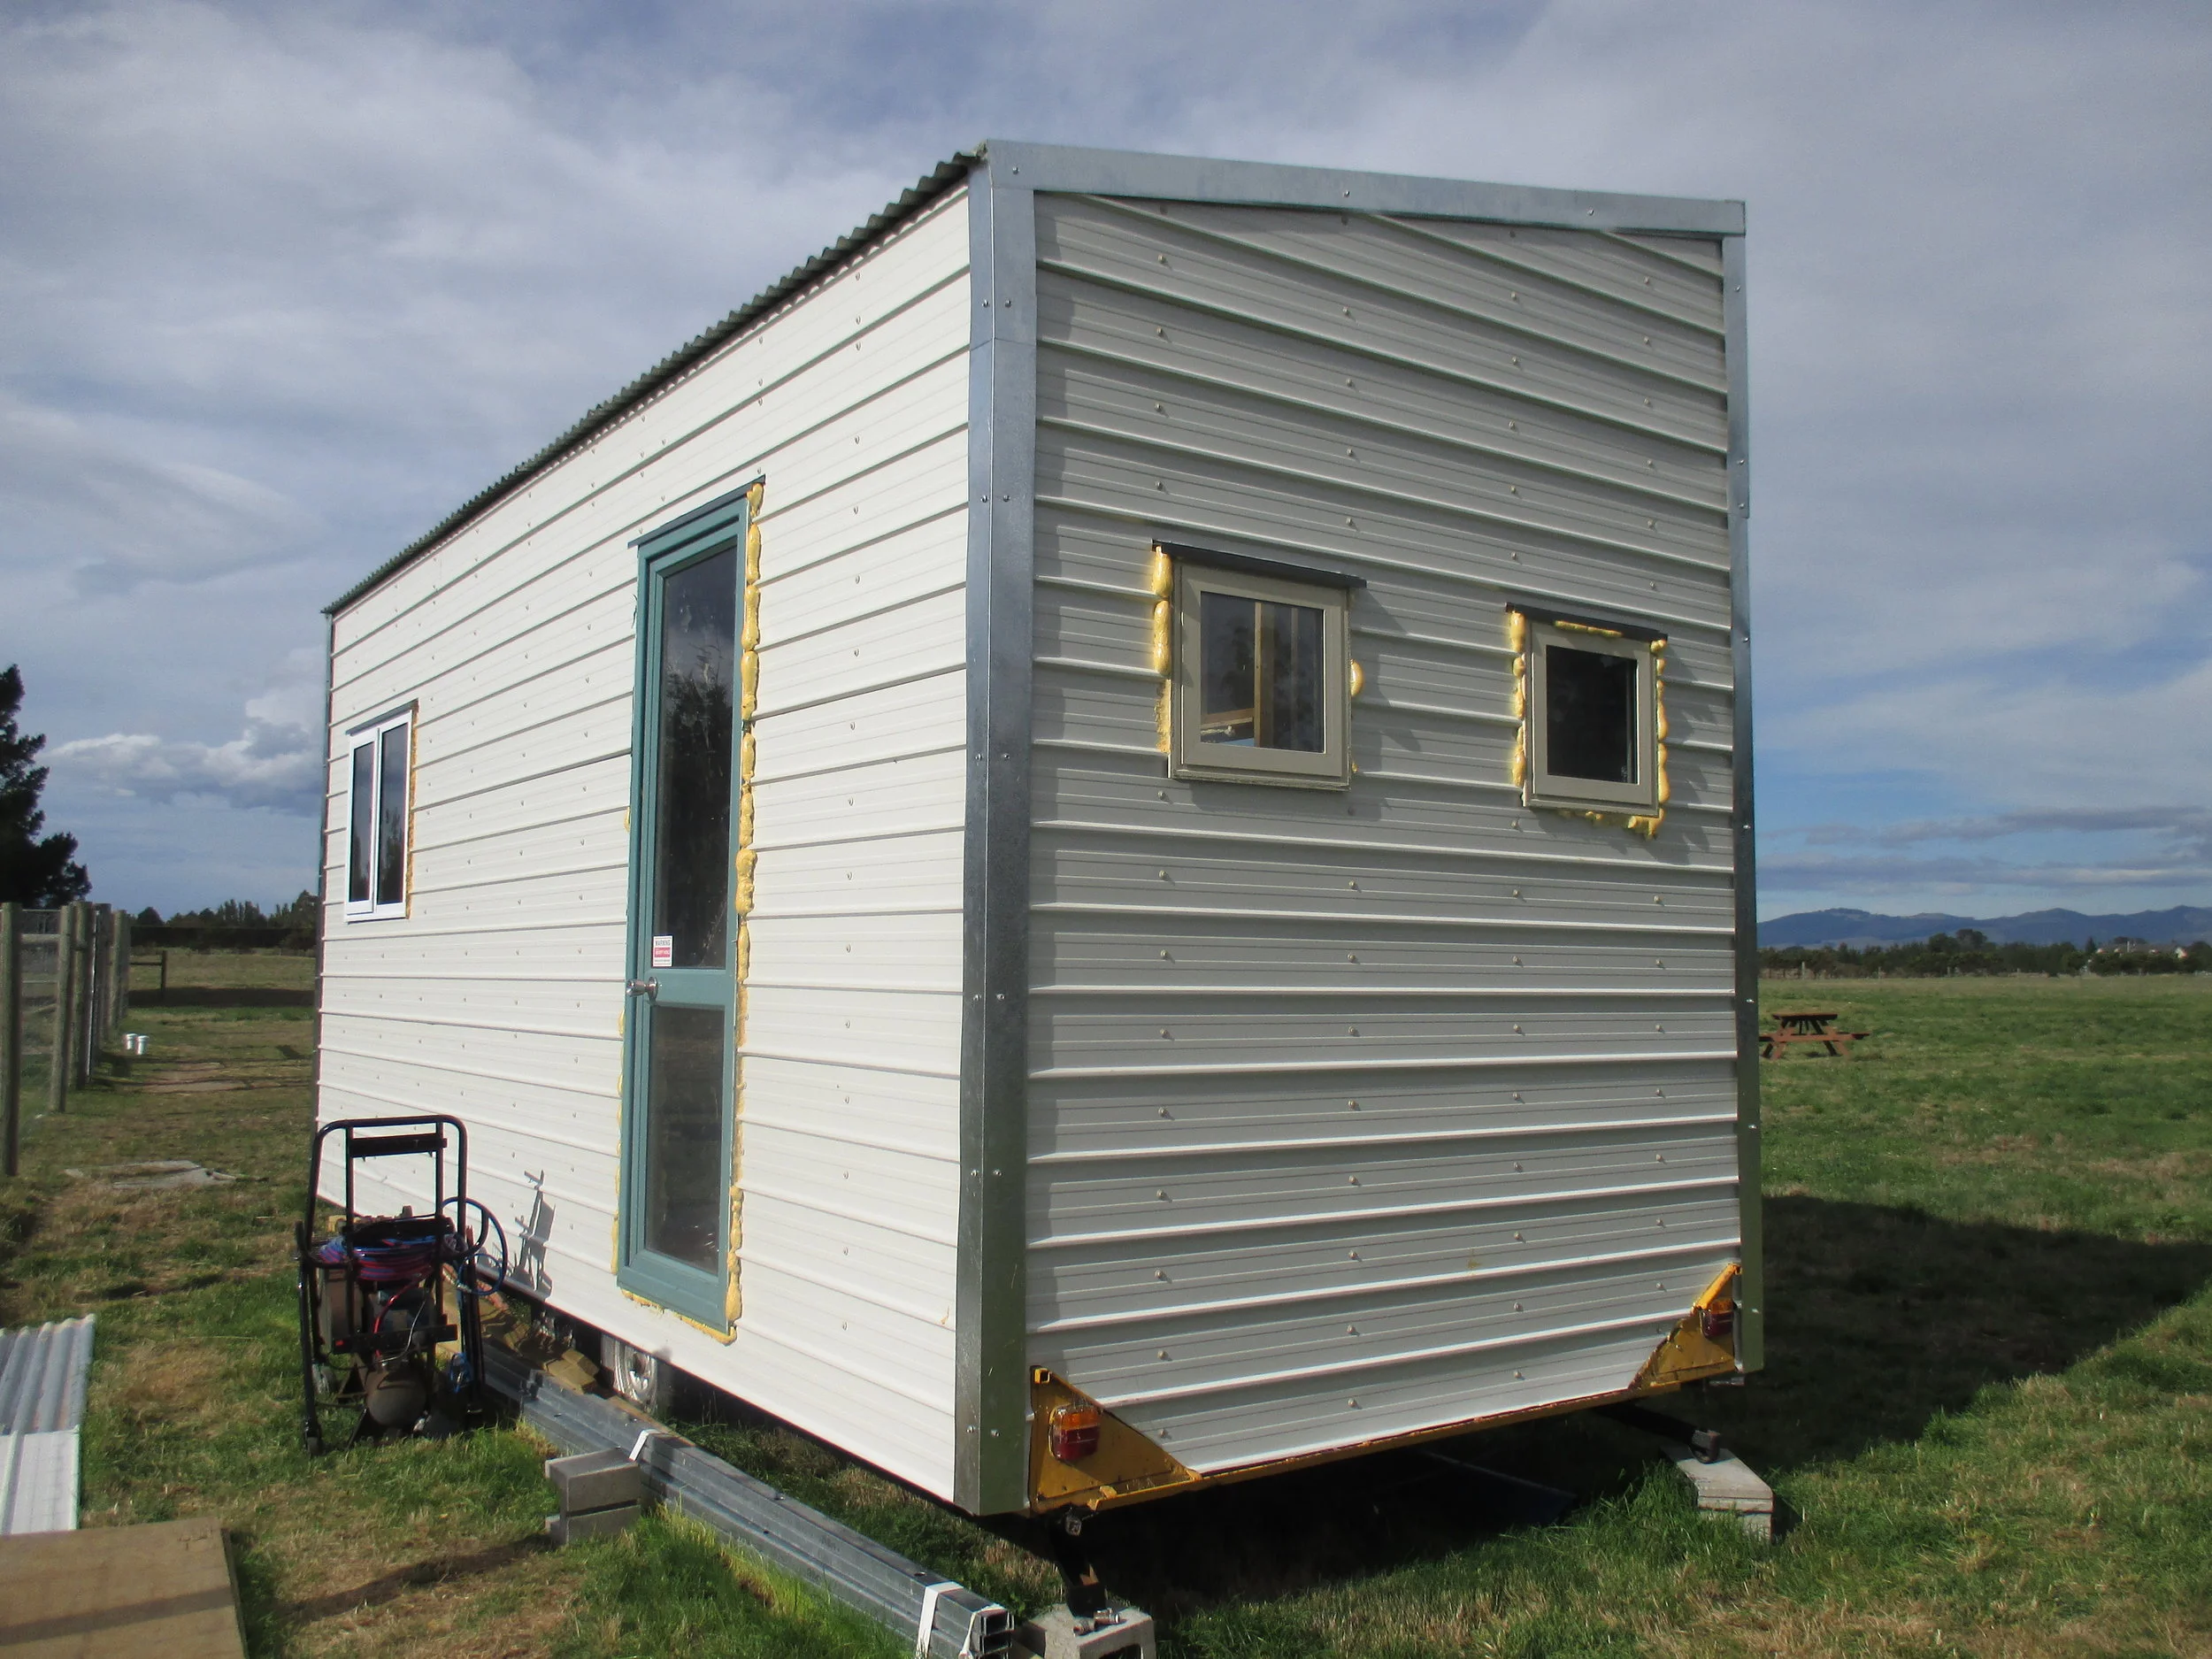
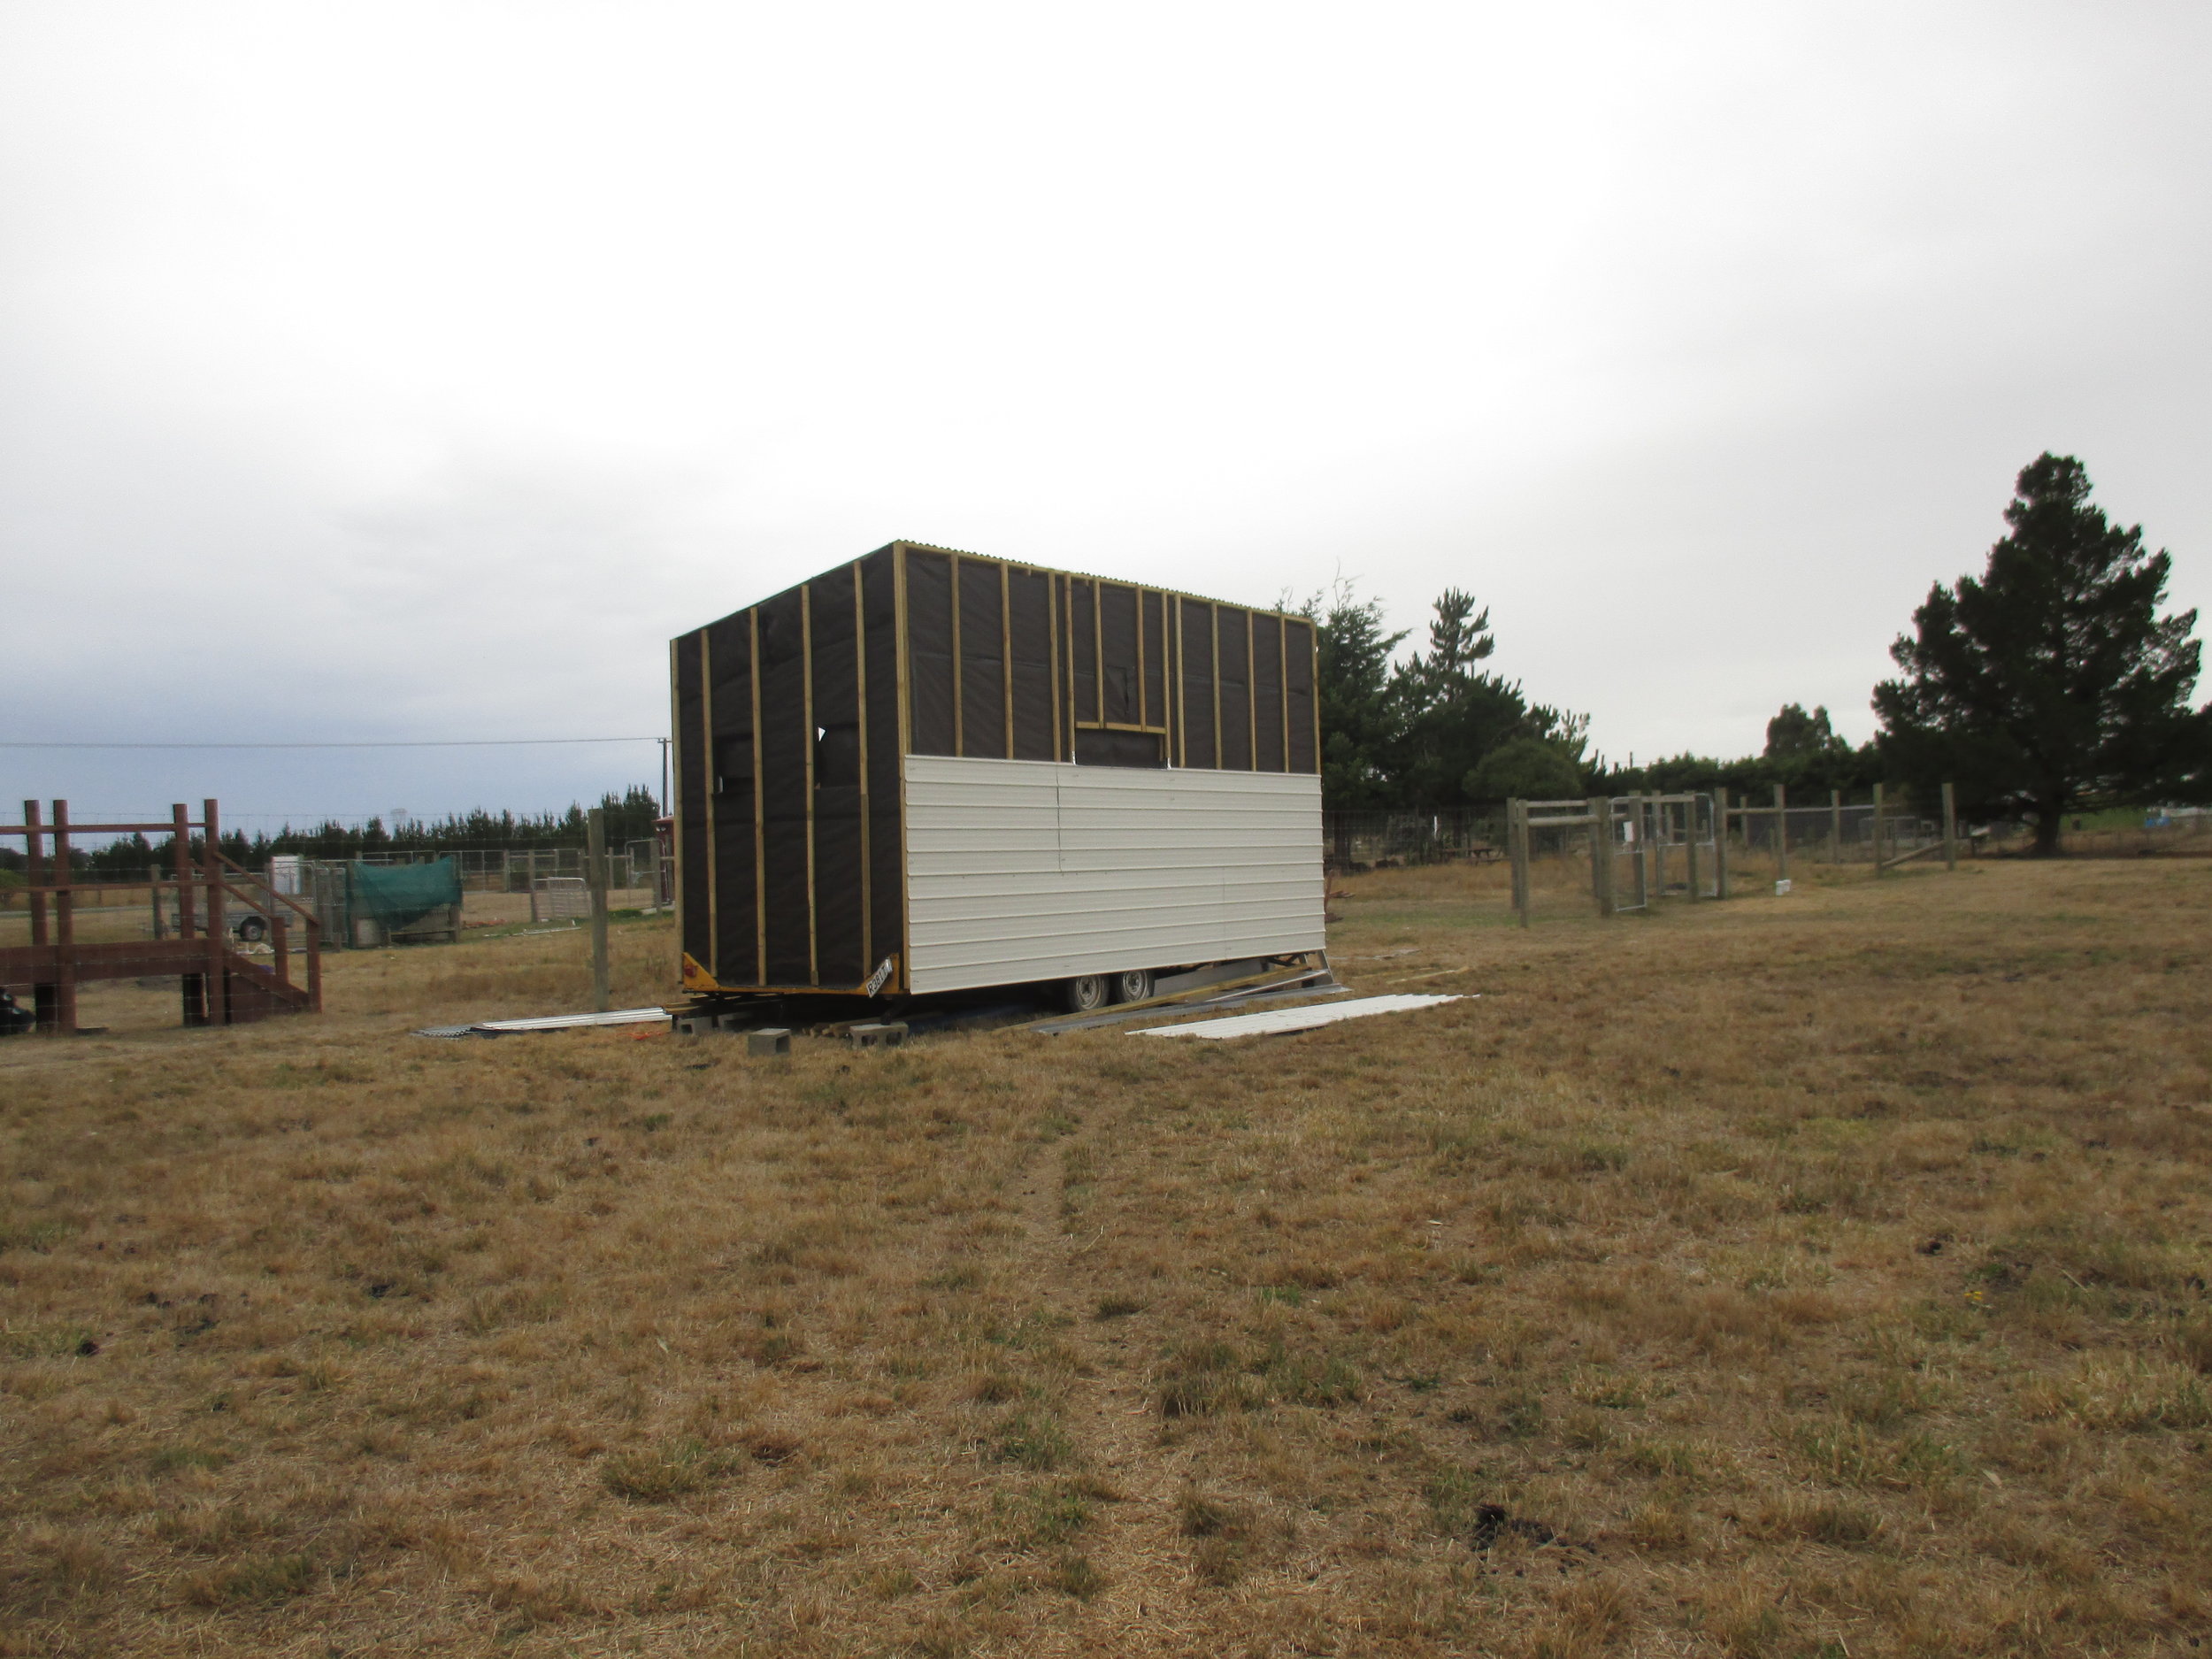
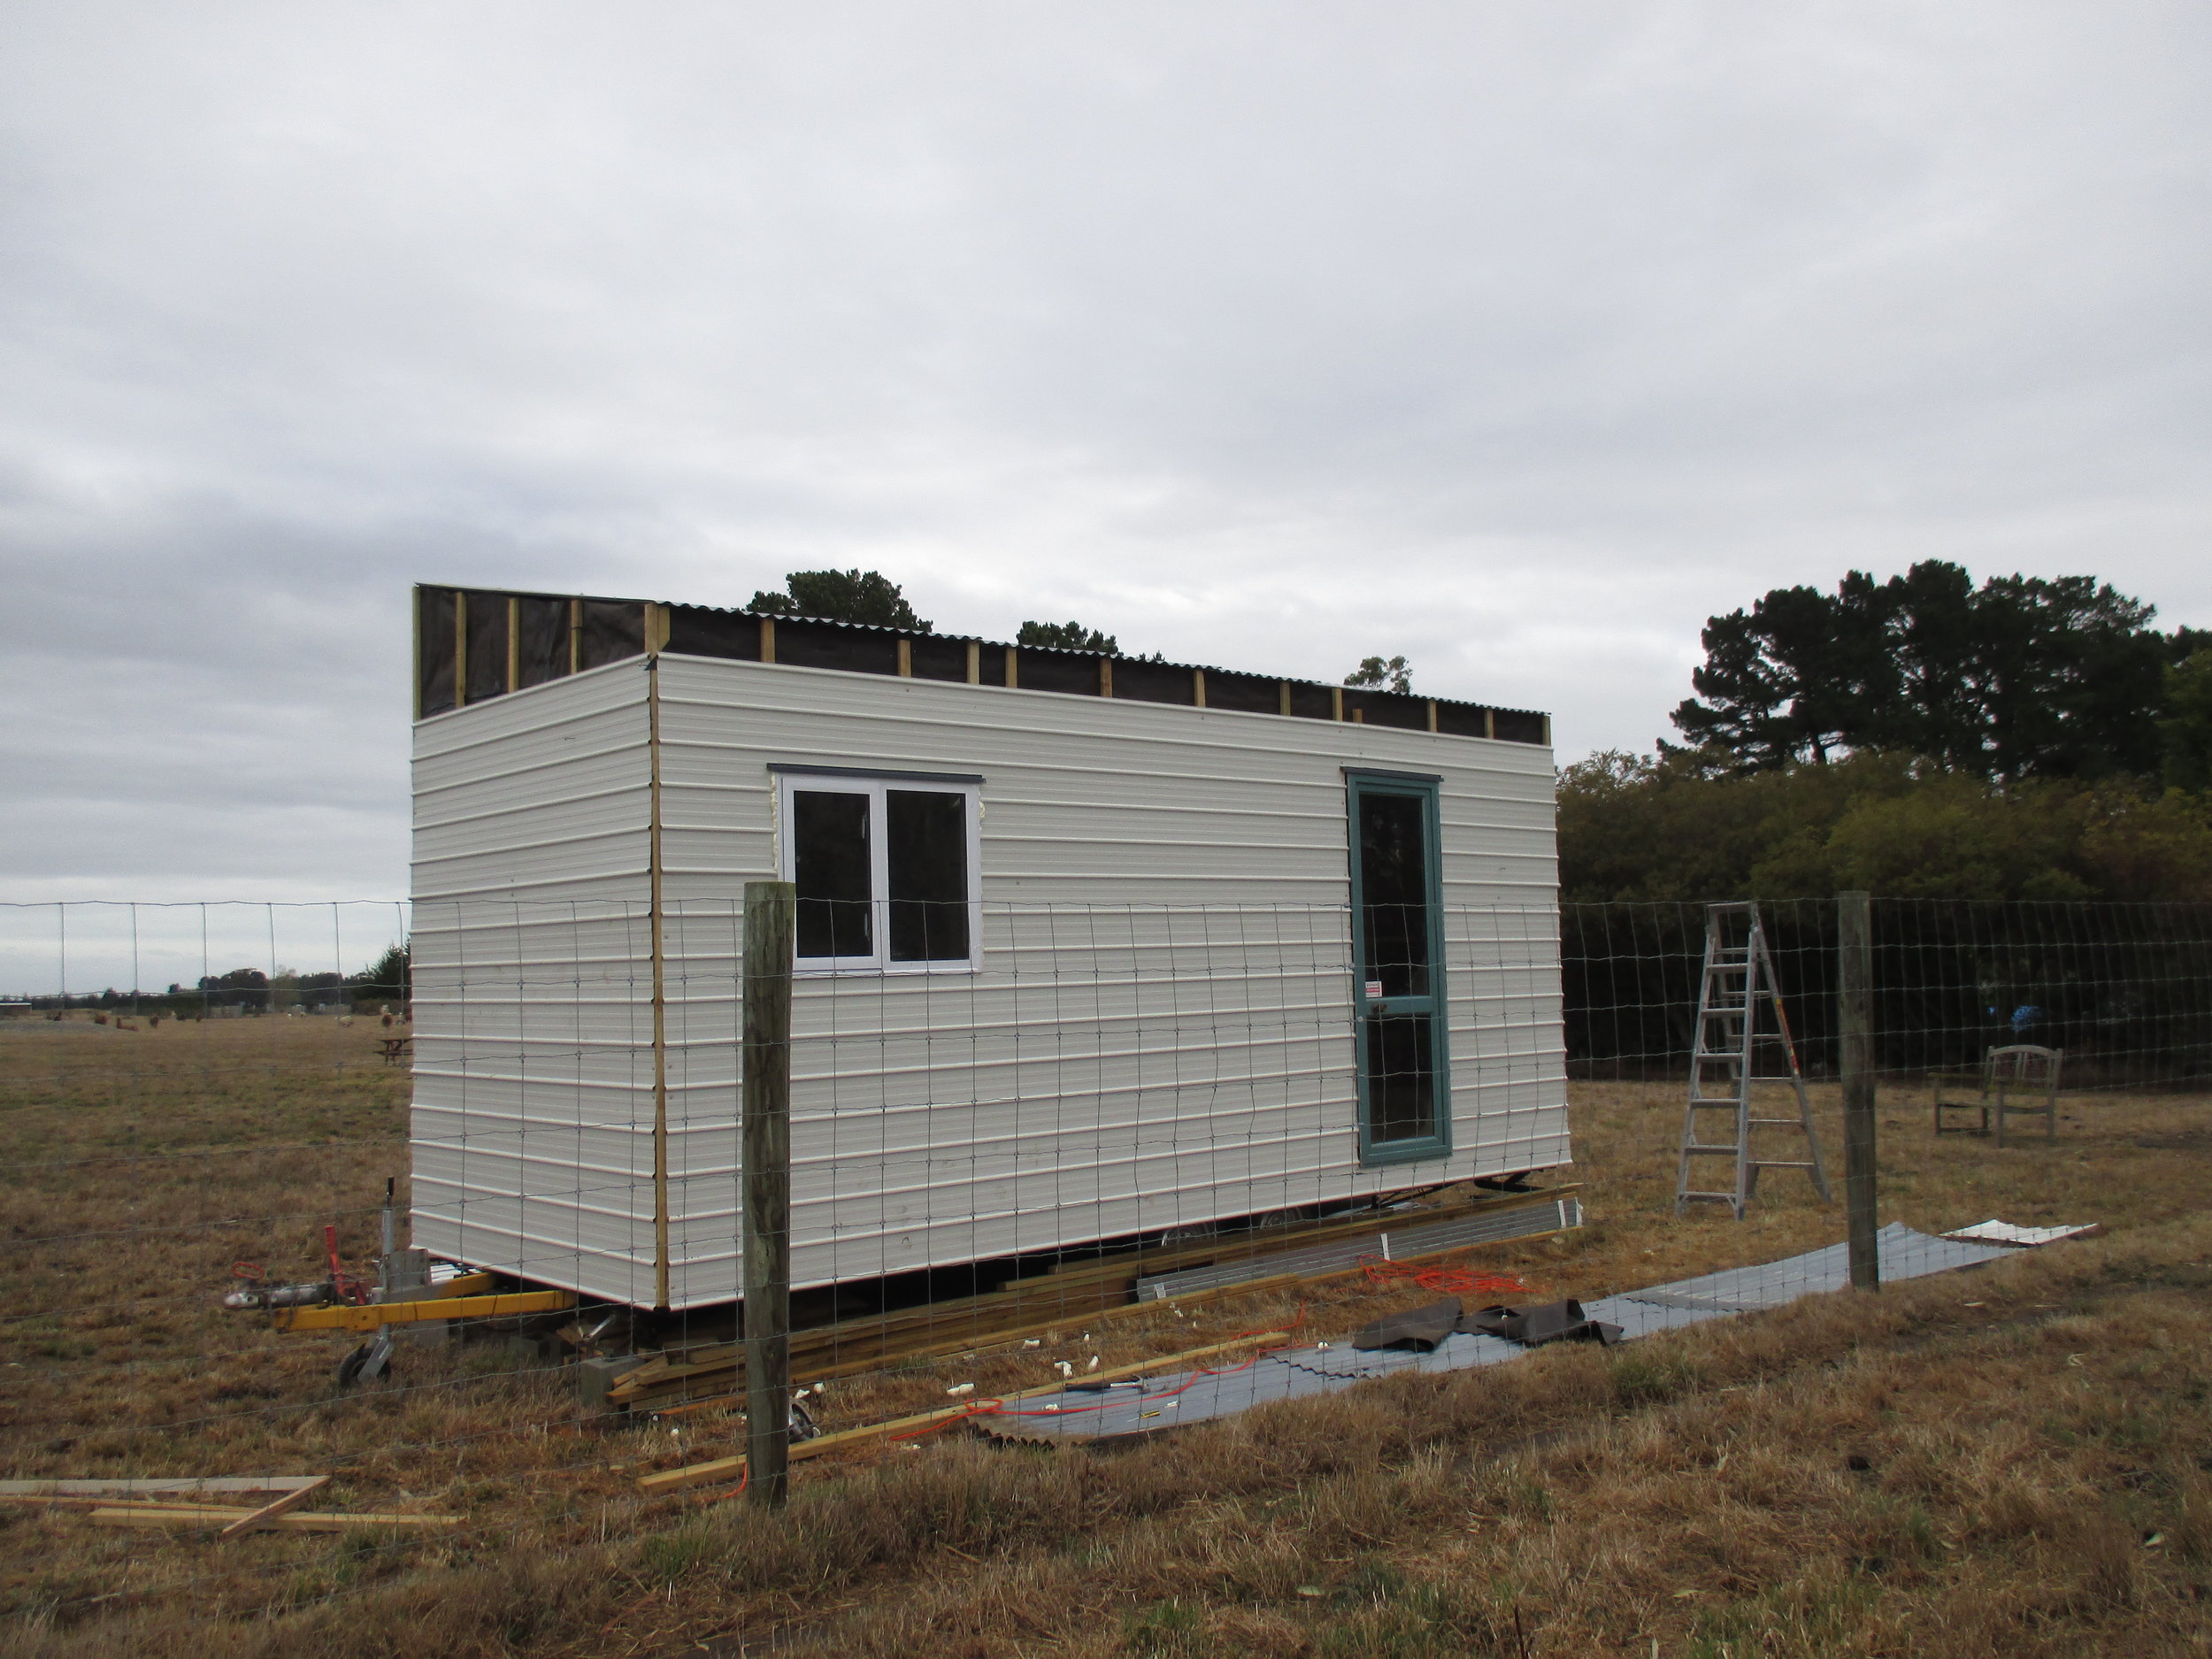
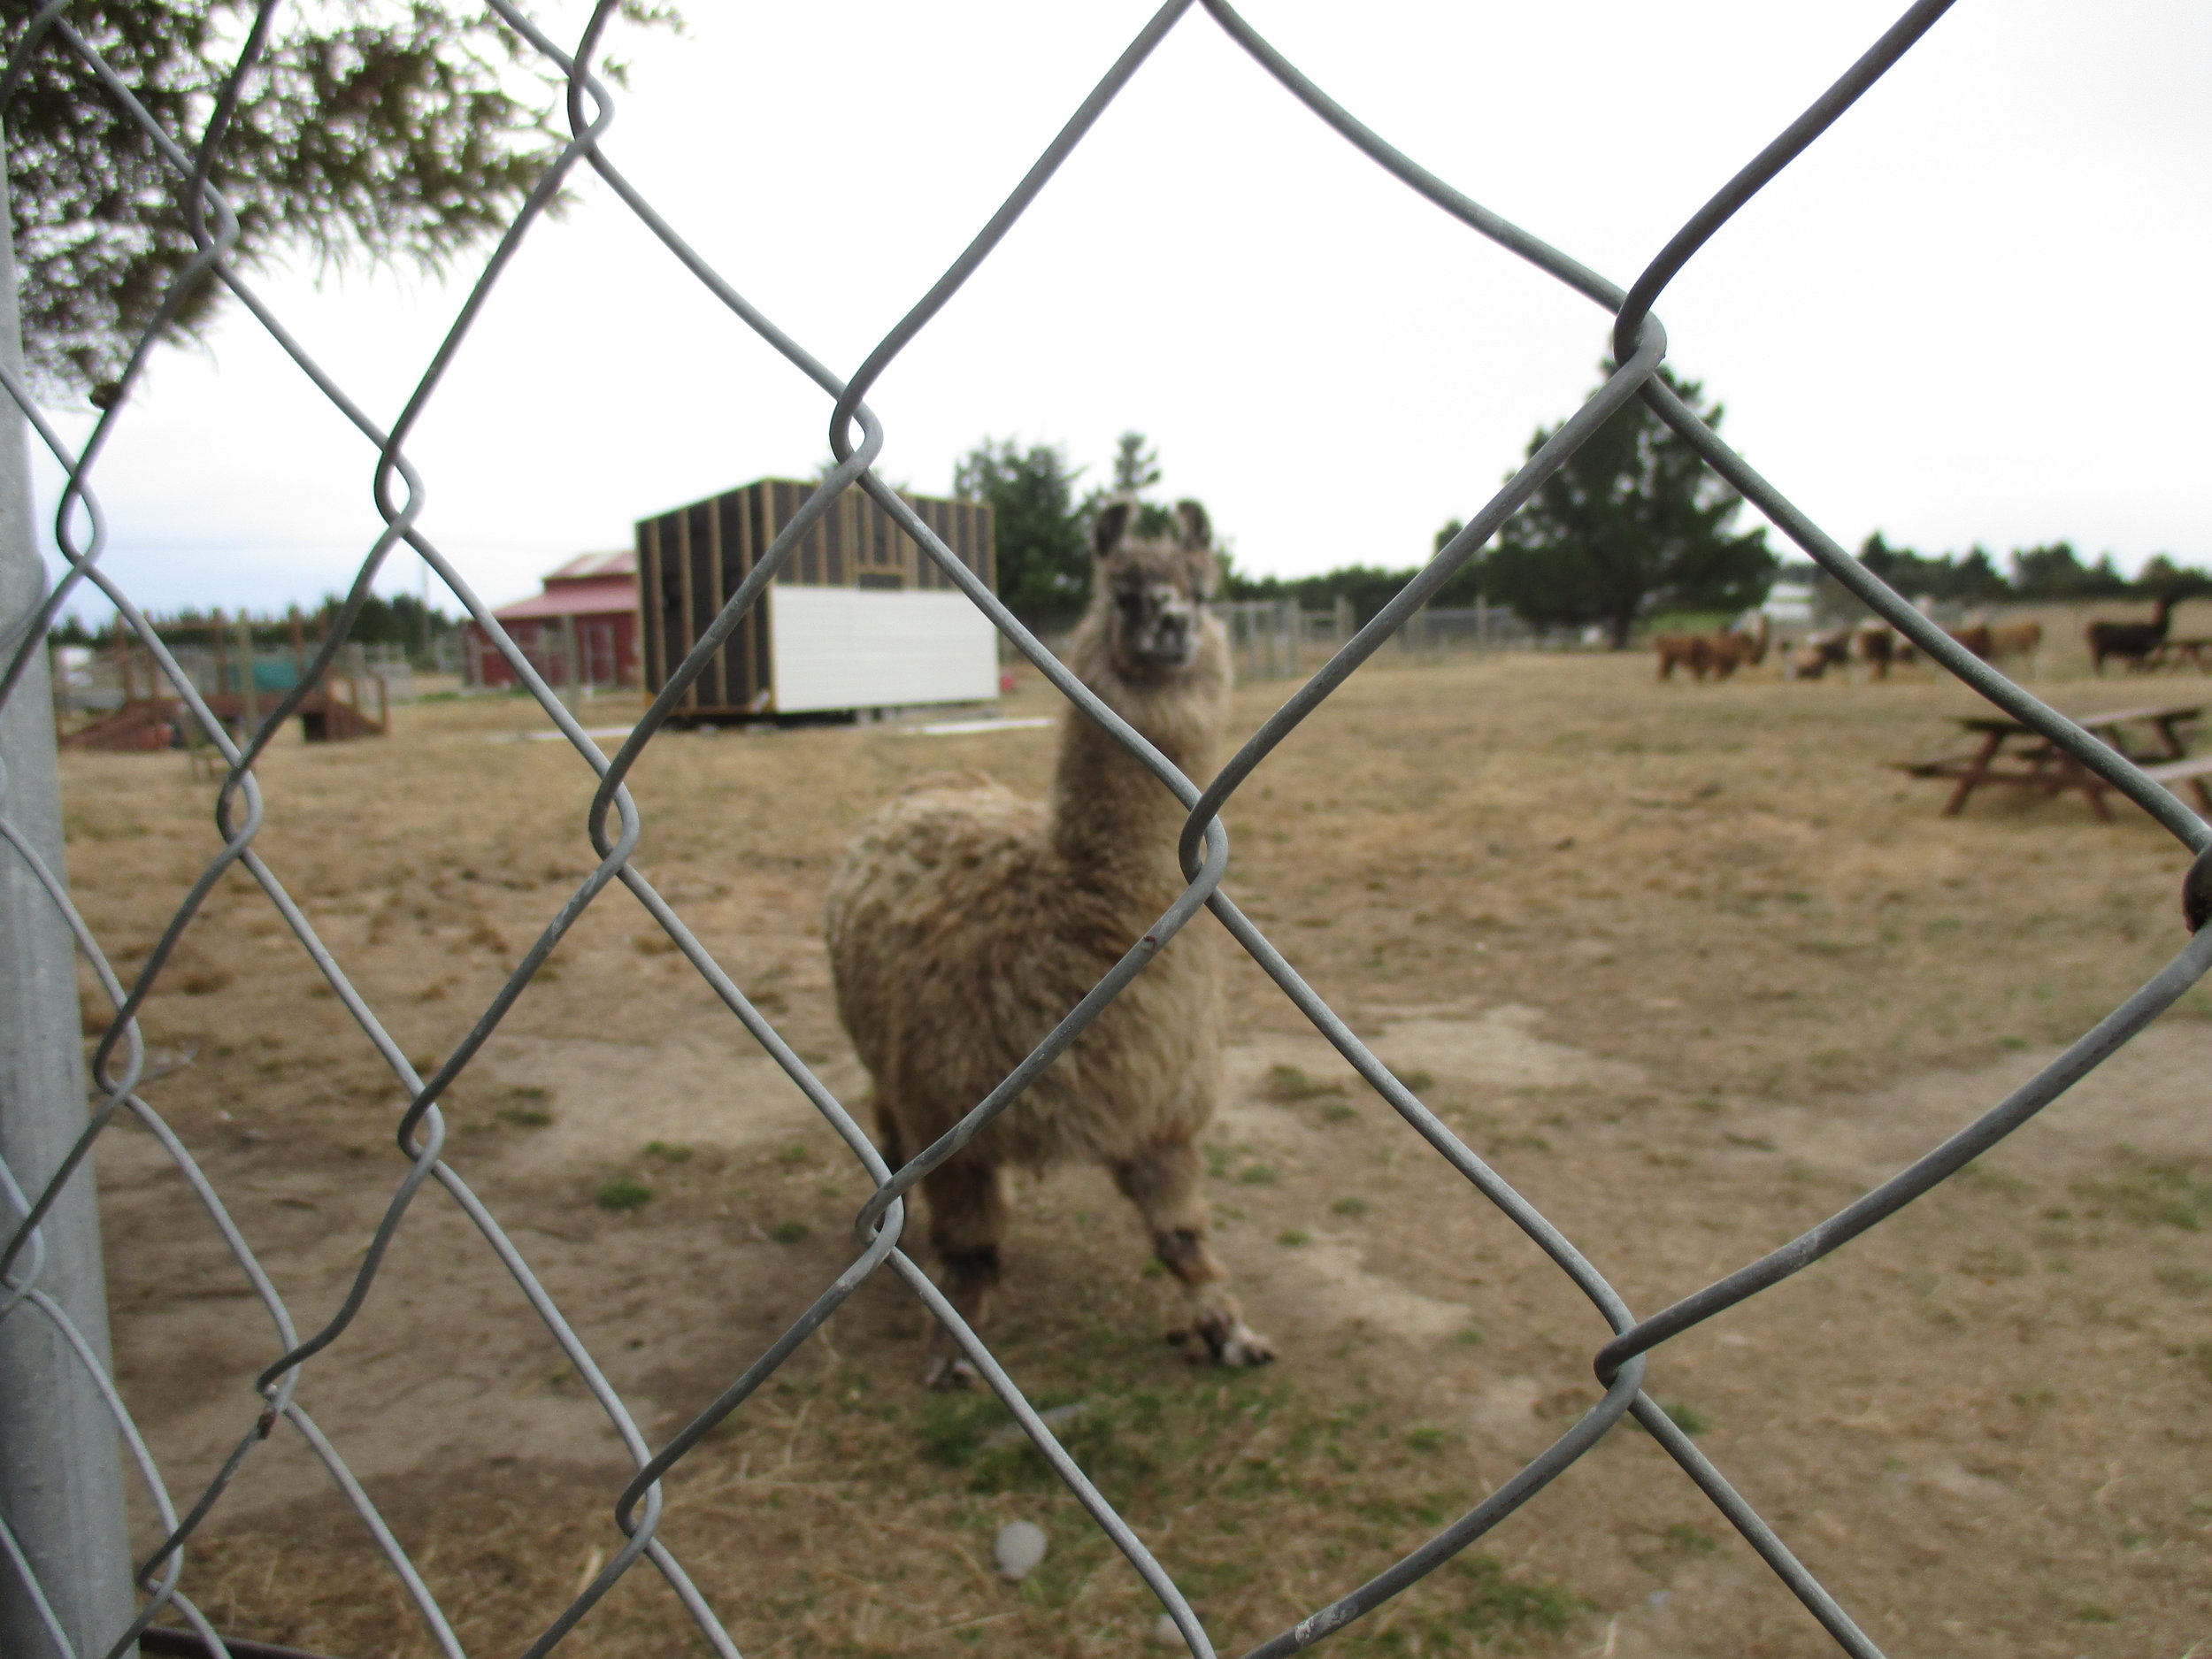
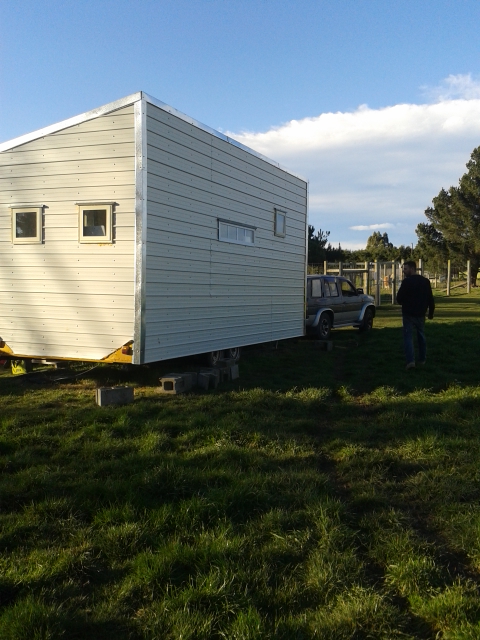
Below is the first long distance photo that we have been able to take without a fence in the way!

20150905_171951

Nice view!

20150905_165301 20150905_165257

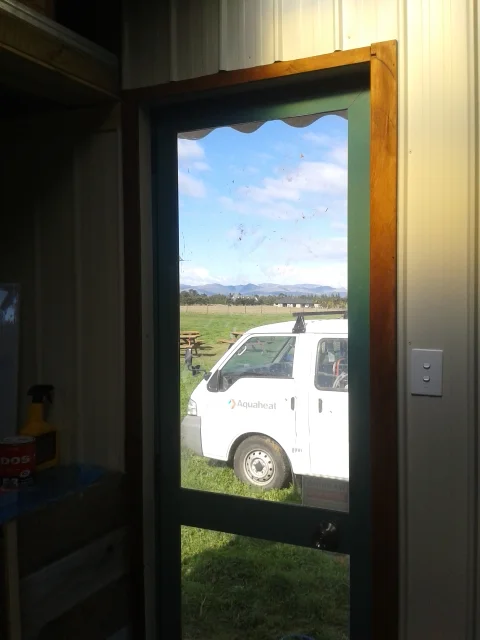
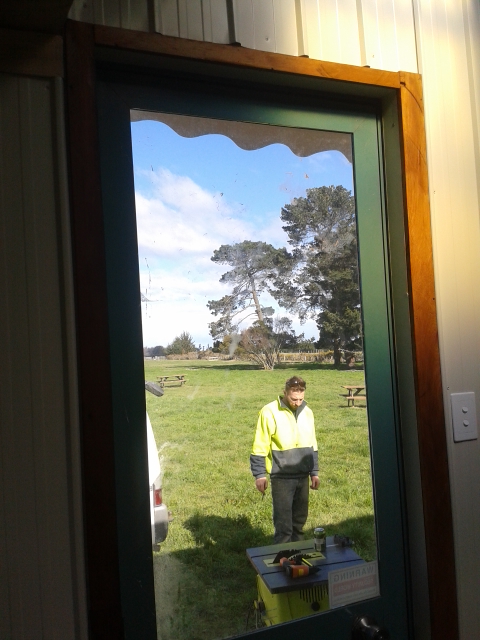
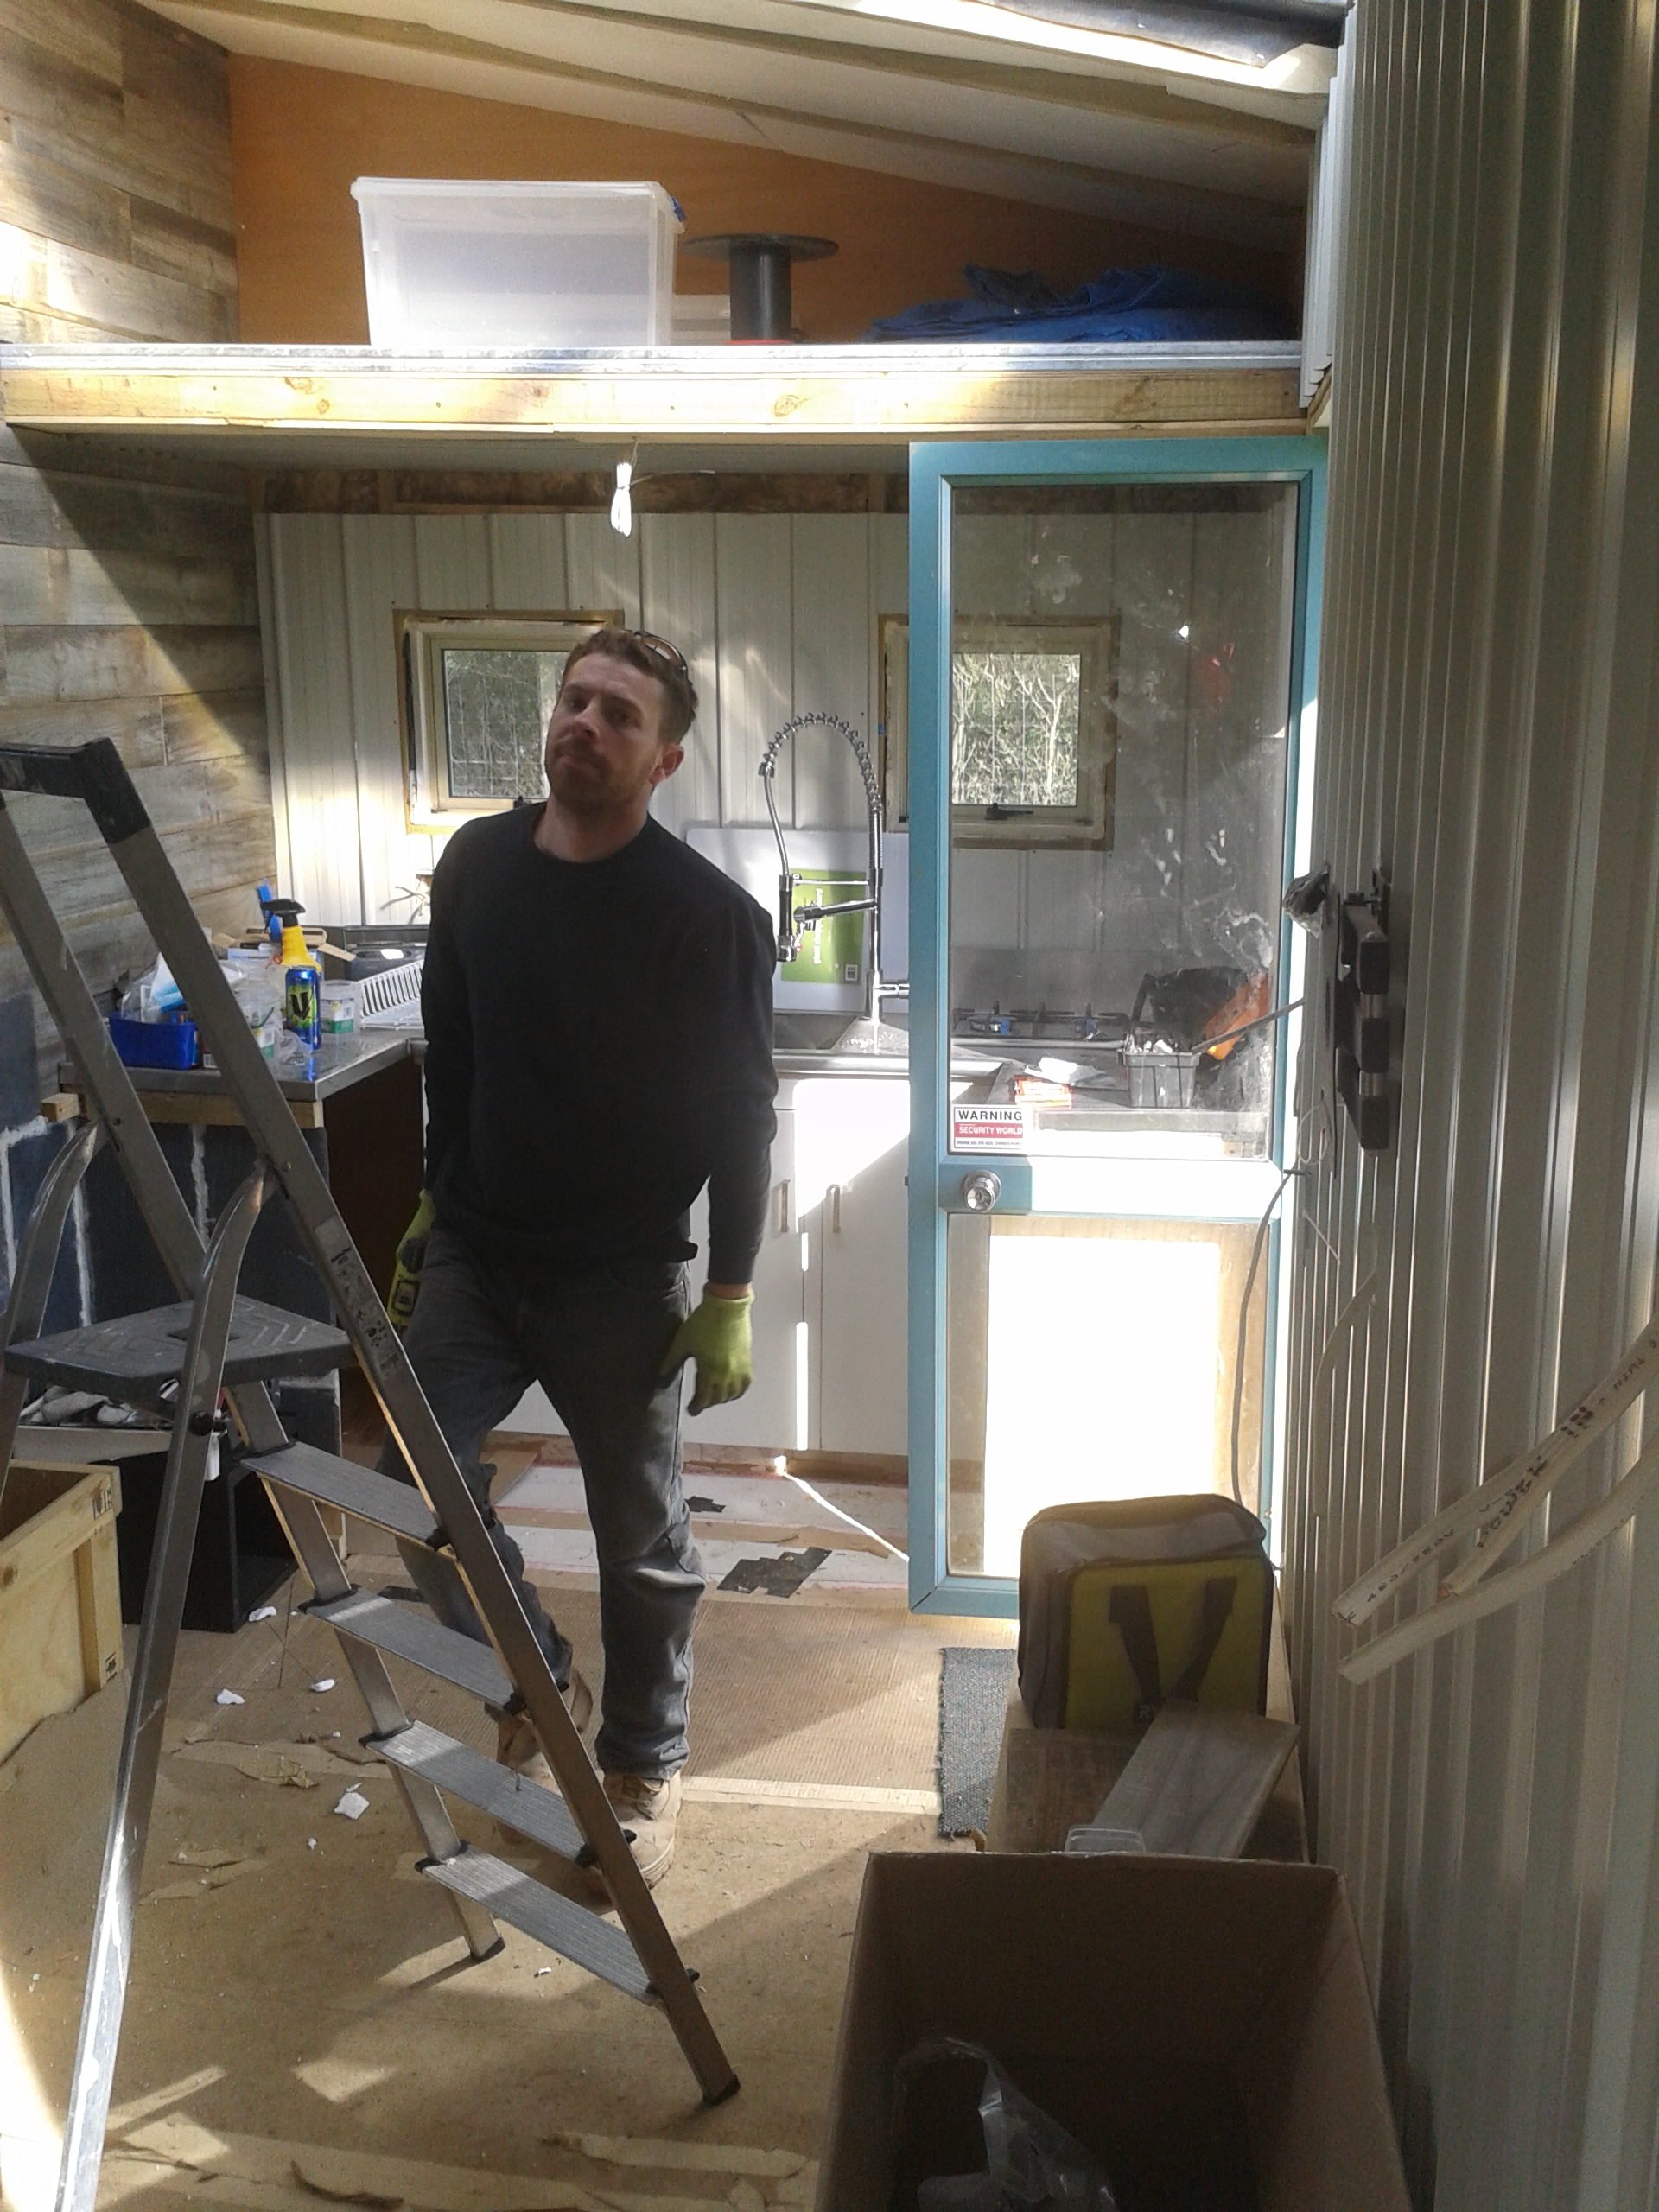
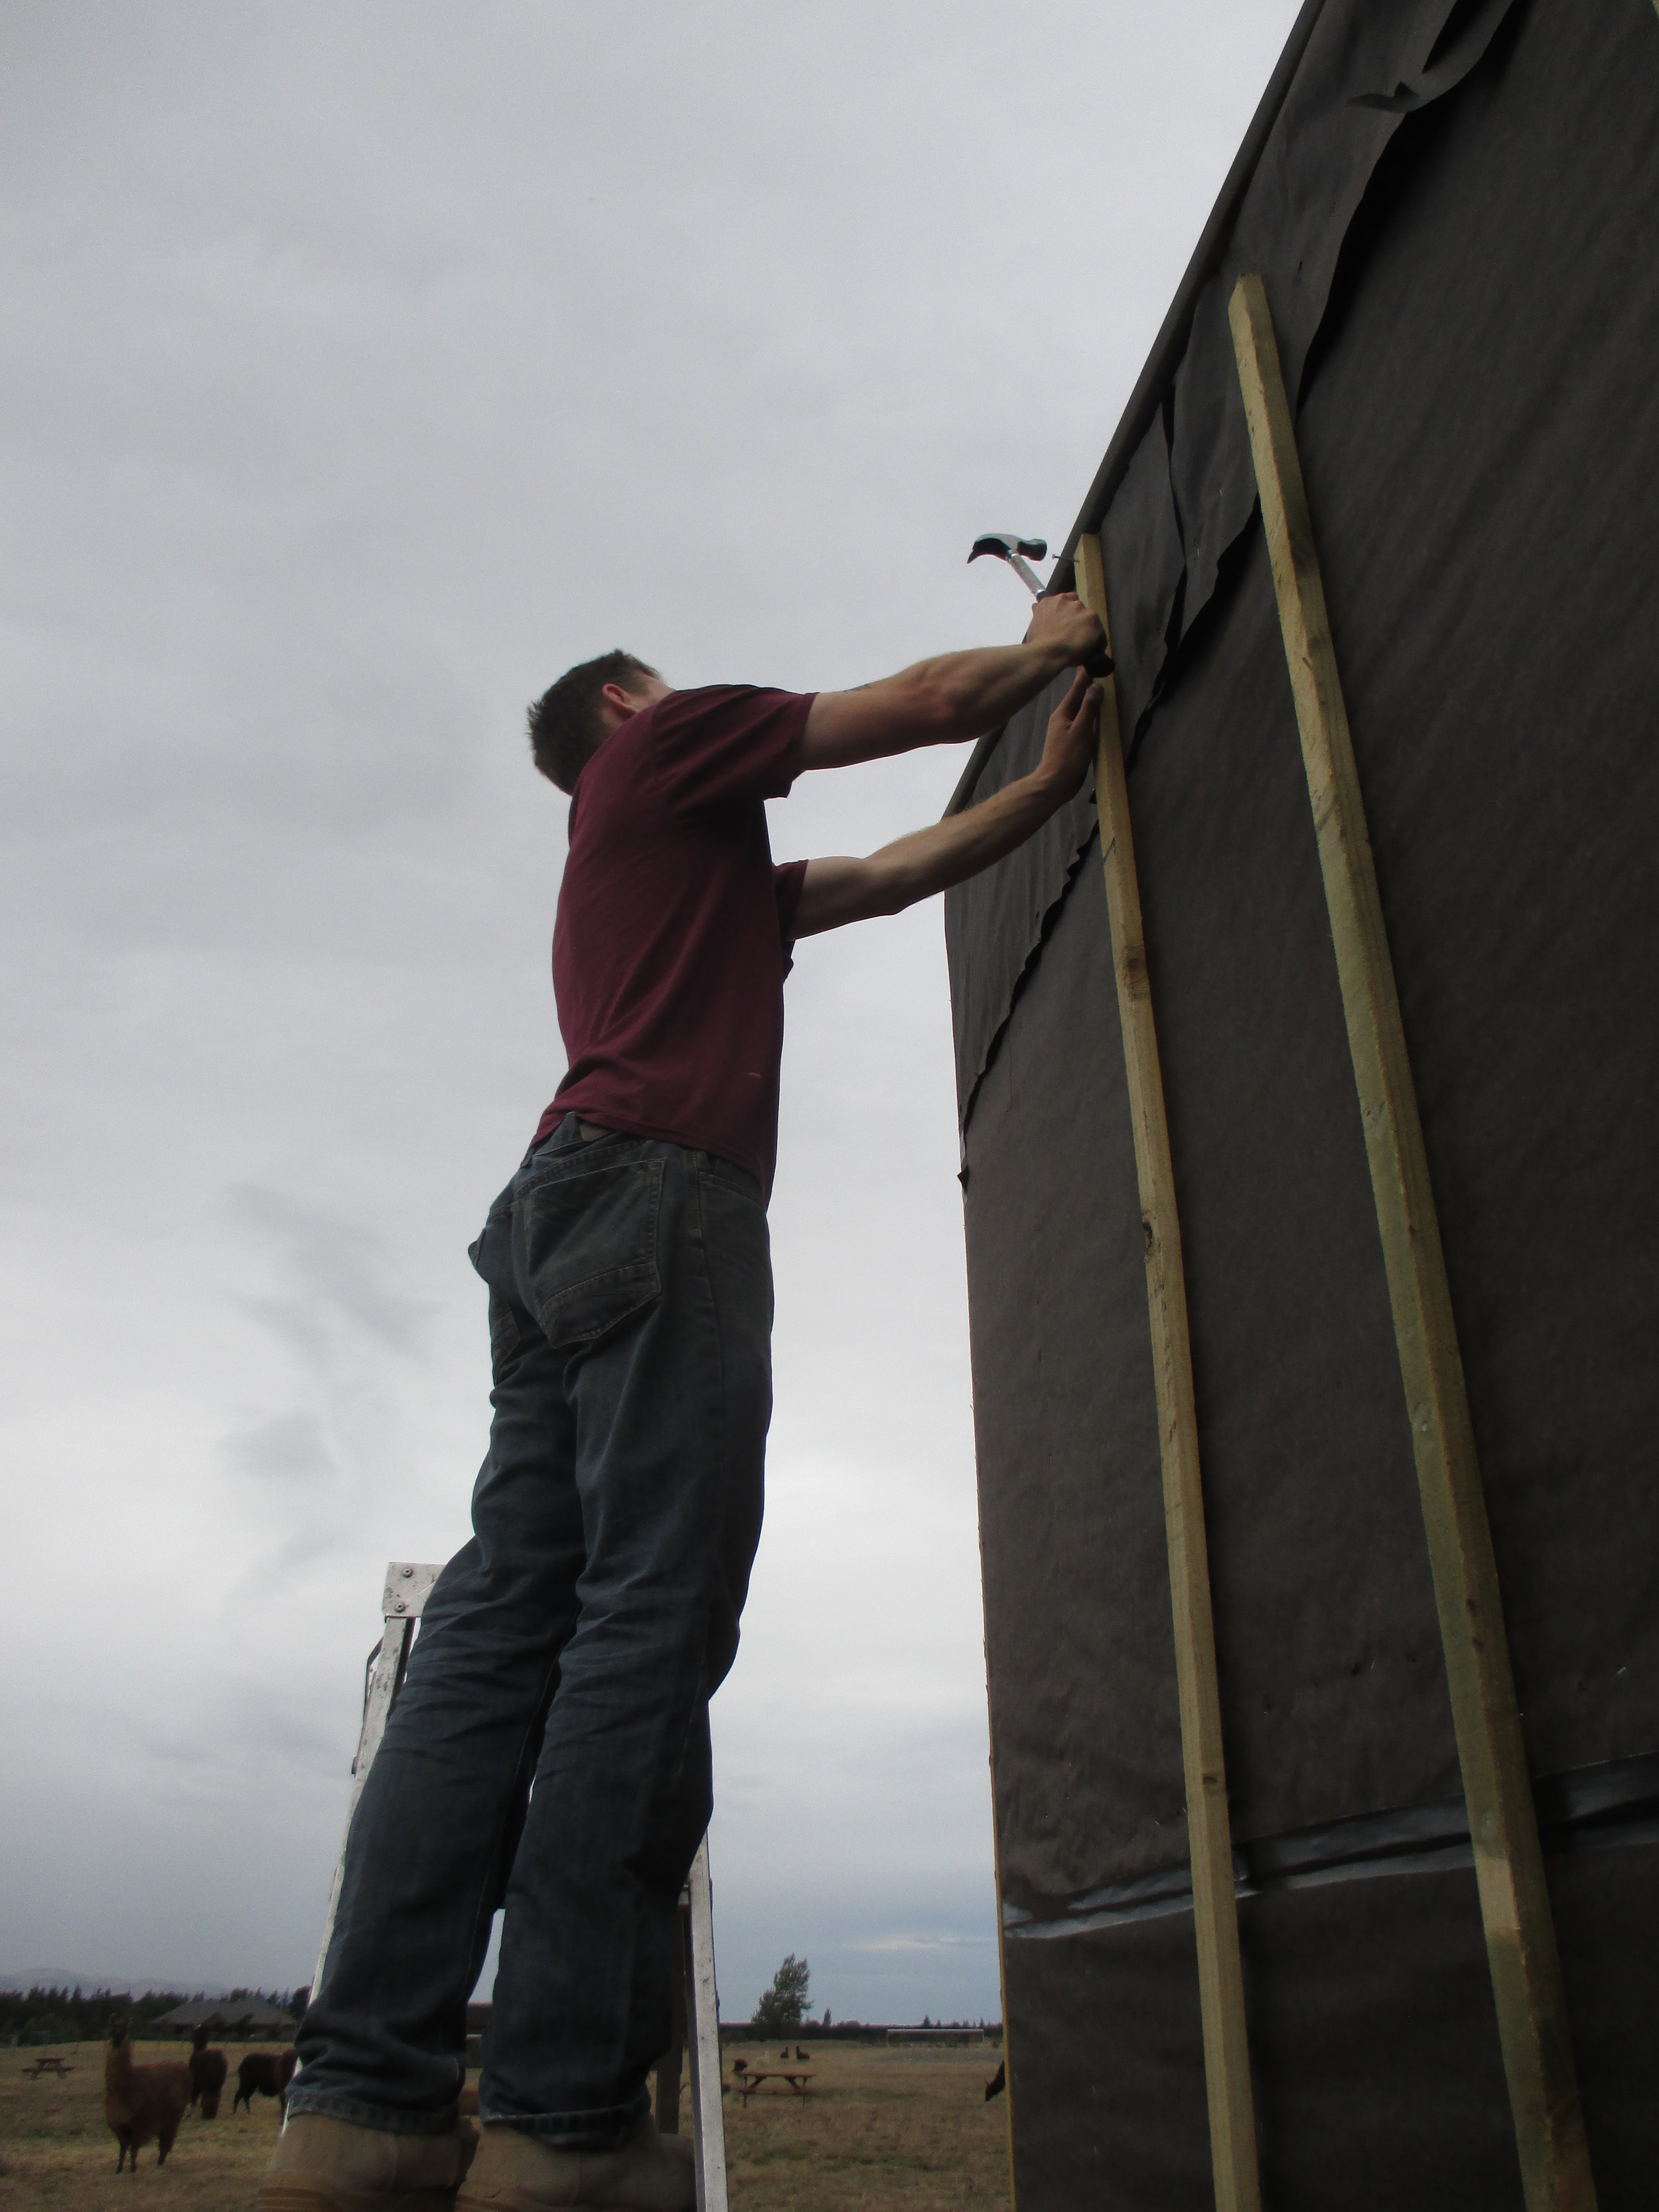
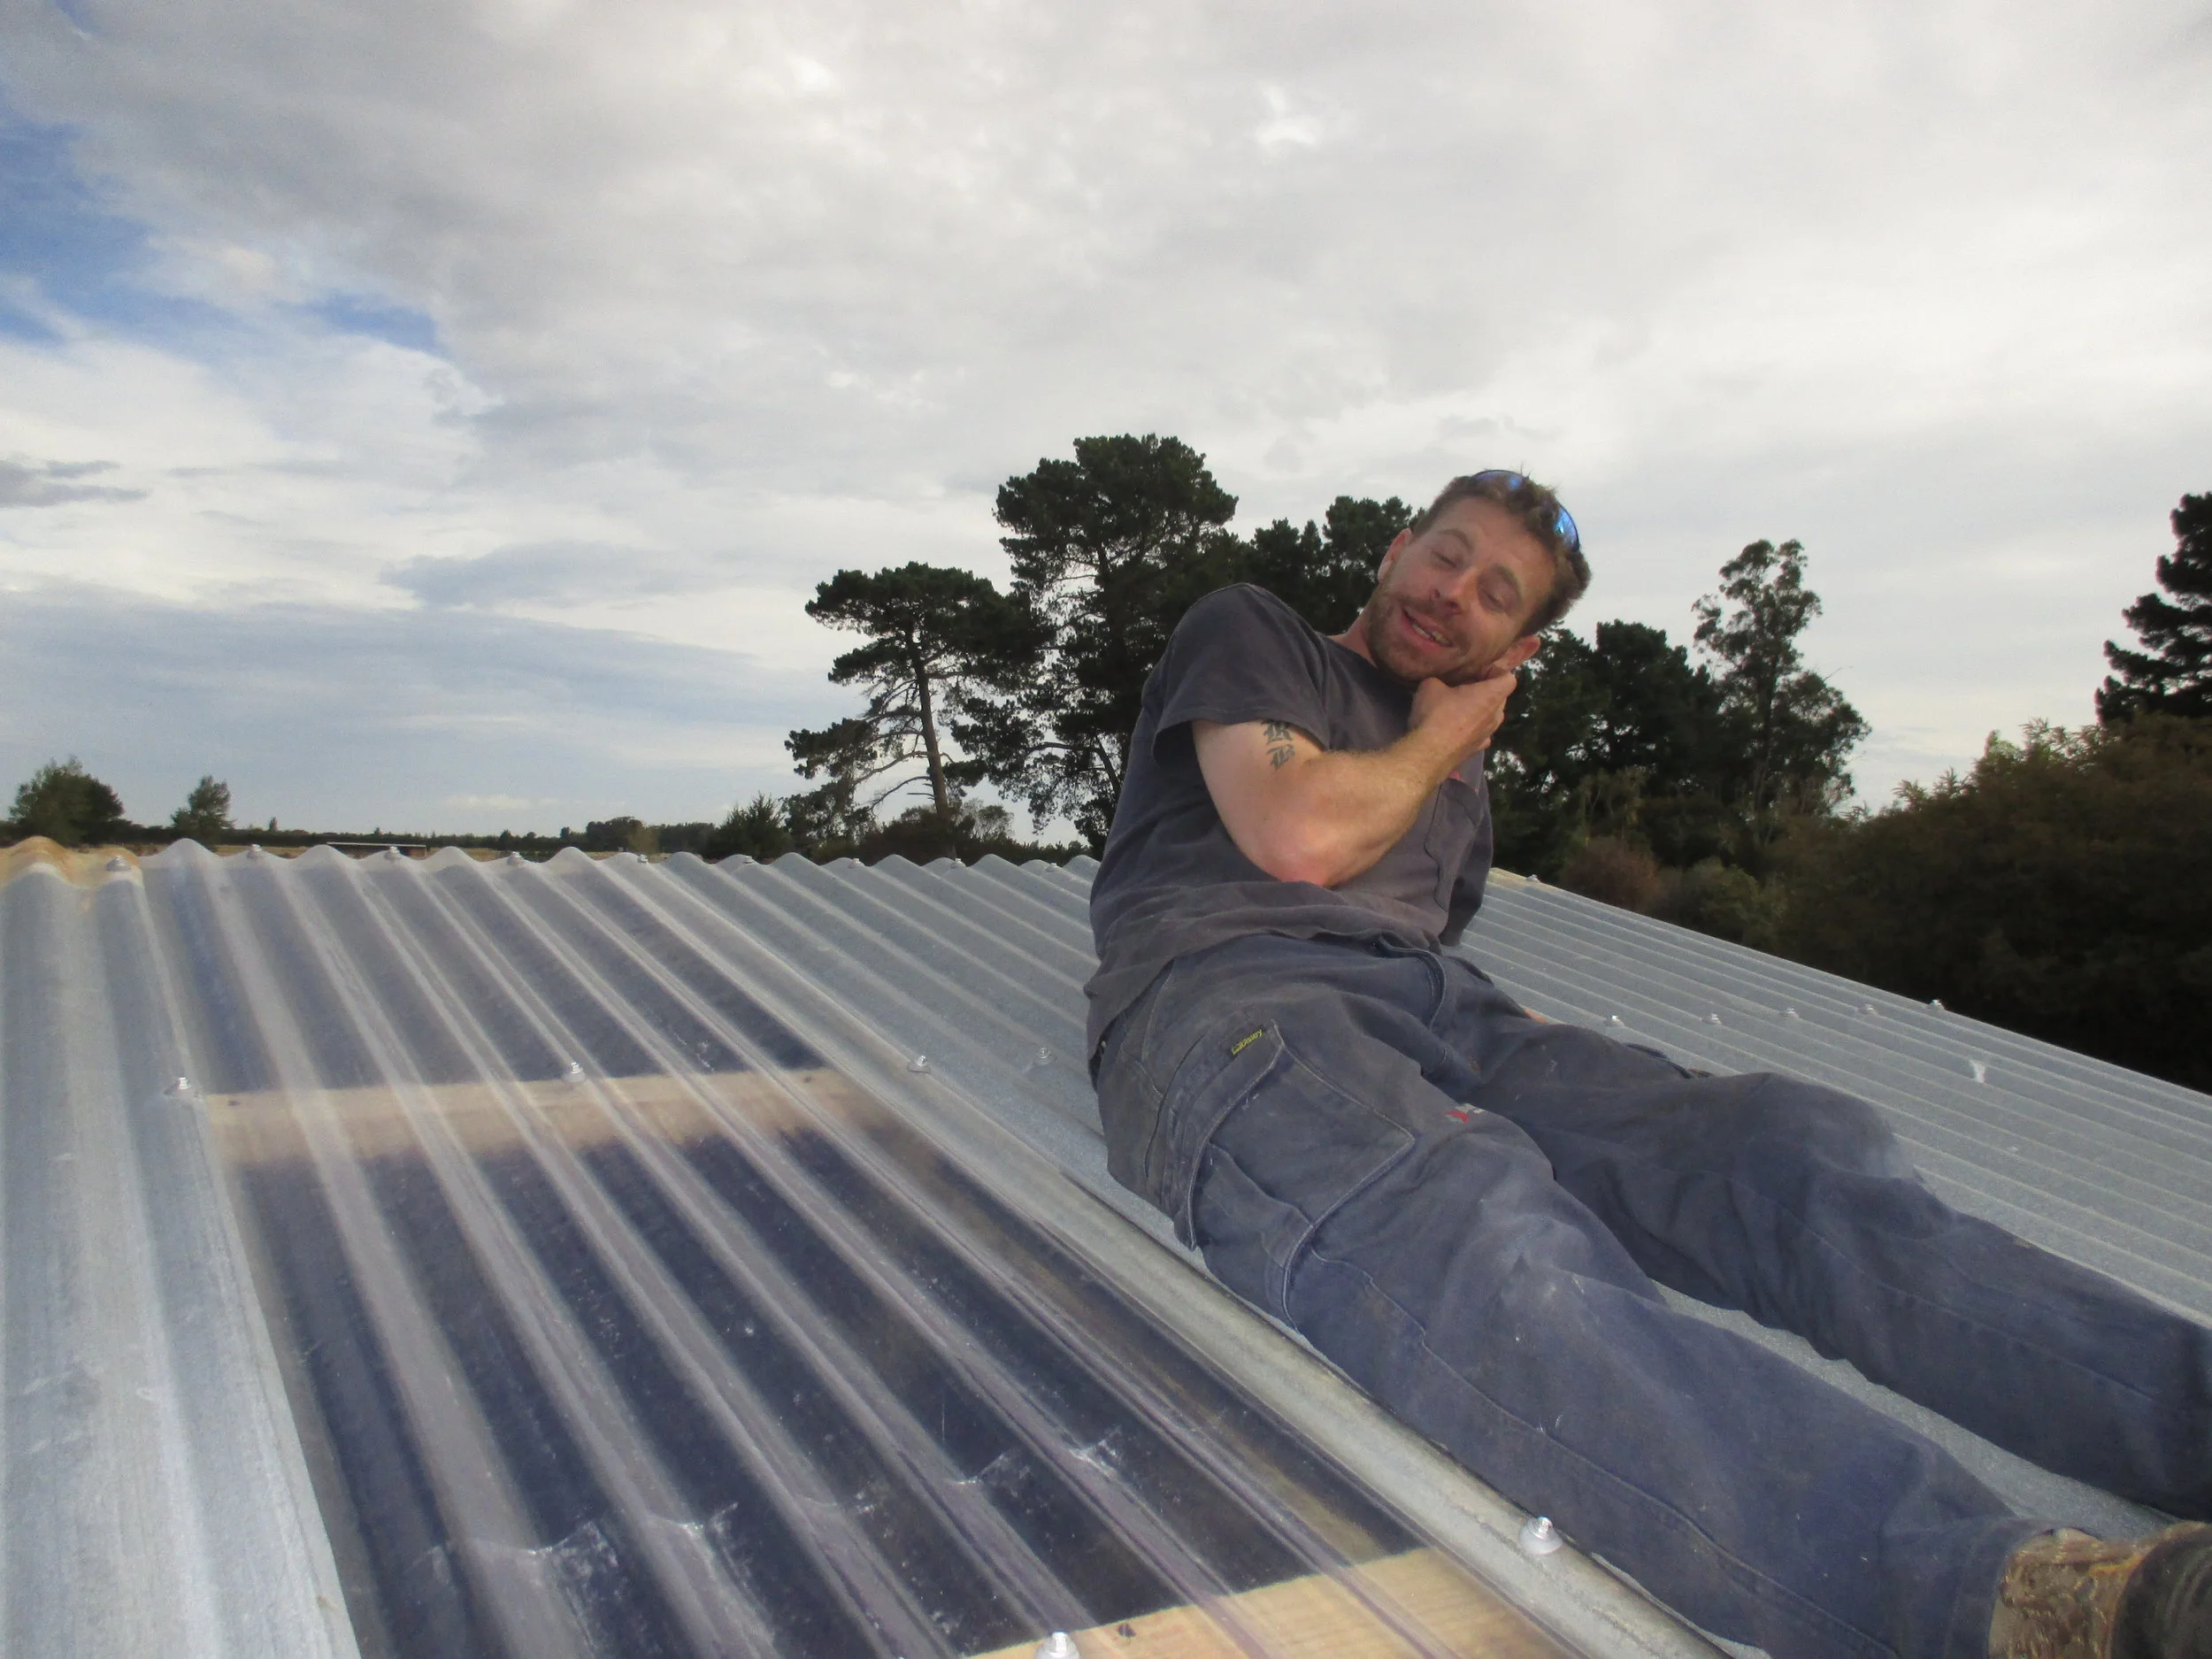
Pat getting ready to try it out!

20150905_163812

20150905_163136 20150905_163130 20150905_163116

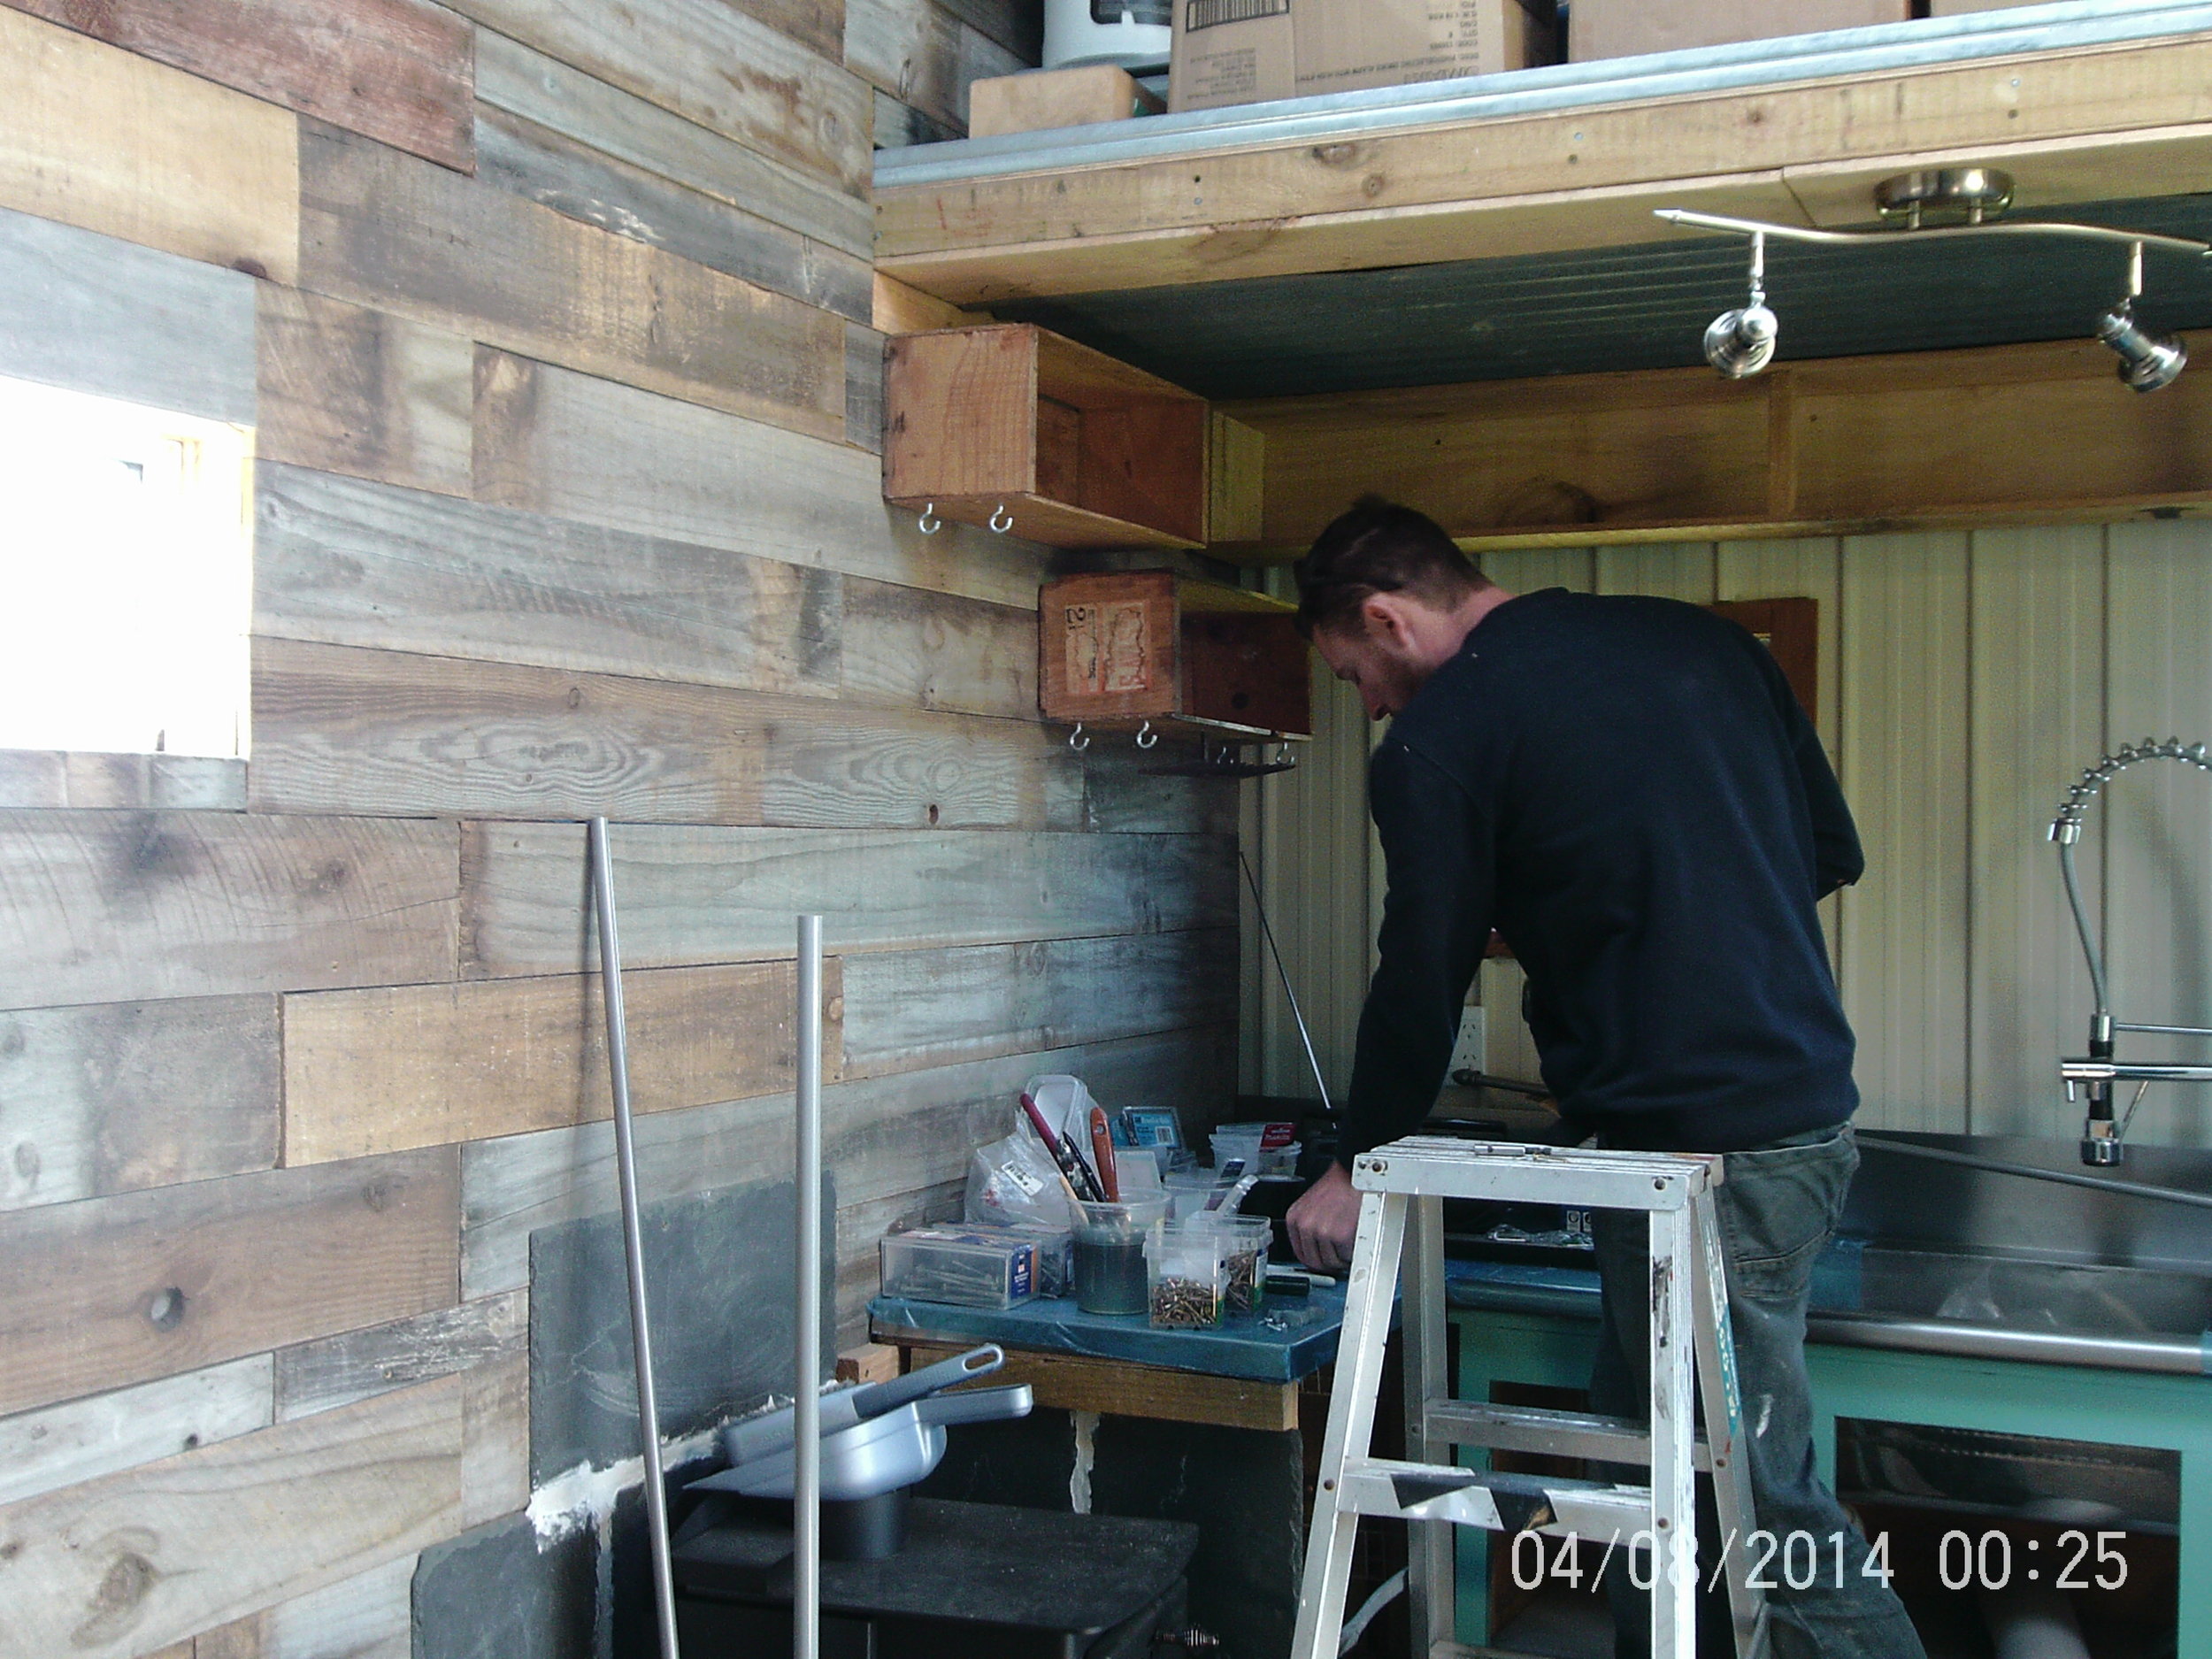
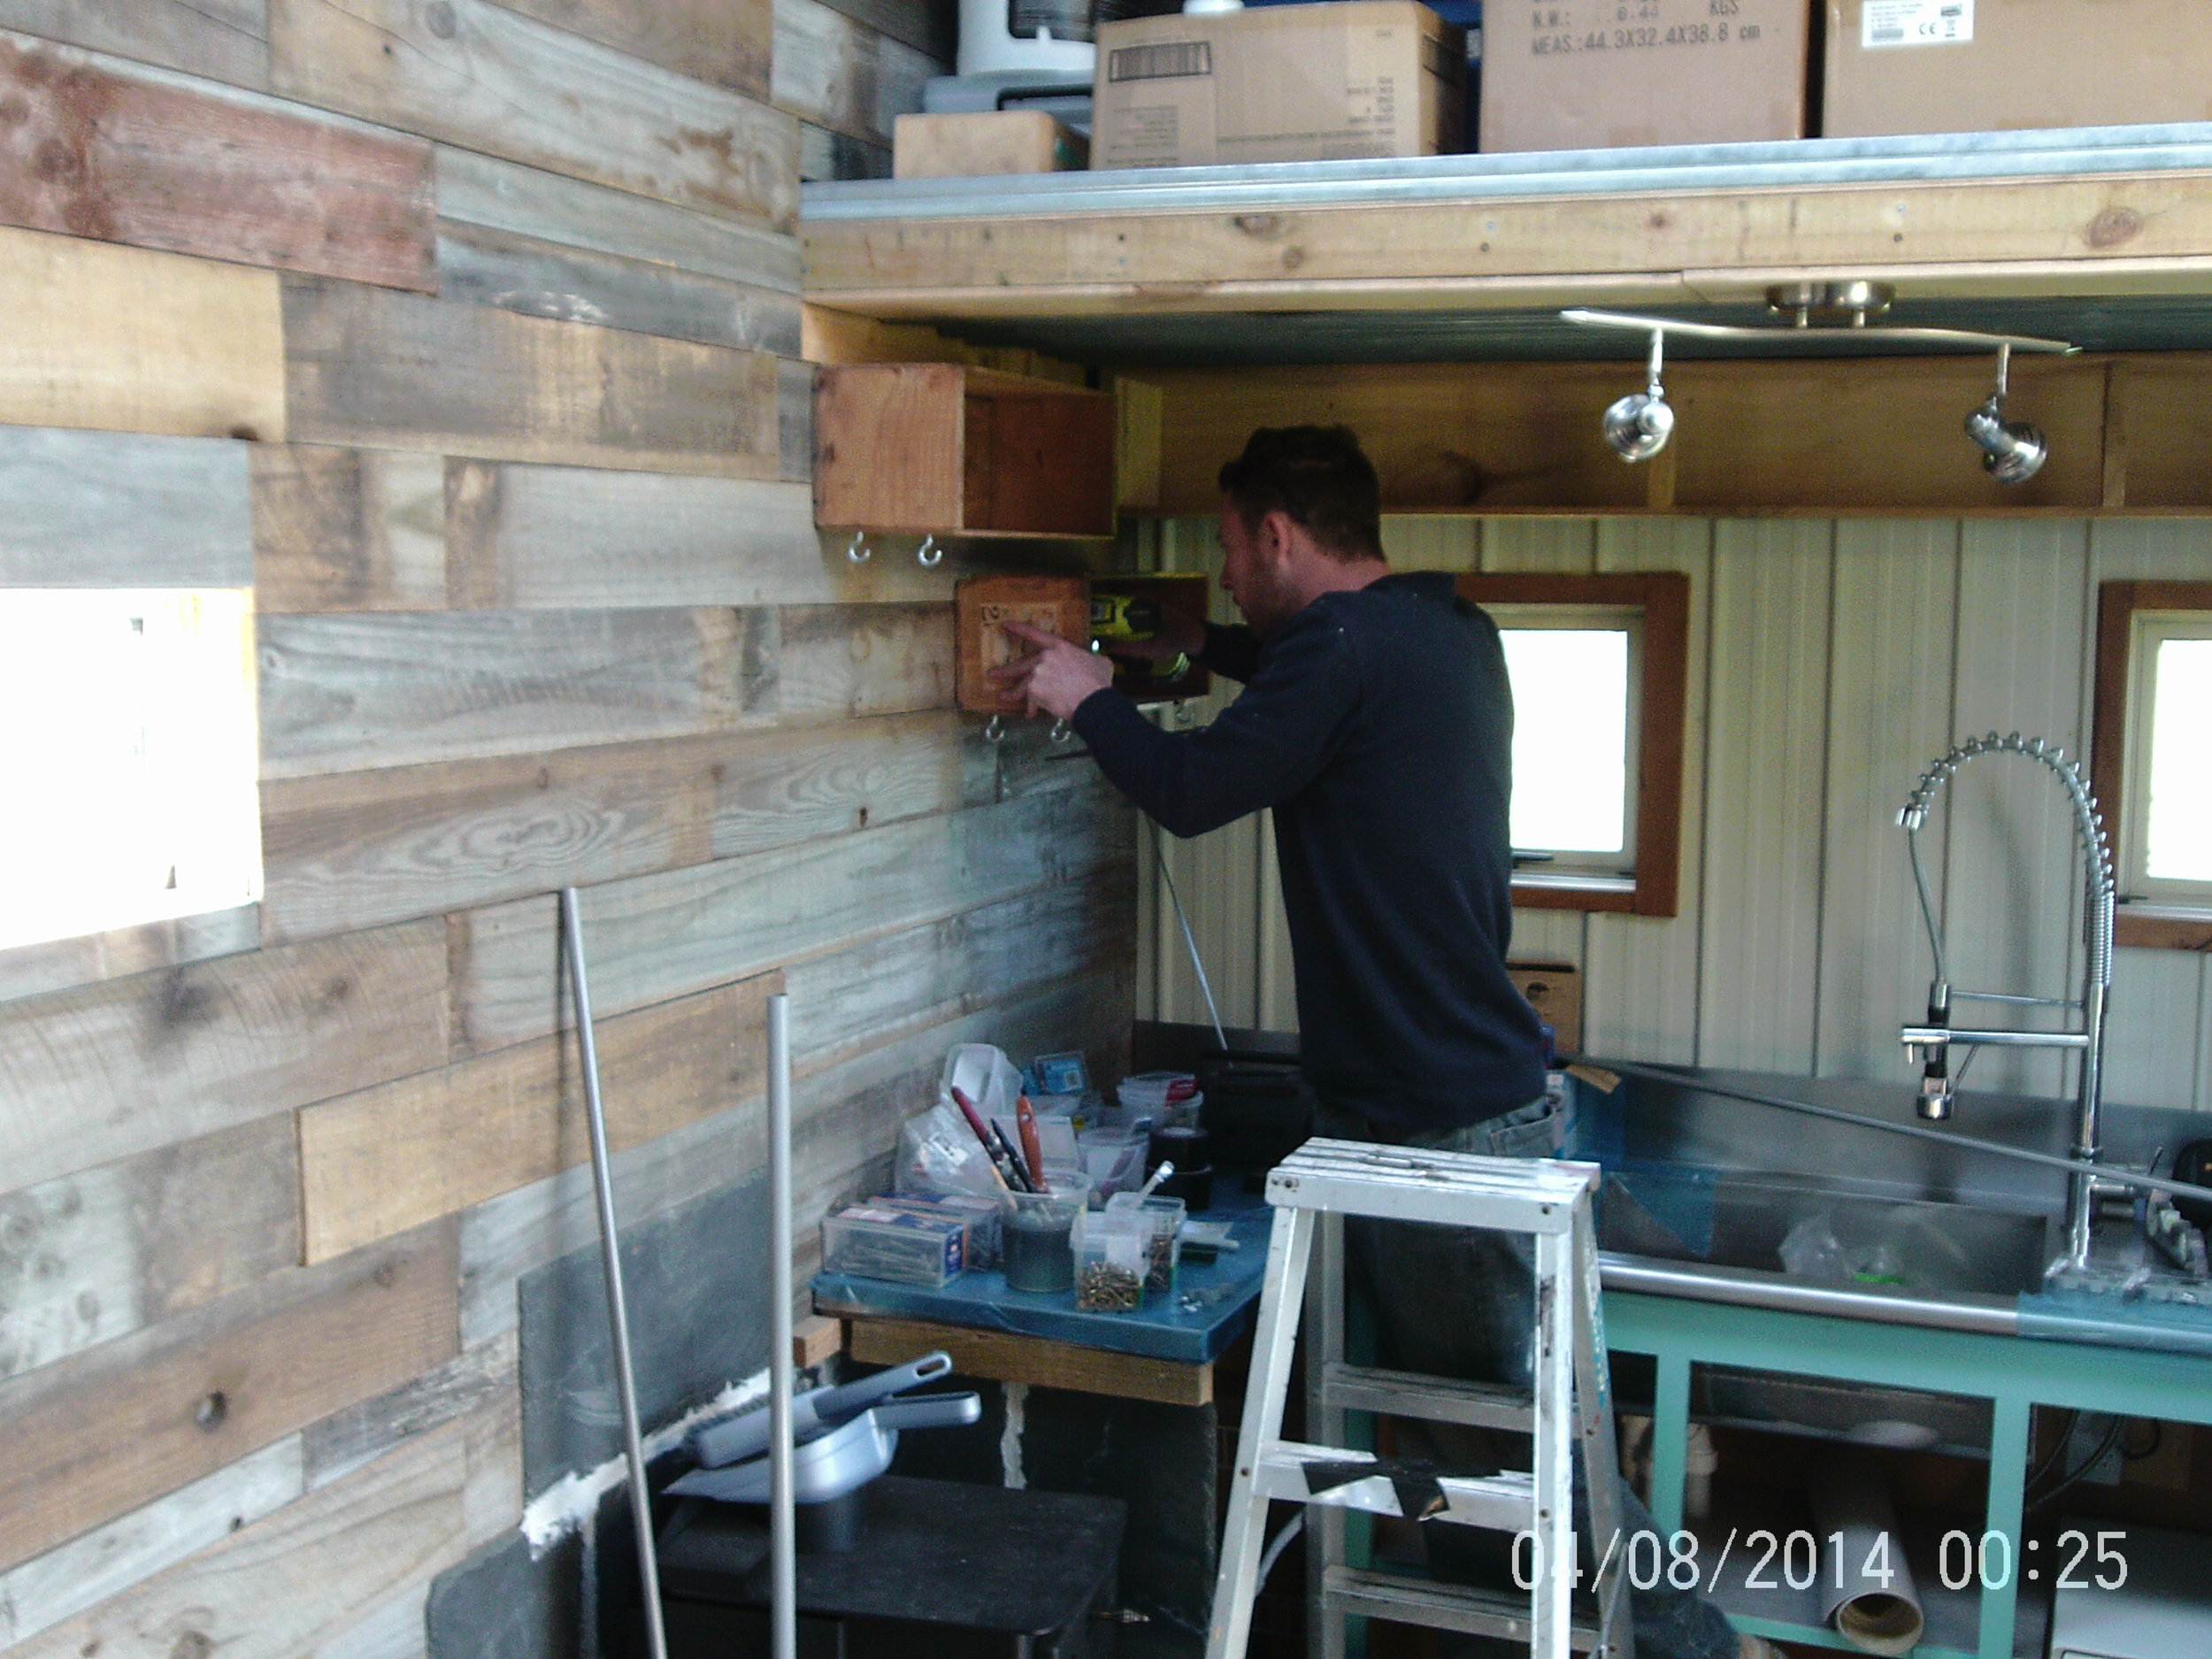
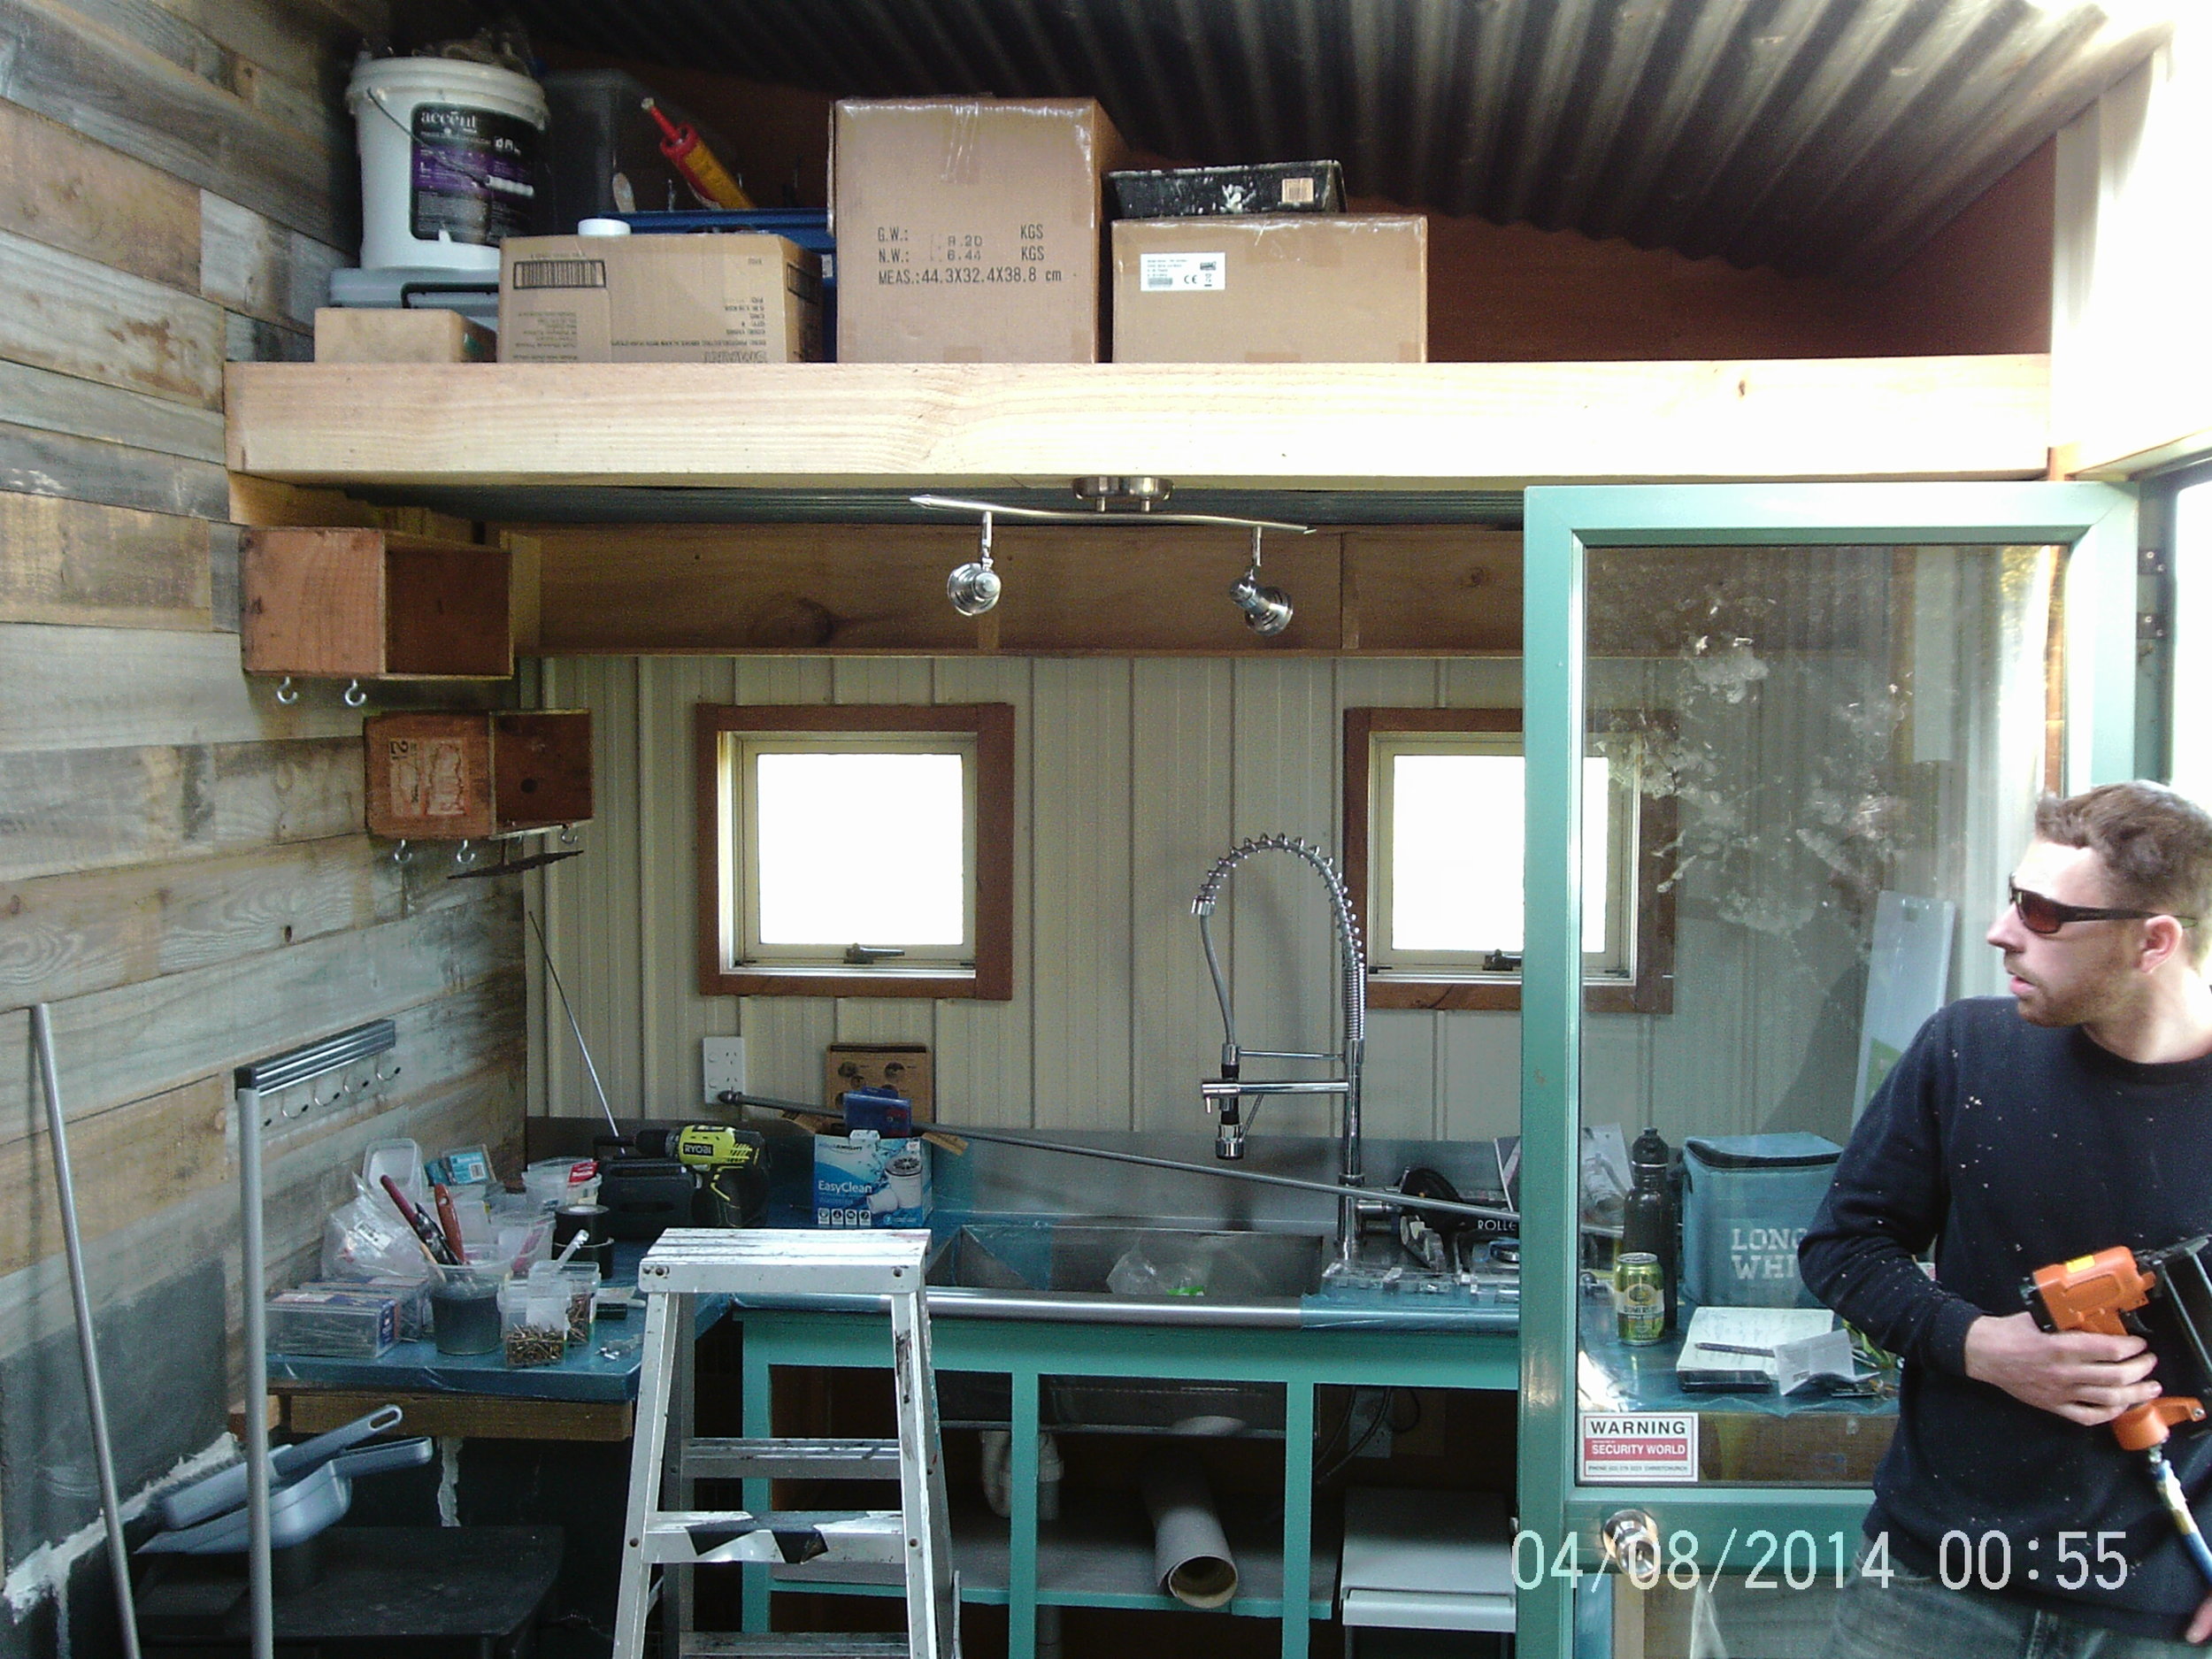
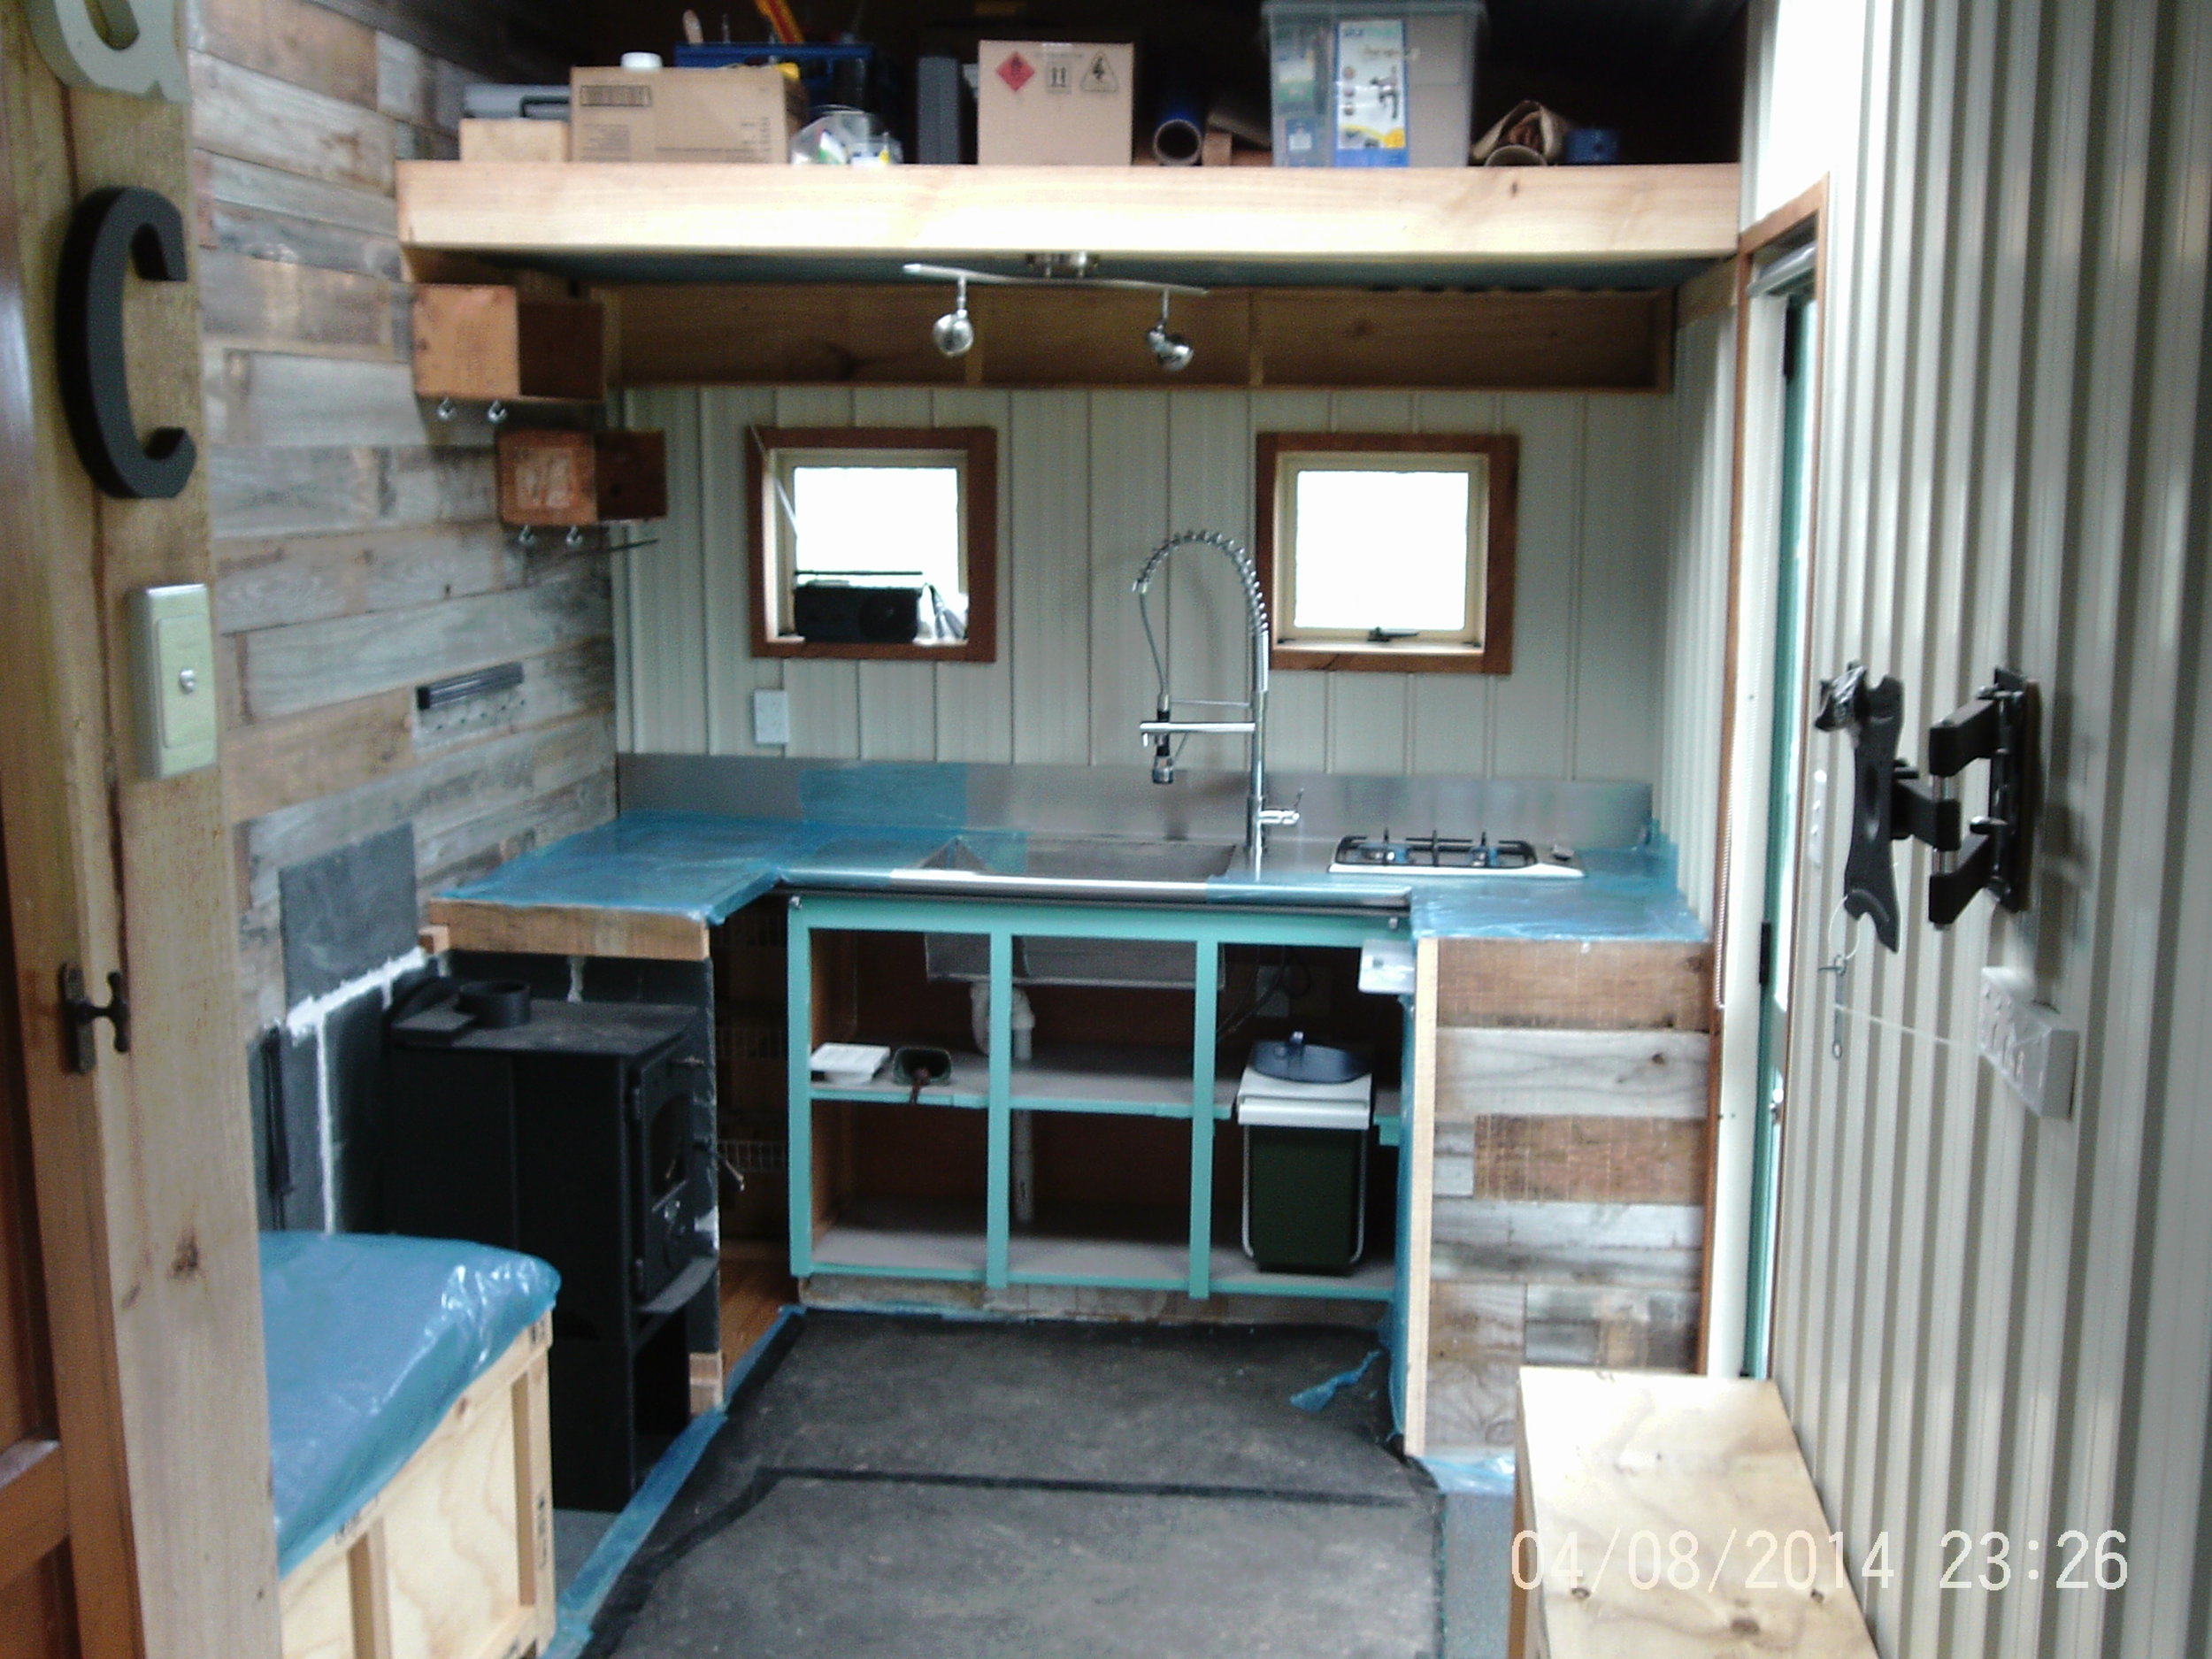
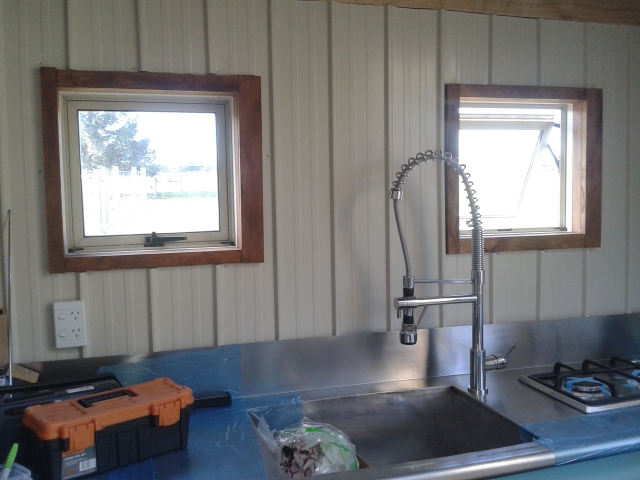
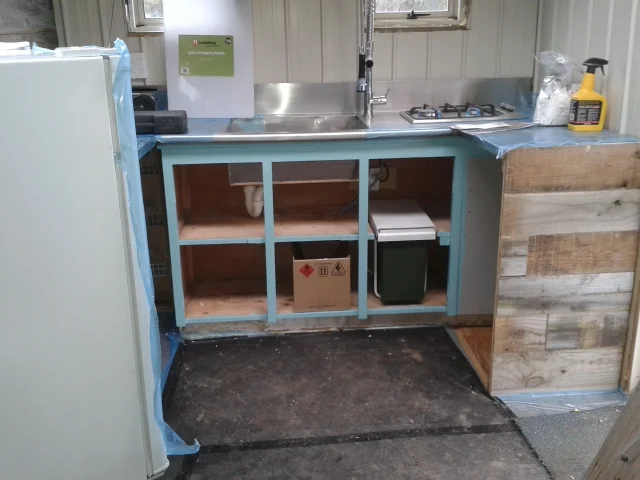
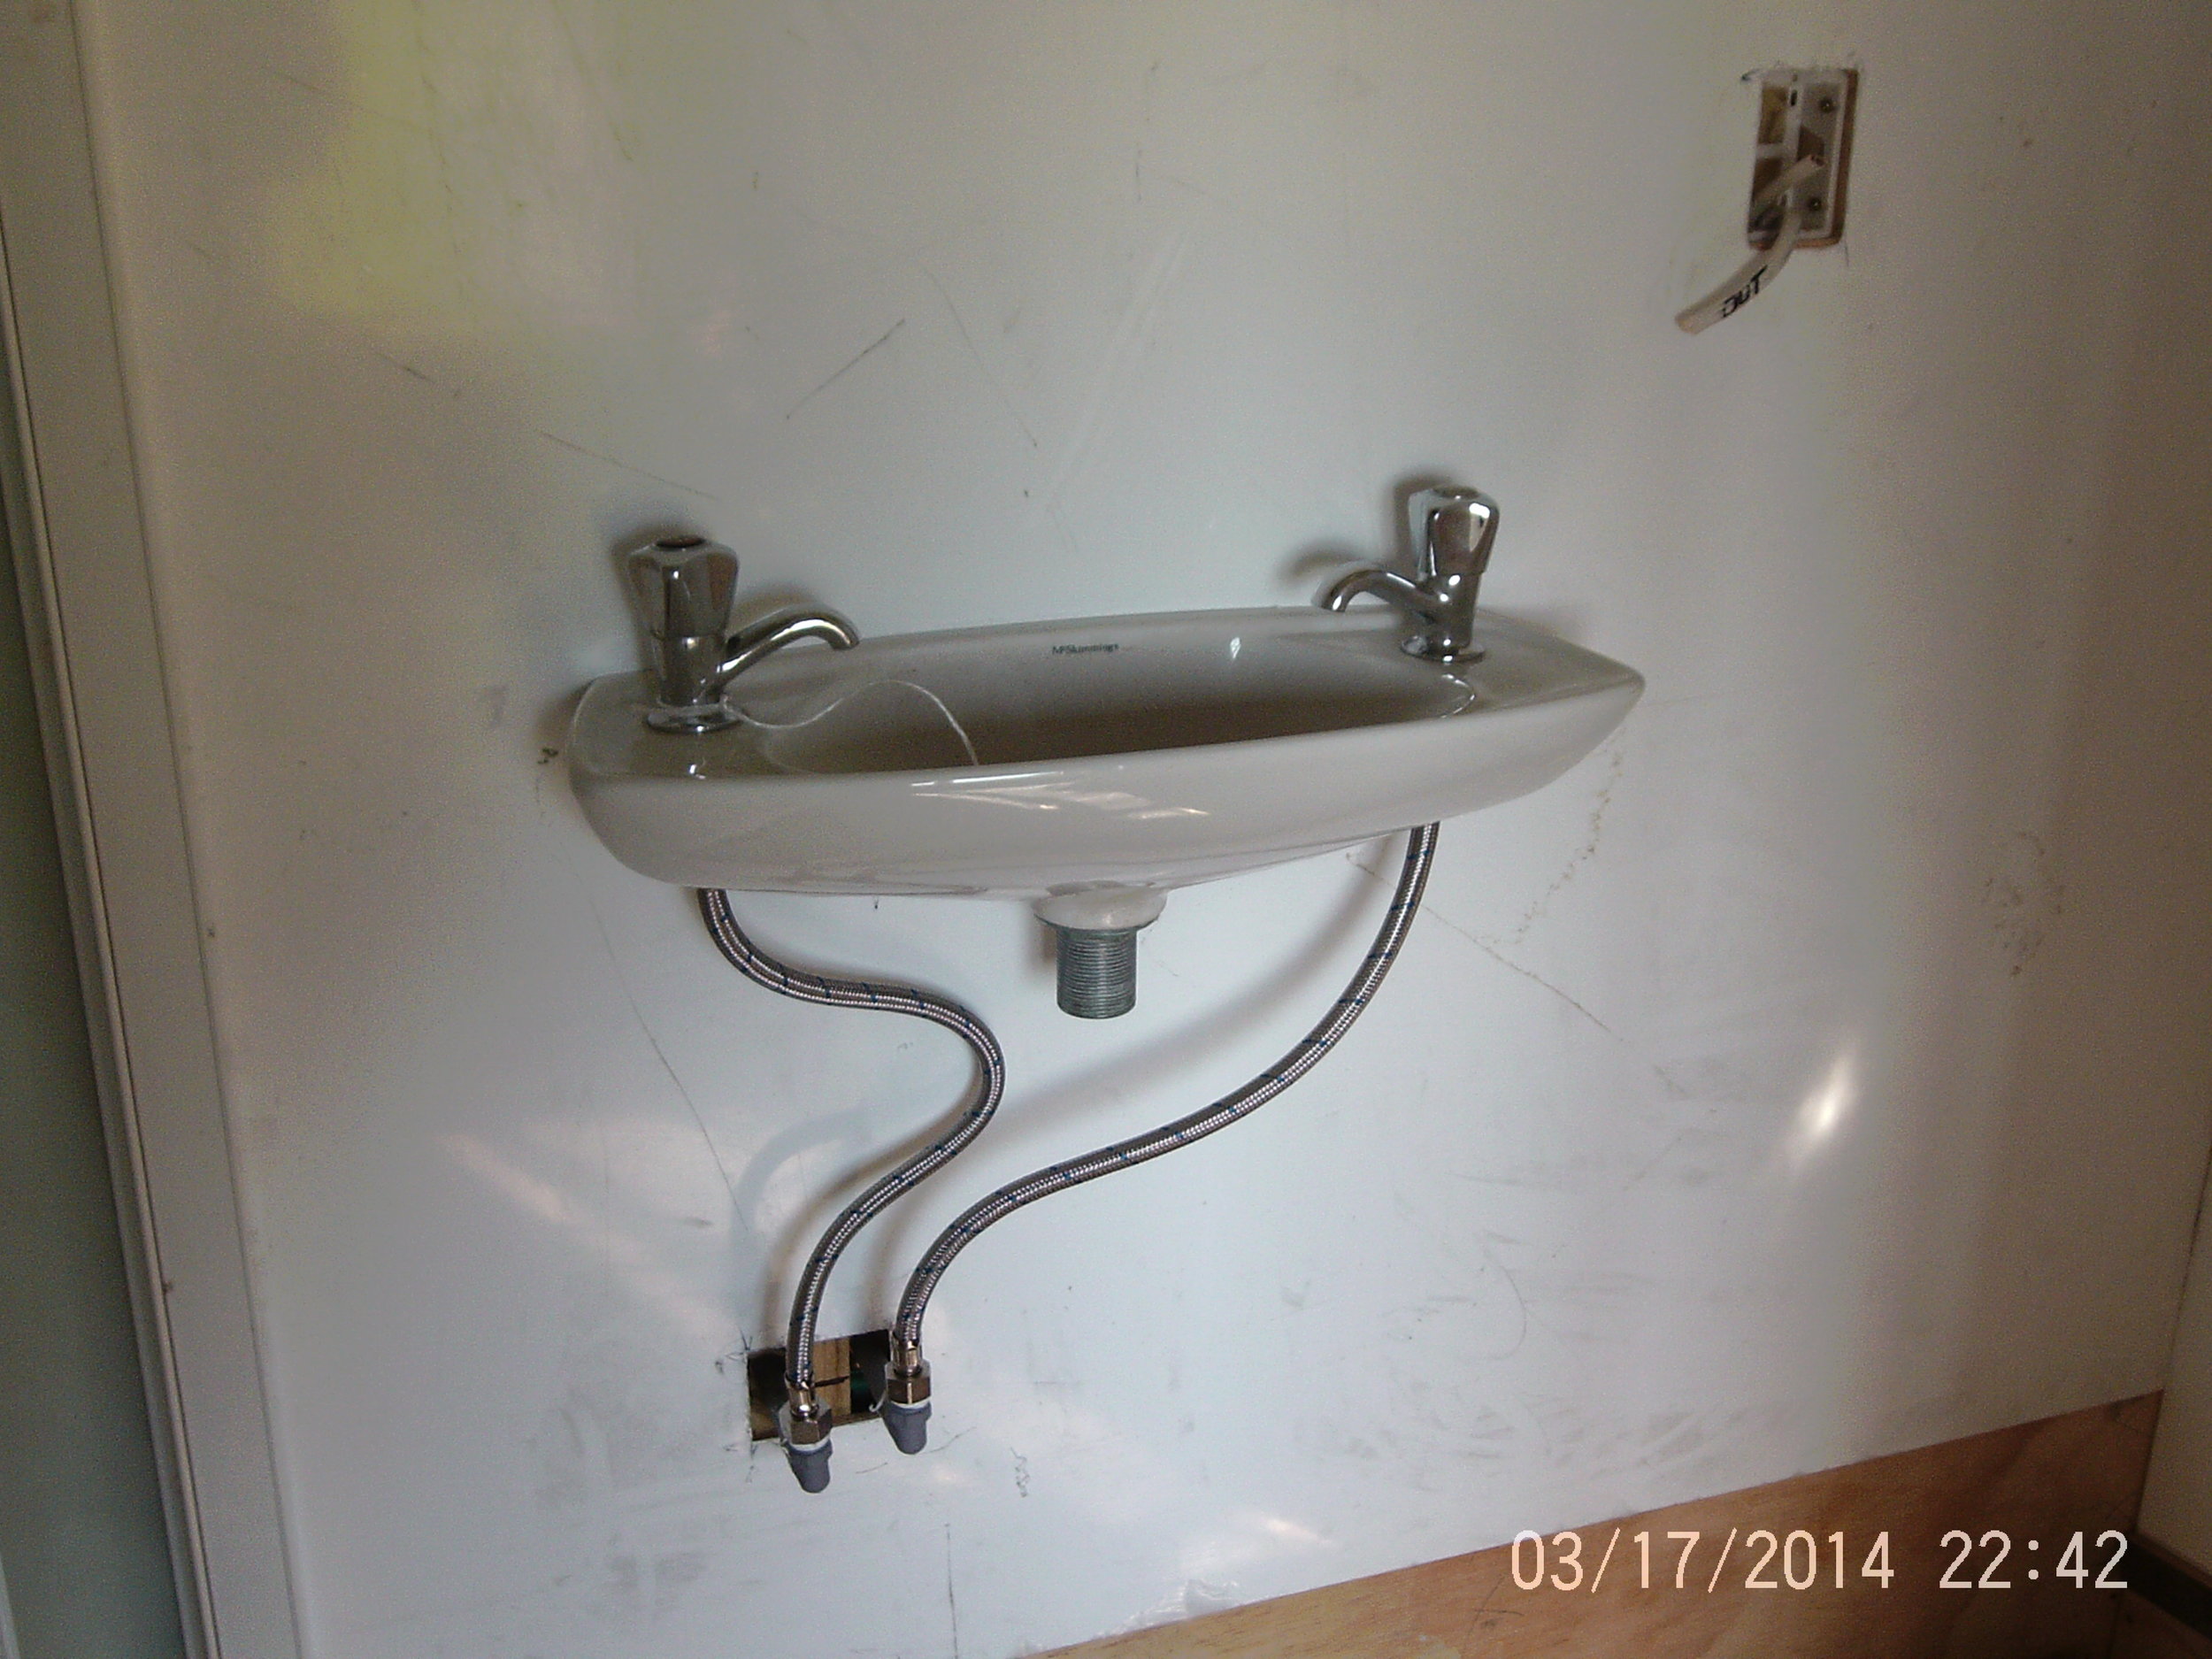
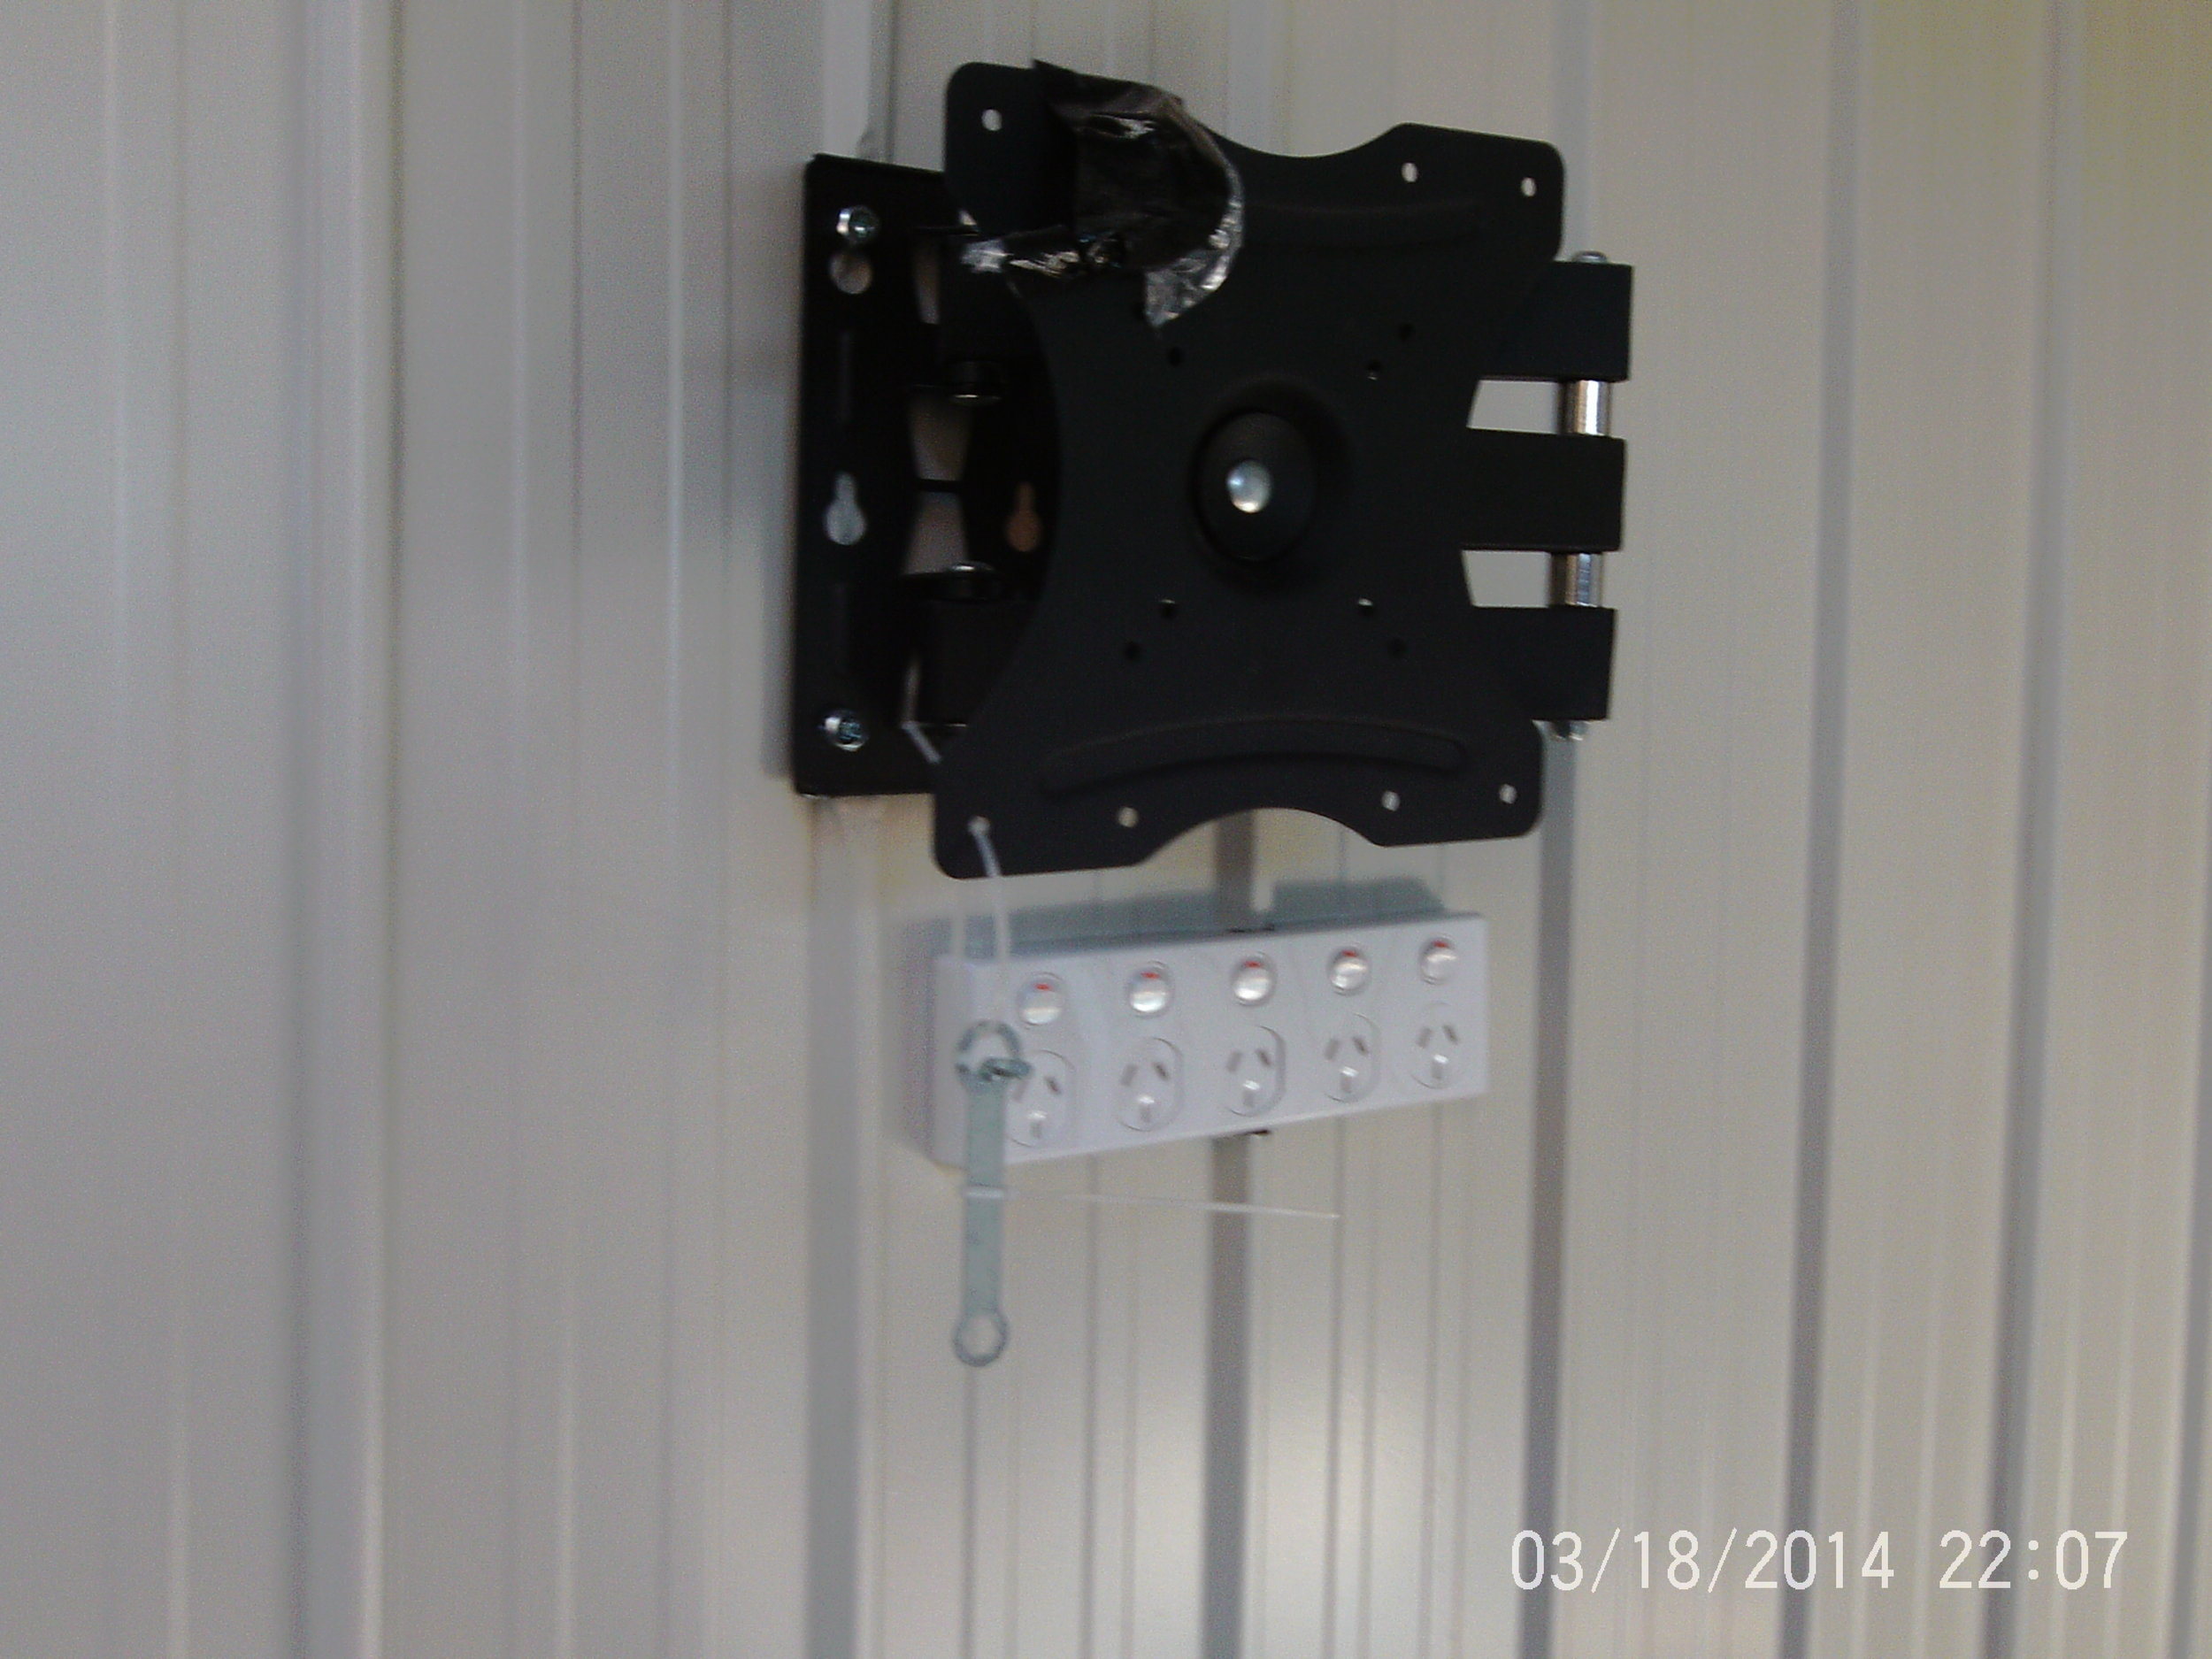
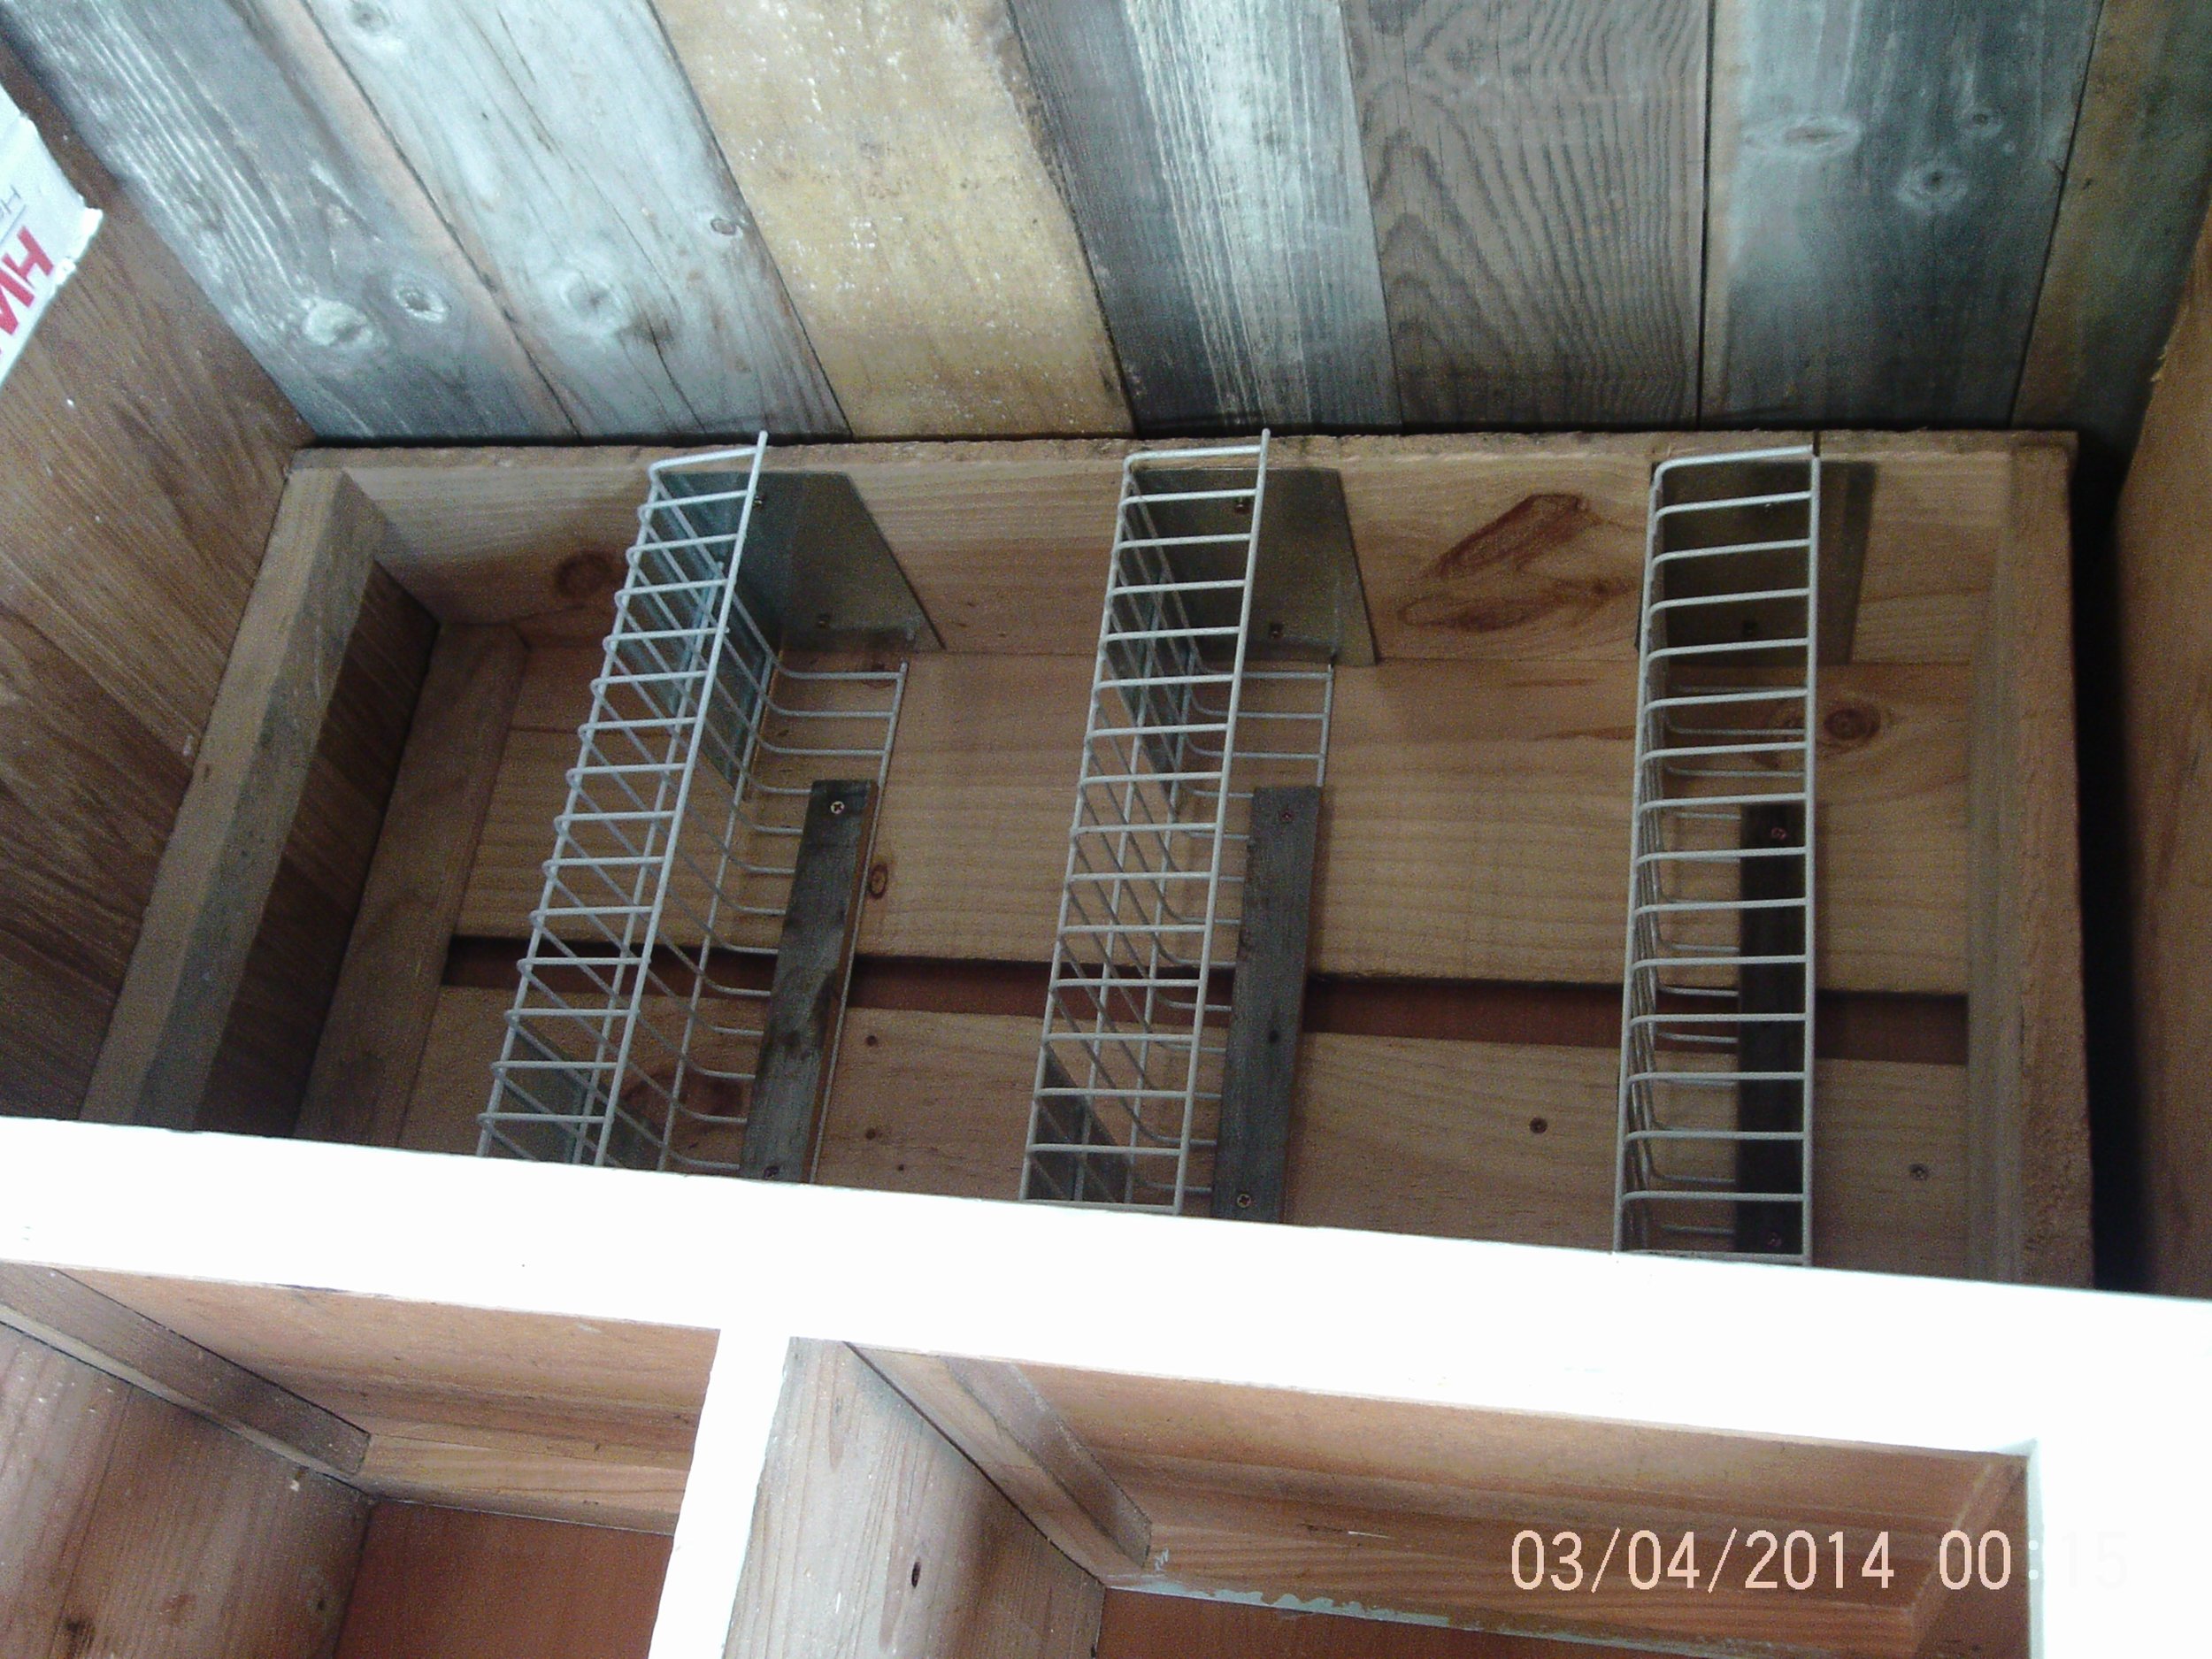
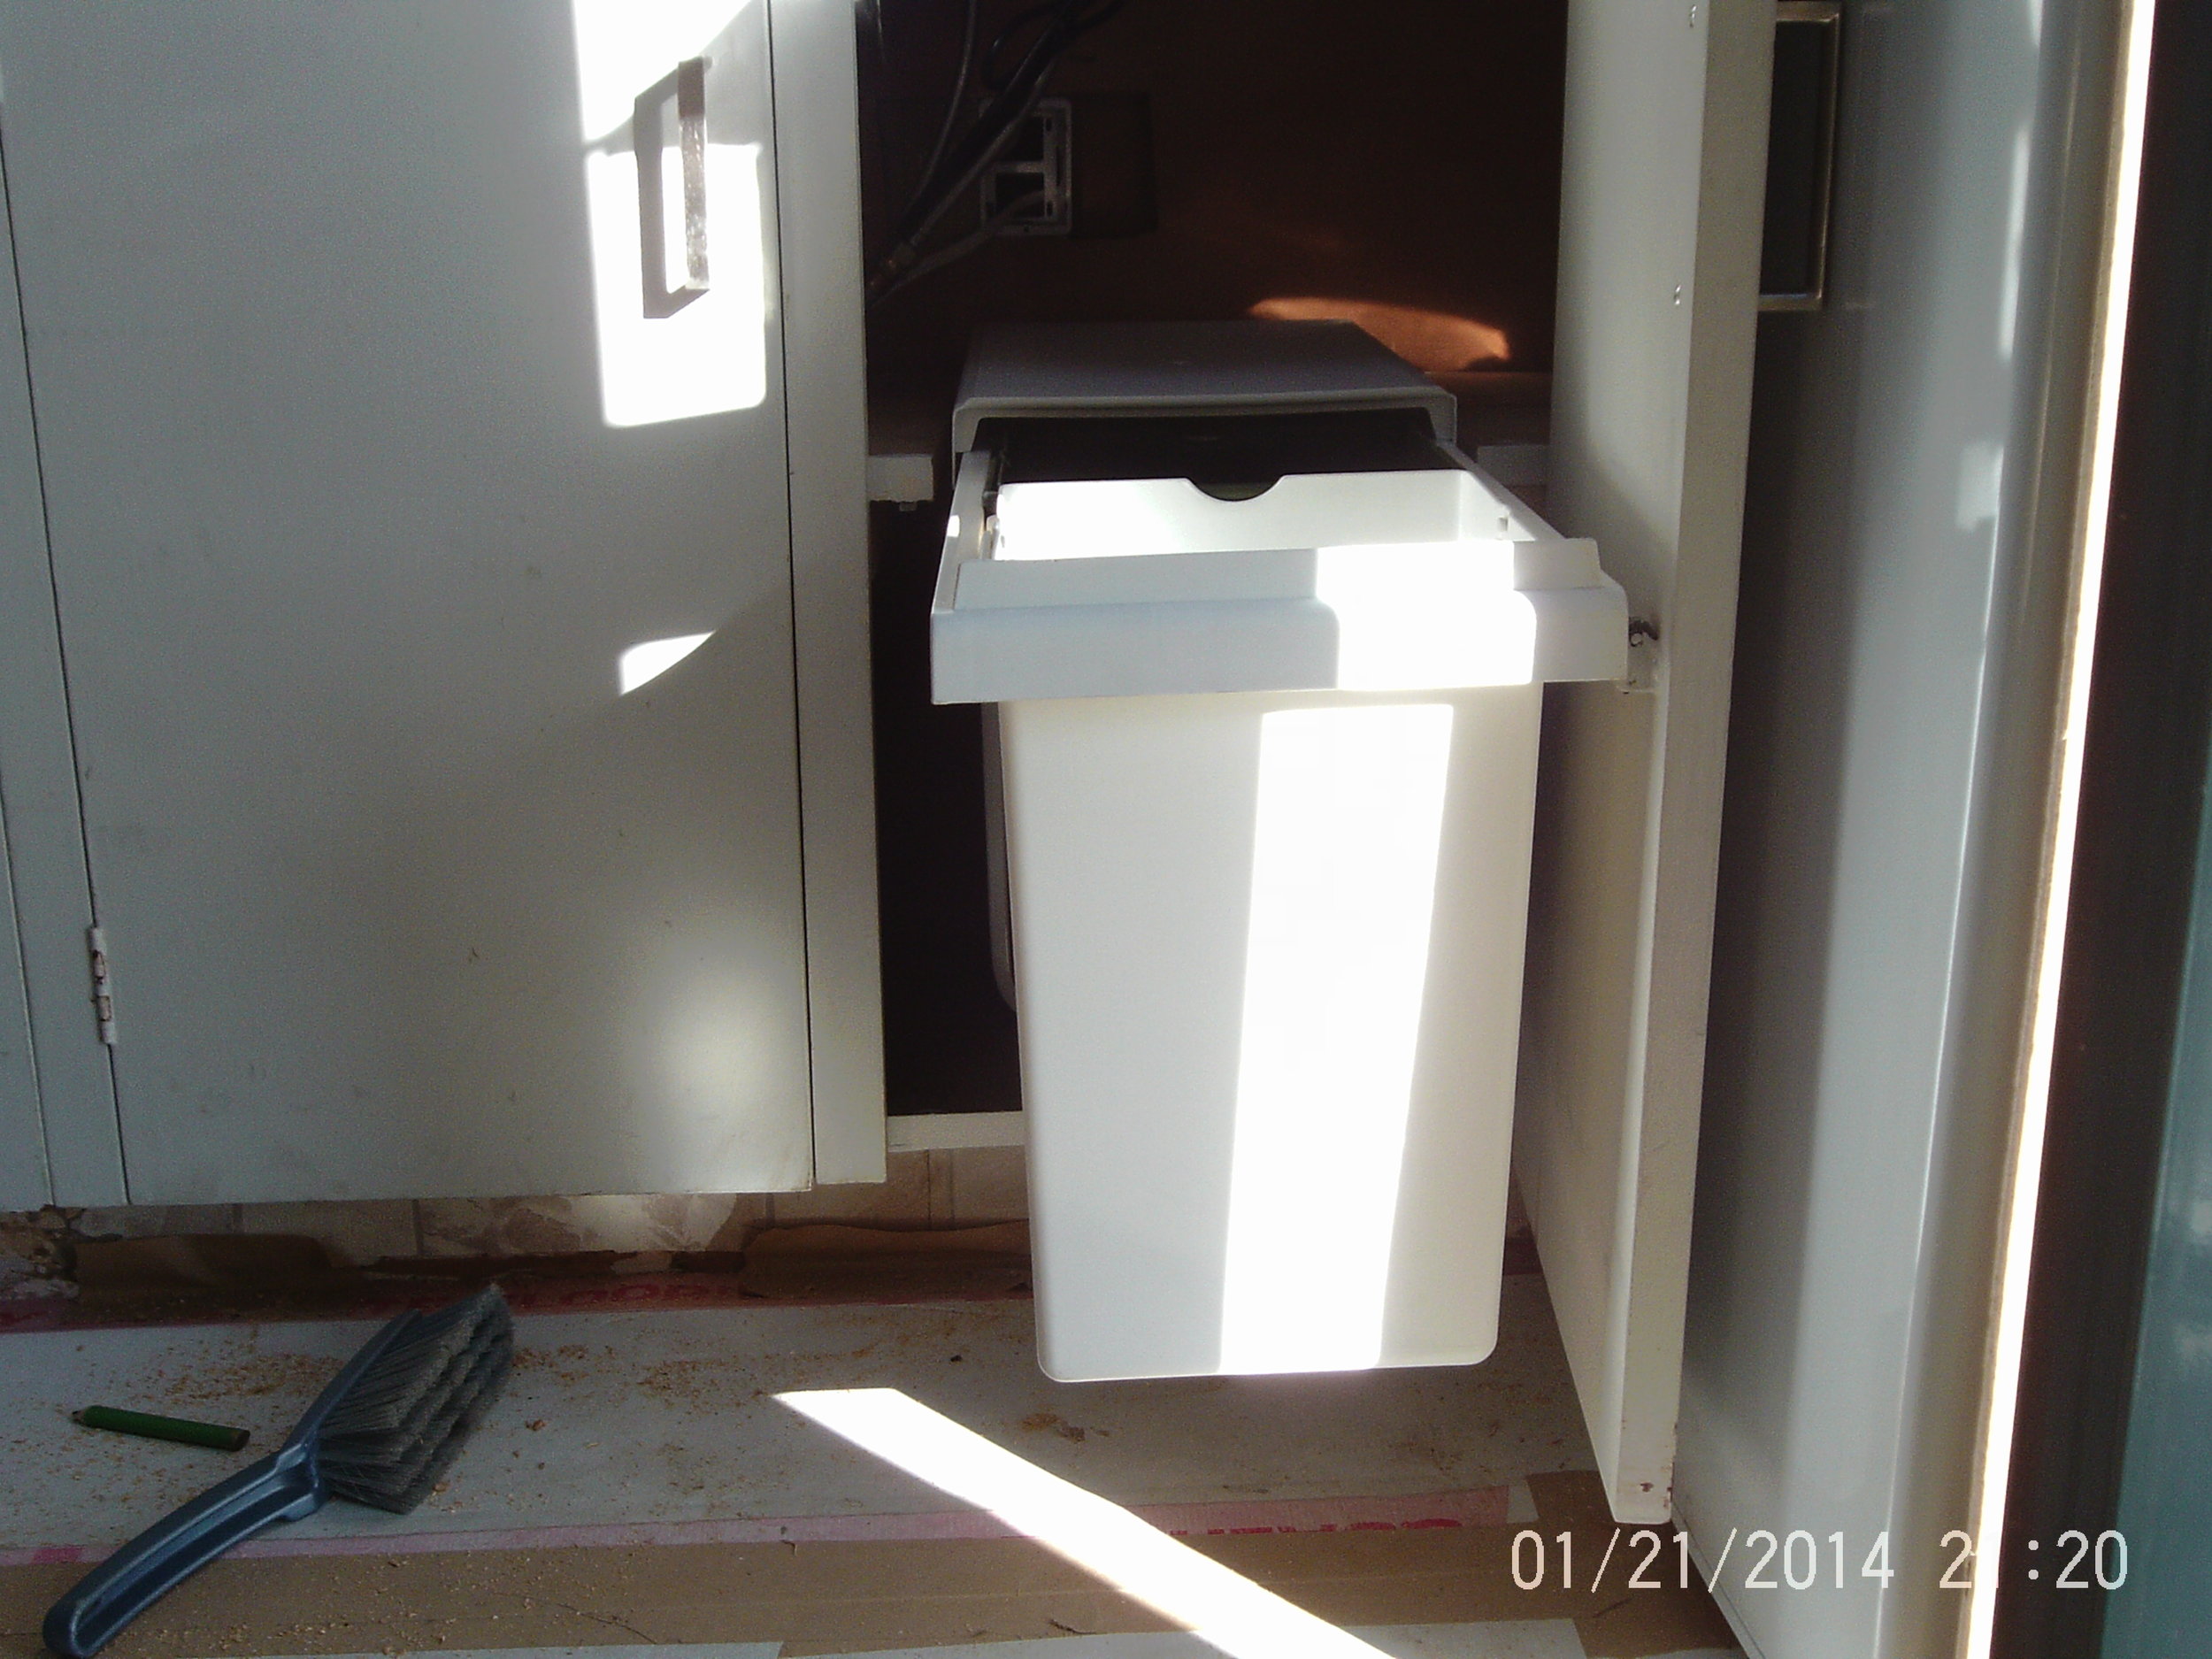
Finally got the kitchen lighting up.

20150905_161757 20150905_161747

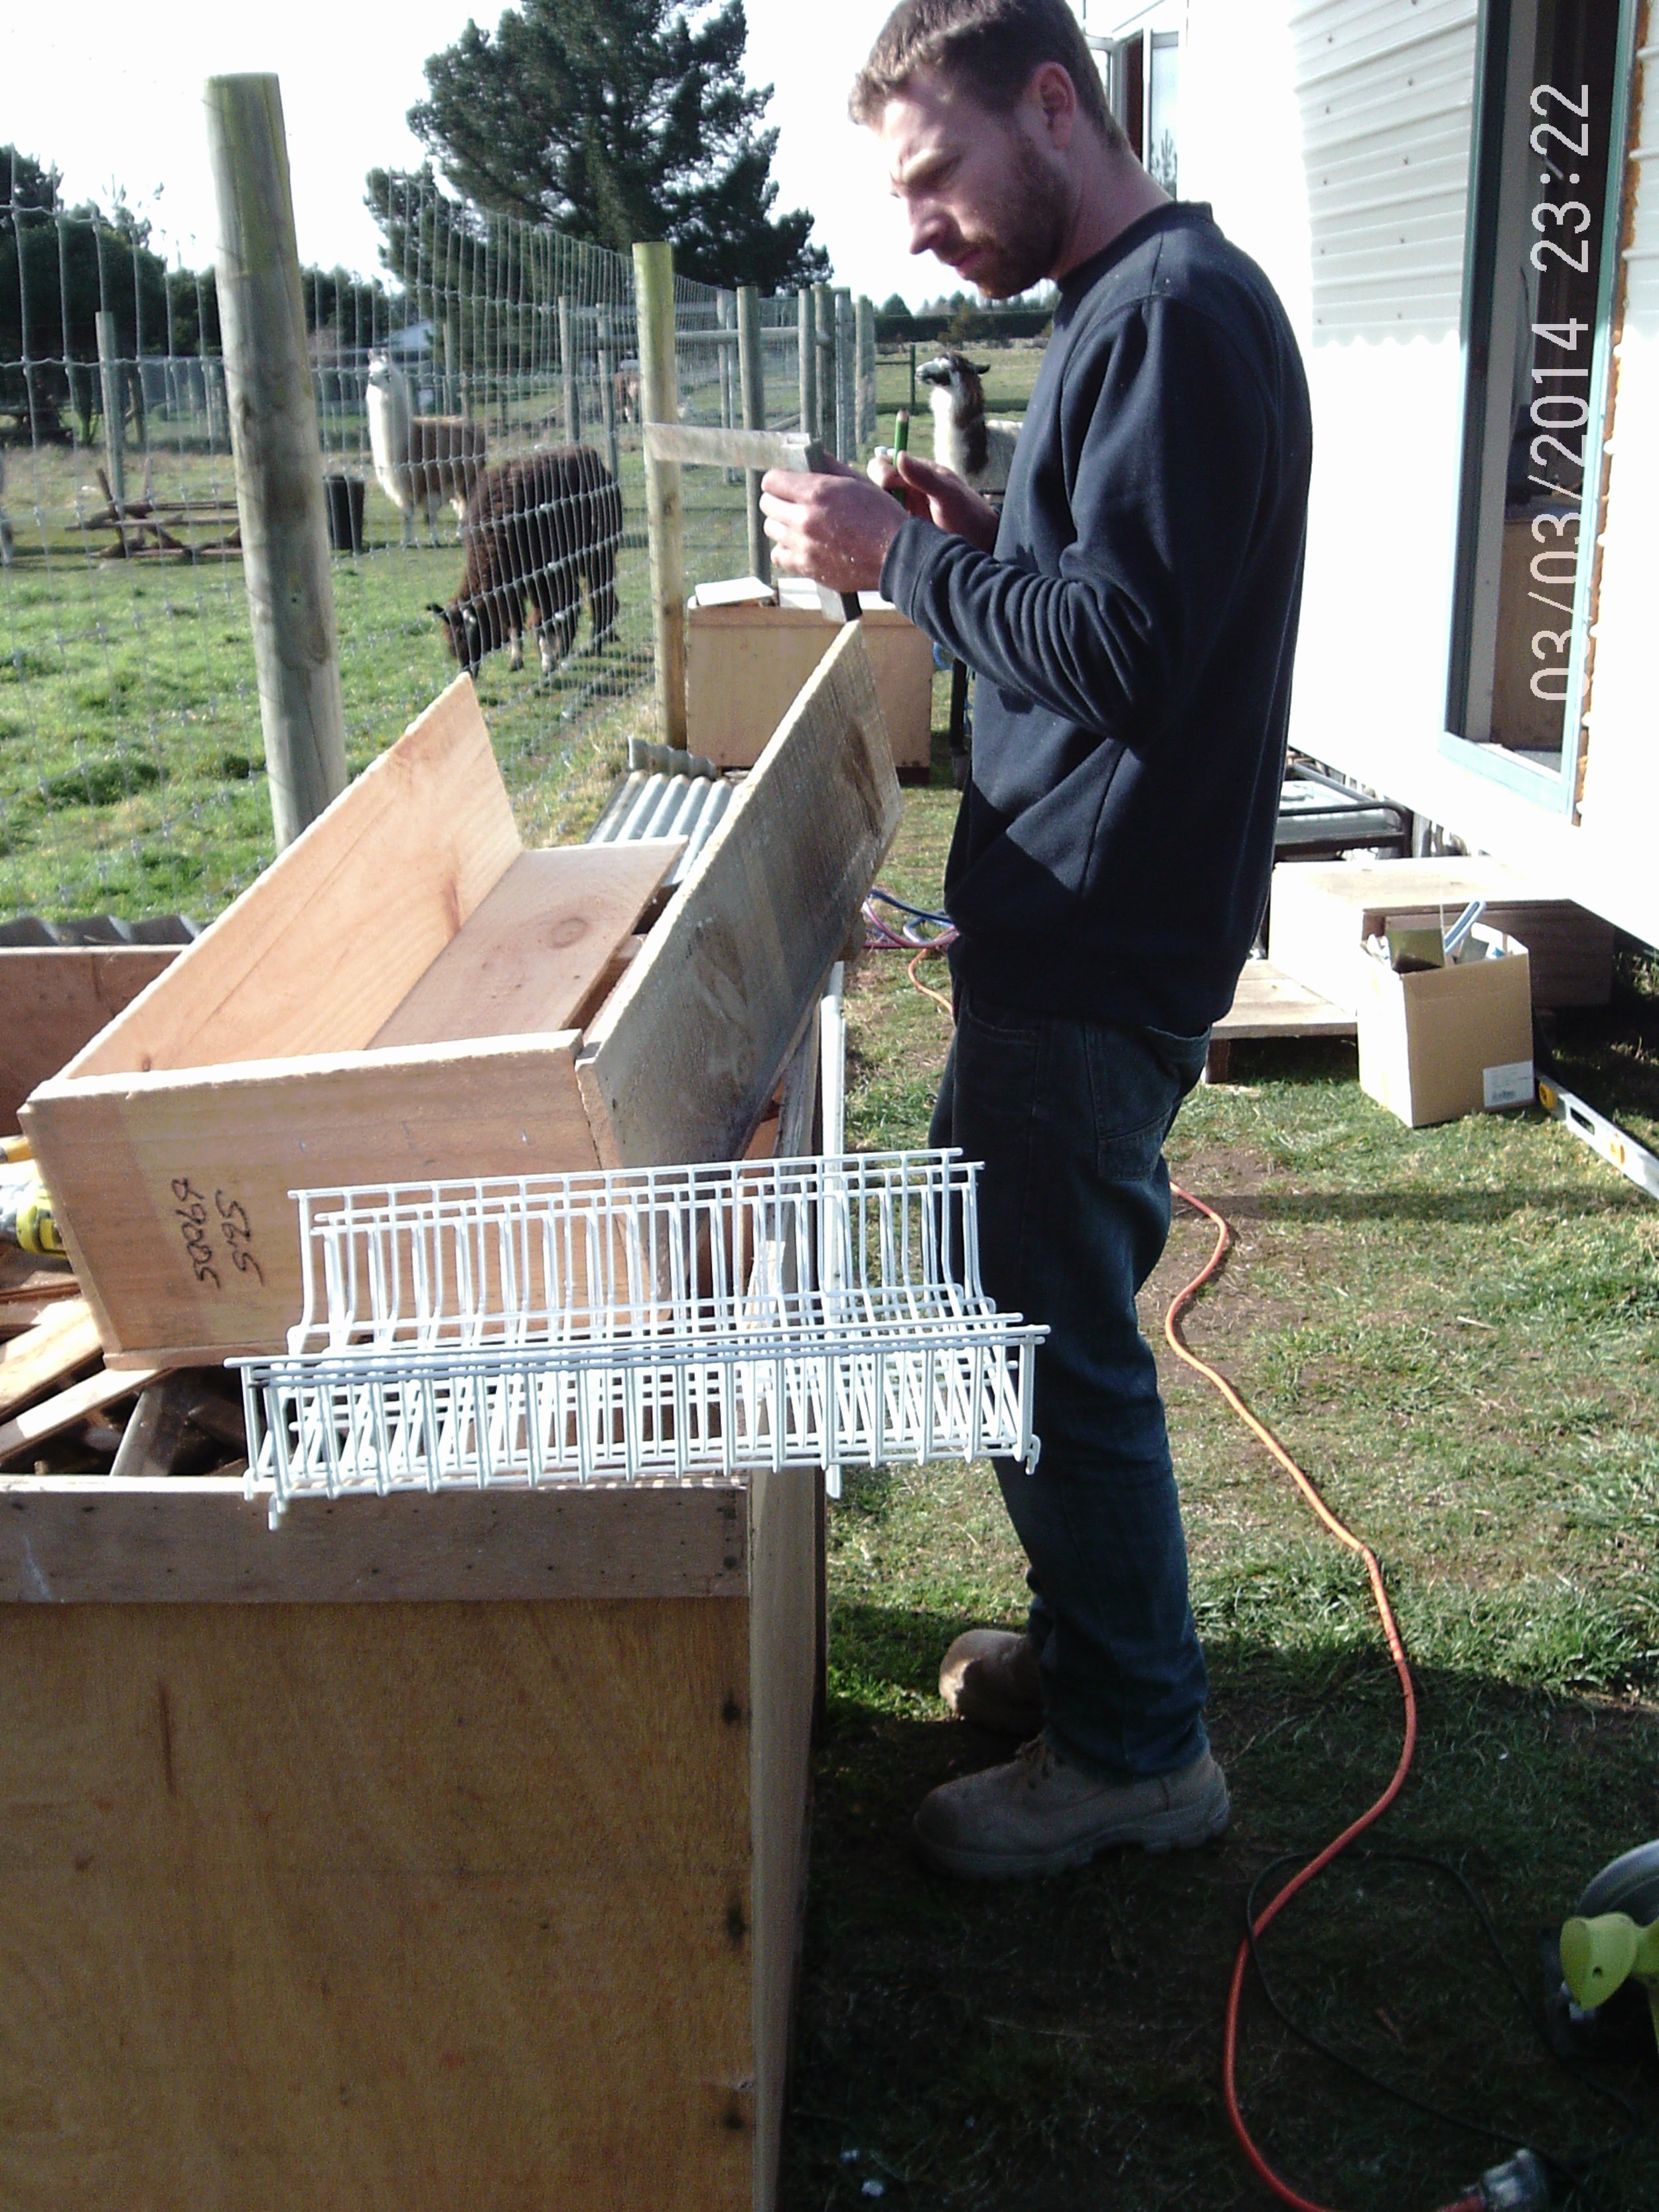
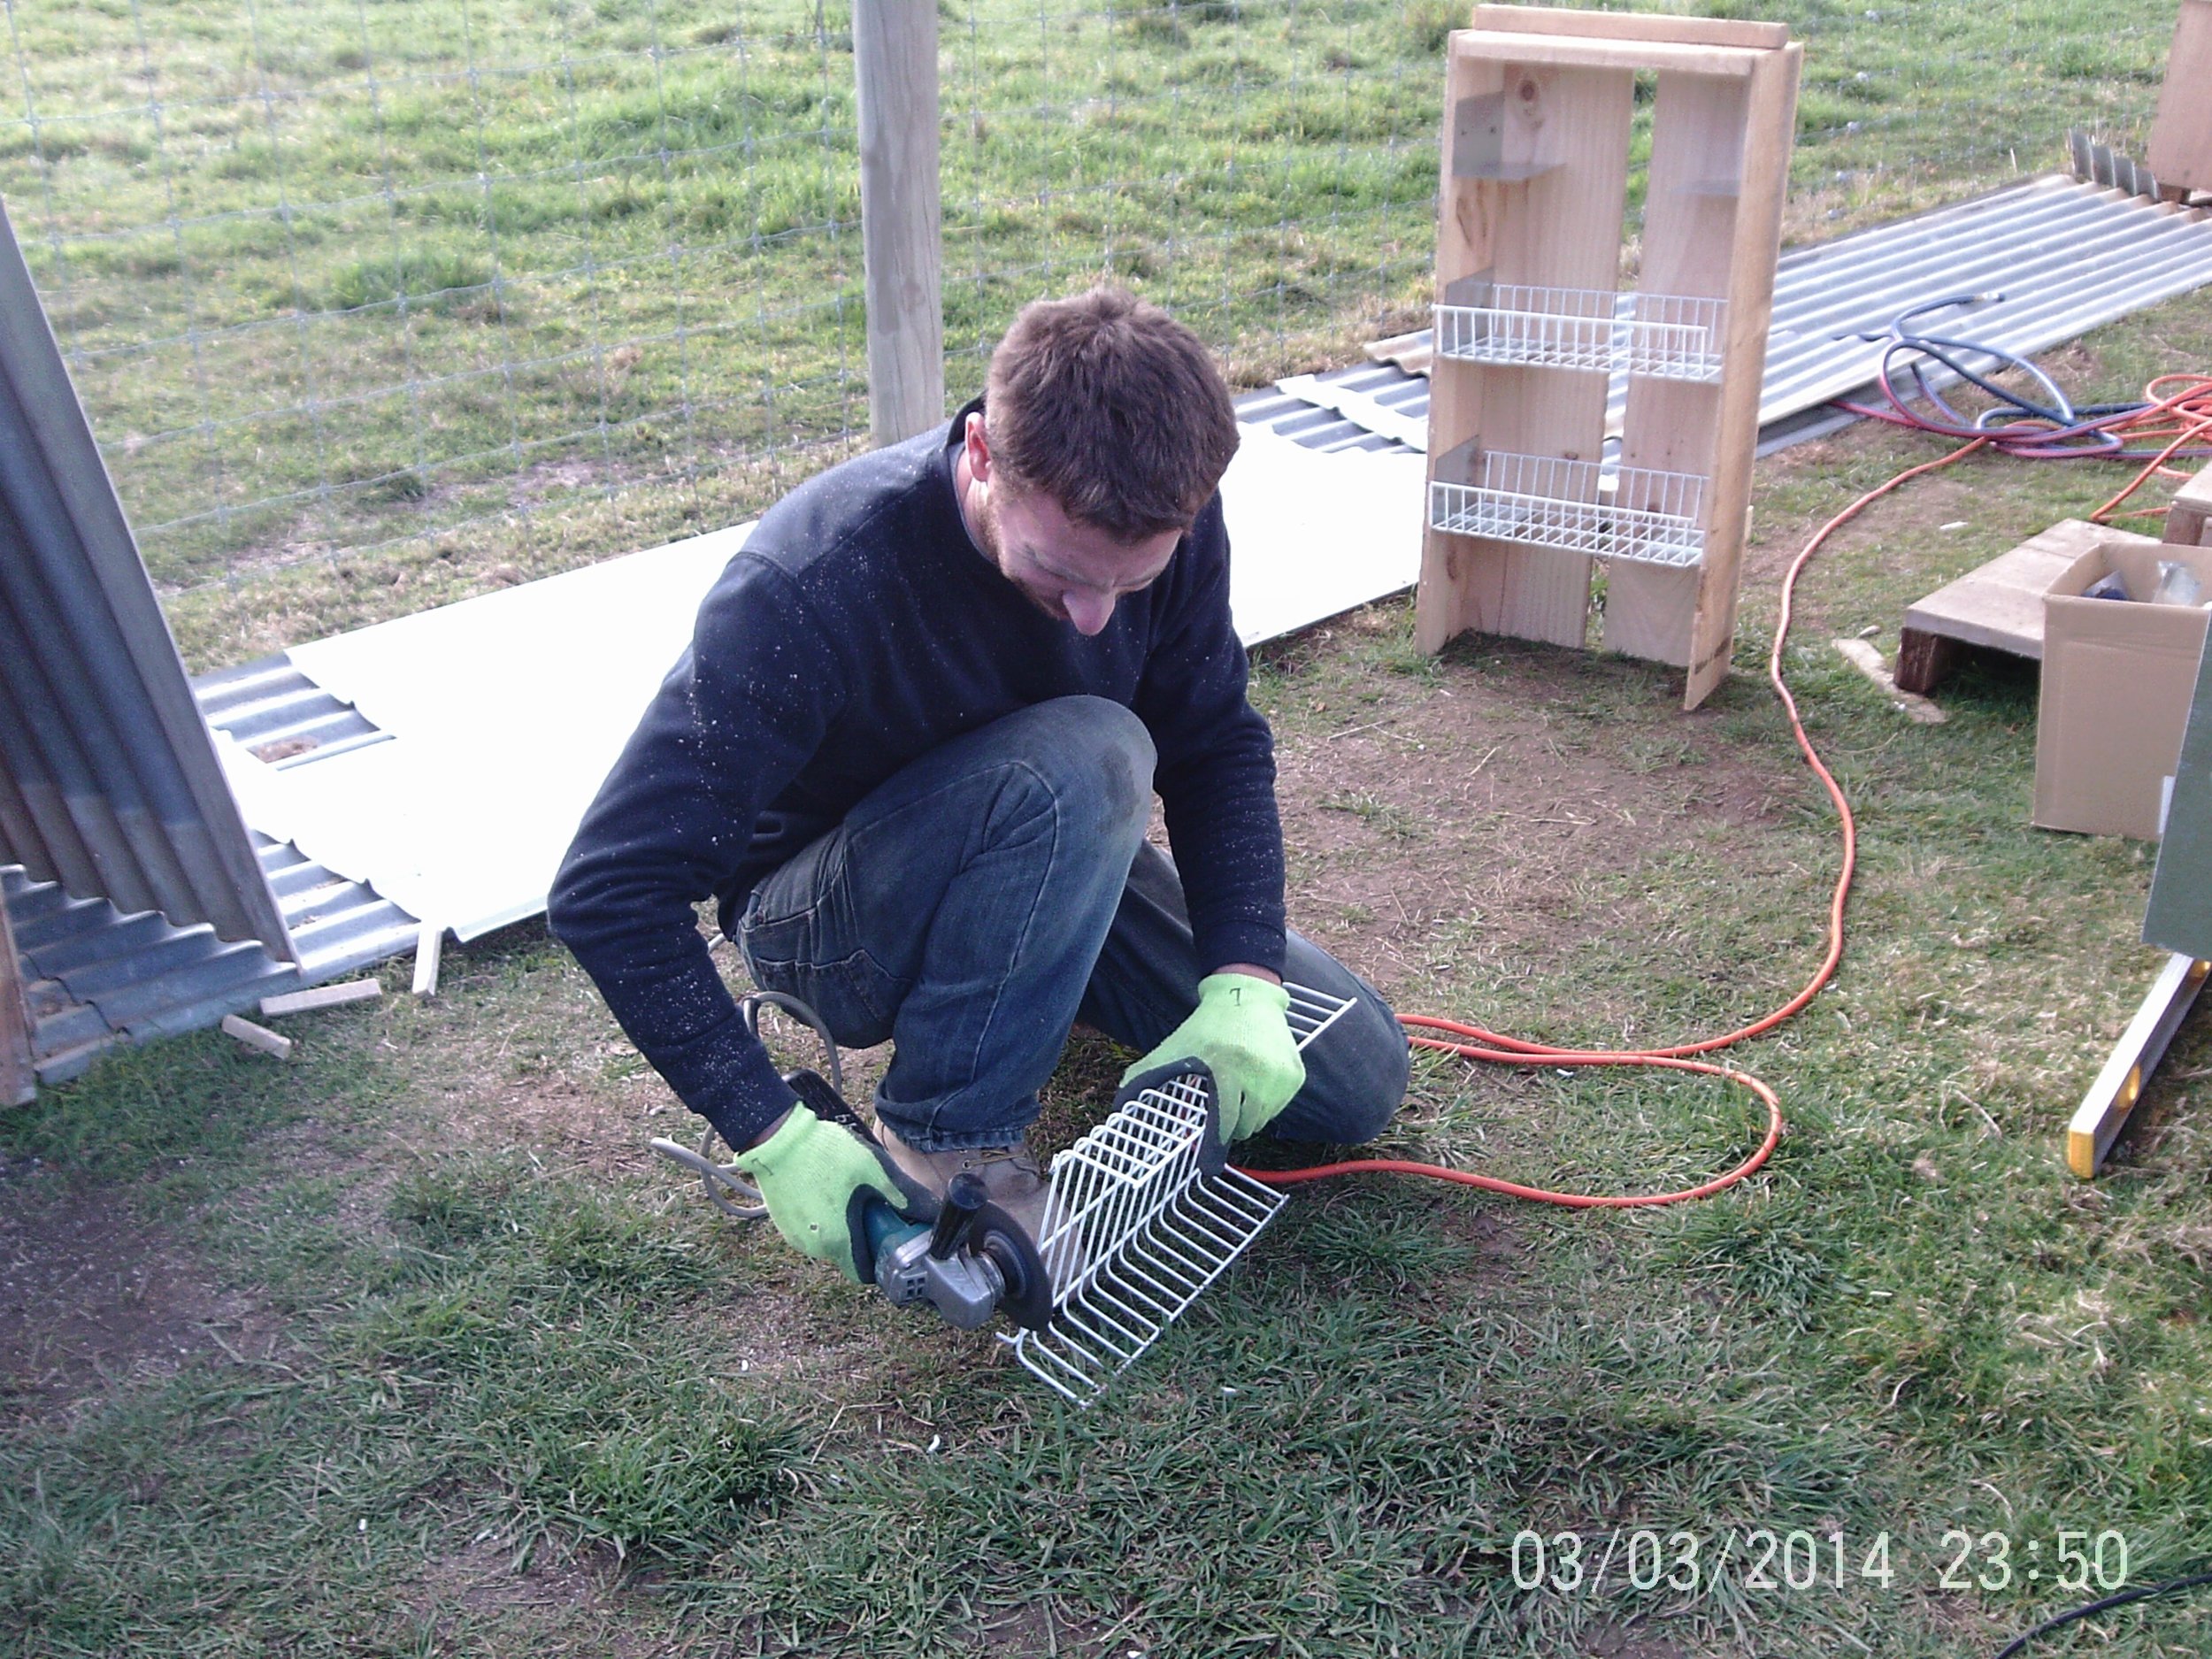
I found these in a store in Wellington, three for $12! It took us a while to decide where to put them.

20150905_161743

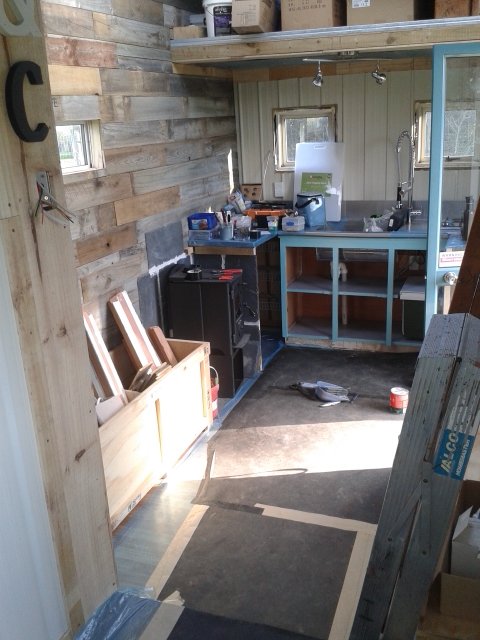
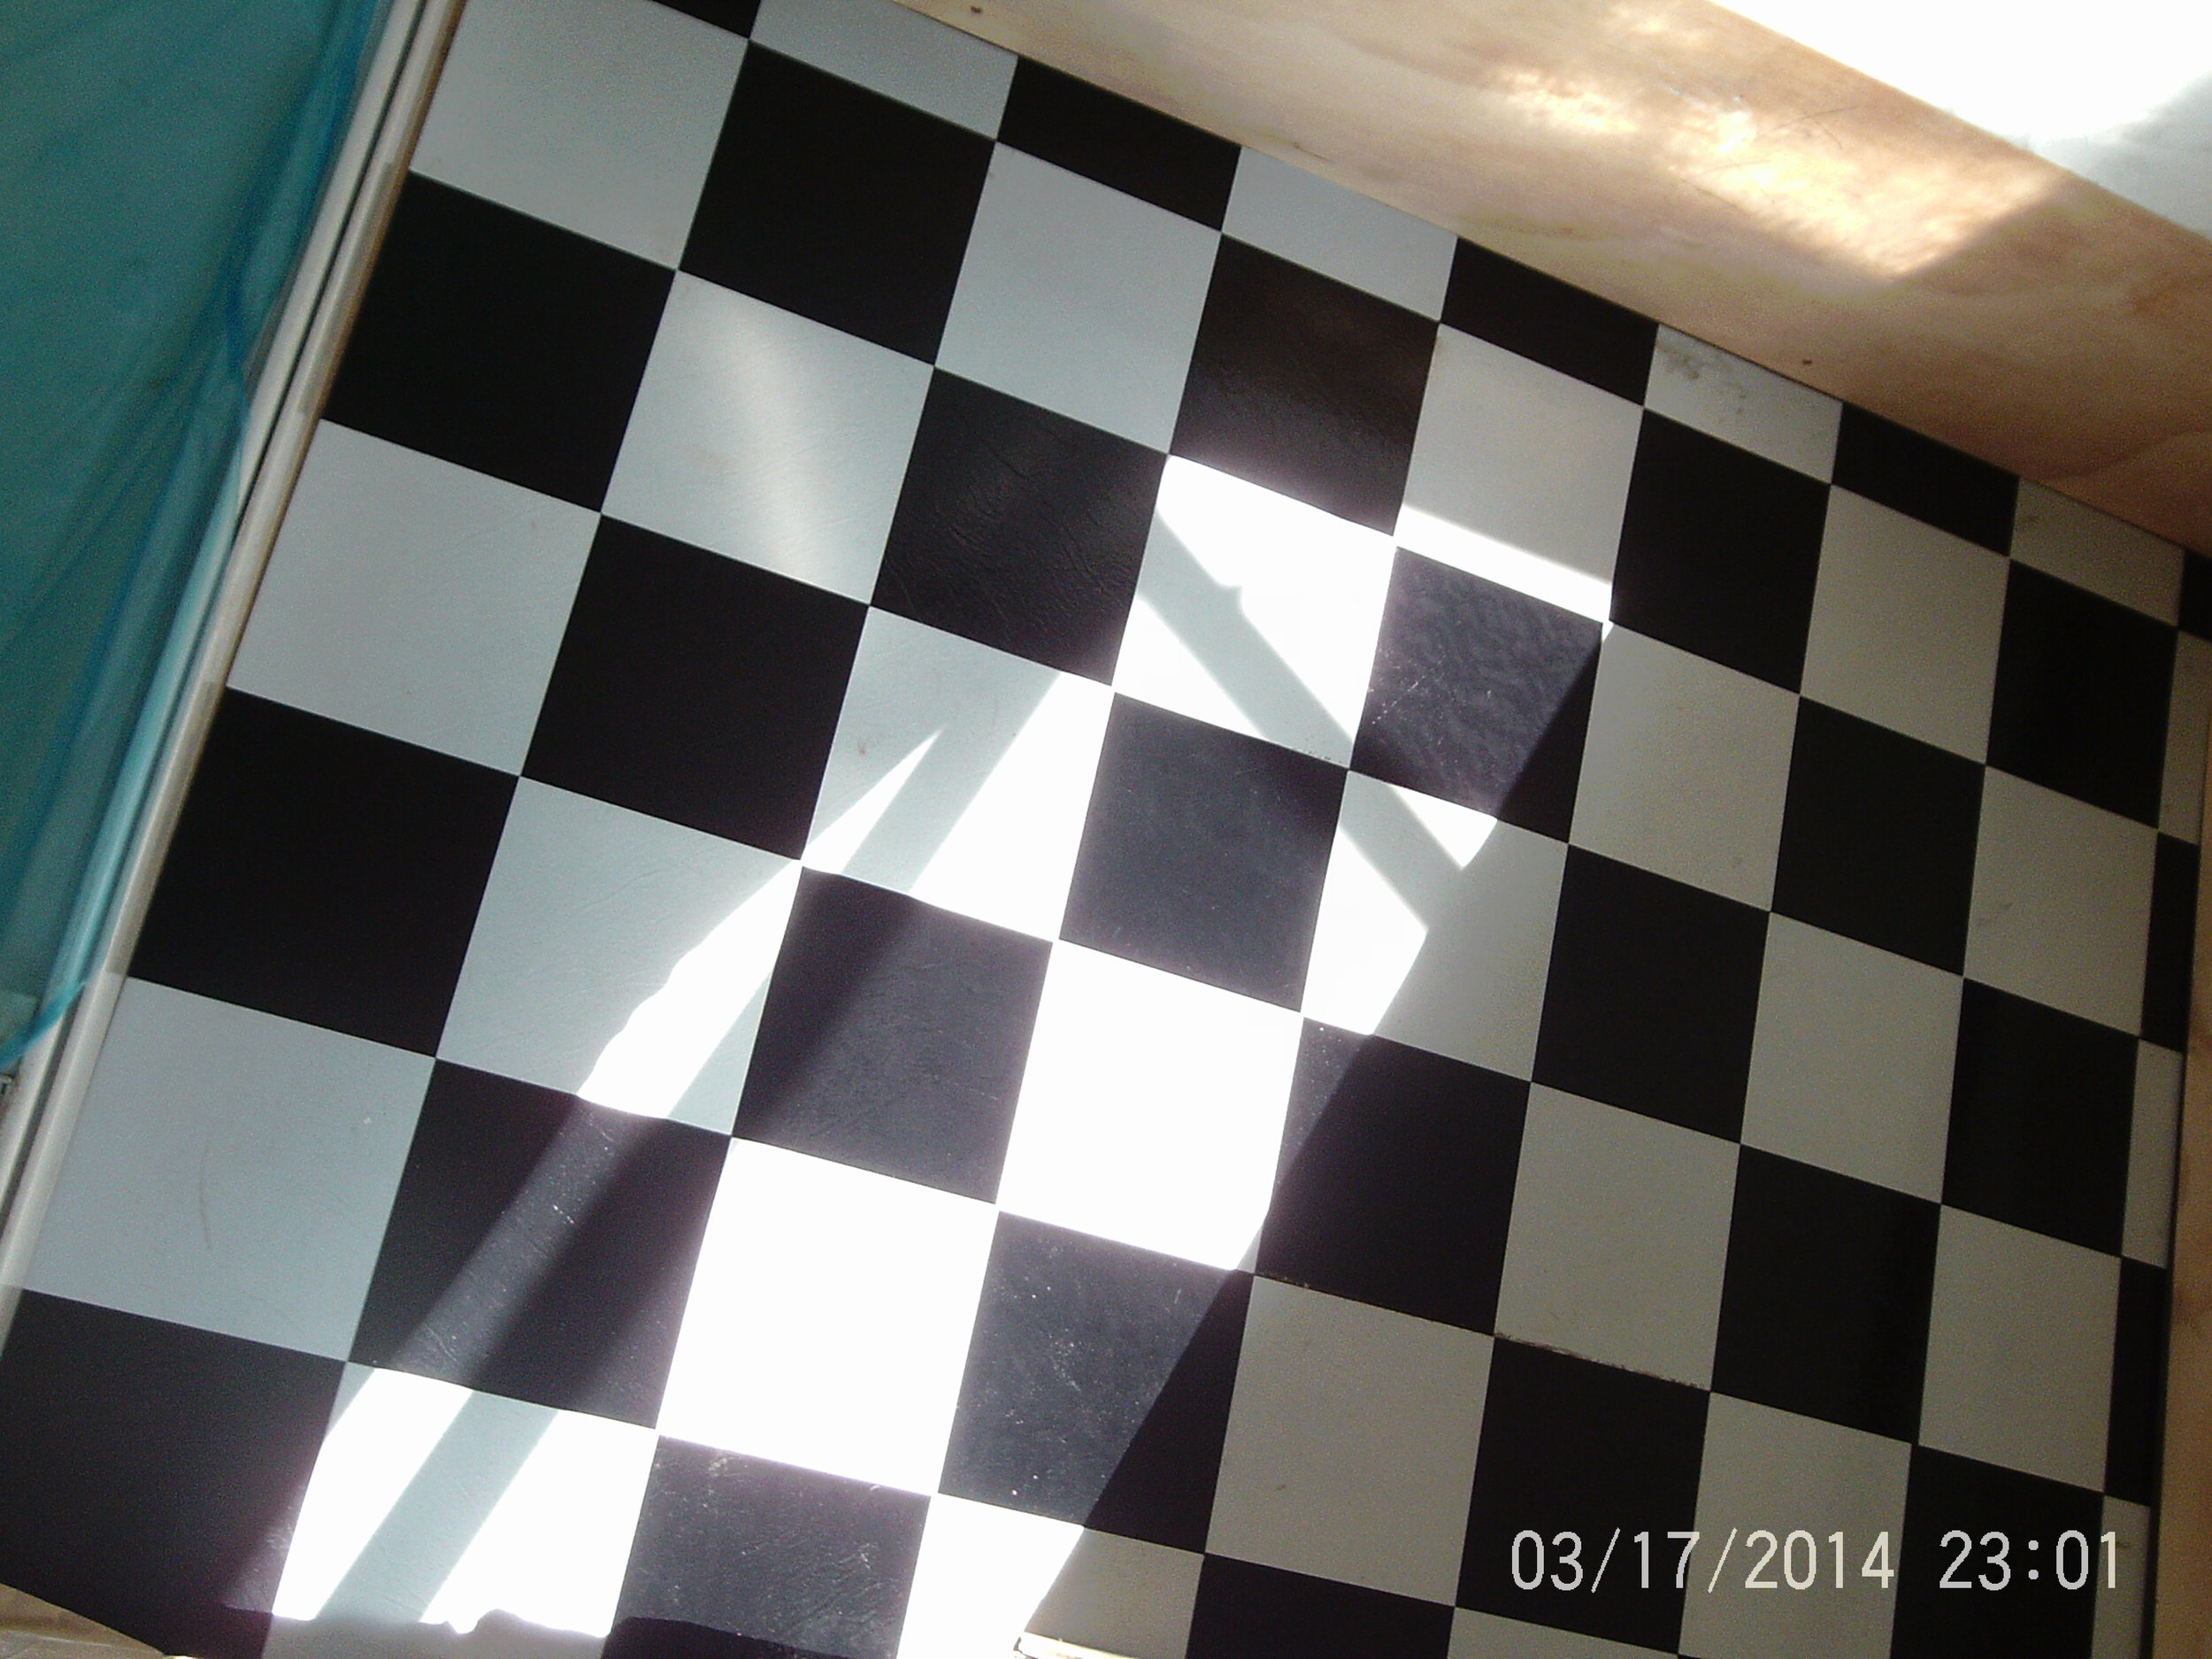
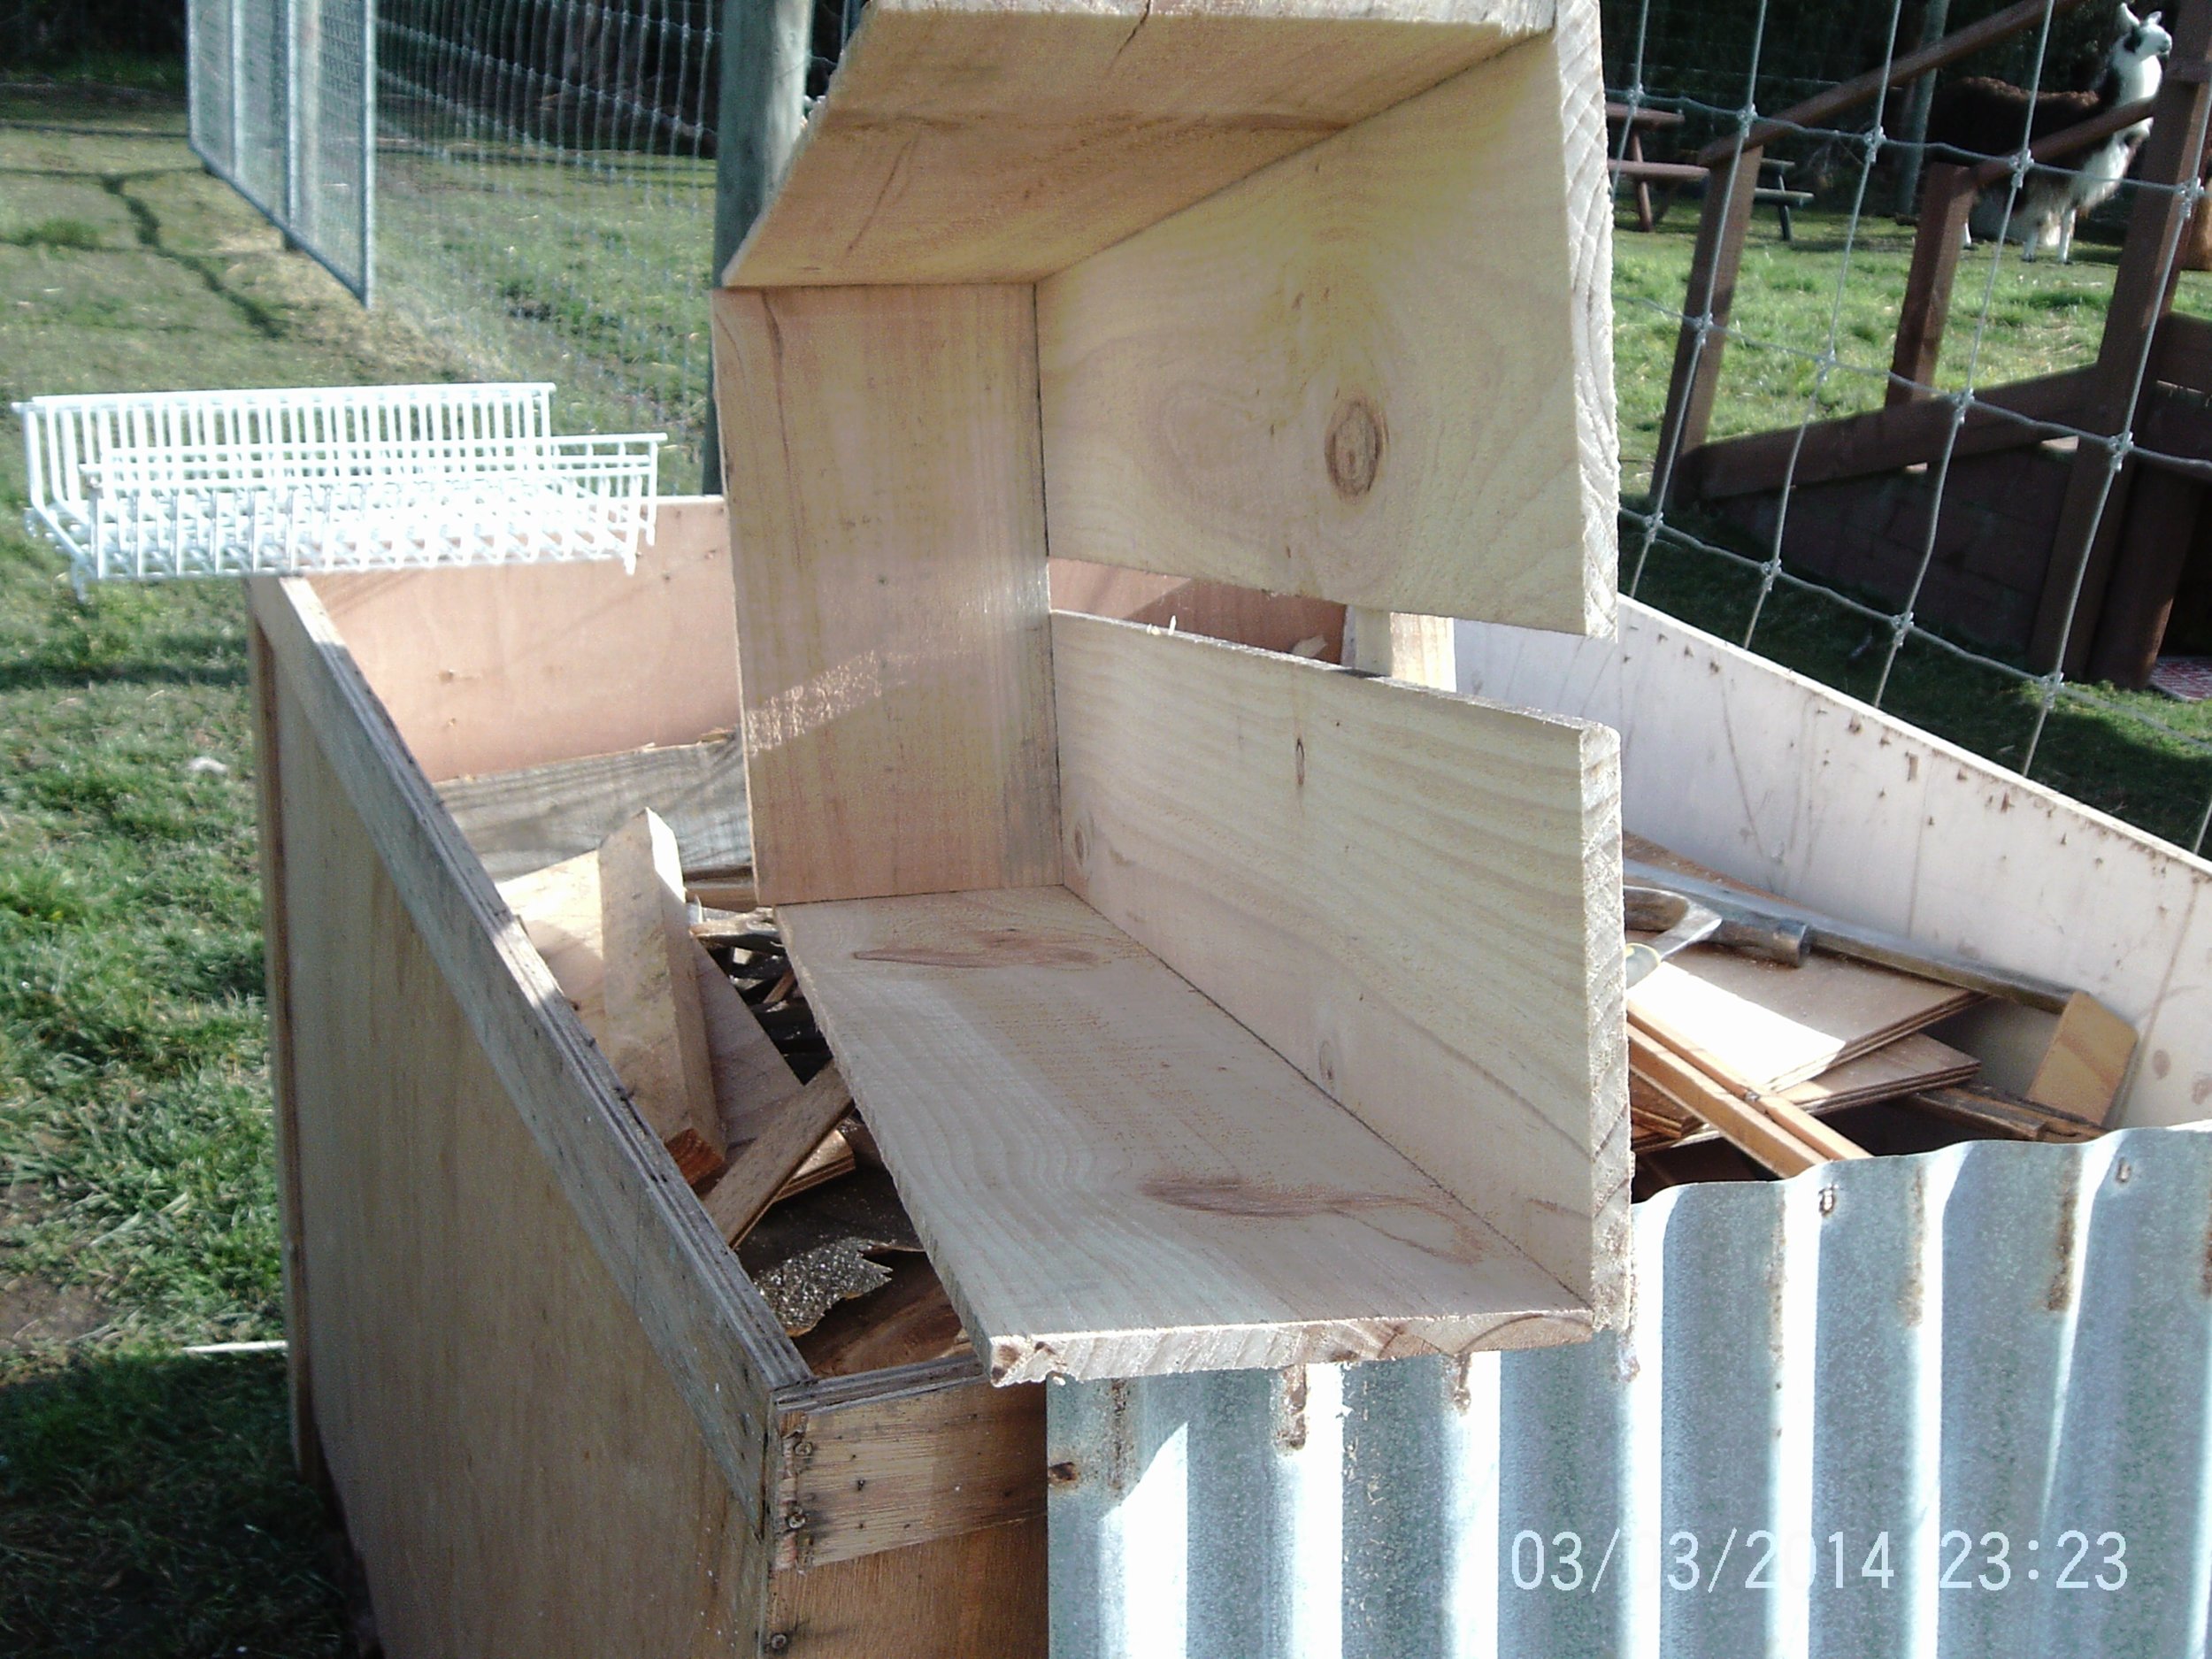
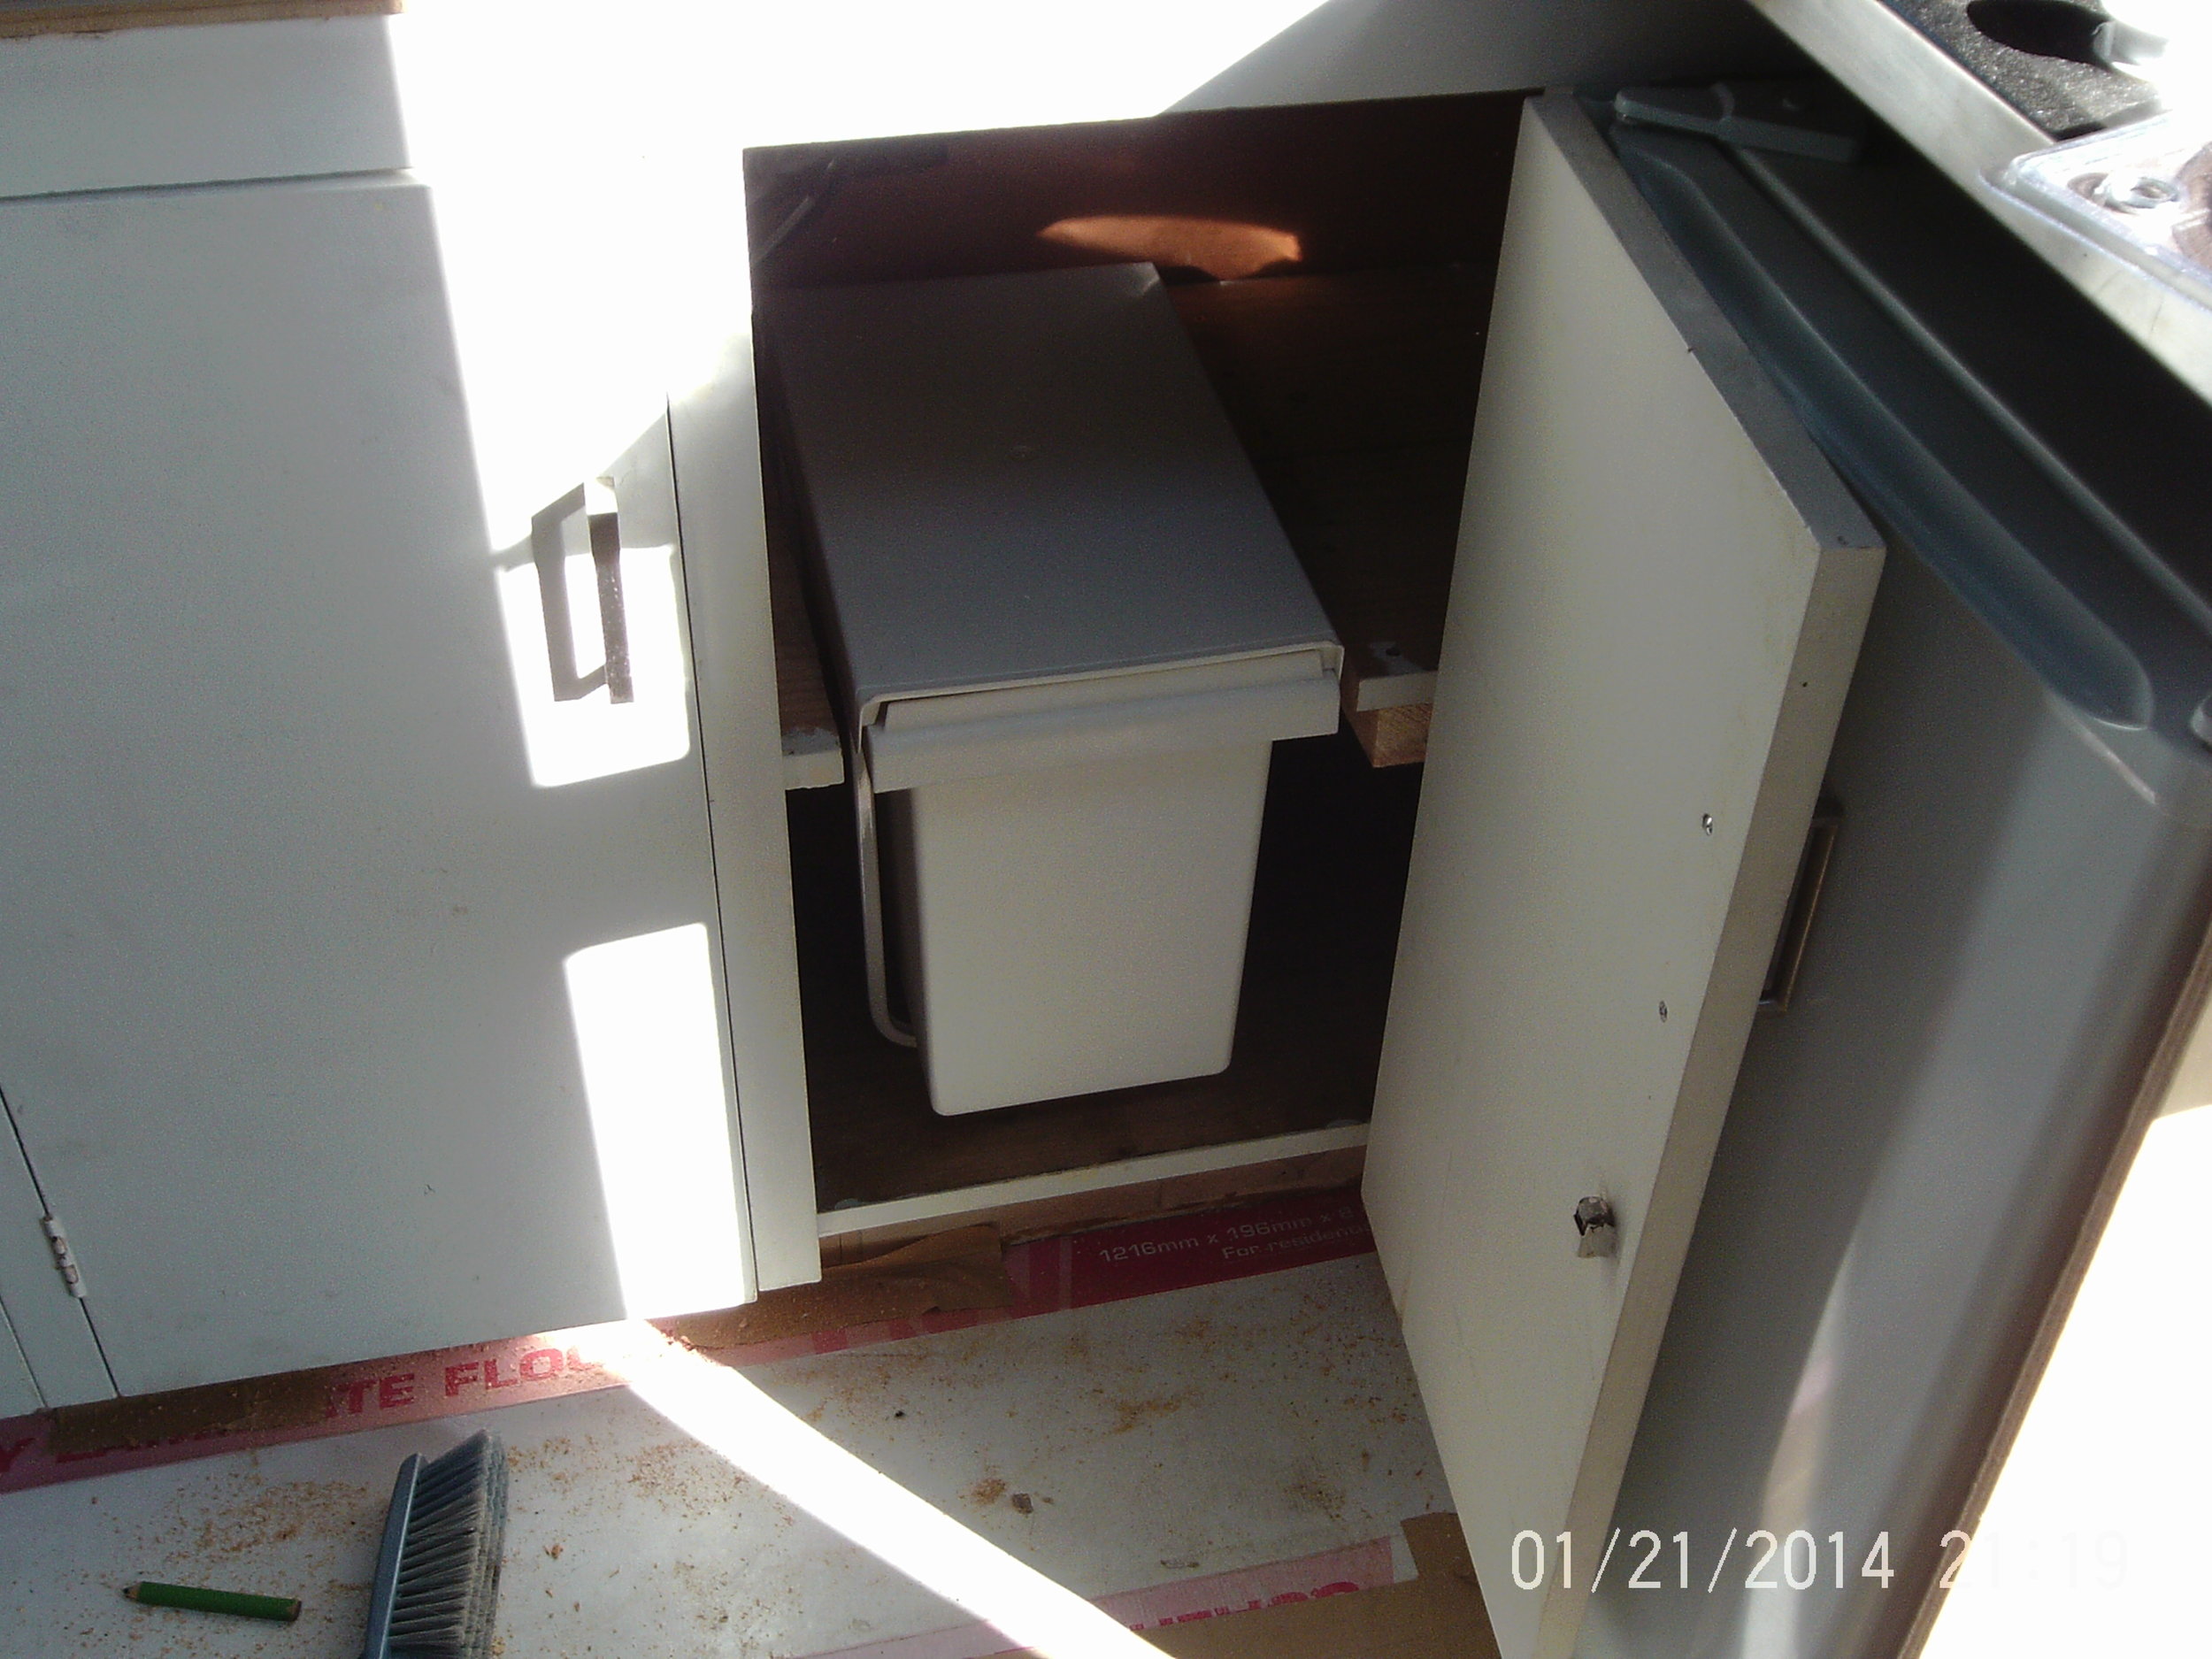
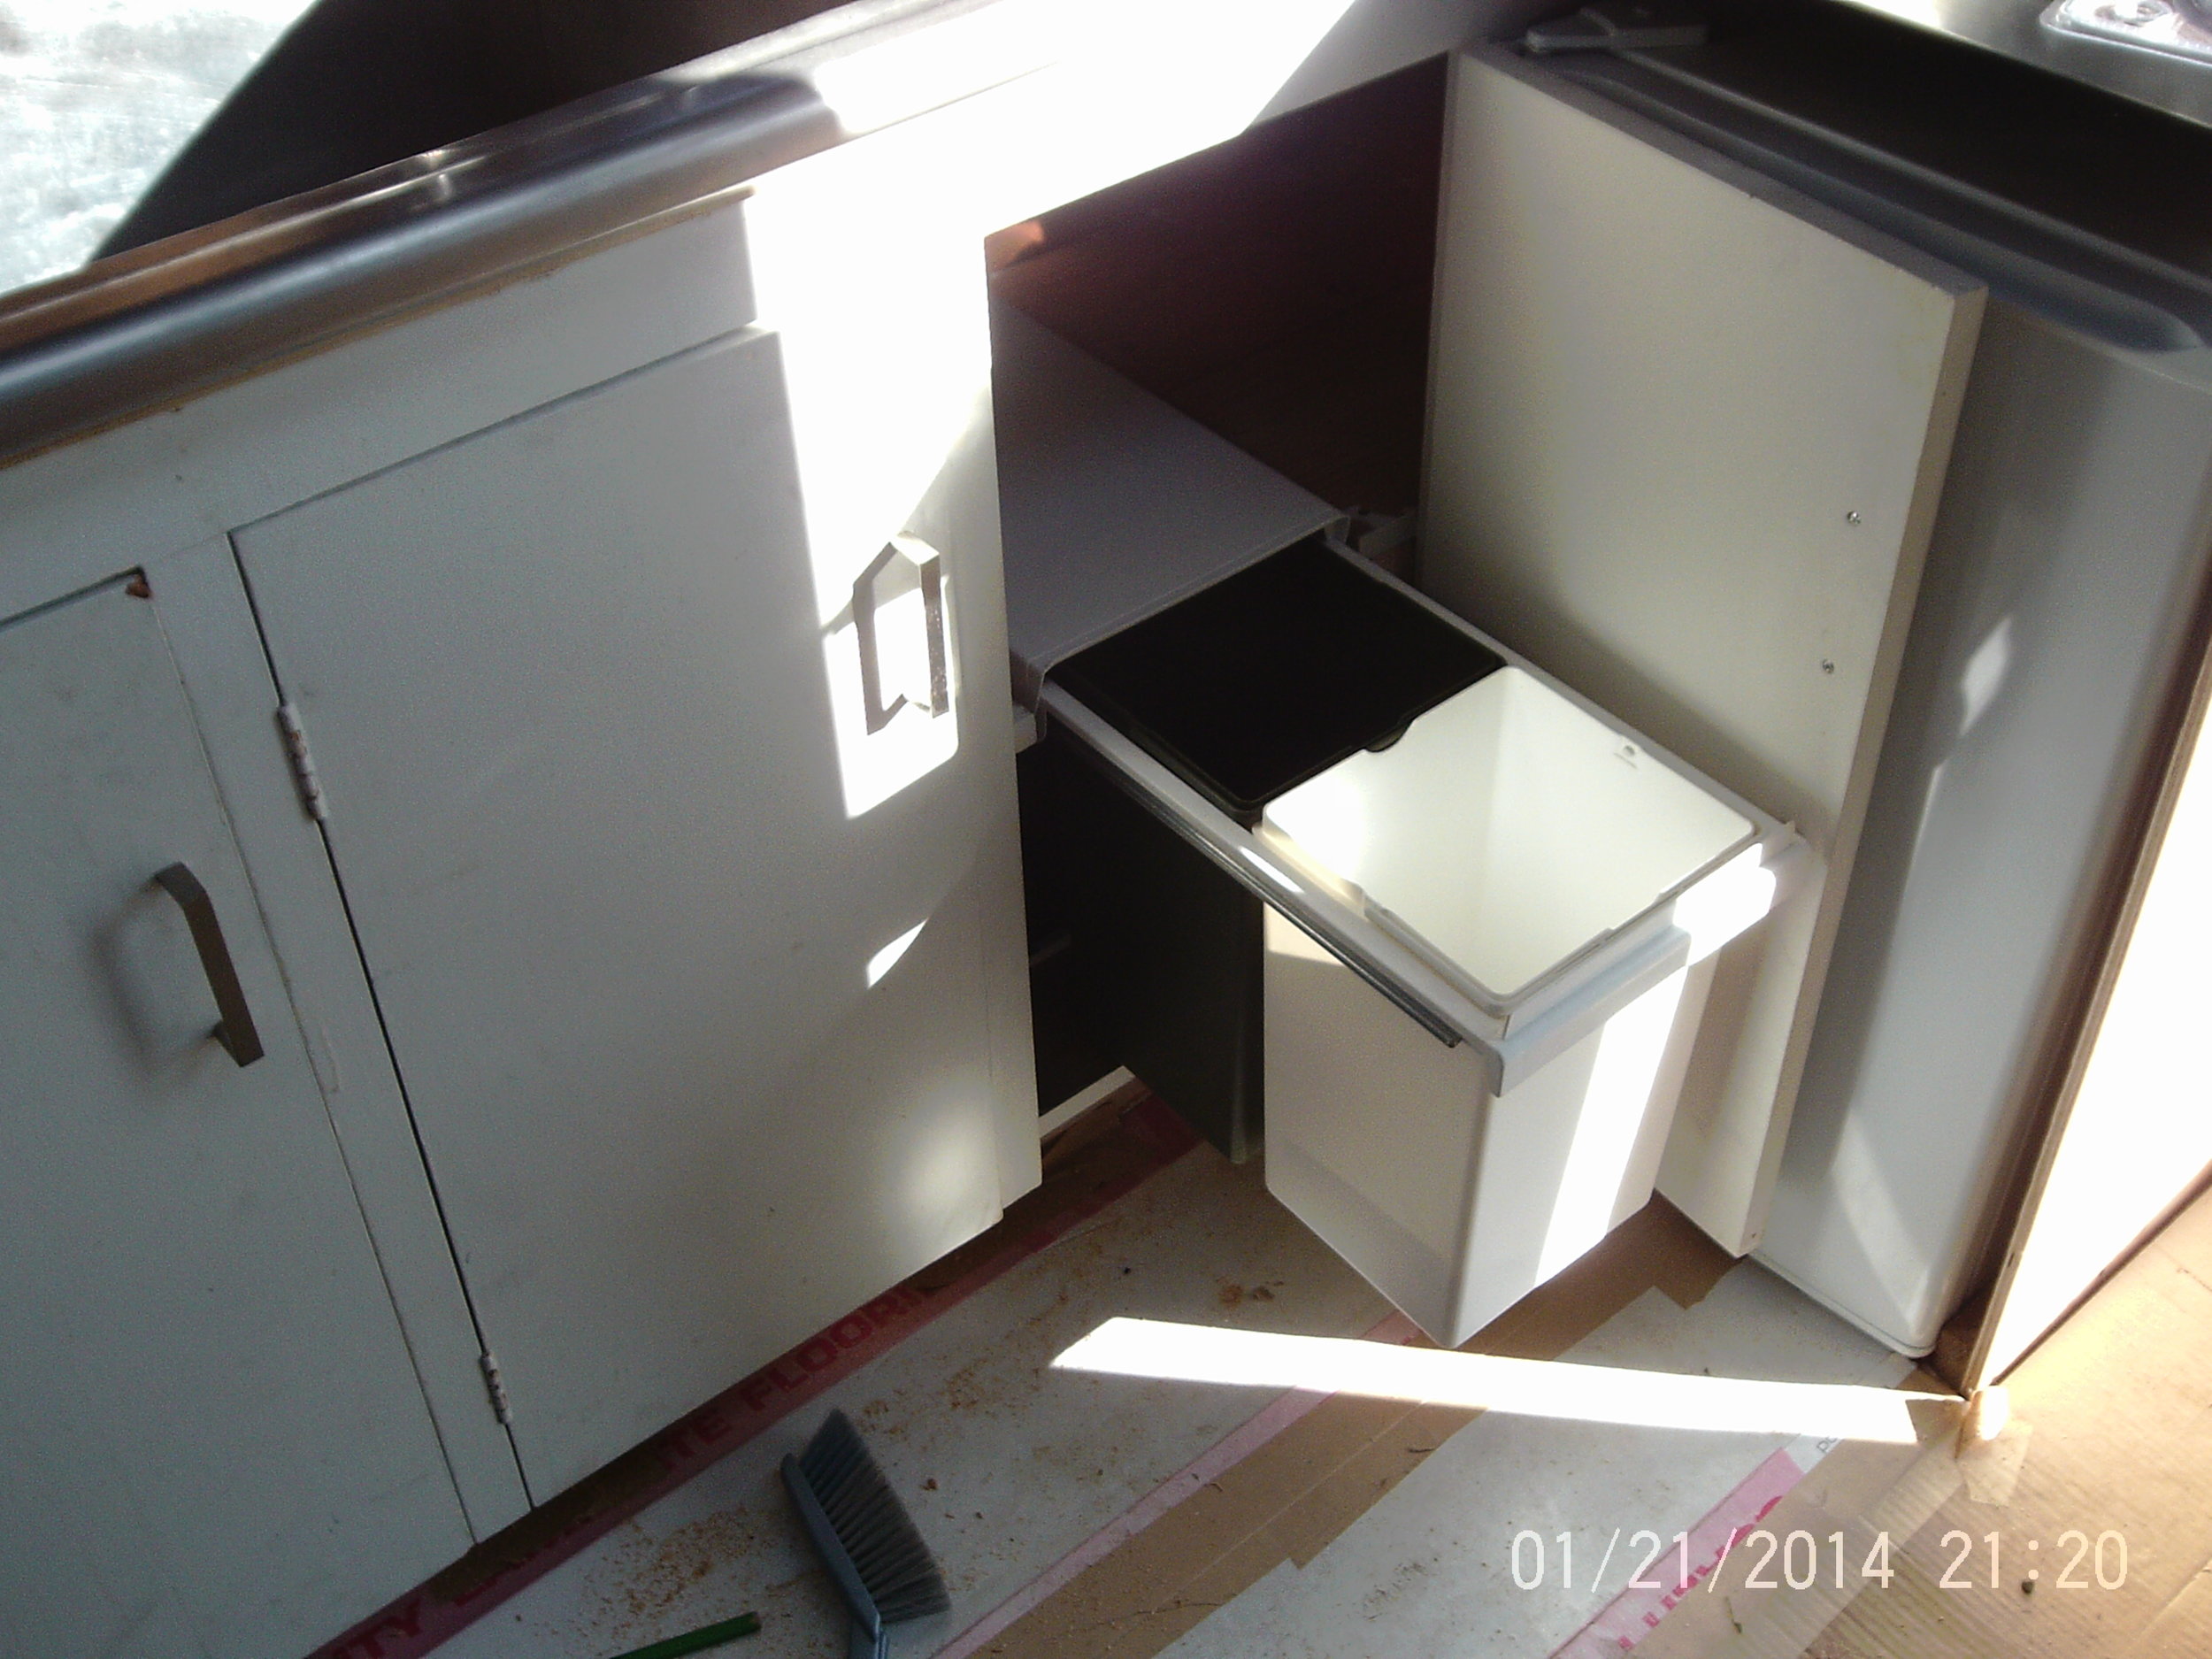
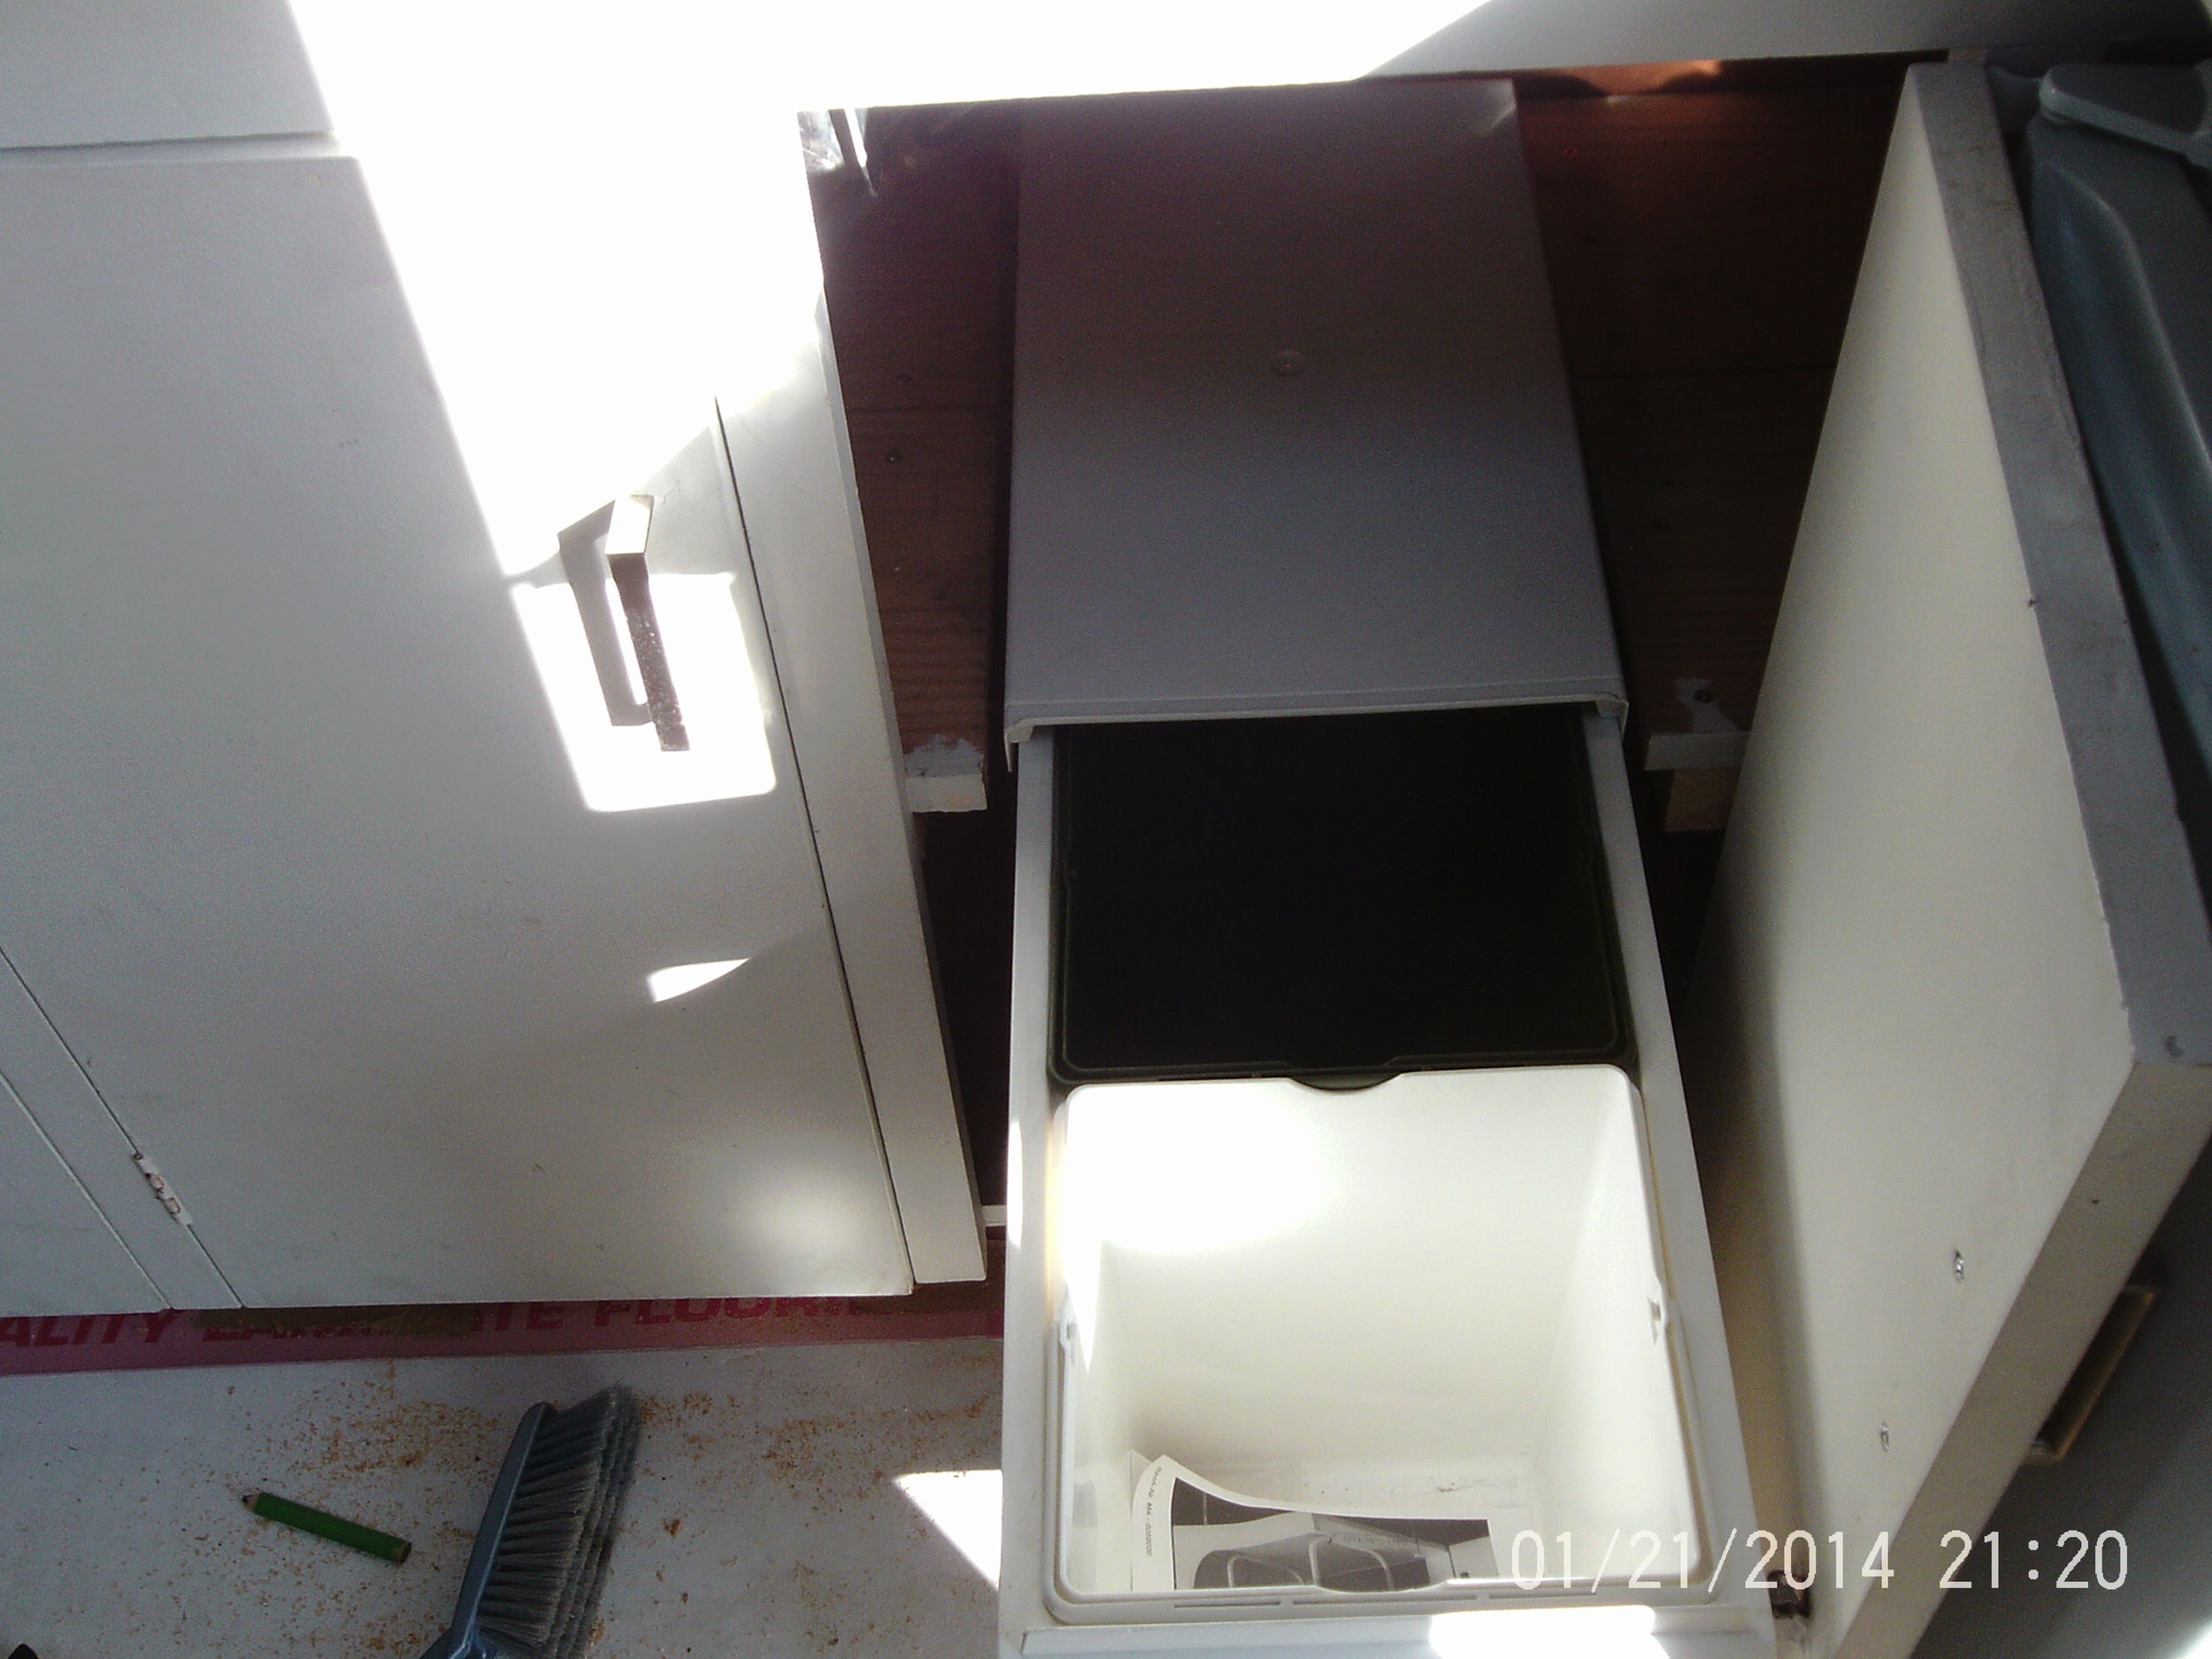
If you look closely you will see the vinyl that we glued to the shelves of the kitchen cabinets. It makes it look so much better!

20150905_161726 20150905_154821

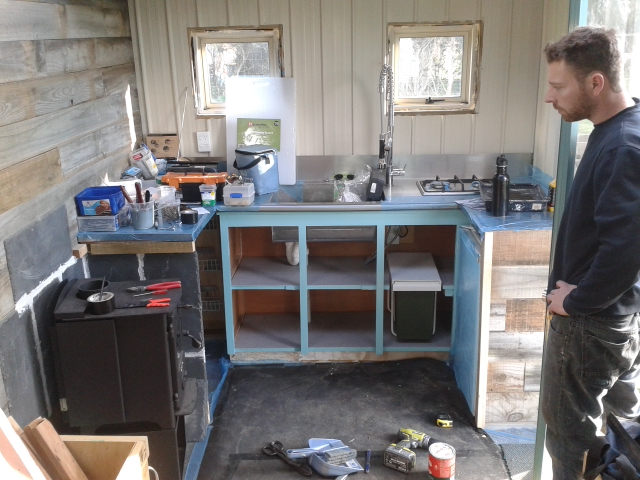
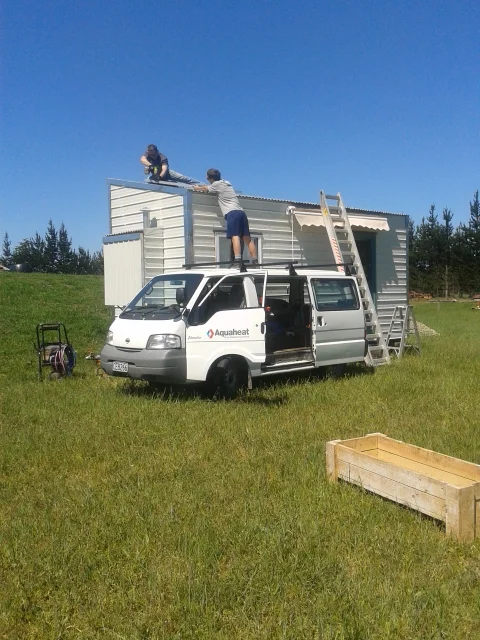
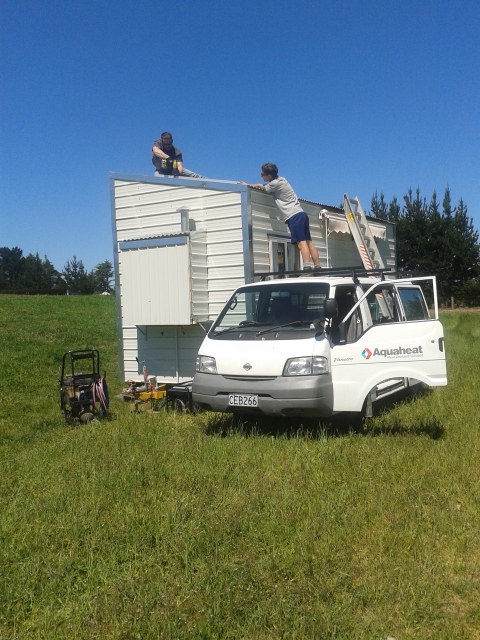
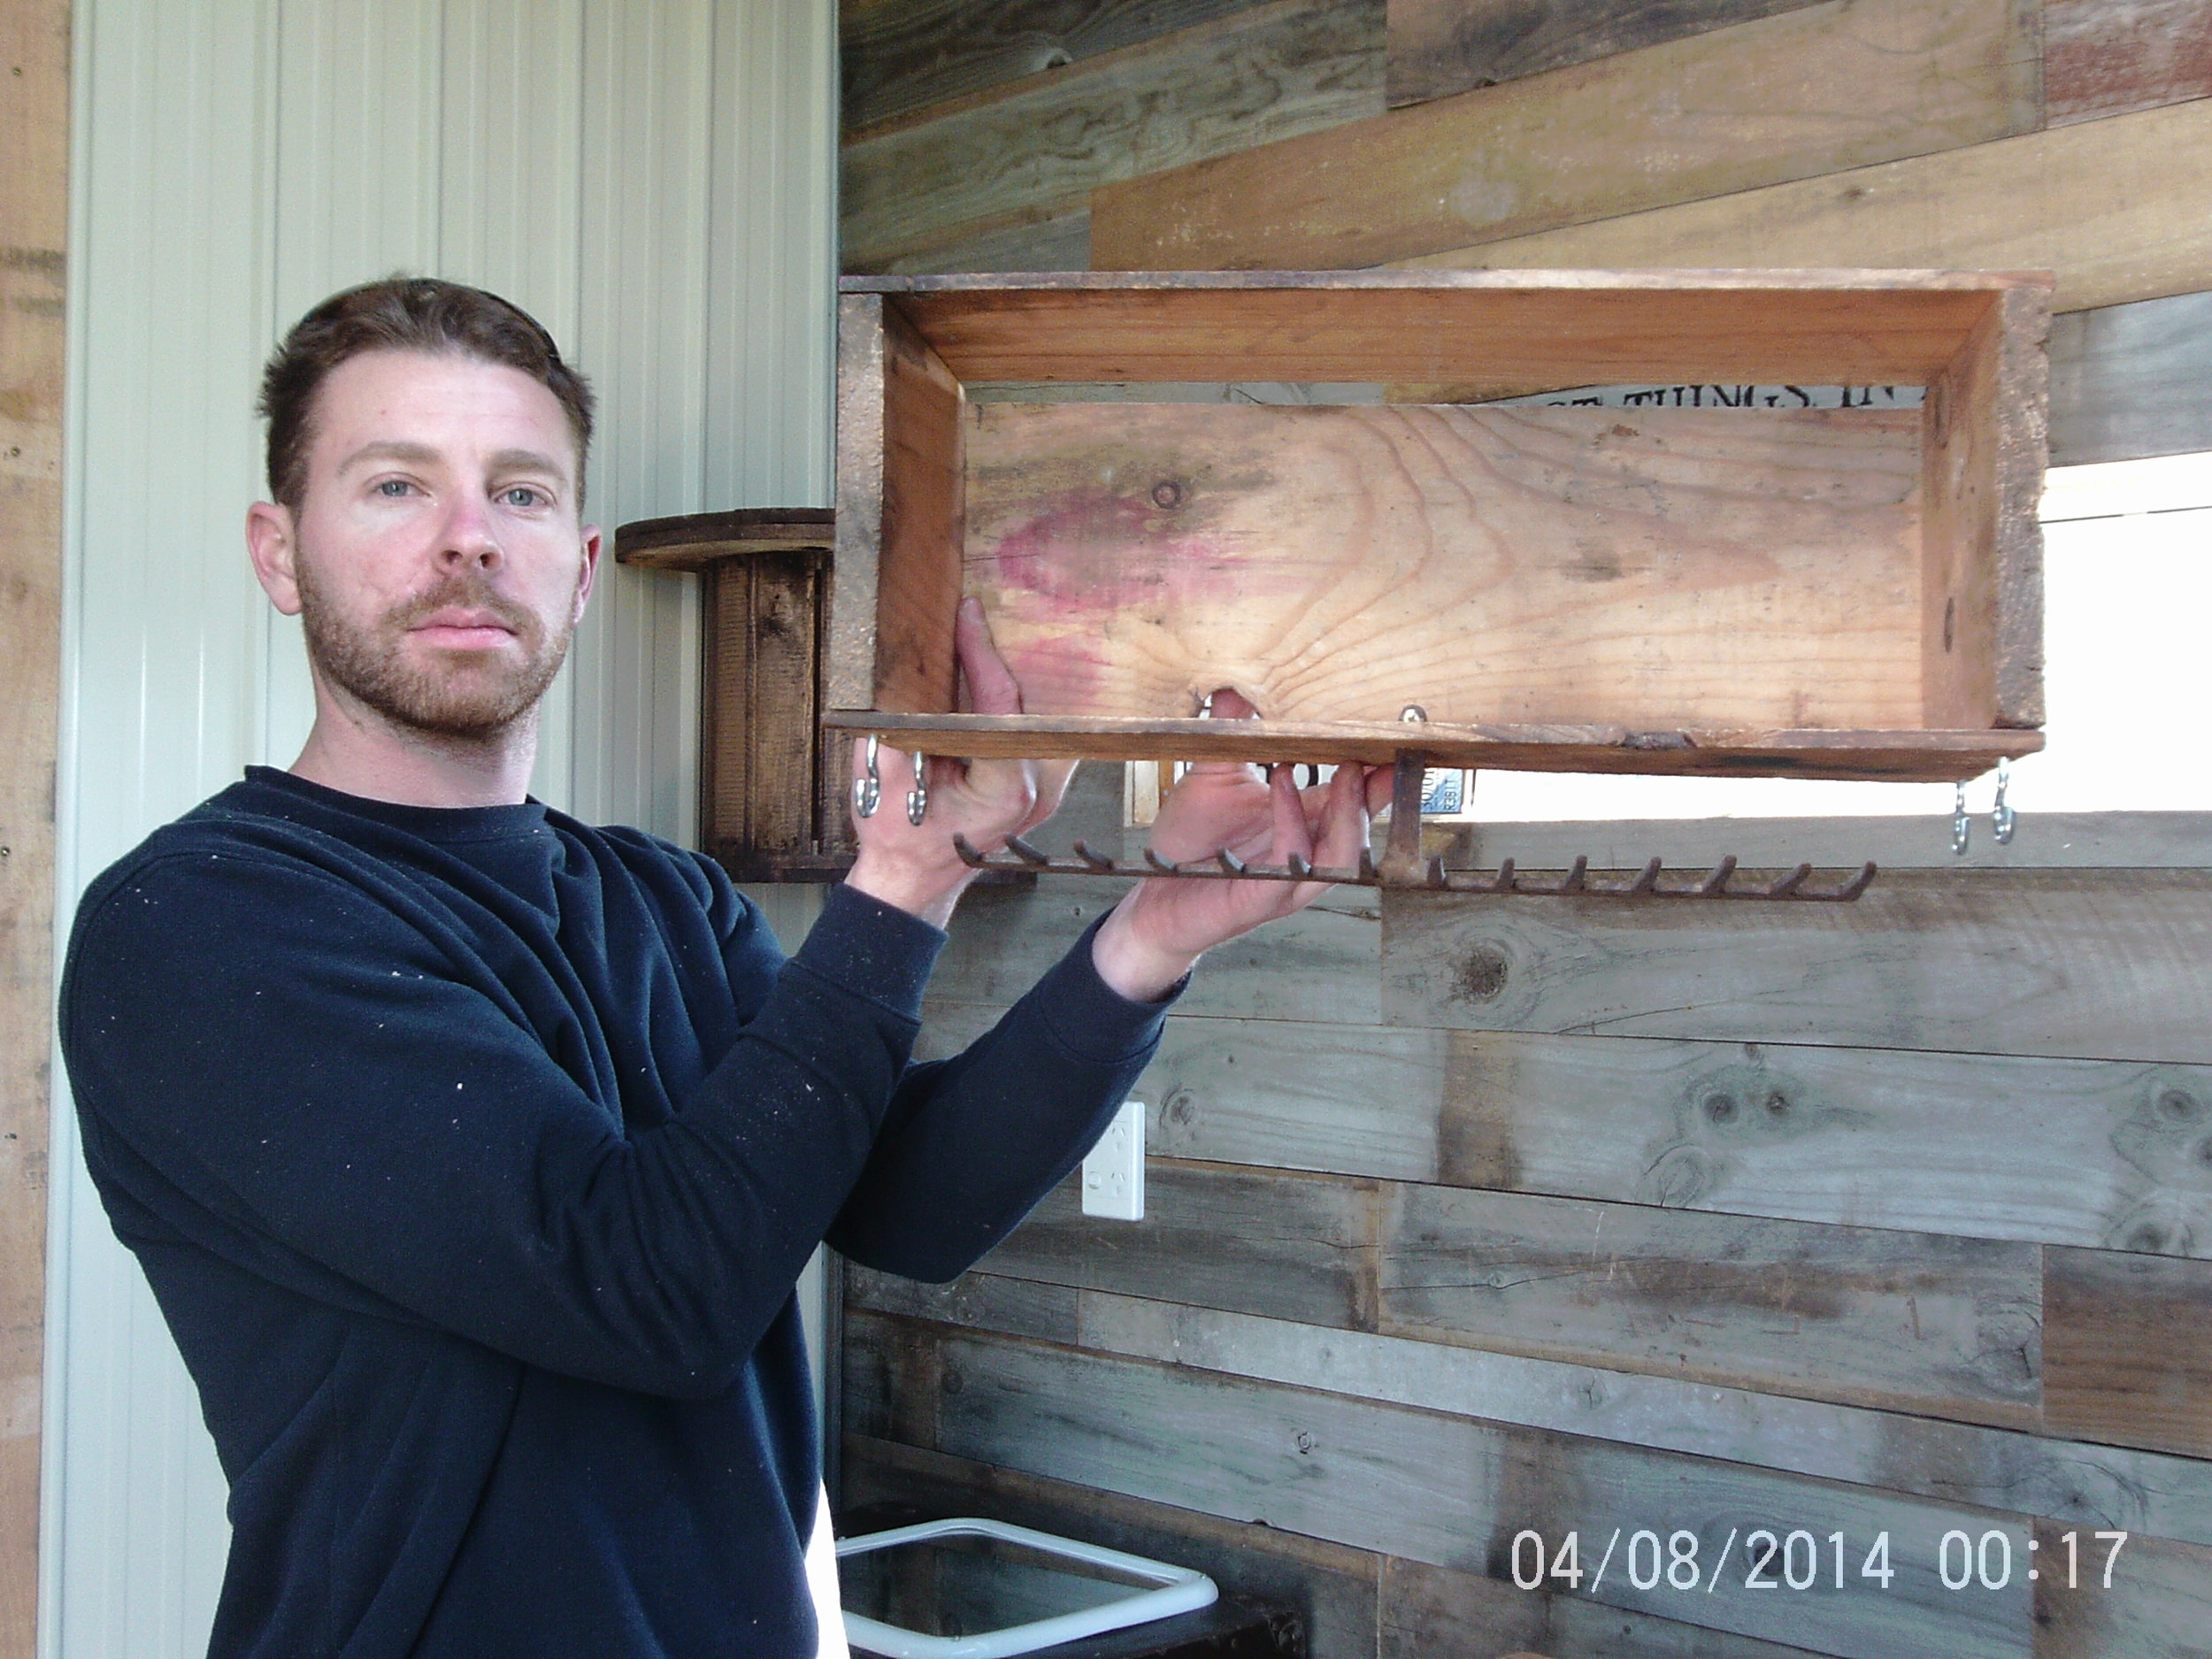
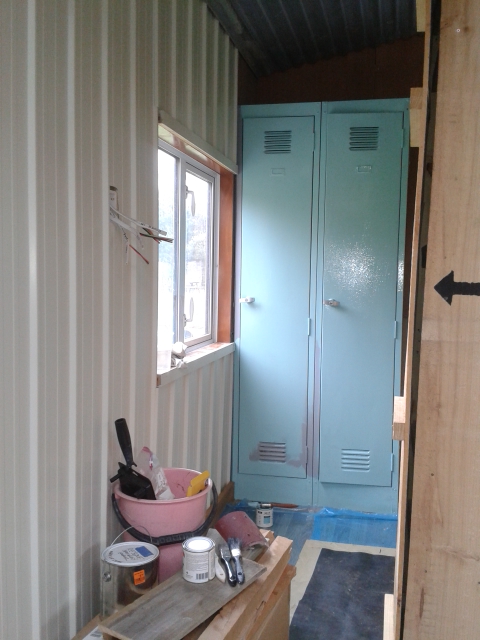
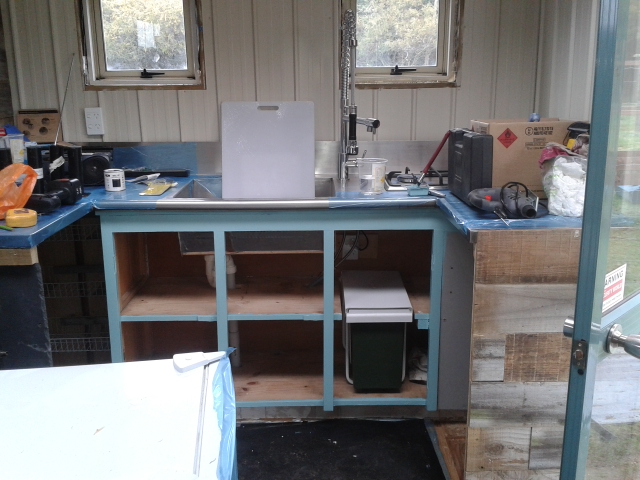
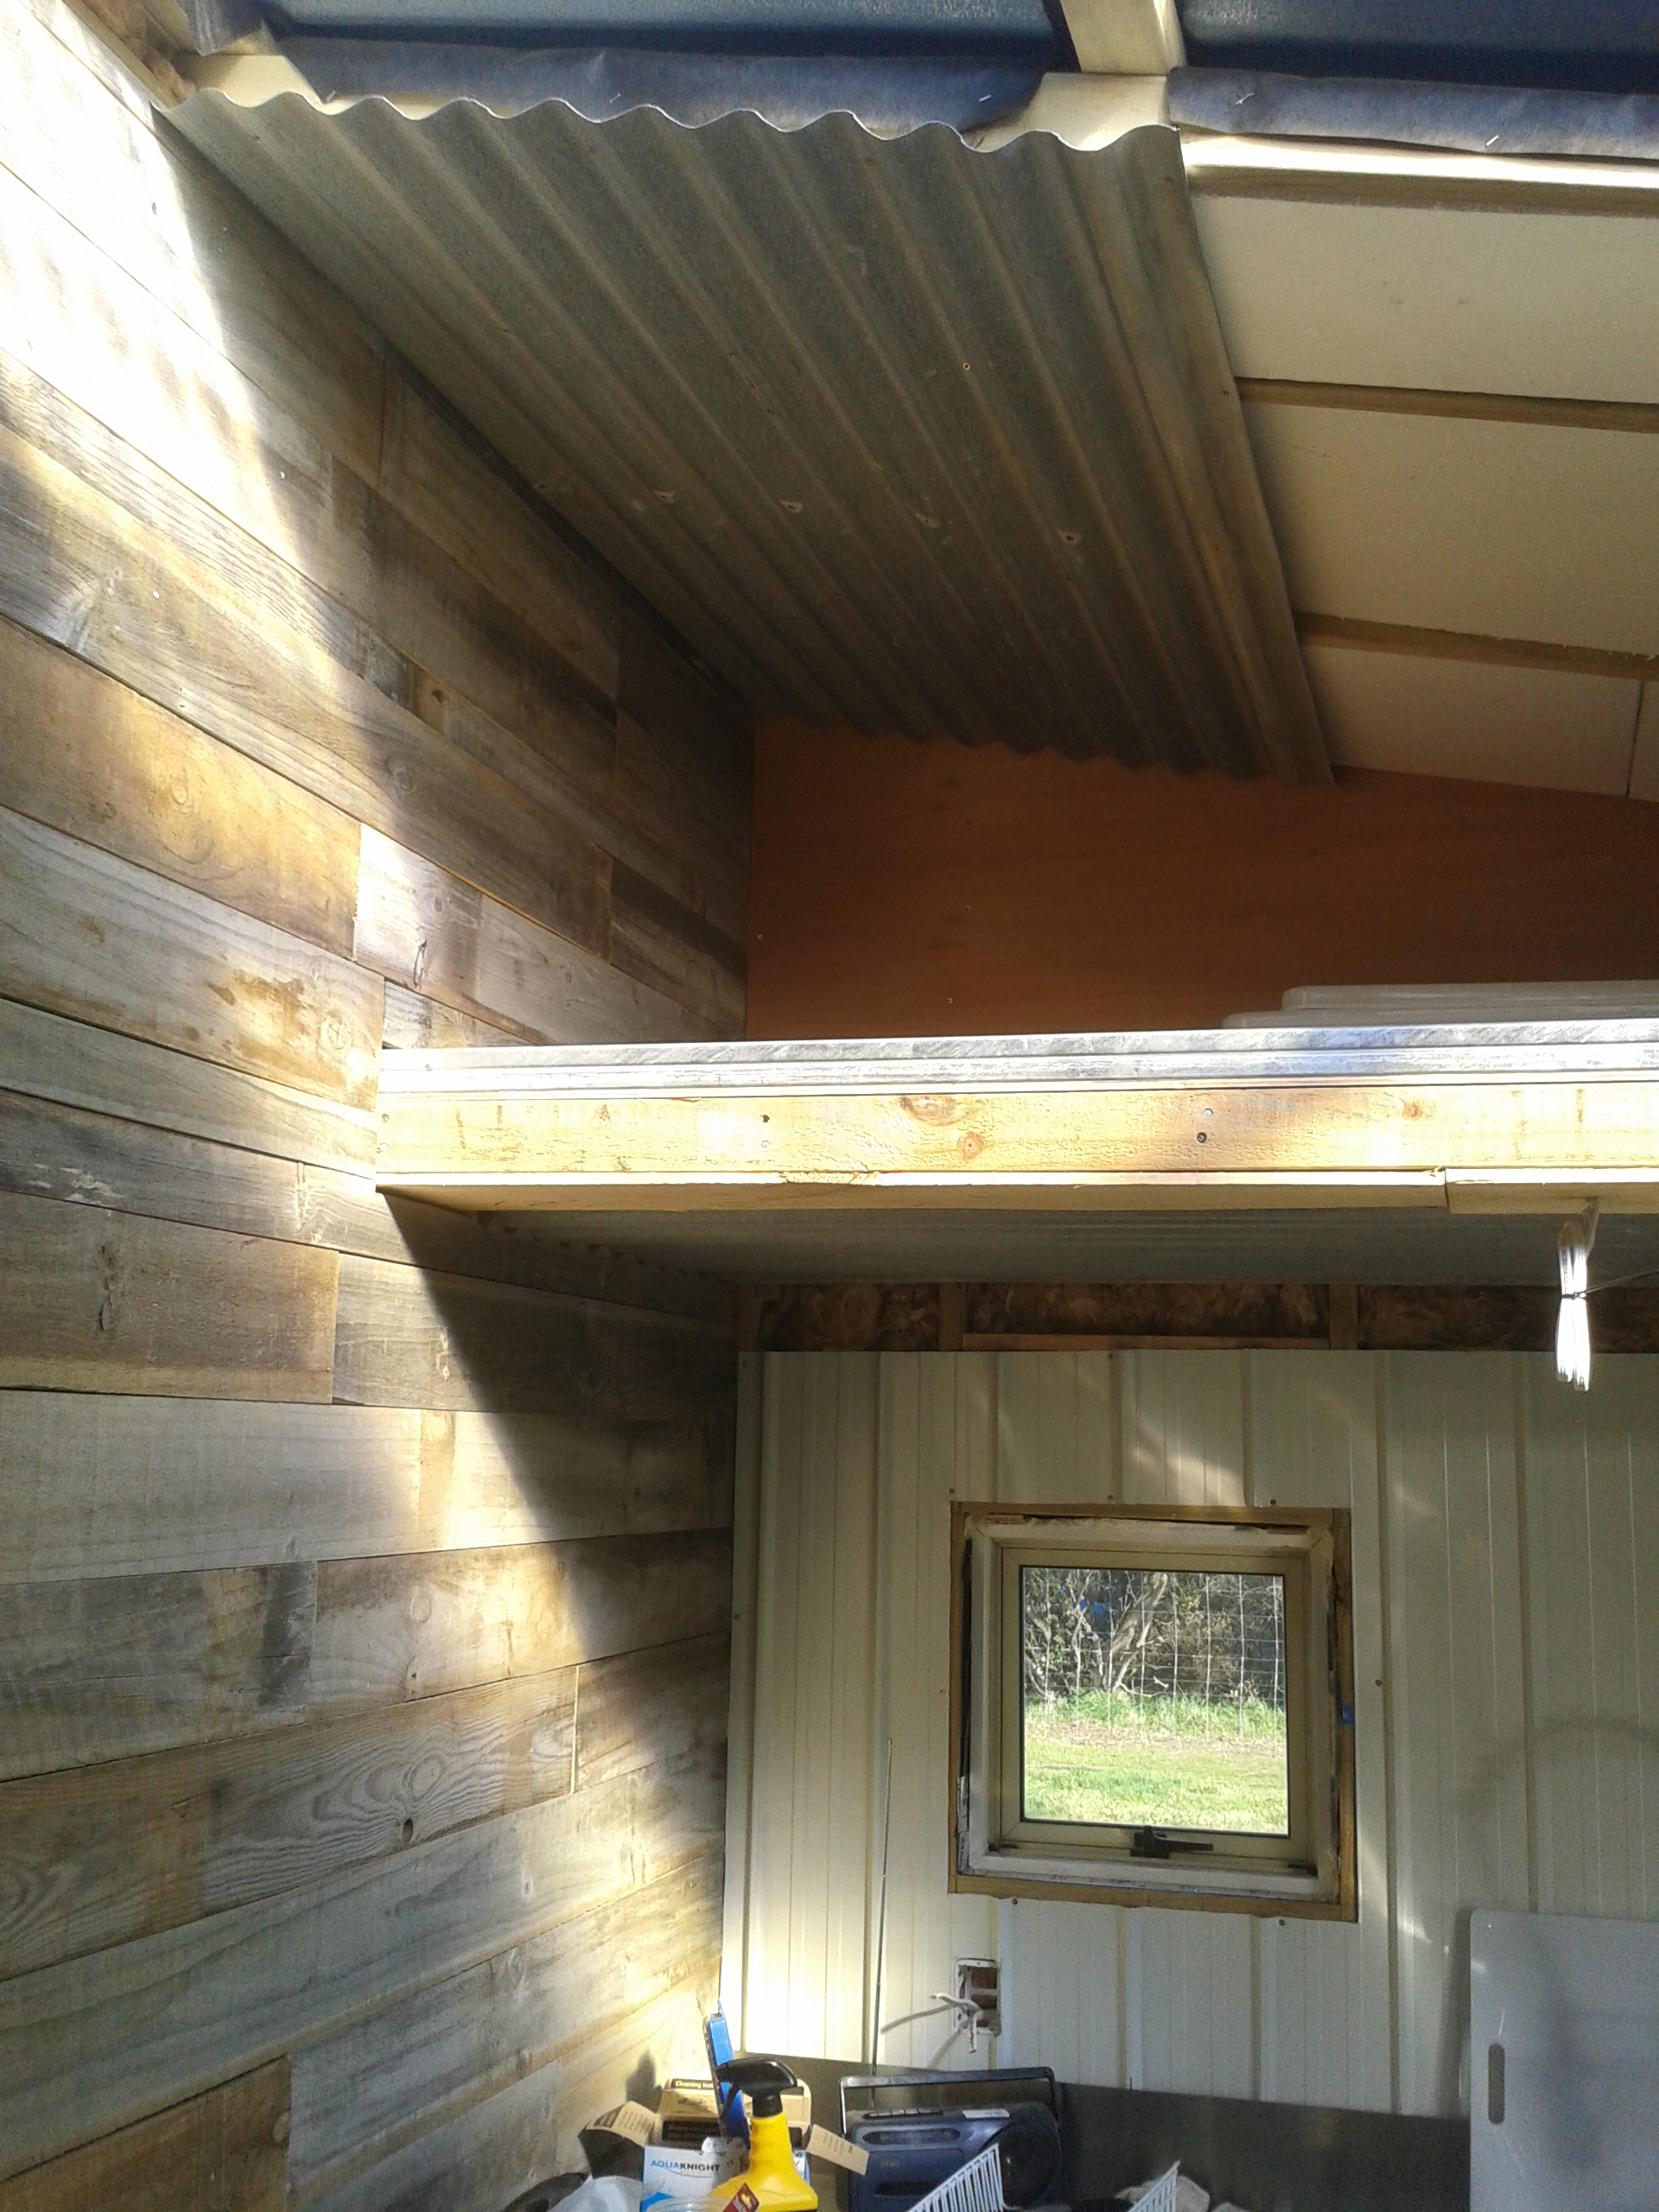
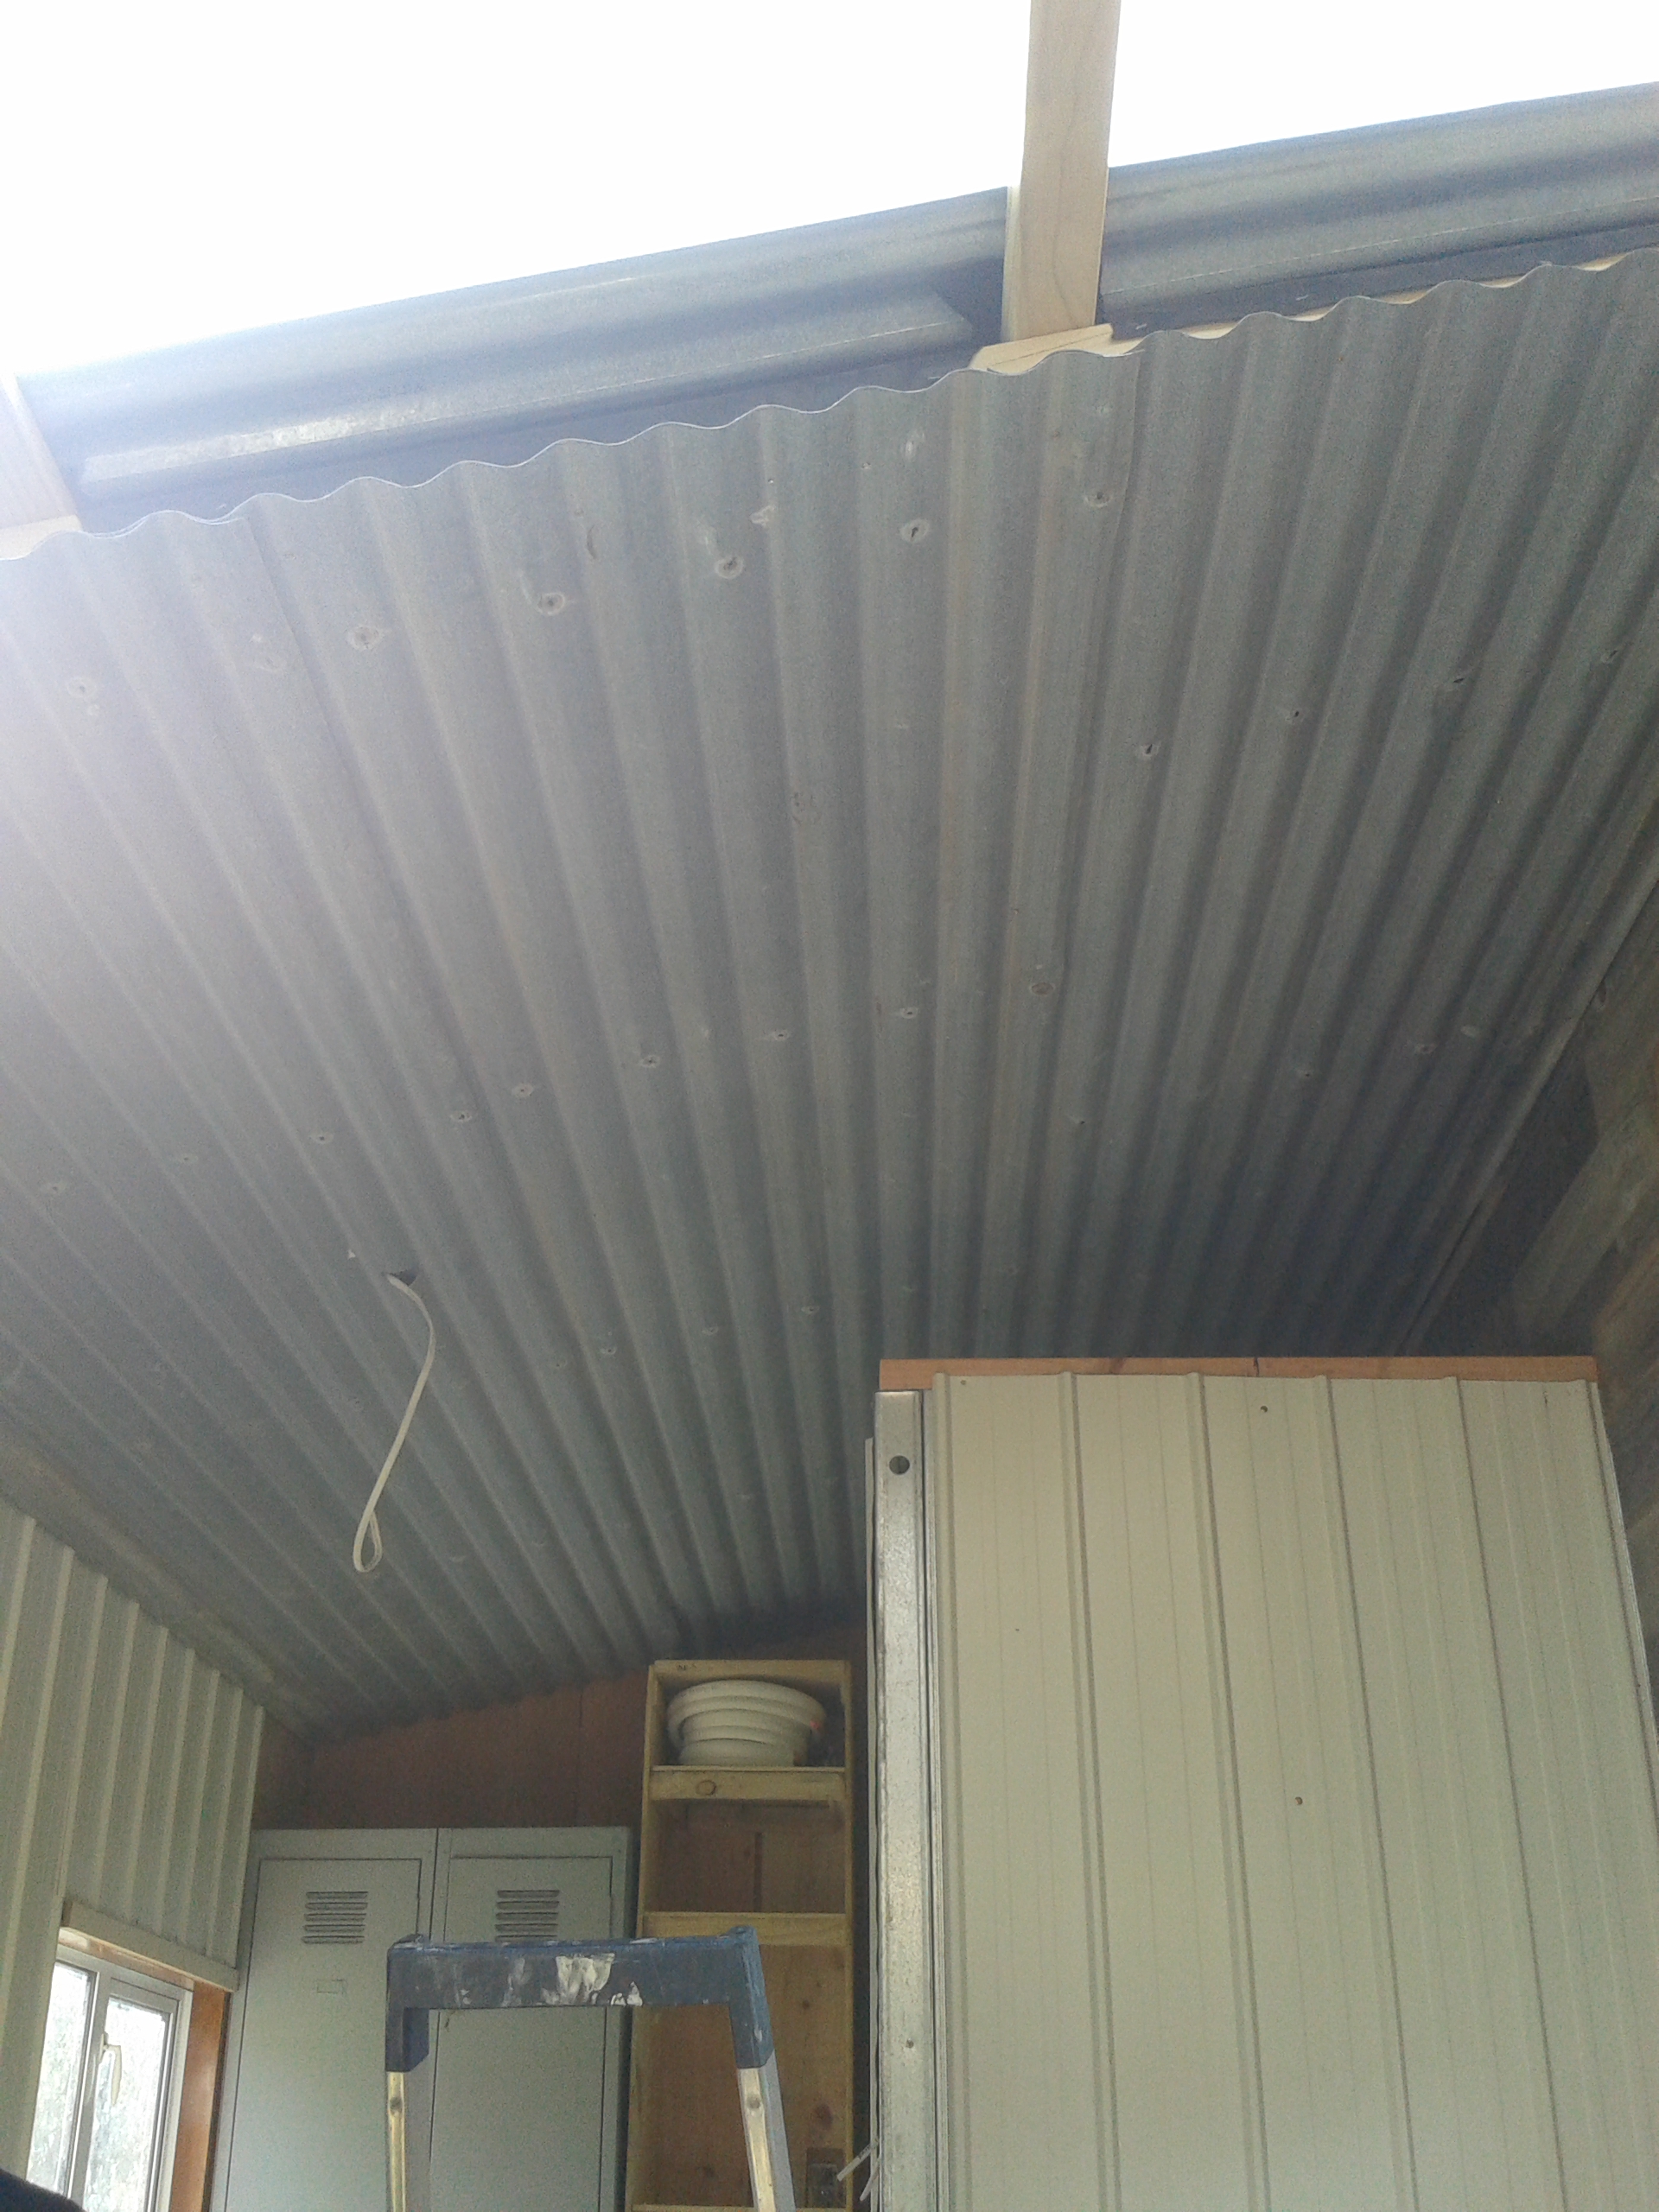
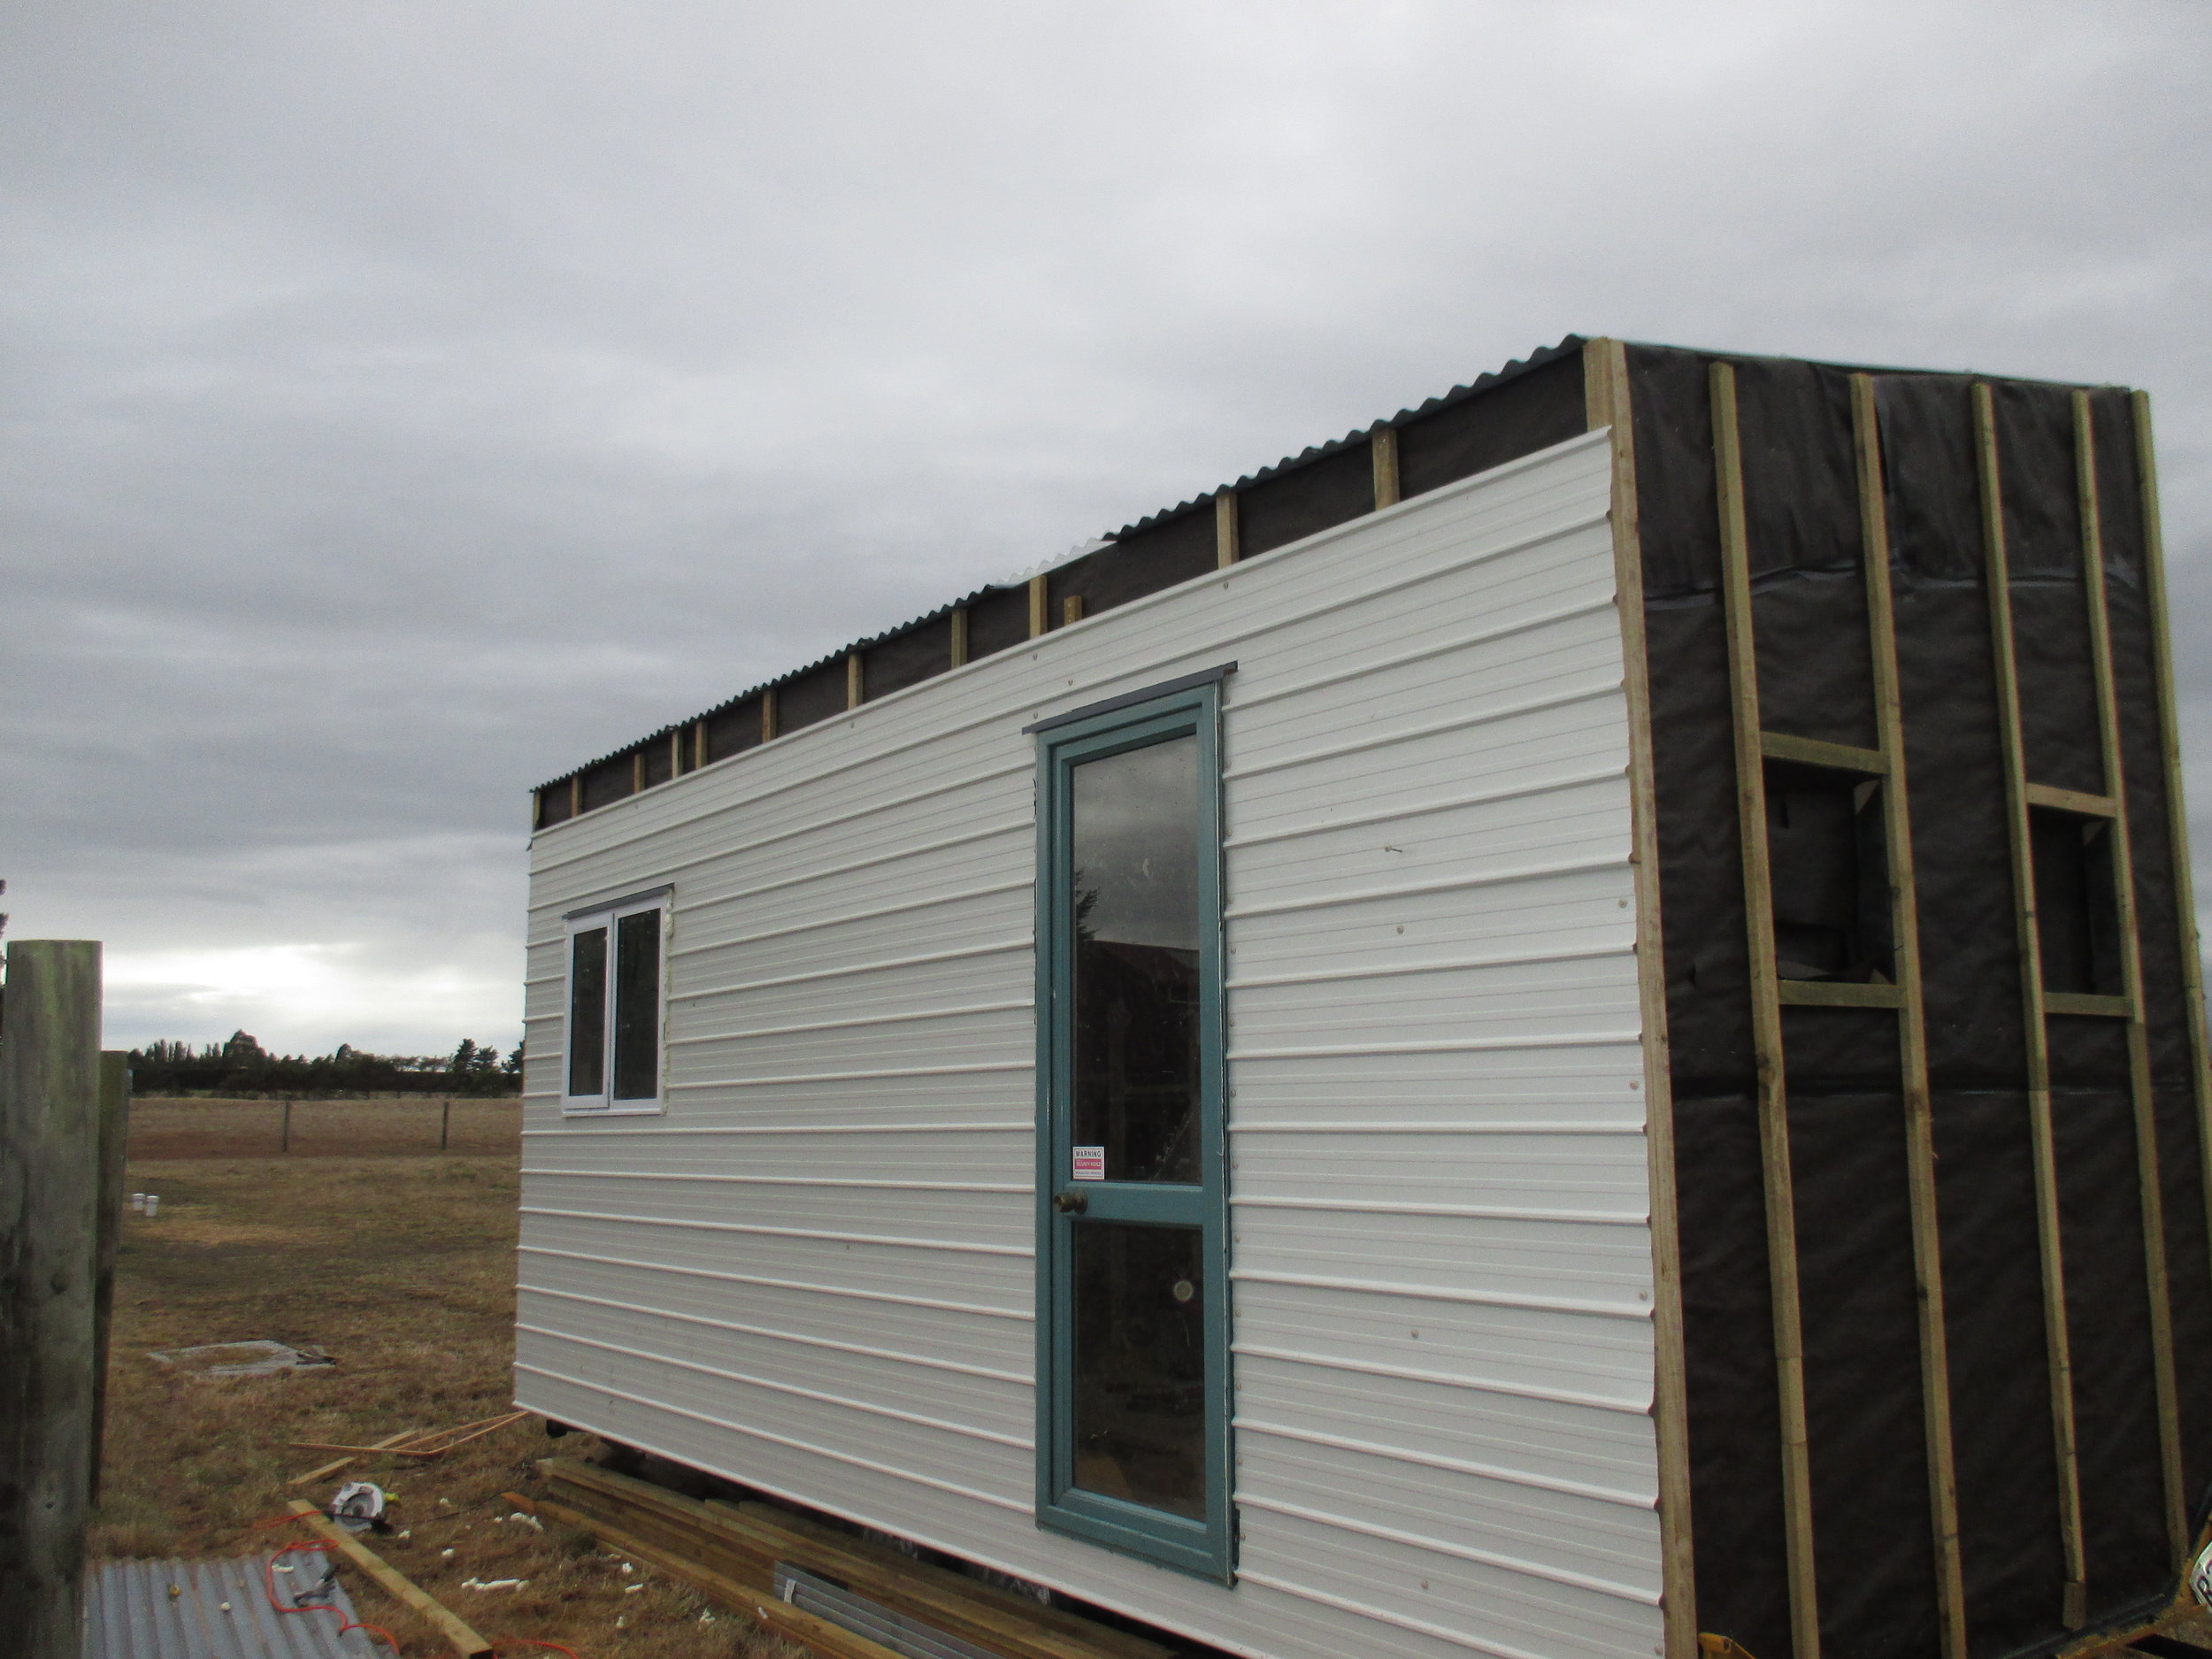
This thing is really coming together huh?
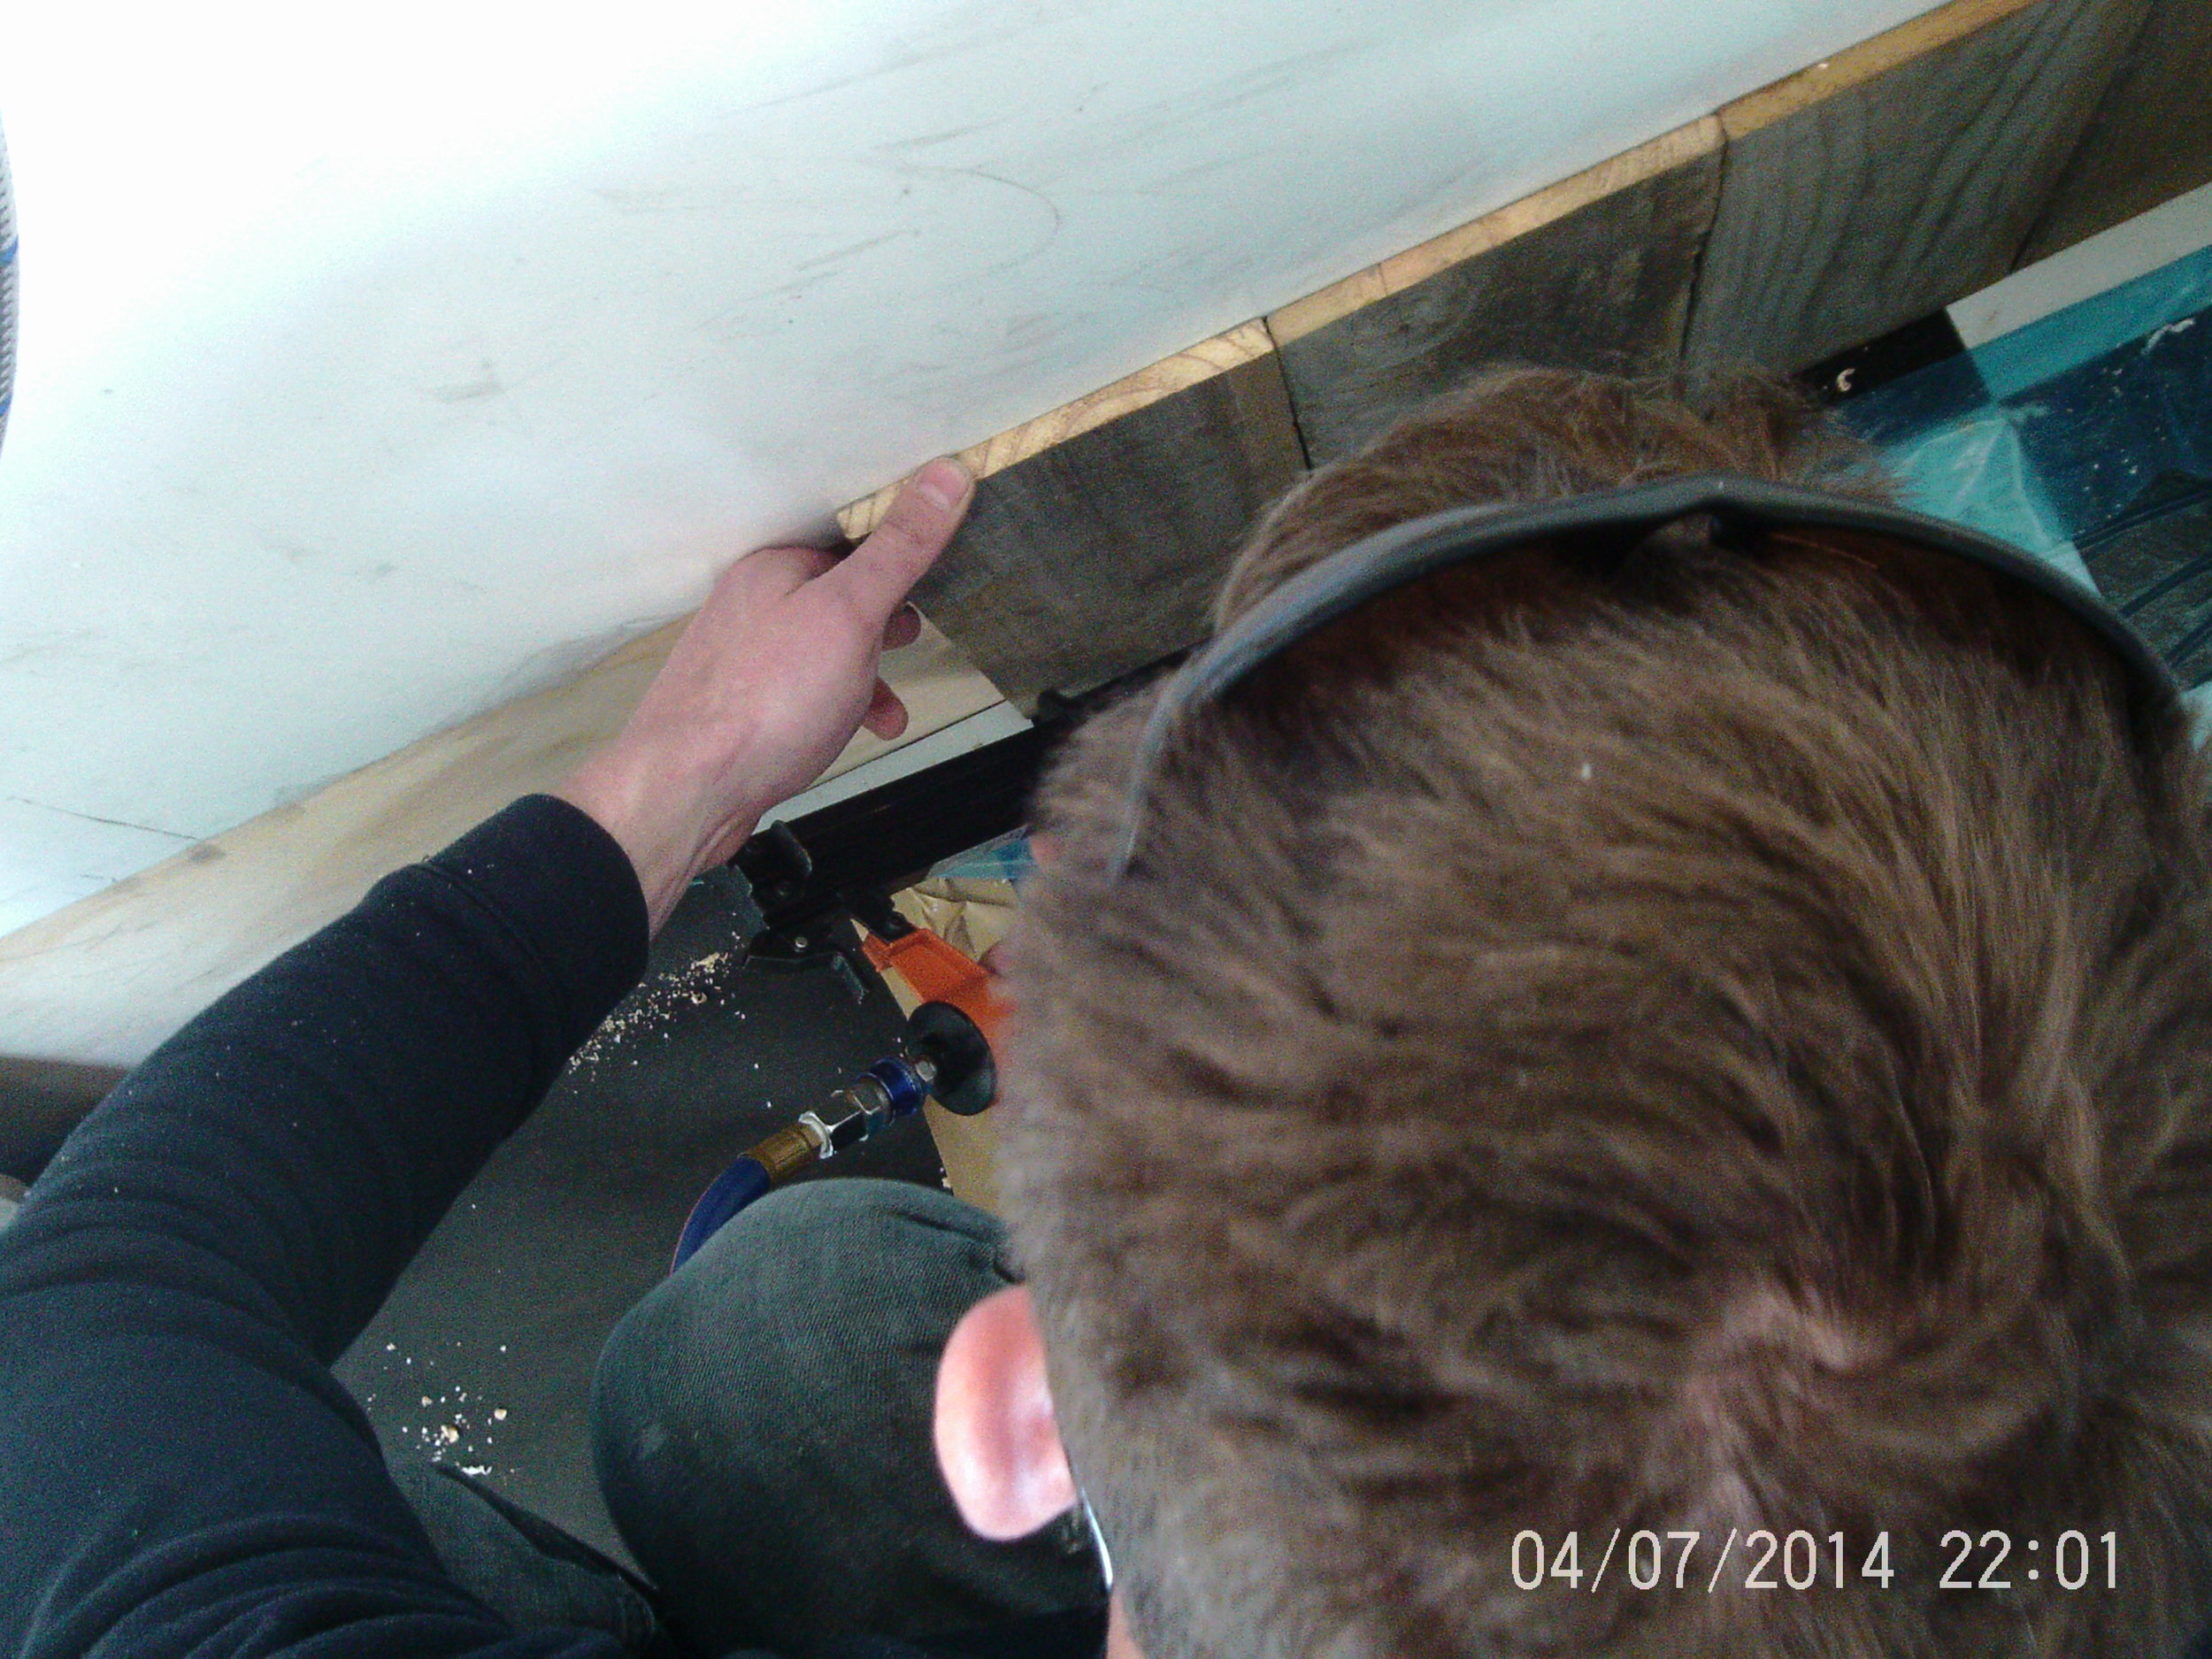
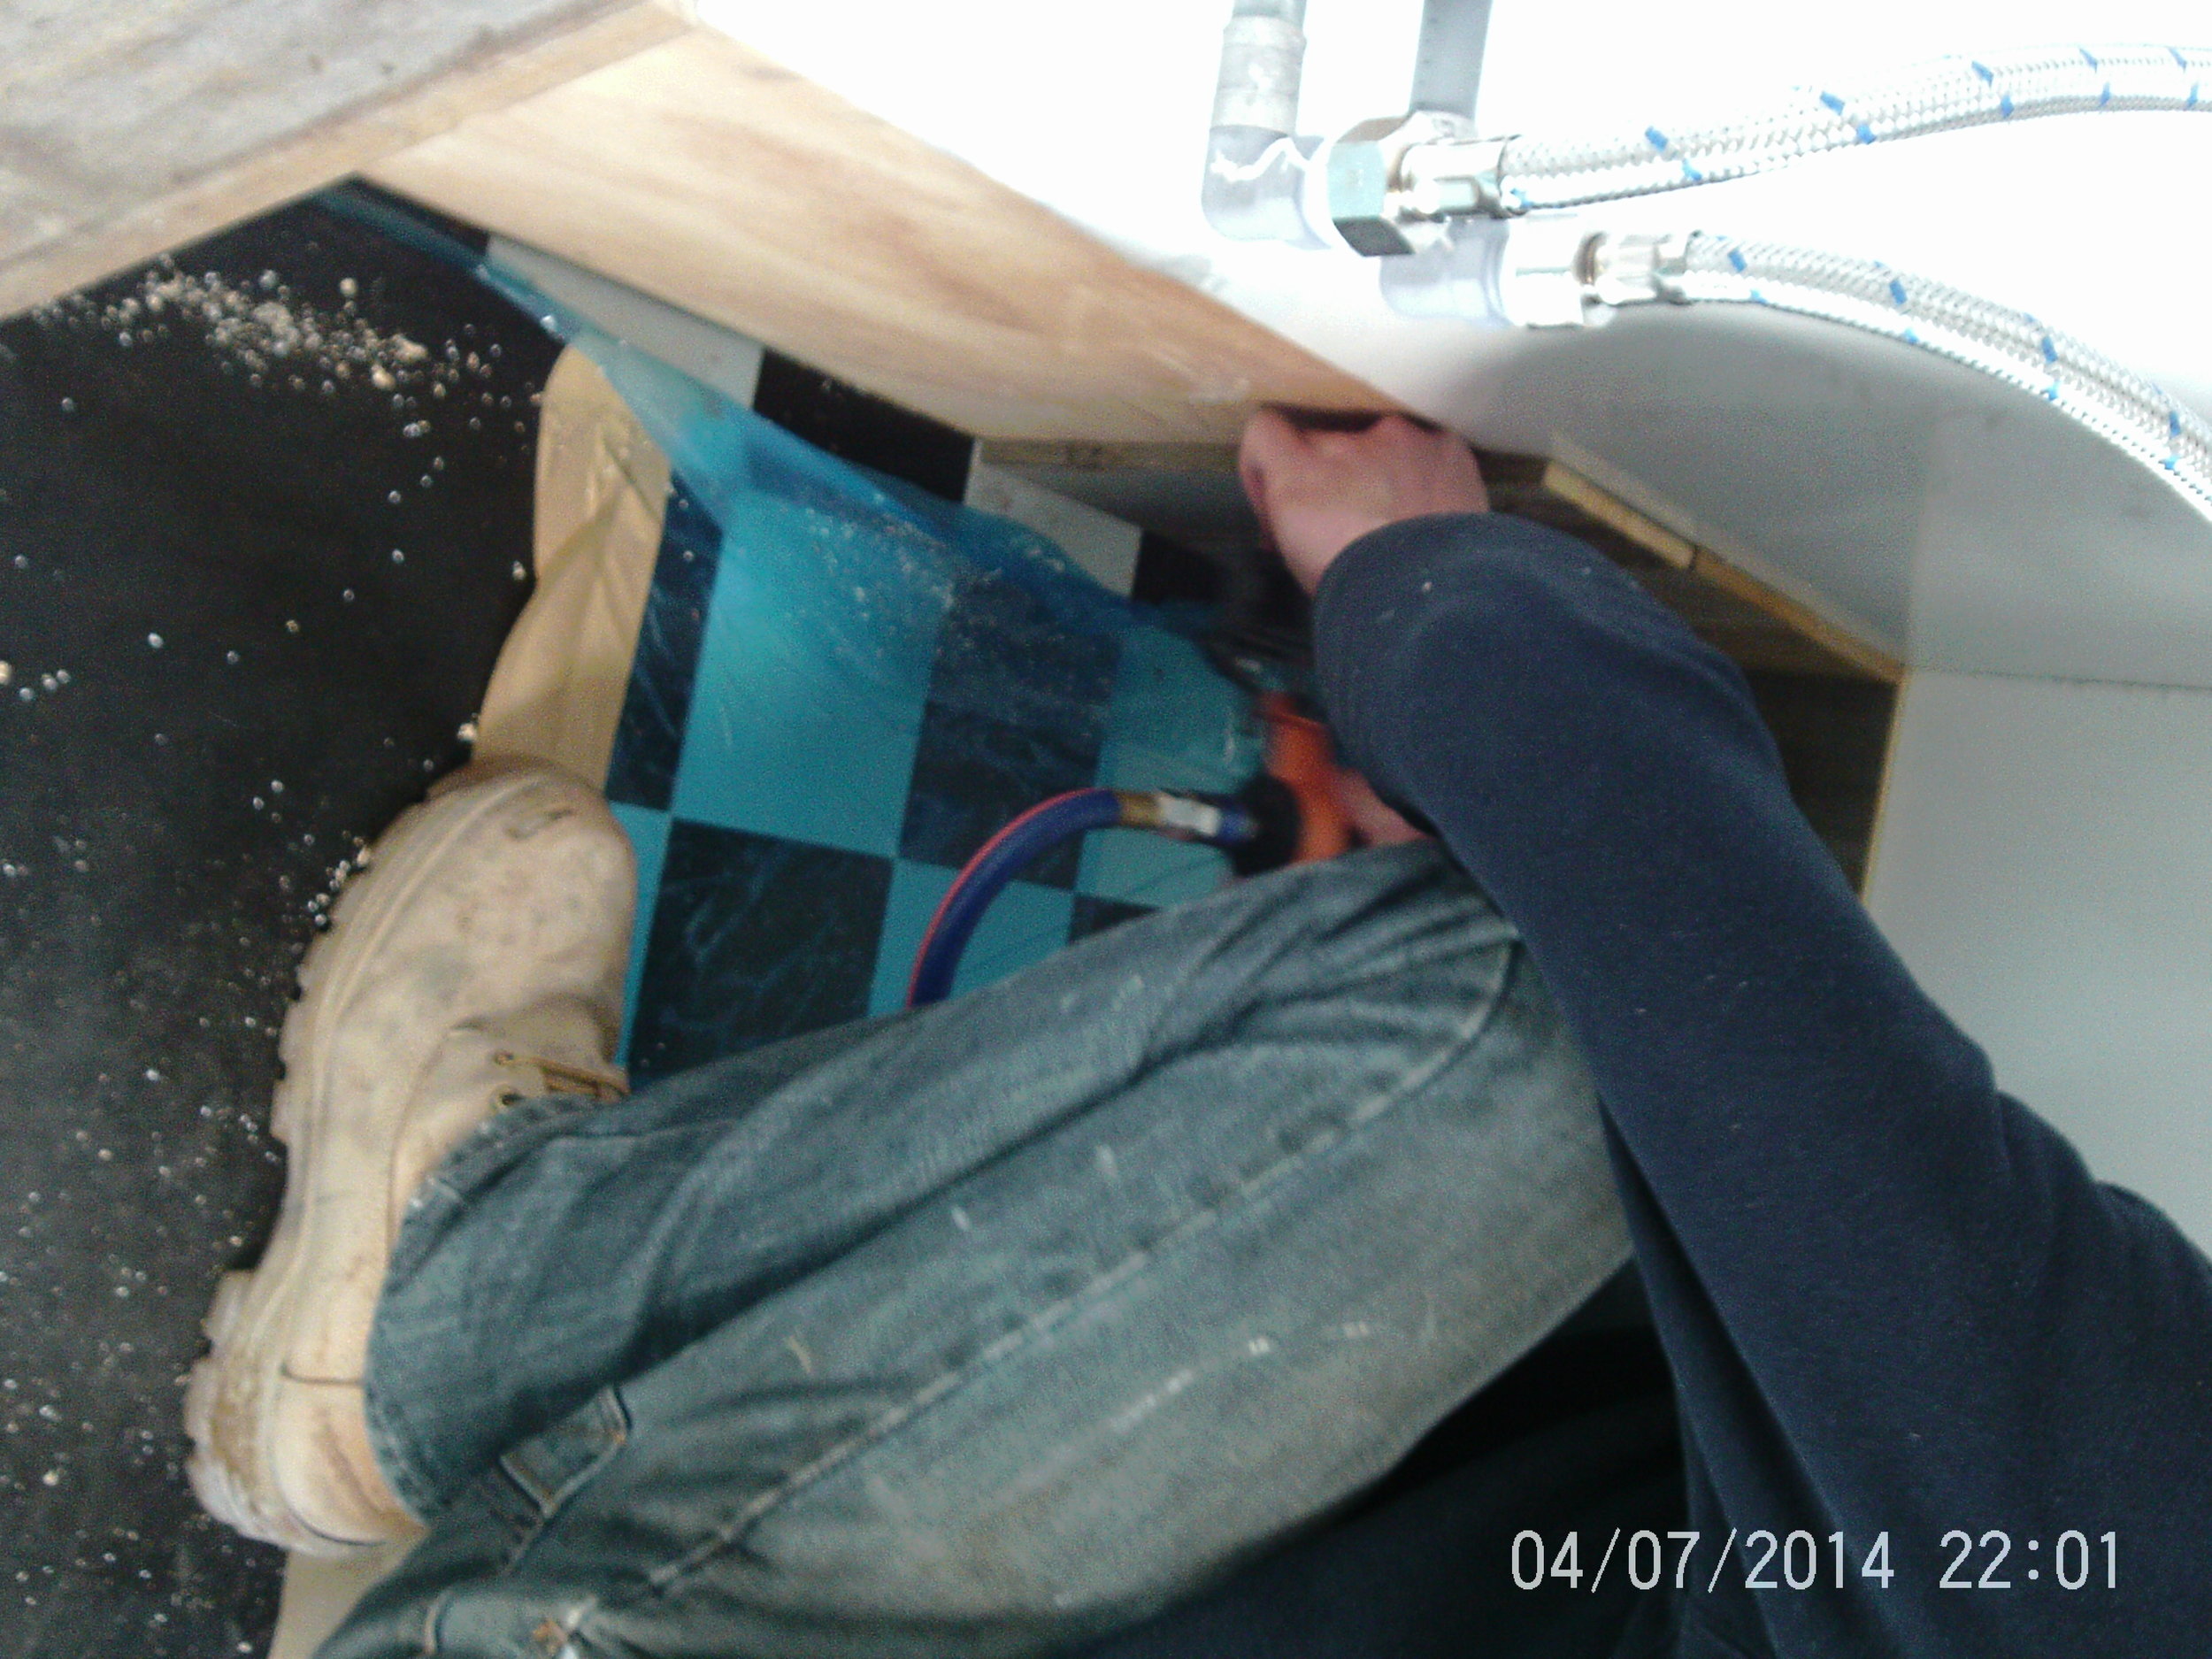
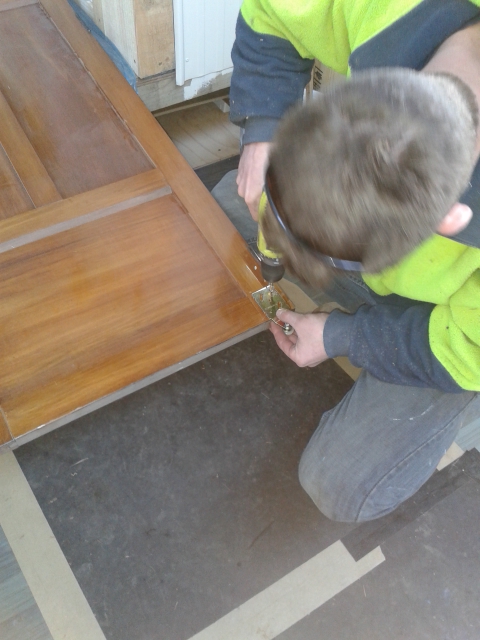
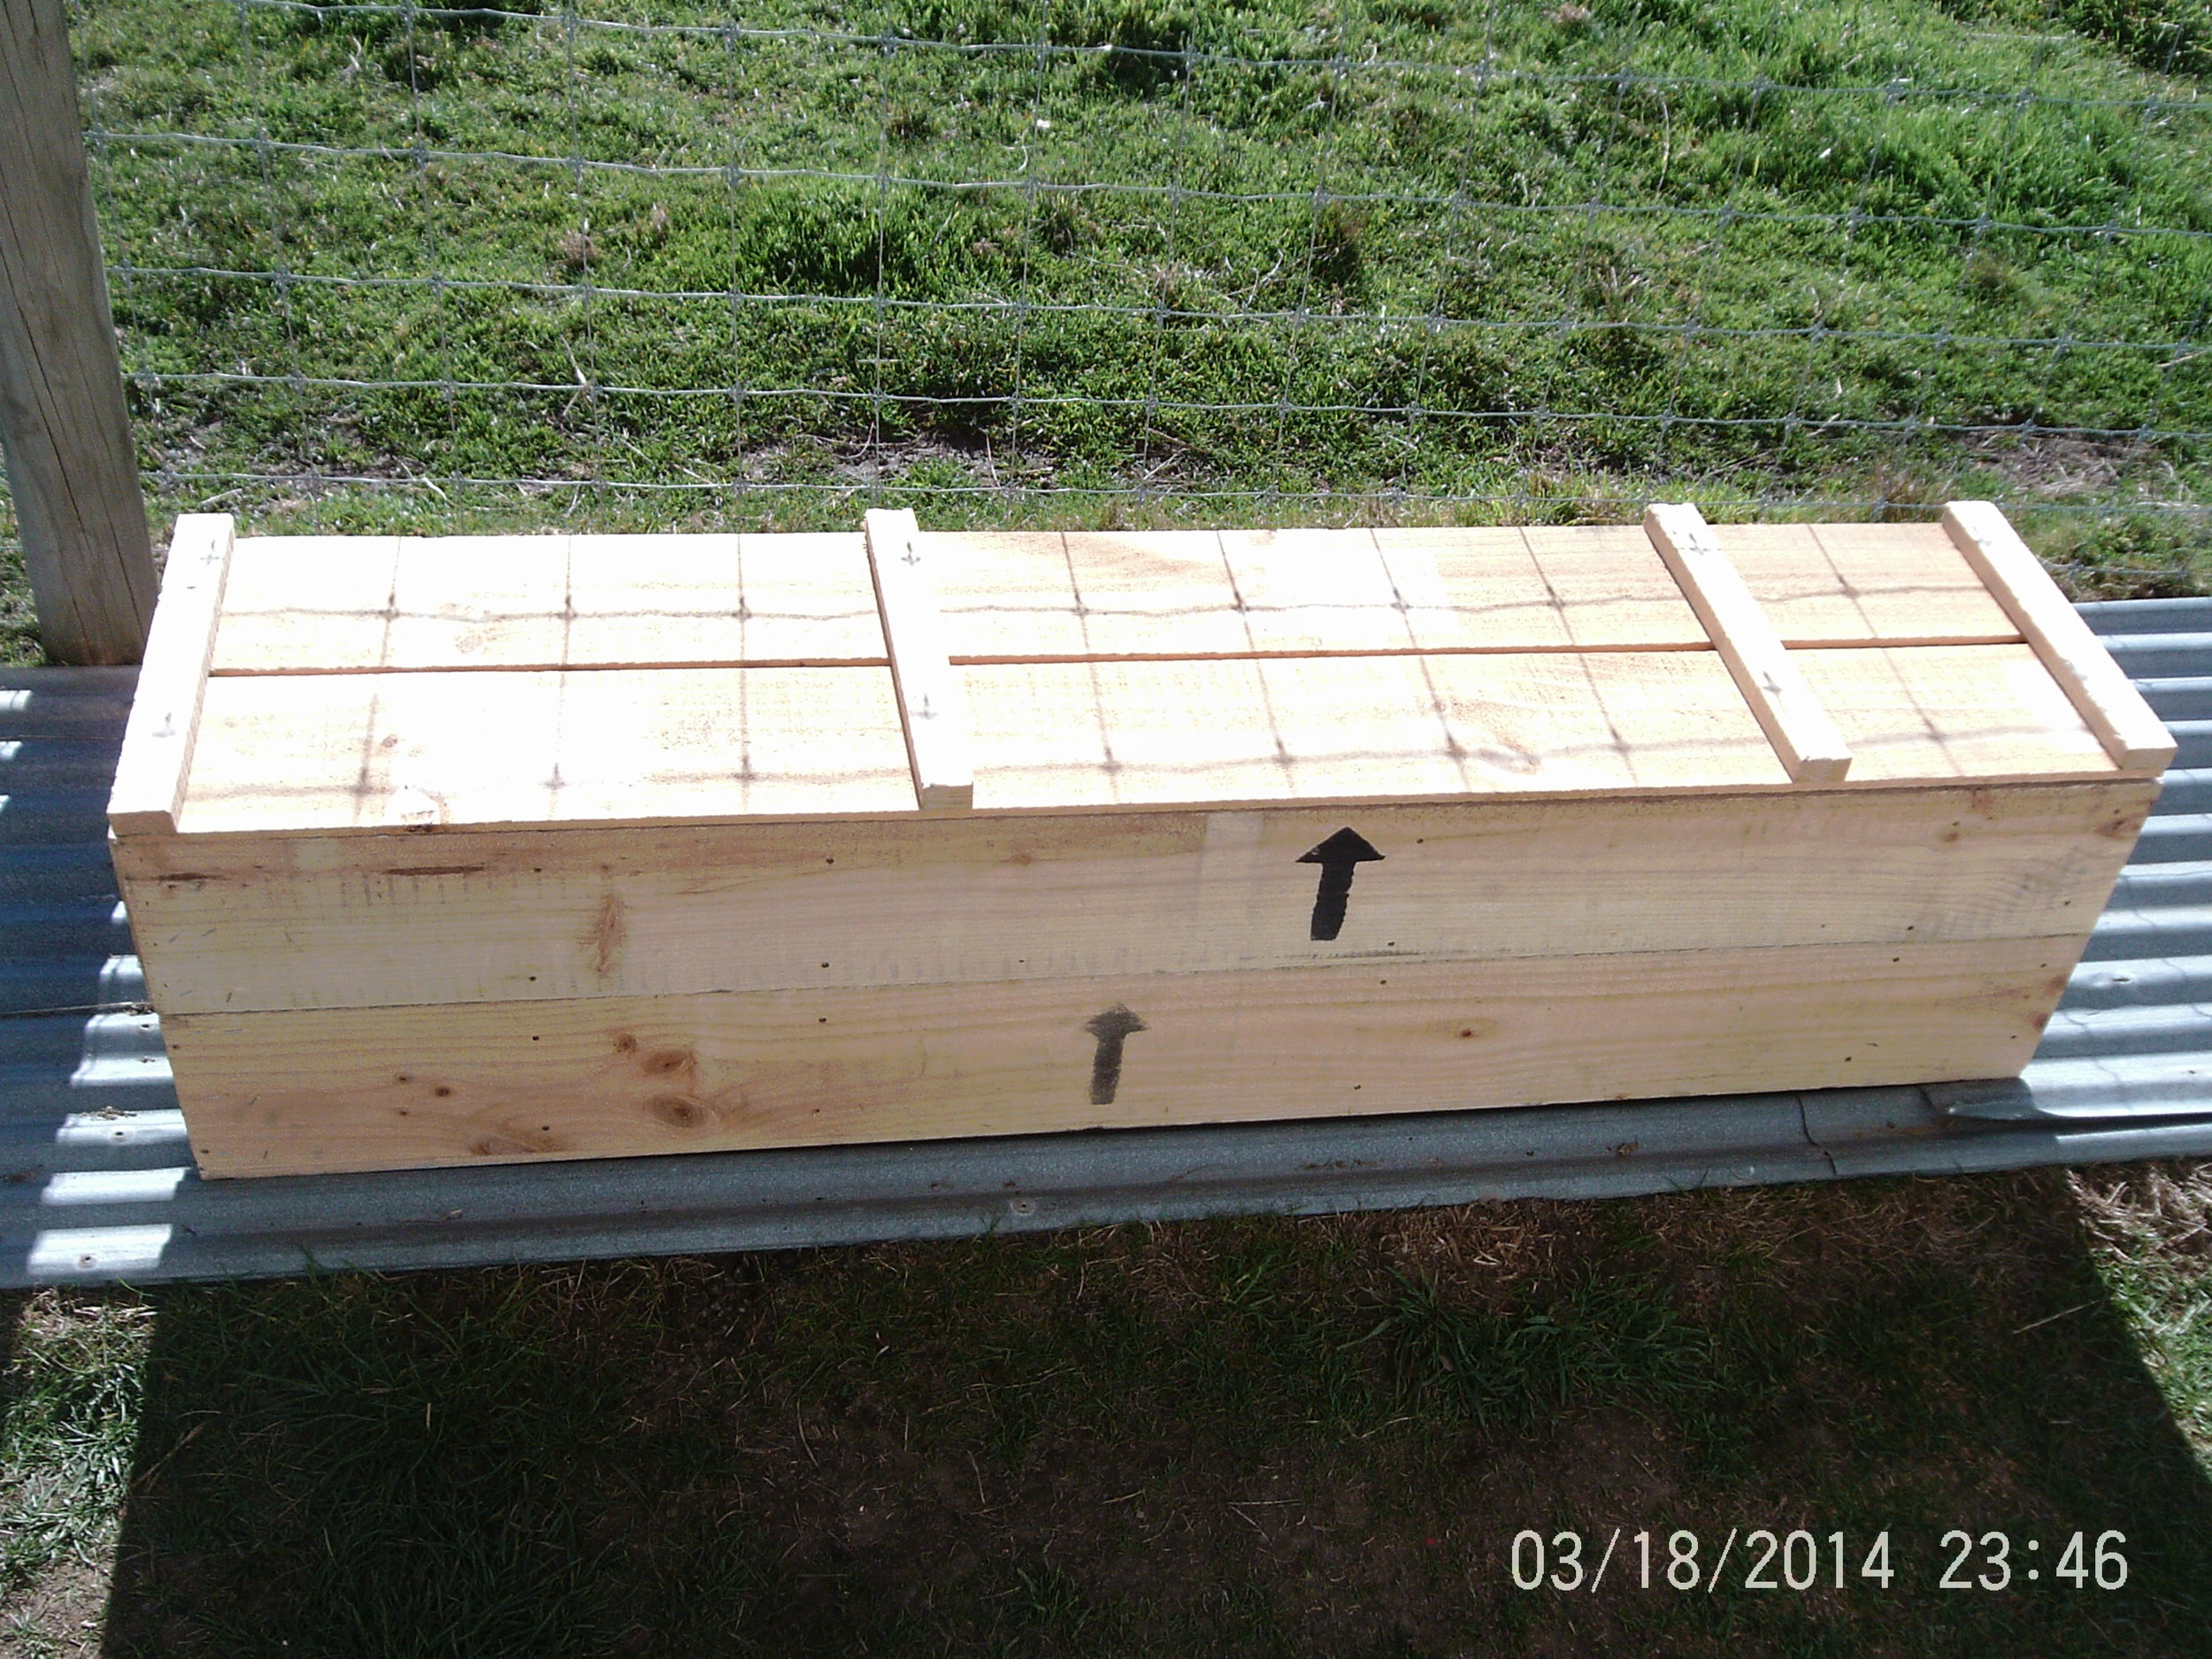
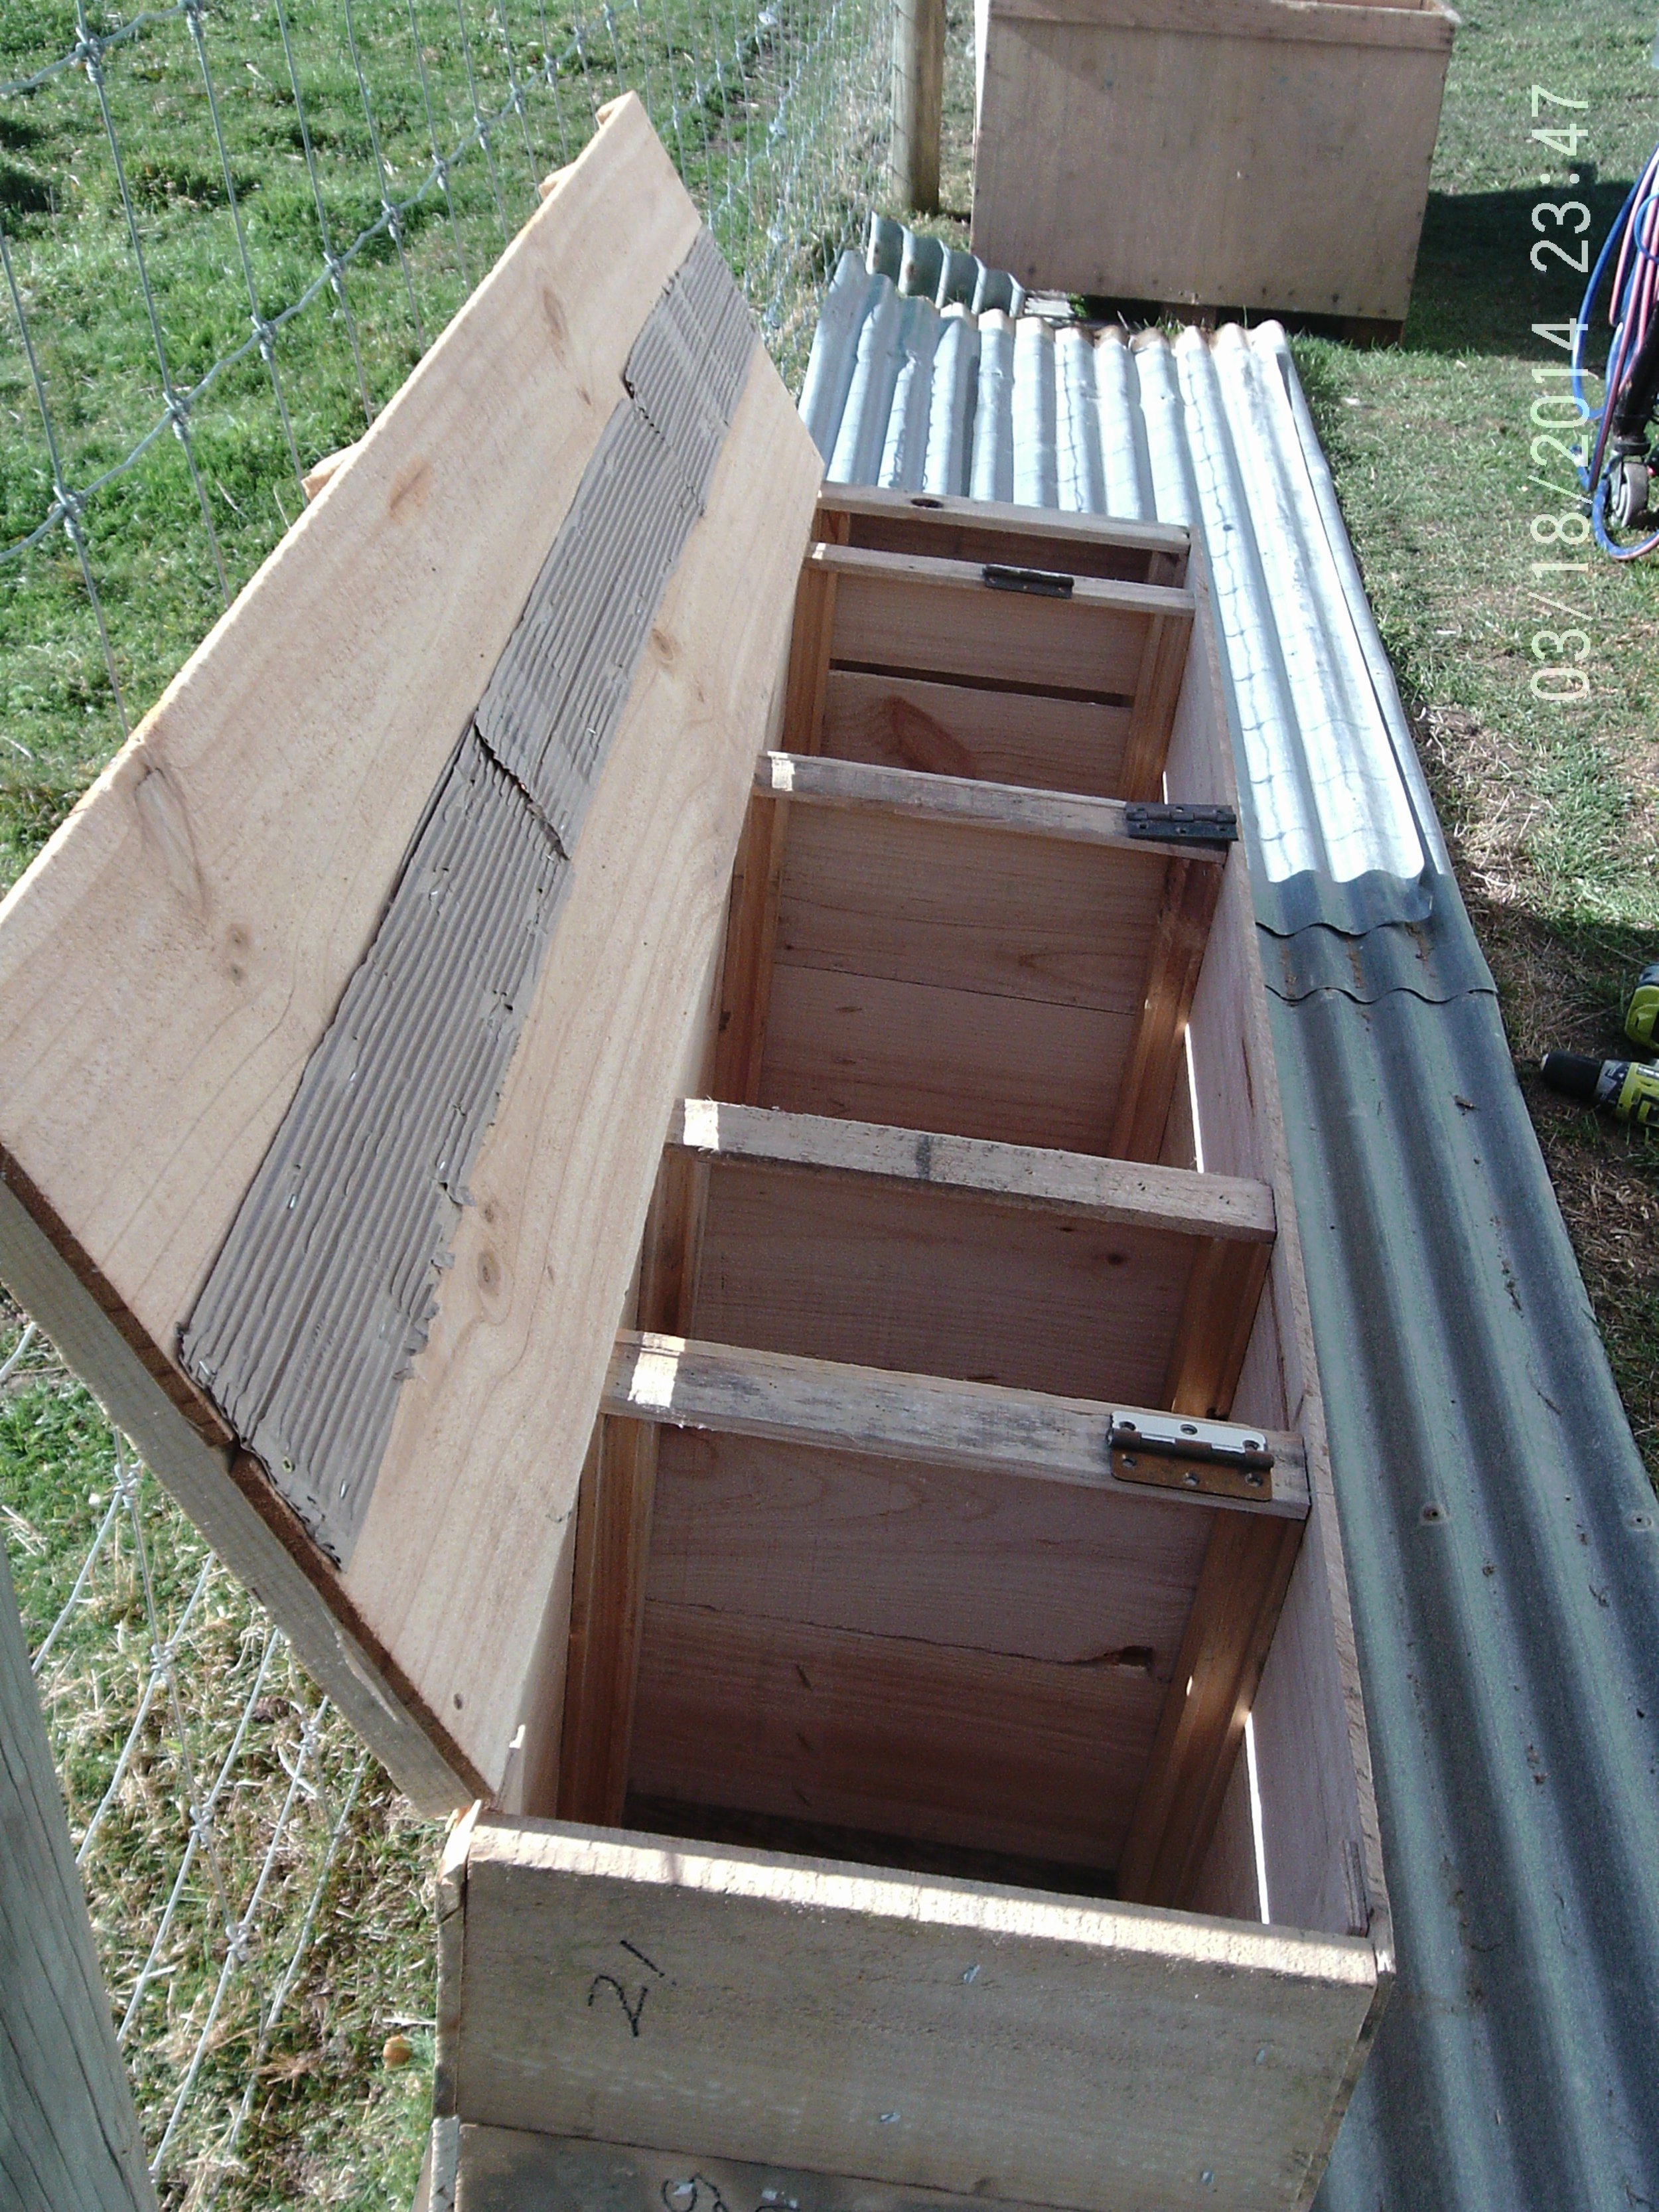
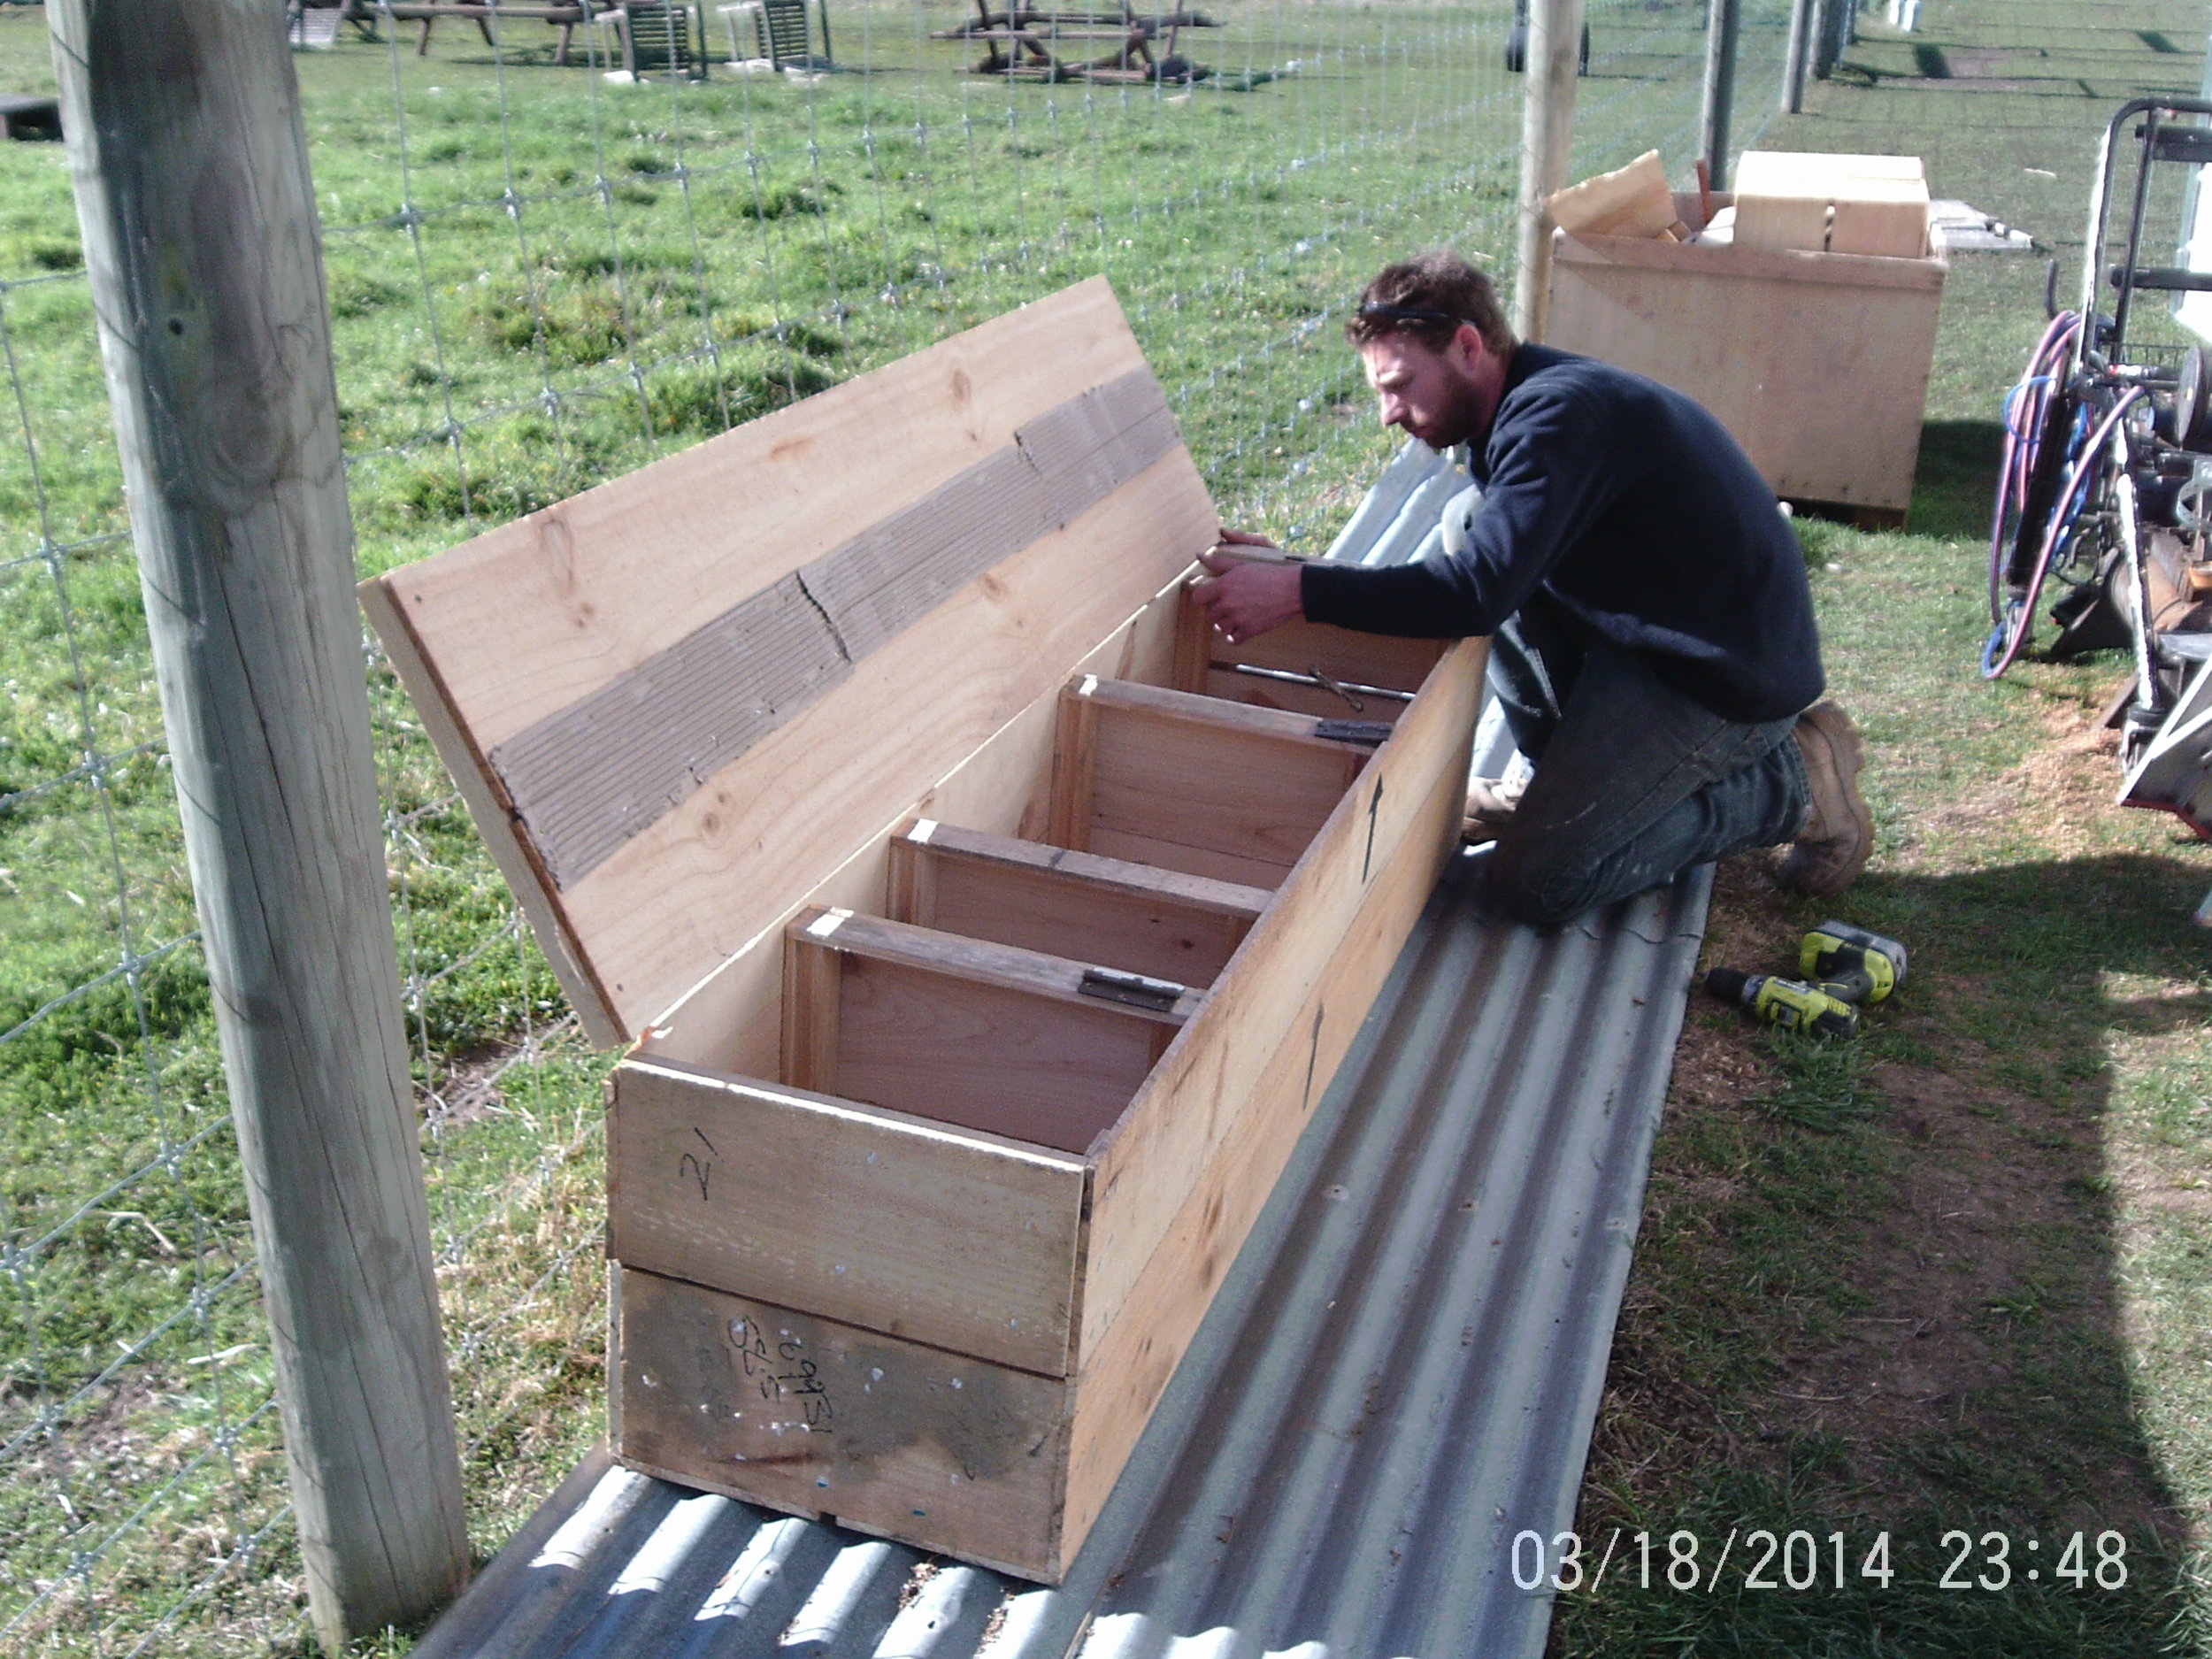
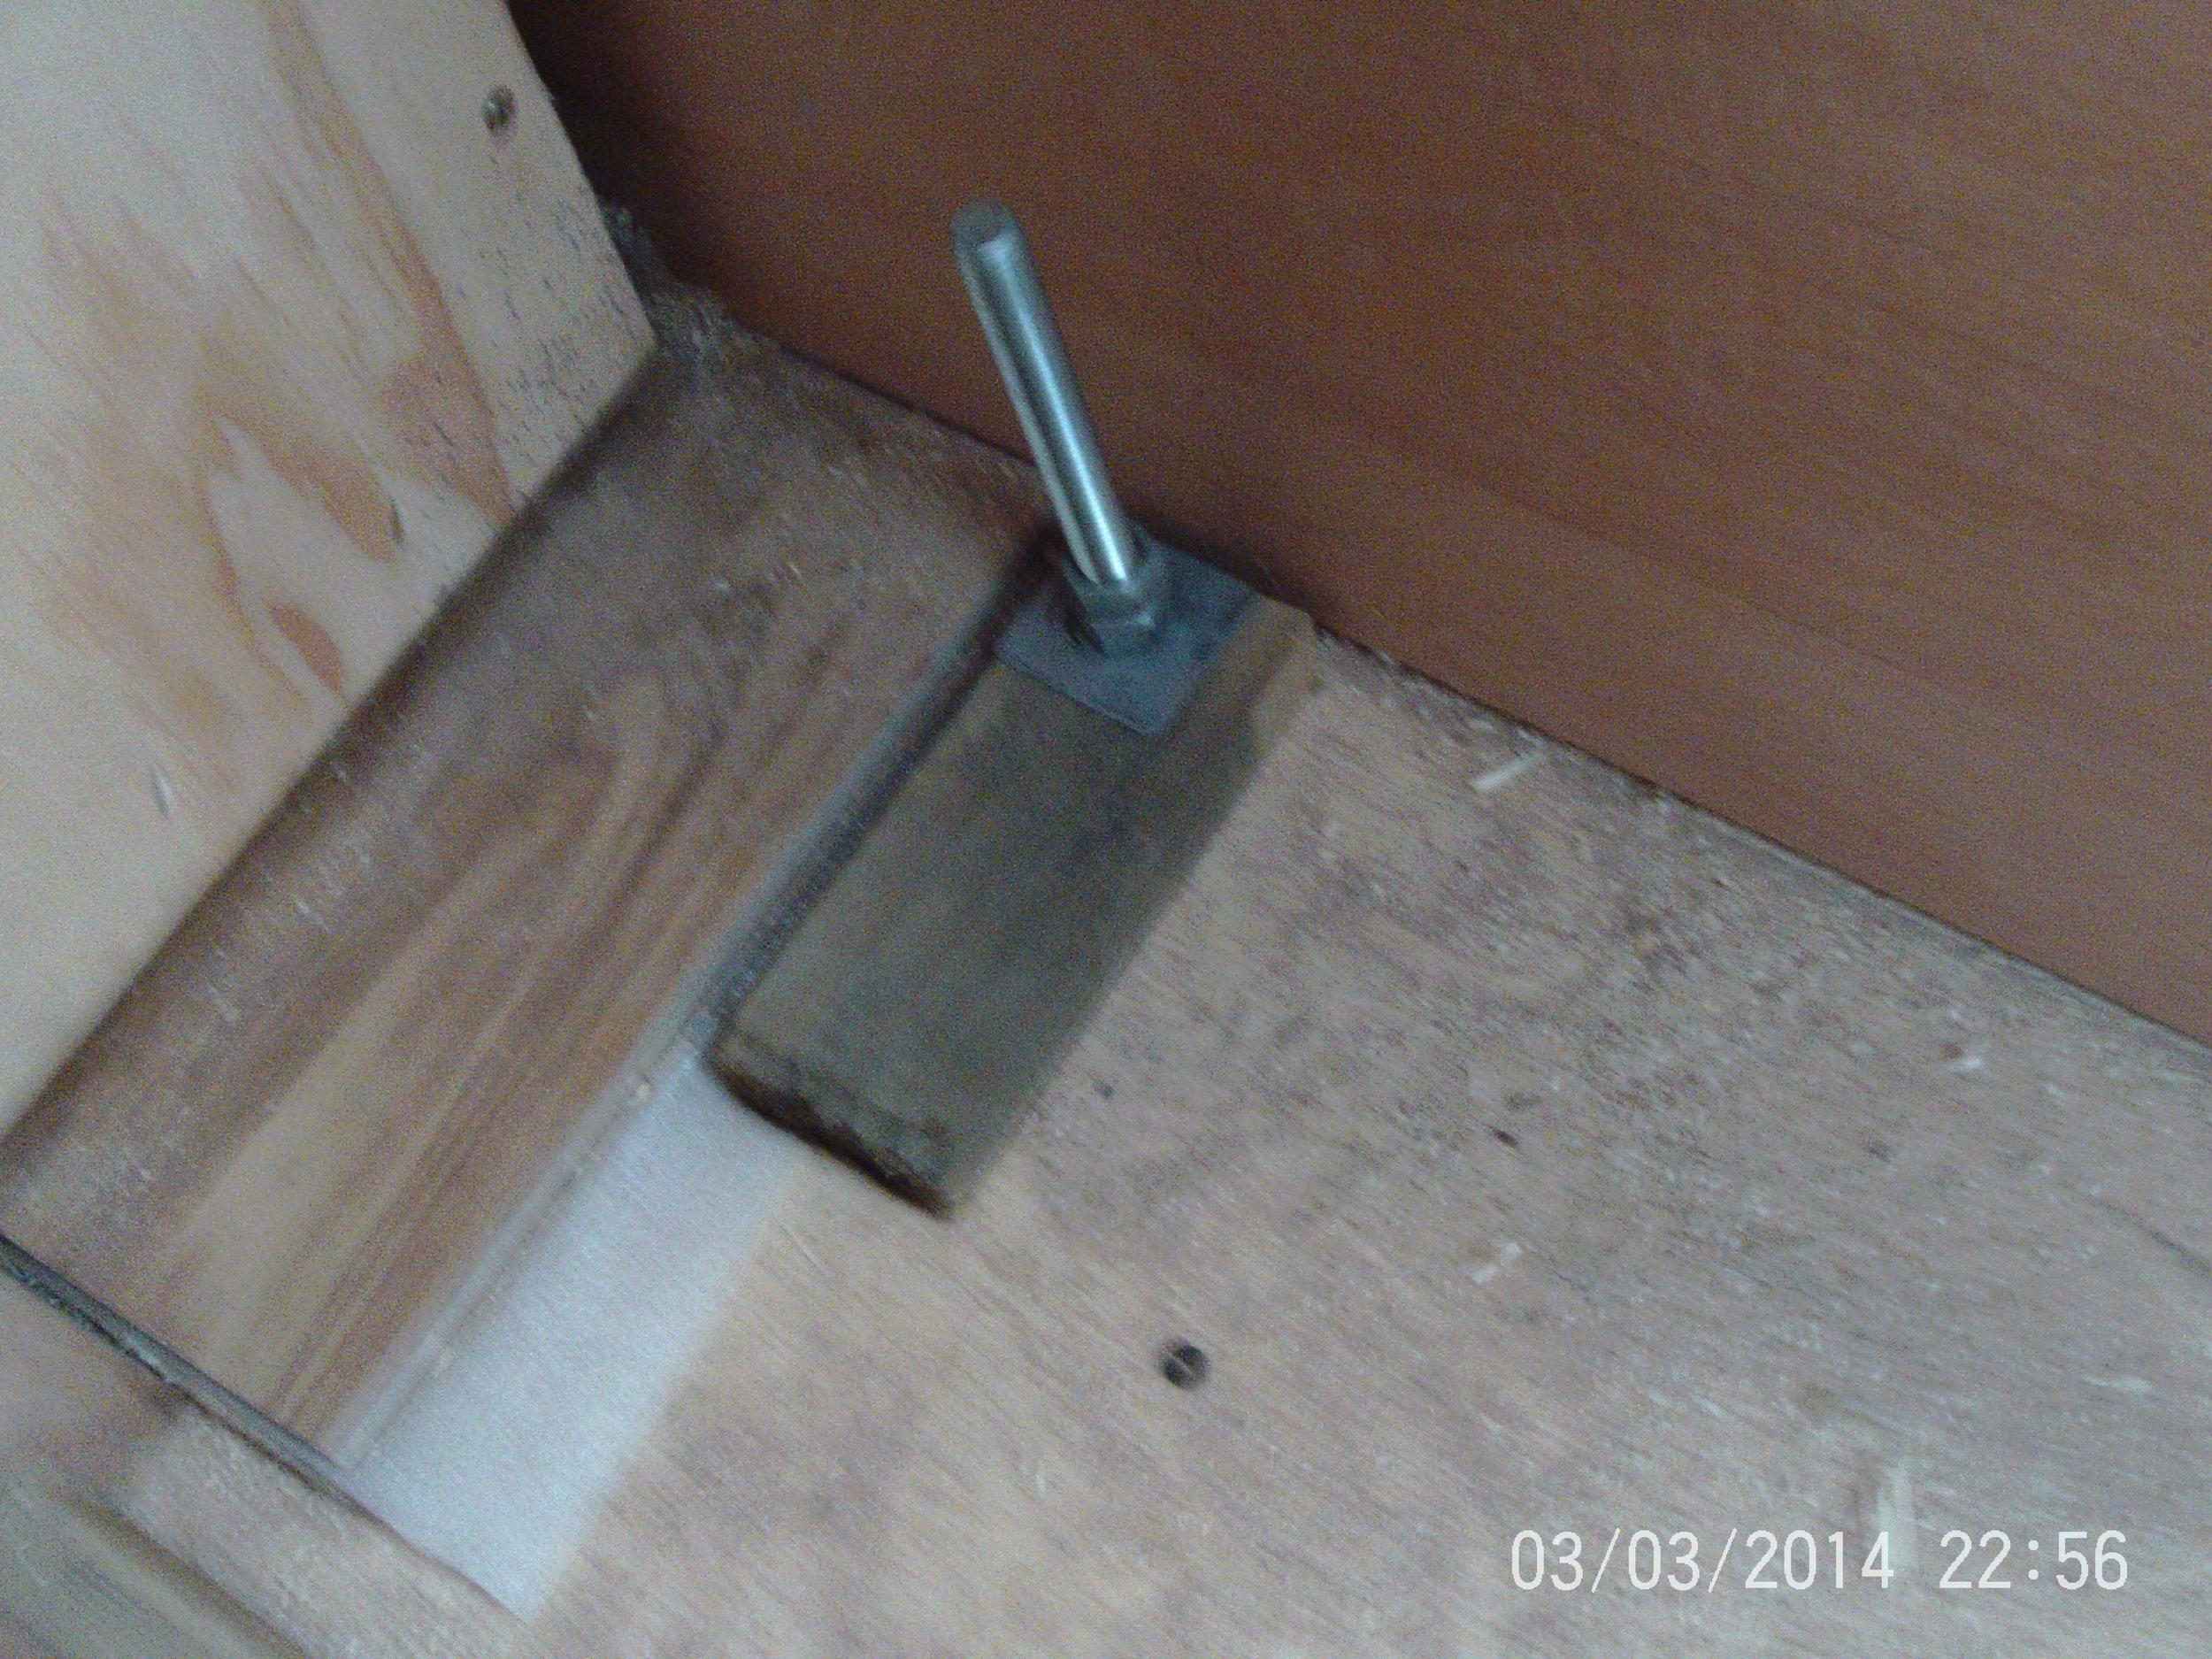
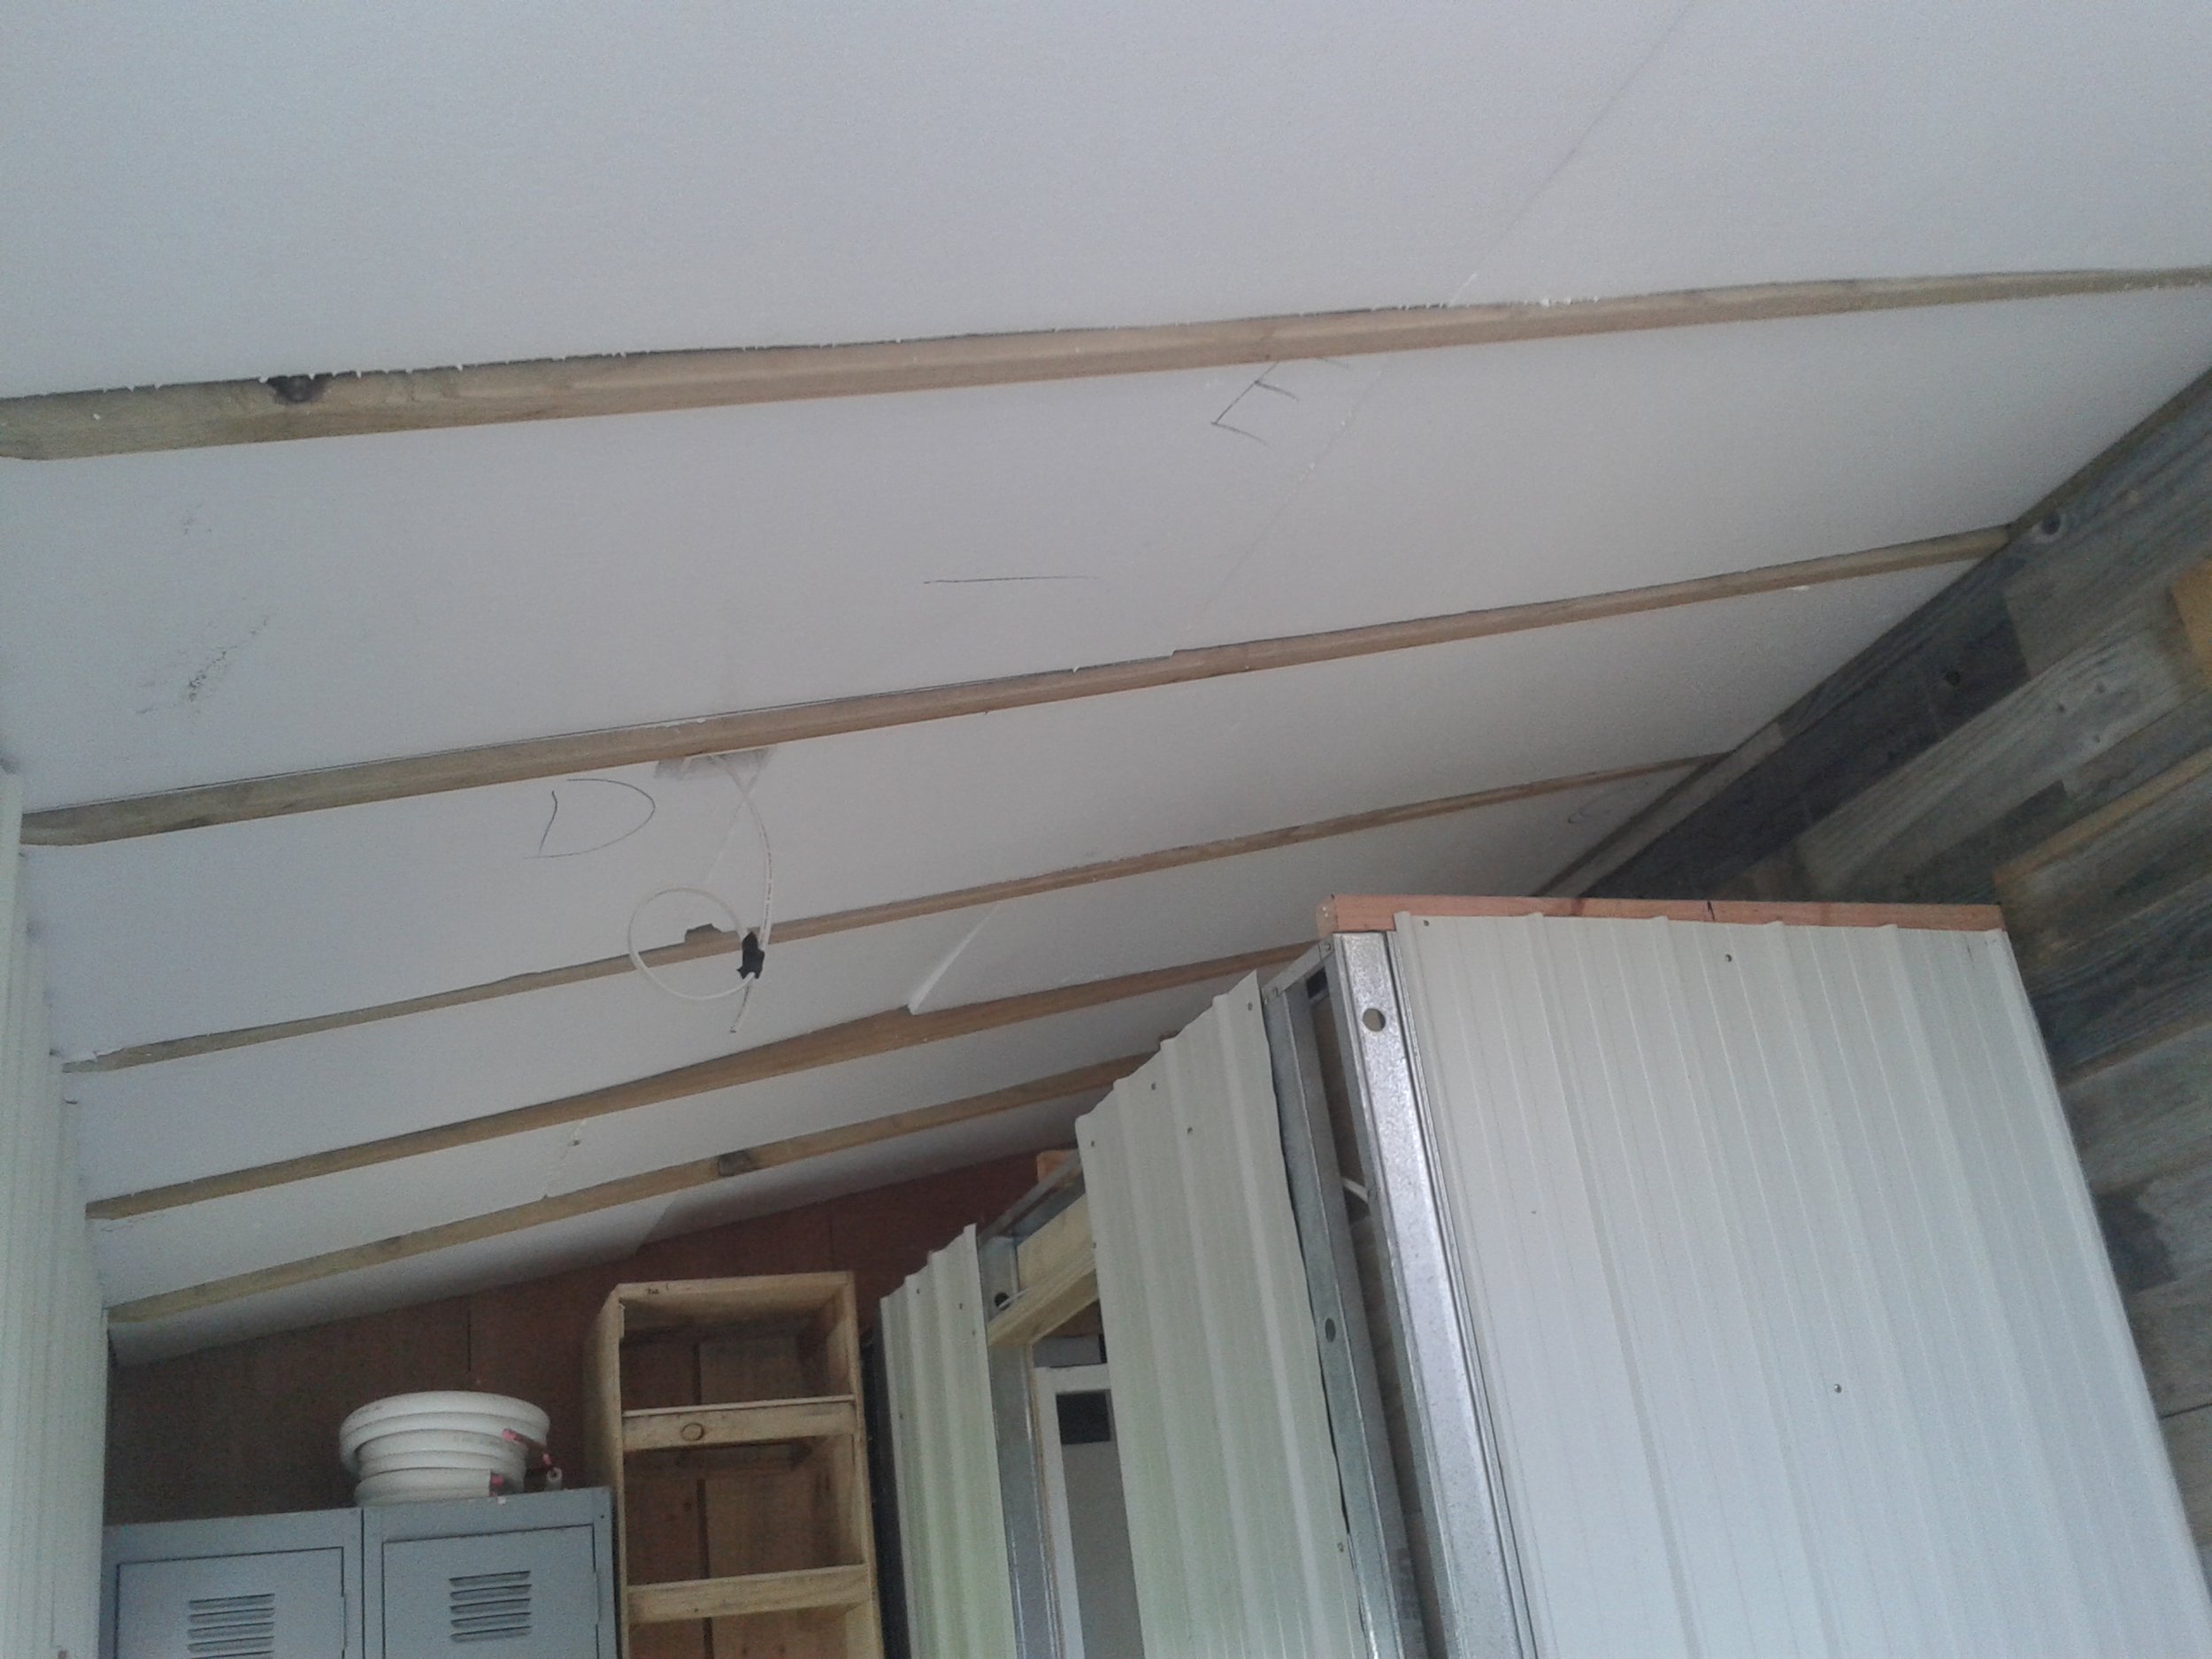
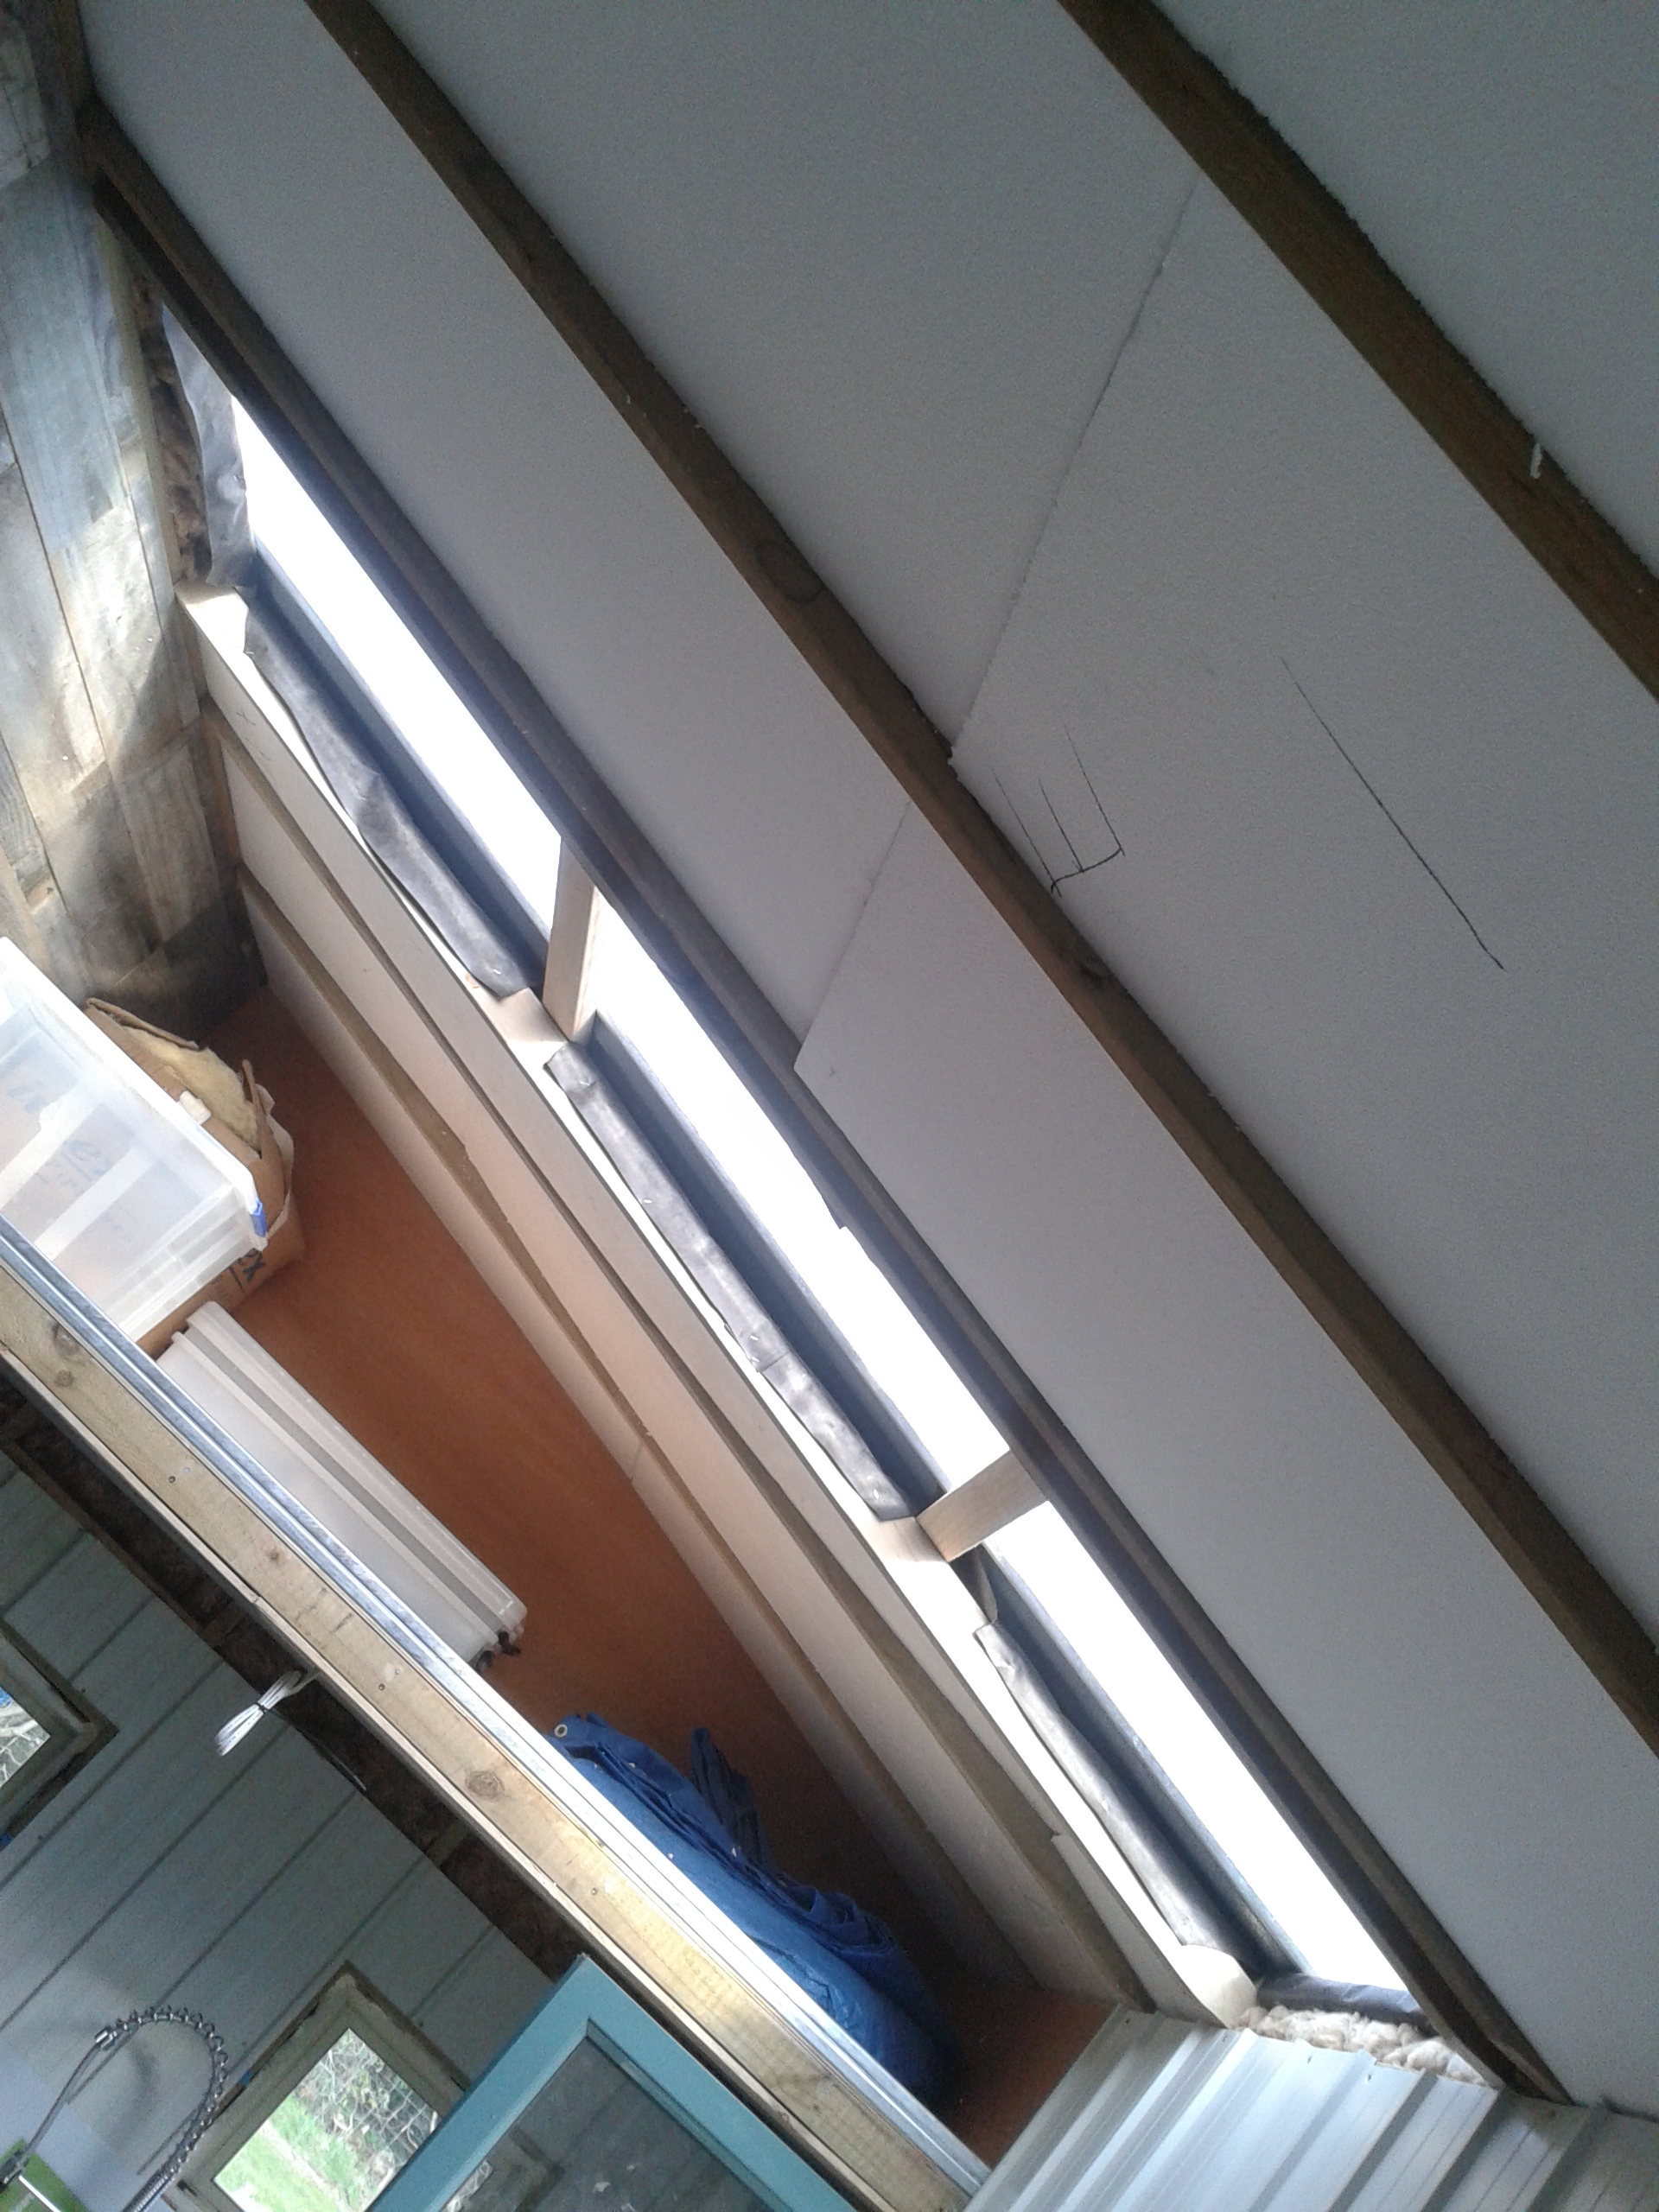
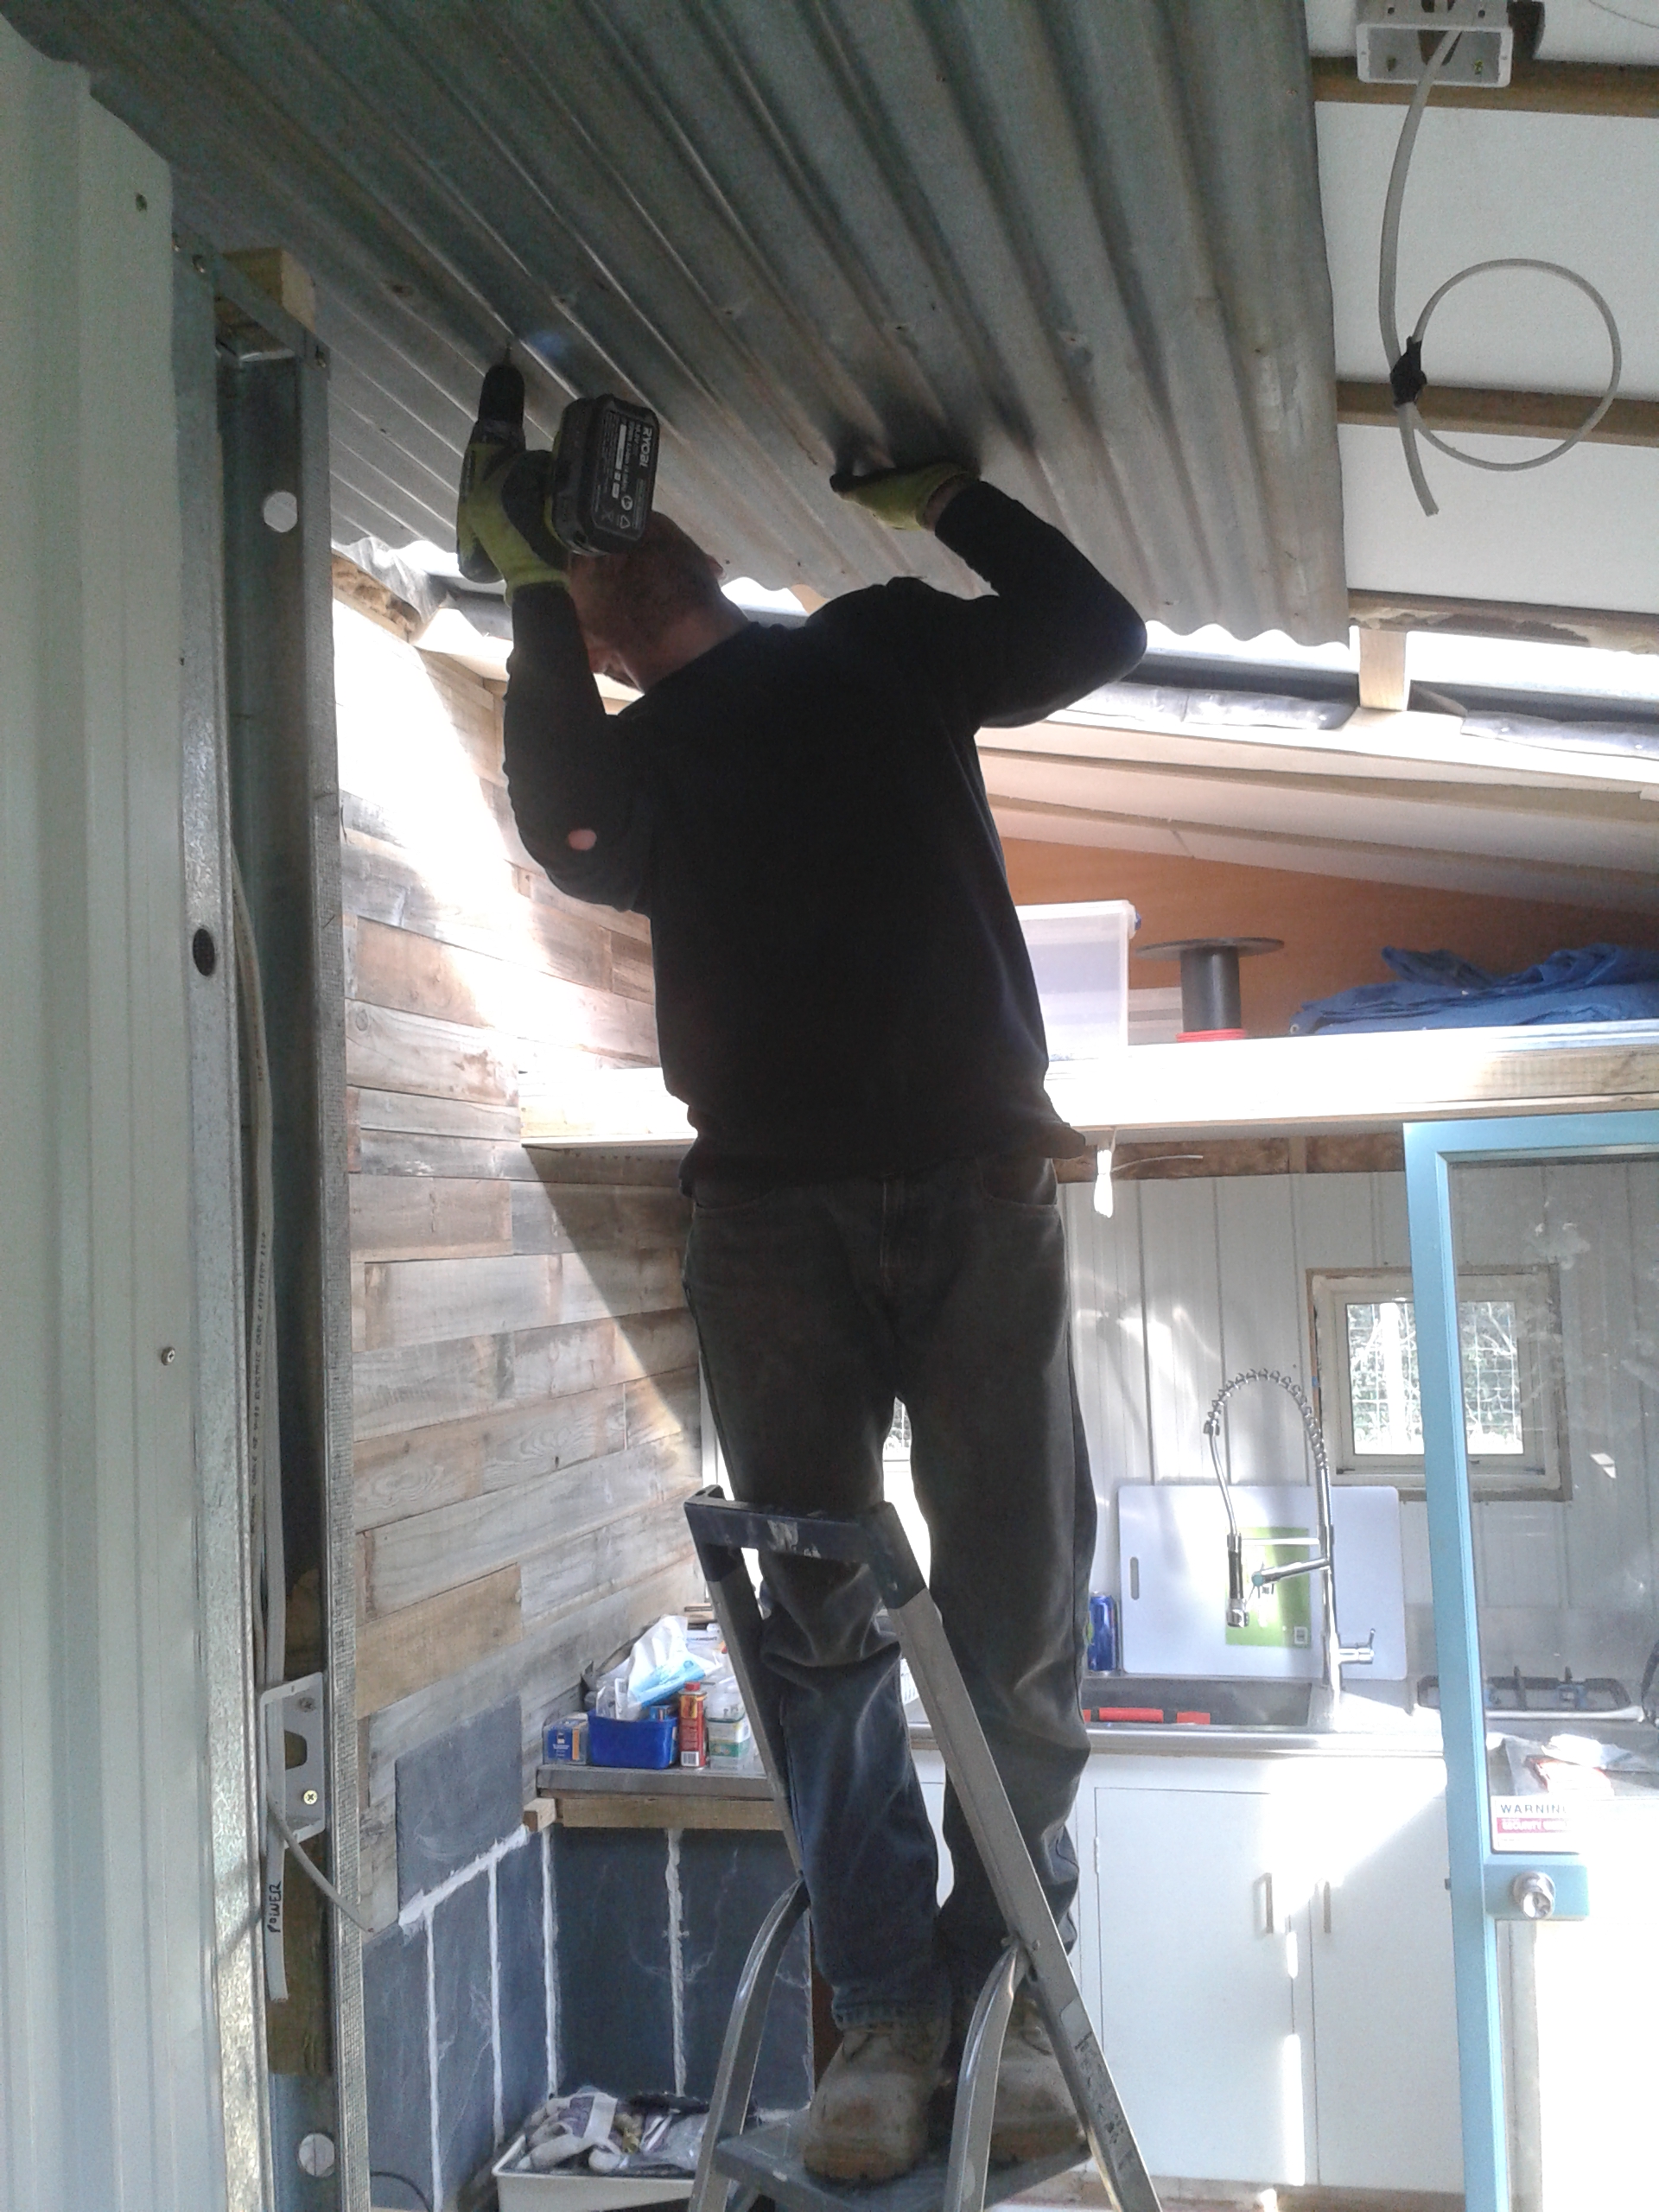
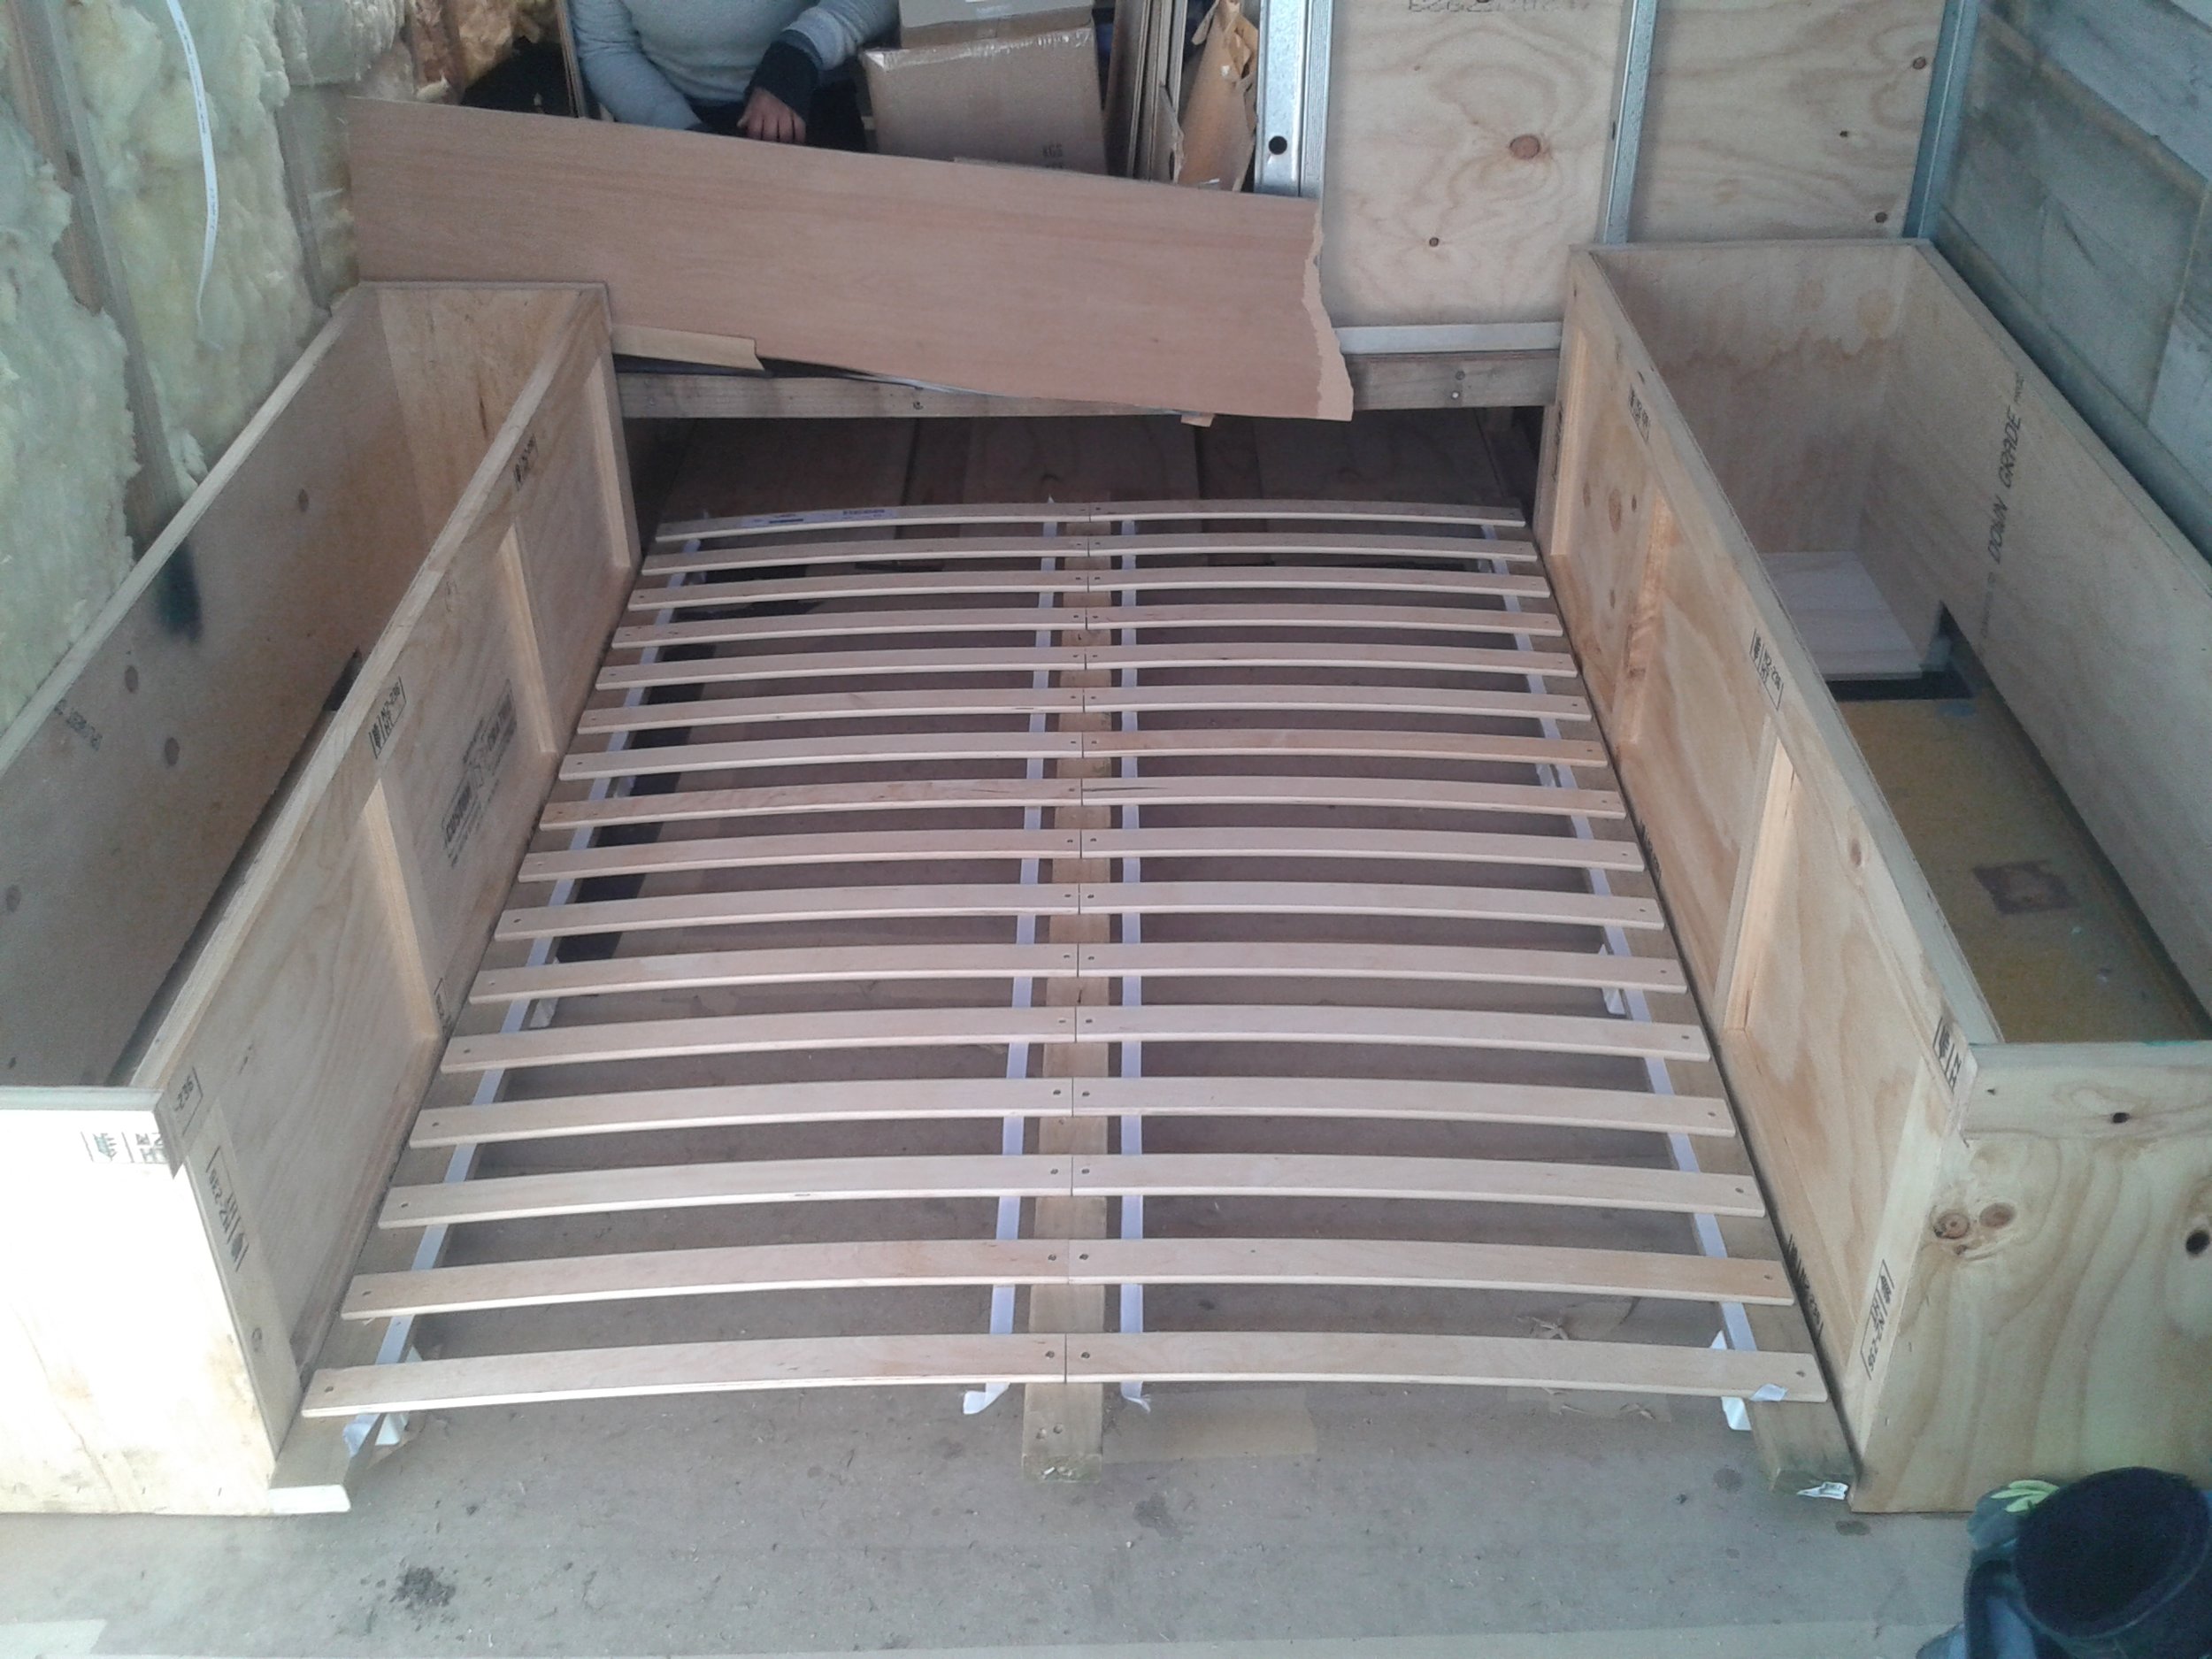
20150905_150314

FINALLY some trim!

20150905_150252 20150905_144731 20150905_135528

I am embarrassed to say that this took me a good 30 min to do!

20150905_131709 20150905_113955 20150905_113947

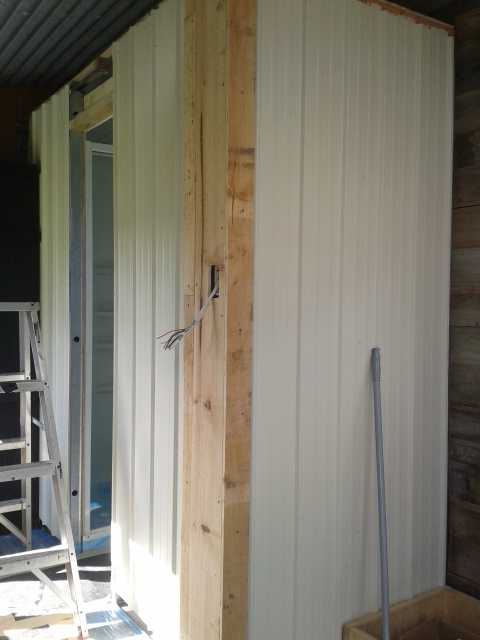
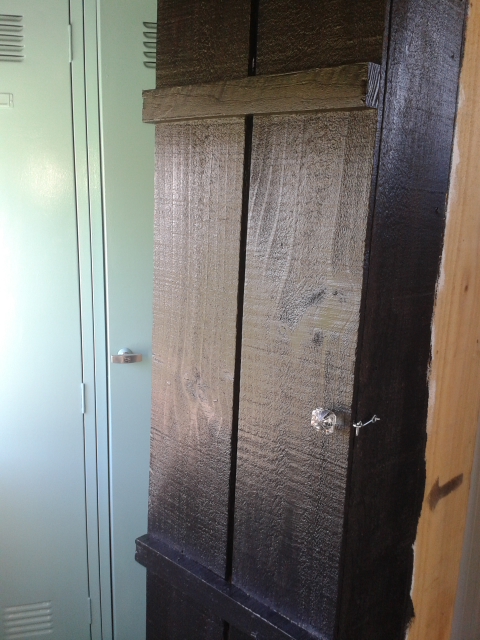
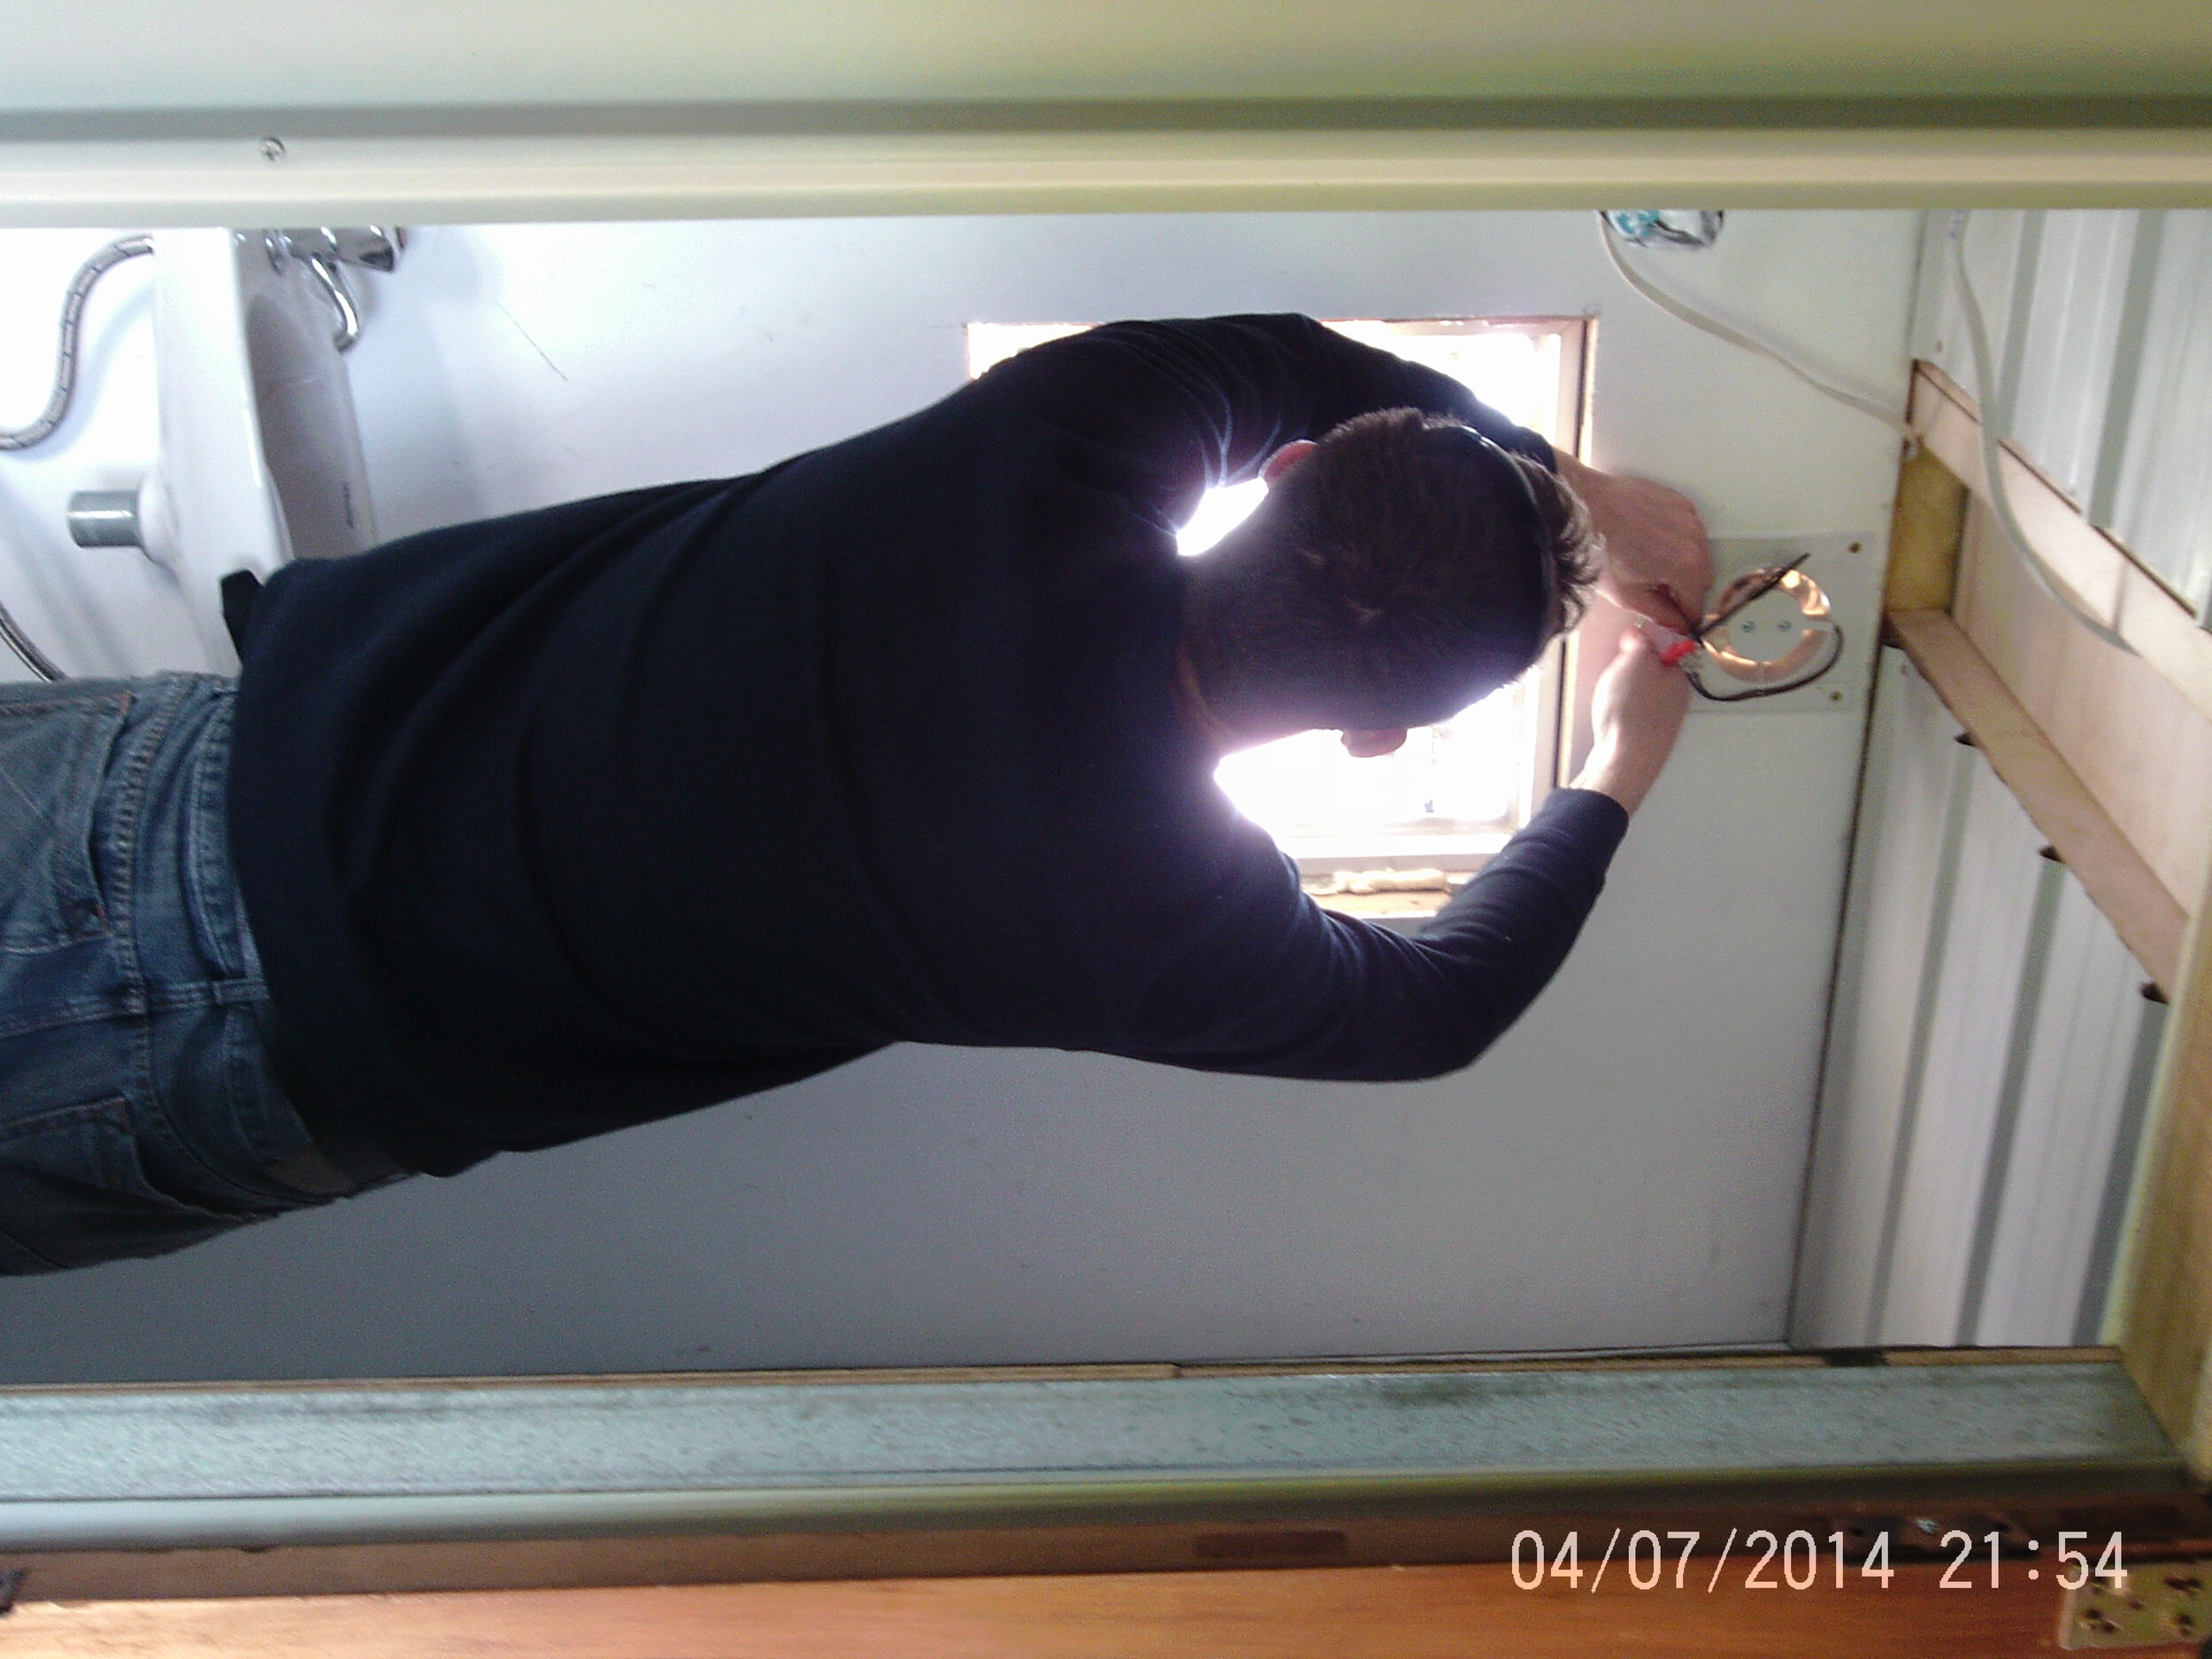
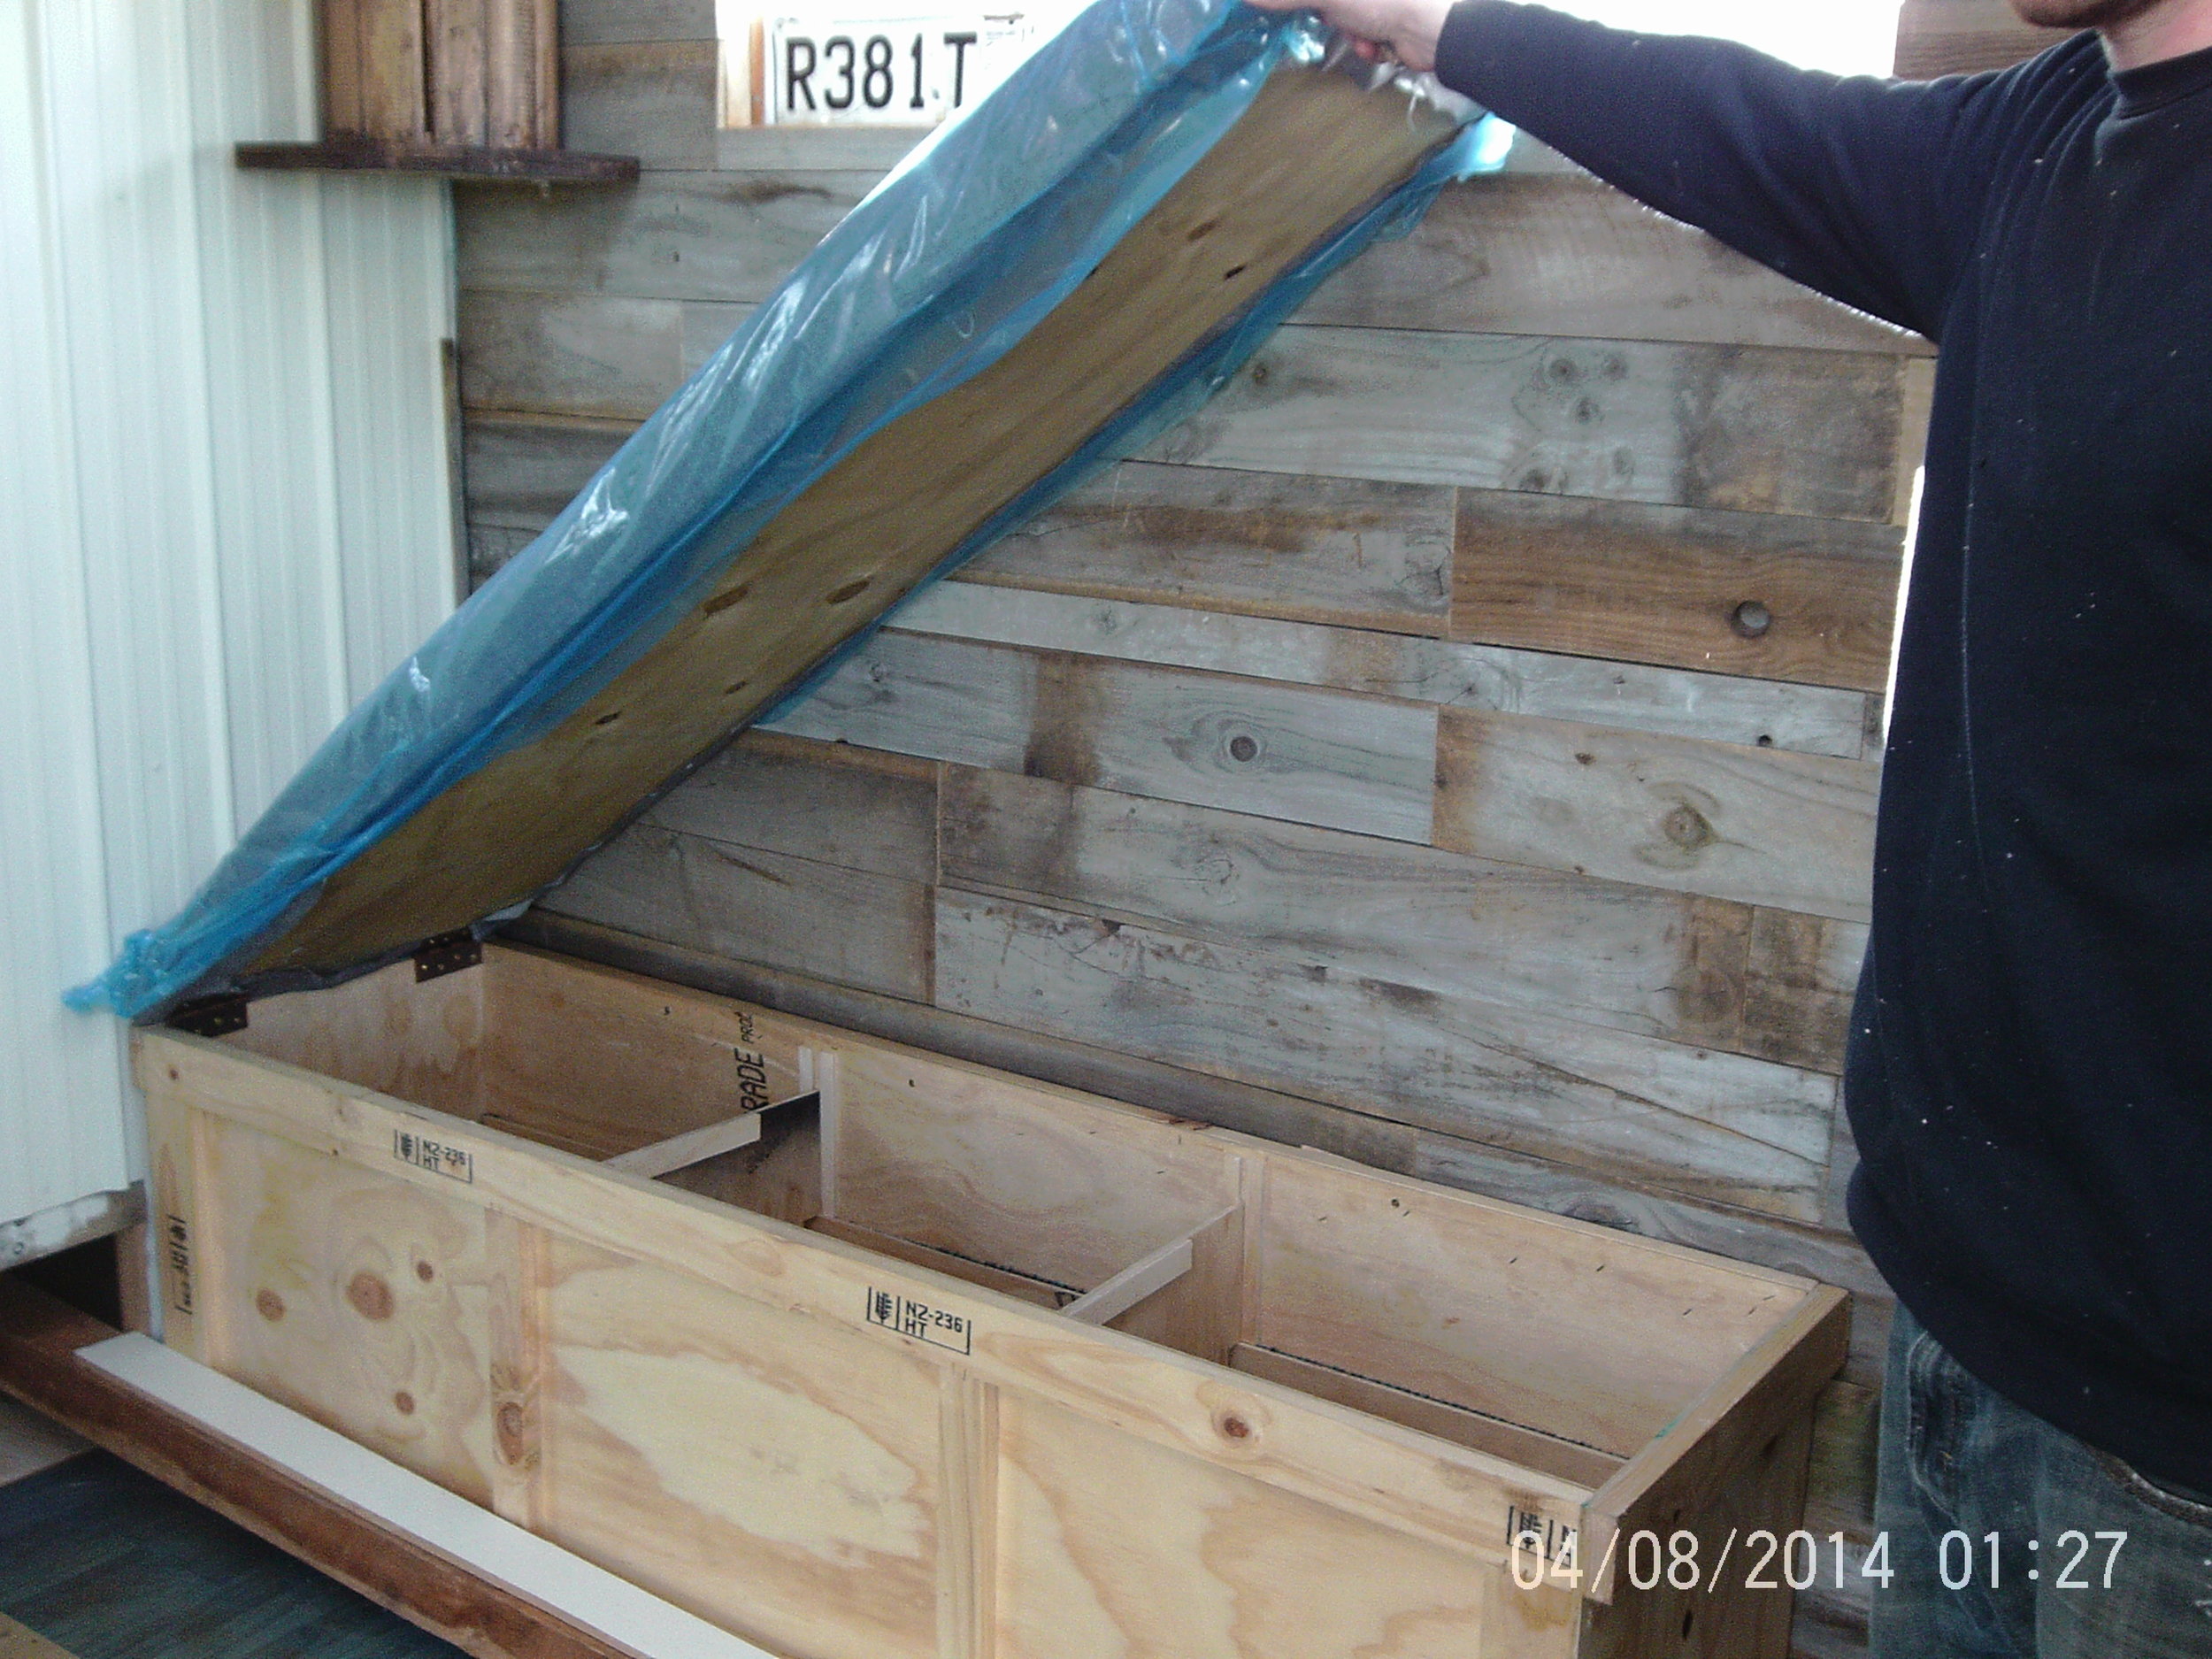
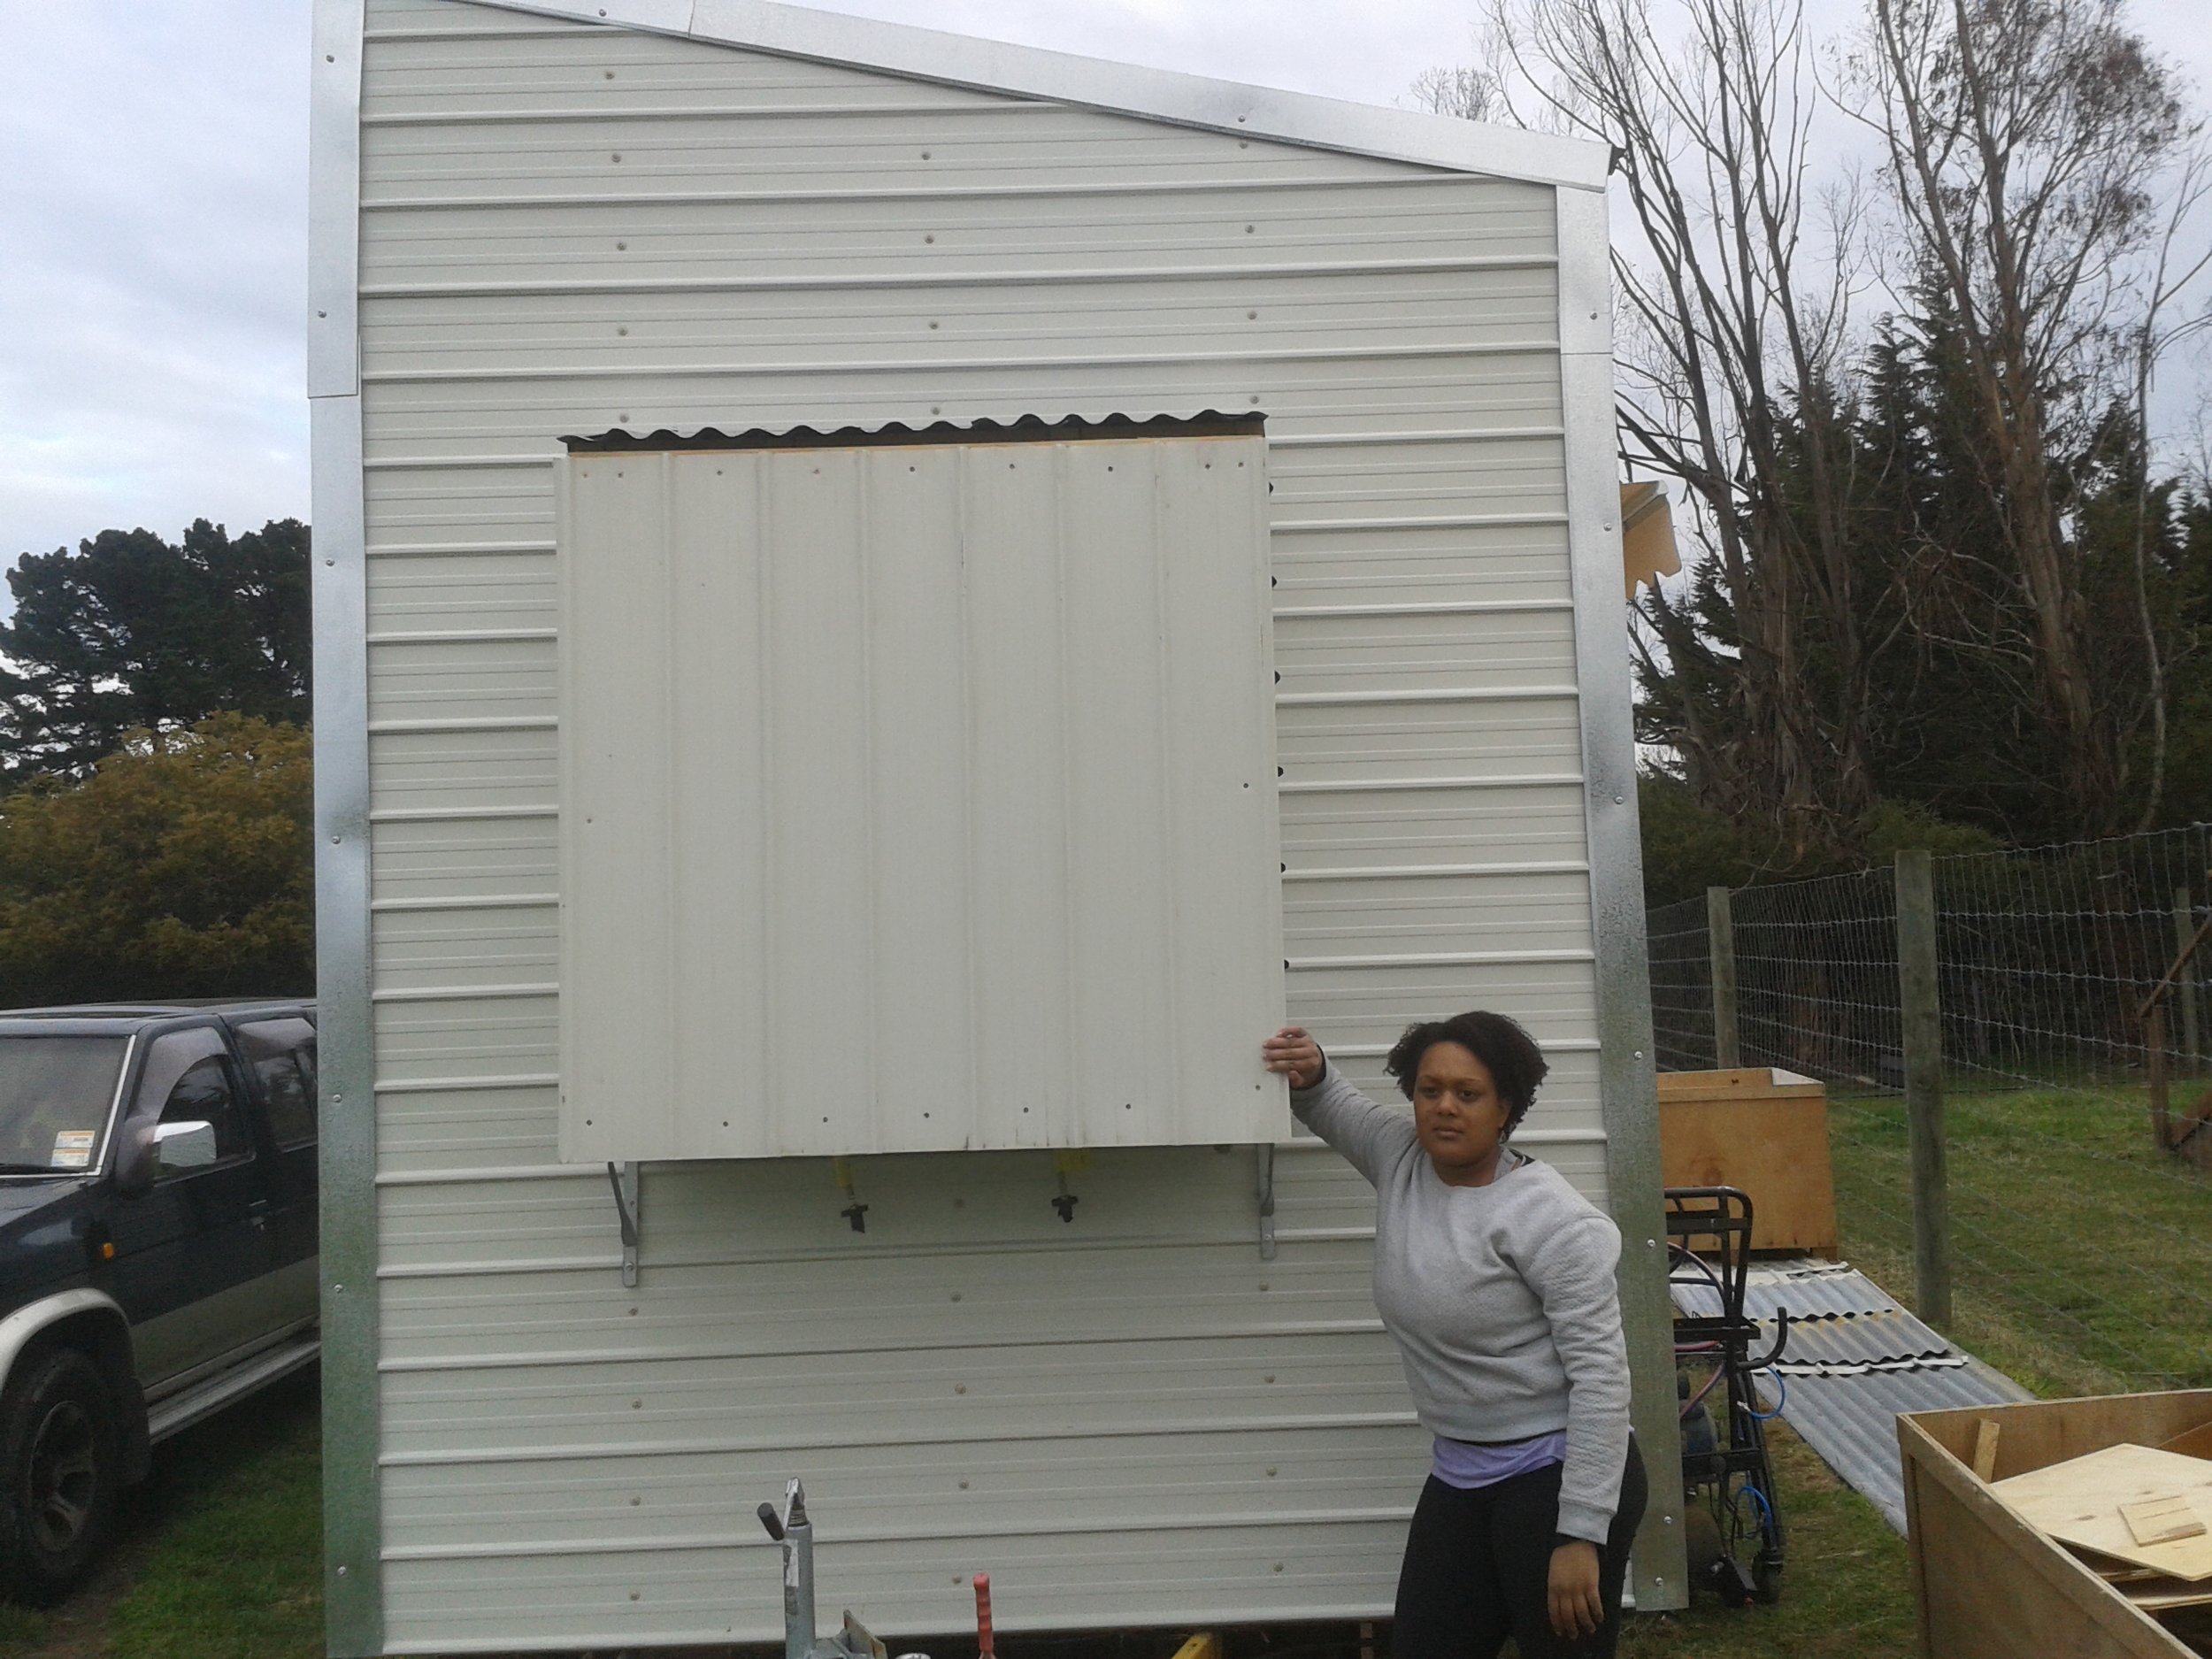
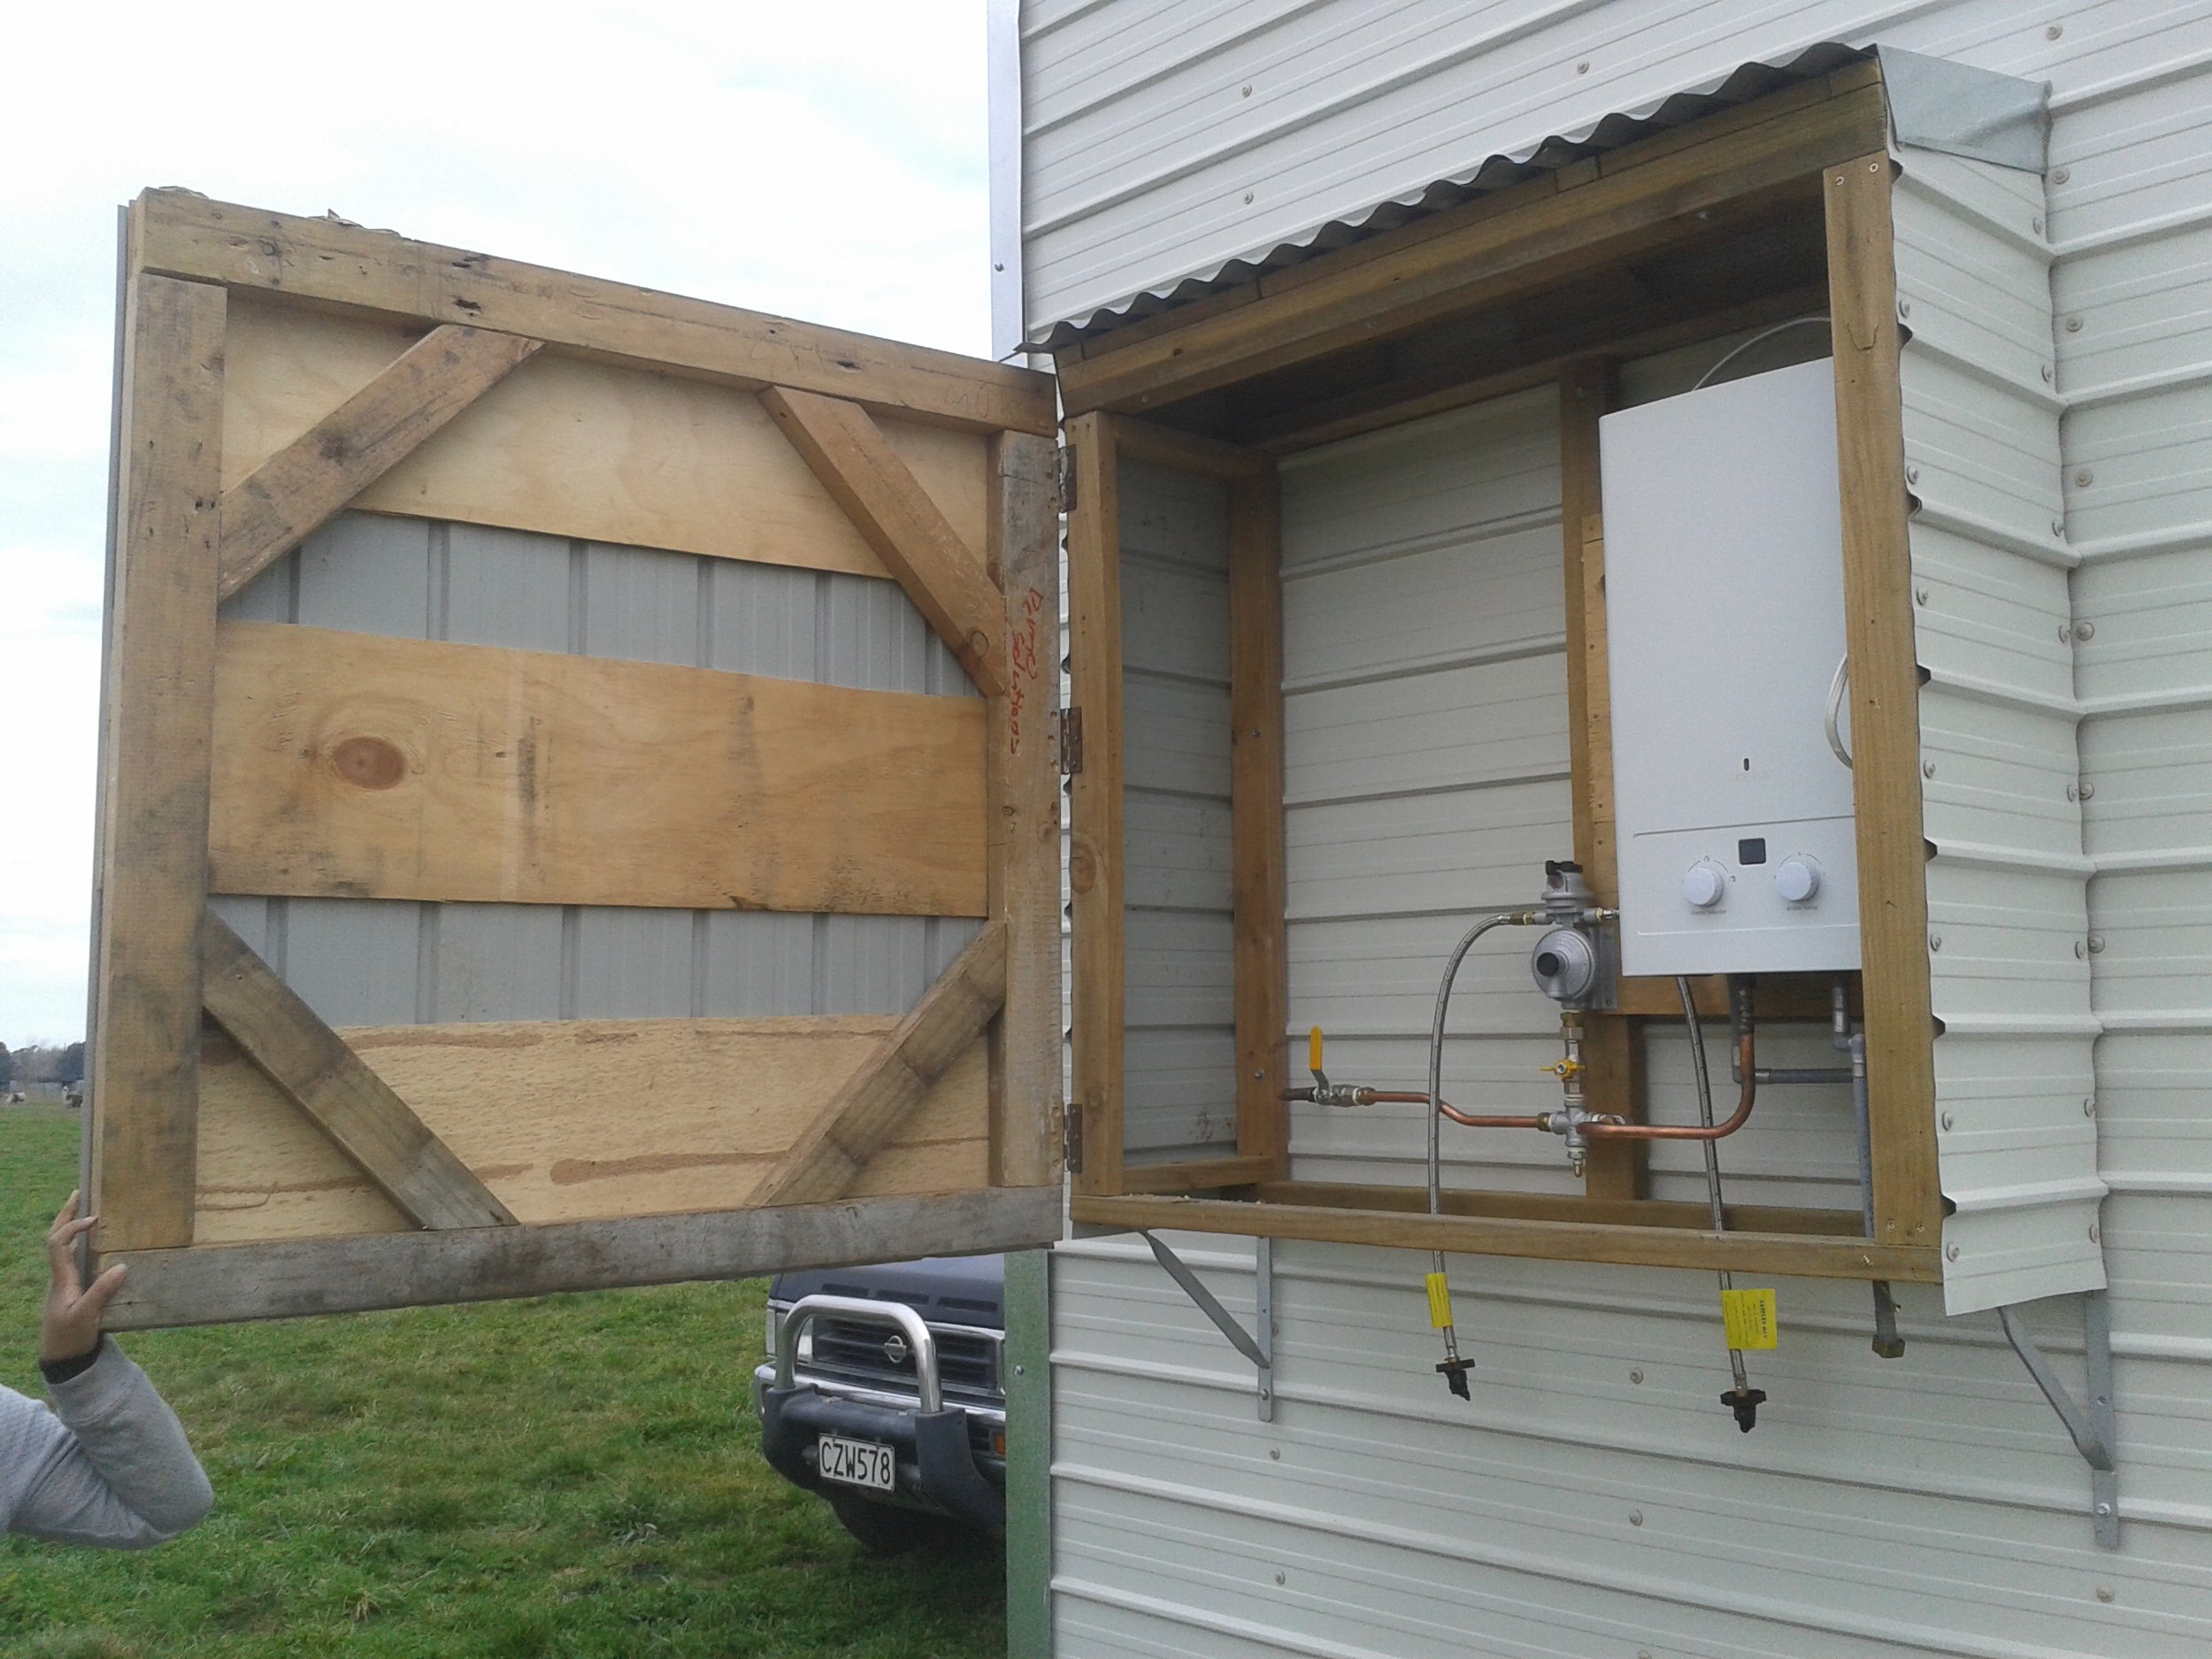
So it doesn't going flying open while we transport our house!

We also have a few videos if you are interested!

Inside a Moving Tiny House!

[youtube https://www.youtube.com/watch?v=2Vf6ZXasg_8&w=420&h=315]

Towing the Tiny House

[youtube https://www.youtube.com/watch?v=5kK_c4IvfcU&w=420&h=315]

https://youtu.be/XsTZm70acEc

[youtube https://www.youtube.com/watch?v=XsTZm70acEc&w=420&h=315]

2 Comments

Painting & Trim

3 Comments

Painting & Trim

Hello bloggers, It certainly is spring. This is the second weekend we have been rained out, making things at the tiny house difficult. We have still managed to get things done though.

We painted our lockers, storage cabinet, and kitchen cabinets. I also have been hooking up some of the electrical outlets and switches as I go along.  We did the trim above the kitchen all out of recycled timber. At this stage it is really difficult to use recycled materials to do the finishing work because their imperfections make it difficult to be satisfied with the result. This is new territory for the both of us and we keep losing our patience. Building a tiny house is hard work but we had a unexpected visitor today which boosted our morale.

20150830_112943 20150830_163210

20150830_112951 20150830_163221

20150830_153555 20150830_163201

20150830_143709 20150830_143719 20150830_143645

And that's All Folks!

It doesn't seem like much but it is coming along. We did some more major clean up because our tiny house is going to be a part of Eco Week! A sustainable themed week long series of events hosted by the University of Canterbury. Following Eco Week we will be moving our tiny house to our newly rented lot in Christchurch. Everything is happening so soon! Stay tuned for more ;)

Pat and Cori

3 Comments

Paint, Bathroom Progress and Electrical

Comment

Paint, Bathroom Progress and Electrical

Hi Readers! Last weekend was one of the first weekends we worked on the tiny house that was cut short by bad weather. But Pat still managed to paint the beige walls (you probably can't tell from the pictures but the walls were scratched and dented). So this weekend we made a huge push to make up for our lost day!

This Saturday we lined our bathroom with plastic we got for free from a friend. We didn't have enough to cover the ceiling as well so once again we used up some scraps! At least our whole house (inside and outside) matches! We also had time to install our sink that had been lying dejected in our shower for ages!

ViviLnk

PTDC0014

PTDC0016

This is the floor I did a while back, finally you can see it ! Previously we had used cardboard to protect the flooring but this weekend we brought the vacuum cleaner along with us. PTDC0017

PTDC0021

We spent the rest of the day cleaning, laying down blue plastic and checking on our bathroom walls.

Sunday was a later start. We got began by hooking up our plug outlets and our lights. Check out the difference it makes!

ViviLnk

PTDC0025

ViviLnk

PTDC0031

PTDC0037

ViviLnk

PTDC0044

We finished up the day by finally putting a door on our storage cabinet (we also shortened it!)

PTDC0038

onthe ground

PTDC0040  lockers and cut cabinet

It def needs some tweaks but it is on its way! We had a great weekend with lovely weather and our house looks and smells brand new!

Thanks for reading, next weekend hopefully we will have a couch installed and some more trim!

Please enjoy our first attempts at using the panaromic feature on Pat's phone ;)

20150822_152610 20150822_152719

Signing off!

Pat and Cori

Comment

Saturday Tiny House Work

1 Comment

Saturday Tiny House Work

ptdc0251-e1439008396559.jpg

Hello blog followers, Today at the tiny house we finished off the door for the utilities box, secured the last bolt fixing the house to the trailer, removed our kitchen cabinets to sand and repaint, and built a small shelf for the kitchen out of some free items we had laying around. The weather turned out to be really nice!

PTDC0222 PTDC0223

PTDC0236

PTDC0237

PTDC0240 PTDC0239

PTDC0243 PTDC0247PTDC0249 PTDC0252

1 Comment

Ceiling Insulating and Covering

2 Comments

Ceiling Insulating and Covering

Hi everyone, Today at the tiny house we insulated and covered our ceiling. It has felt like forever that the ceiling has been not finished, but today we got it done! Some really good friend of ours had some extra polystyrene laying around. We took what they gave us and bought what we needed and today got around to finishing our ceiling. That stuff sure does make a hell of a mess but in the end it worked out well.

After the insulation was up we calculated that we had enough left over roofing material for our ceiling. The rust, holes, scratches, and all kinds of minor imperfections gives it a good rustic look.

We also had time to build a door for our utilities box completely out of scraps we had left laying around.

Hope you like it!

20150802_104811 20150802_104822

20150802_114739

Think I am looking kind of stiff haha!

20150802_121106

20150802_114731

20150802_122614

20150802_120832

20150802_153518 20150802_153506

2 Comments

Pull-out rubbish bin

Comment

Pull-out rubbish bin

Hello everyone, We installed a pull out rubbish can underneath our counter. We paid 25 dollars for it on trade me, a few days later we saw it for sale at Bunning's for $125! We really know how to find a bargain.

ViviLnk

ViviLnk

ViviLnk

ViviLnk

ViviLnk

After the trash cans were fitted, we tackled the storage crates by cutting them to size and fitting them so the bed can still pull out in between them.

20150628_130400 20150628_130405

Comment

Roof and corner flashing

1 Comment

Roof and corner flashing

Hello everyone, Today was a beautiful Autumn day in New Zealand! I finished the roof and corner flashing but still have to flash around the windows at a later date. I attached the Flashing with some rubber washer screws and sealed the corners and seams with some waterproof sealer. Looks pretty flash haha!!

IMG_1717 IMG_1718 IMG_1719 IMG_1720 IMG_1721 IMG_1722

1 Comment

Finishing the Exterior

Comment

Finishing the Exterior

Hello everyone, We have finally finished the outside minus a few bits of flashing around the windows and on the corners of the walls. IMG_1690 IMG_1691 IMG_1692 IMG_1693 IMG_1694 IMG_1695

Behind this wall with the two windows is going to be our kitchen. We are going to install two planter boxes underneath the windows for fresh herbs.

IMG_1696 IMG_1697 IMG_1698 IMG_1700

Comment

Exterior walls and windows

1 Comment

Exterior walls and windows

Hello everyone, We started to clad the outside of our tiny house and installed the front window and door. I first nailed strips of thin timber over the outside of the building paper to attach the exterior wall to.  We used some metal wall cladding we bought from a recycled building materials company. This material is actually brand new. Its really exciting to actually see it look like a house. I still have to finish the back and the side of the house.

IMG_1667 IMG_1668 IMG_1669 IMG_1670 IMG_1671 IMG_1672 IMG_1676 IMG_1677 IMG_1679 IMG_1680 IMG_1681 IMG_1682 IMG_1683 IMG_1684

This is the friendliest most talkative cat I have ever met. She is curious of what we are doing and checks up on us every time we are there. She is scared of the llams, they come after her when she enters the gated area.

IMG_1659IMG_1660IMG_1662IMG_1663IMG_1664IMG_1665IMG_1666

1 Comment

Framing and cladding the roof

1 Comment

Framing and cladding the roof

Hi everyone, Cori and I worked on framing and cladding the roof today. We framed it with the same building timbers as the walls: lightweight and cheap! The walls and roof were first wrapped in building paper, then we used the second hand corrugated iron we bought for the roof. It worked awesome!!

IMG_1623 IMG_1625 IMG_1626 IMG_1627 IMG_1628 IMG_1629 IMG_1630 IMG_1631 IMG_1632 IMG_1633 IMG_1634 IMG_1635 IMG_1639 IMG_1640

Silly old Llamas!!

IMG_1641 IMG_1642 IMG_1643 IMG_1644 IMG_1645 IMG_1646

We thought it would be nice if we could get some extra light in through the roof, so we added a skylight.

IMG_1647 IMG_1648 IMG_1649 IMG_1650 IMG_1651 IMG_1652

1 Comment